Fly Tying

Fly Tying: Unreal Egg

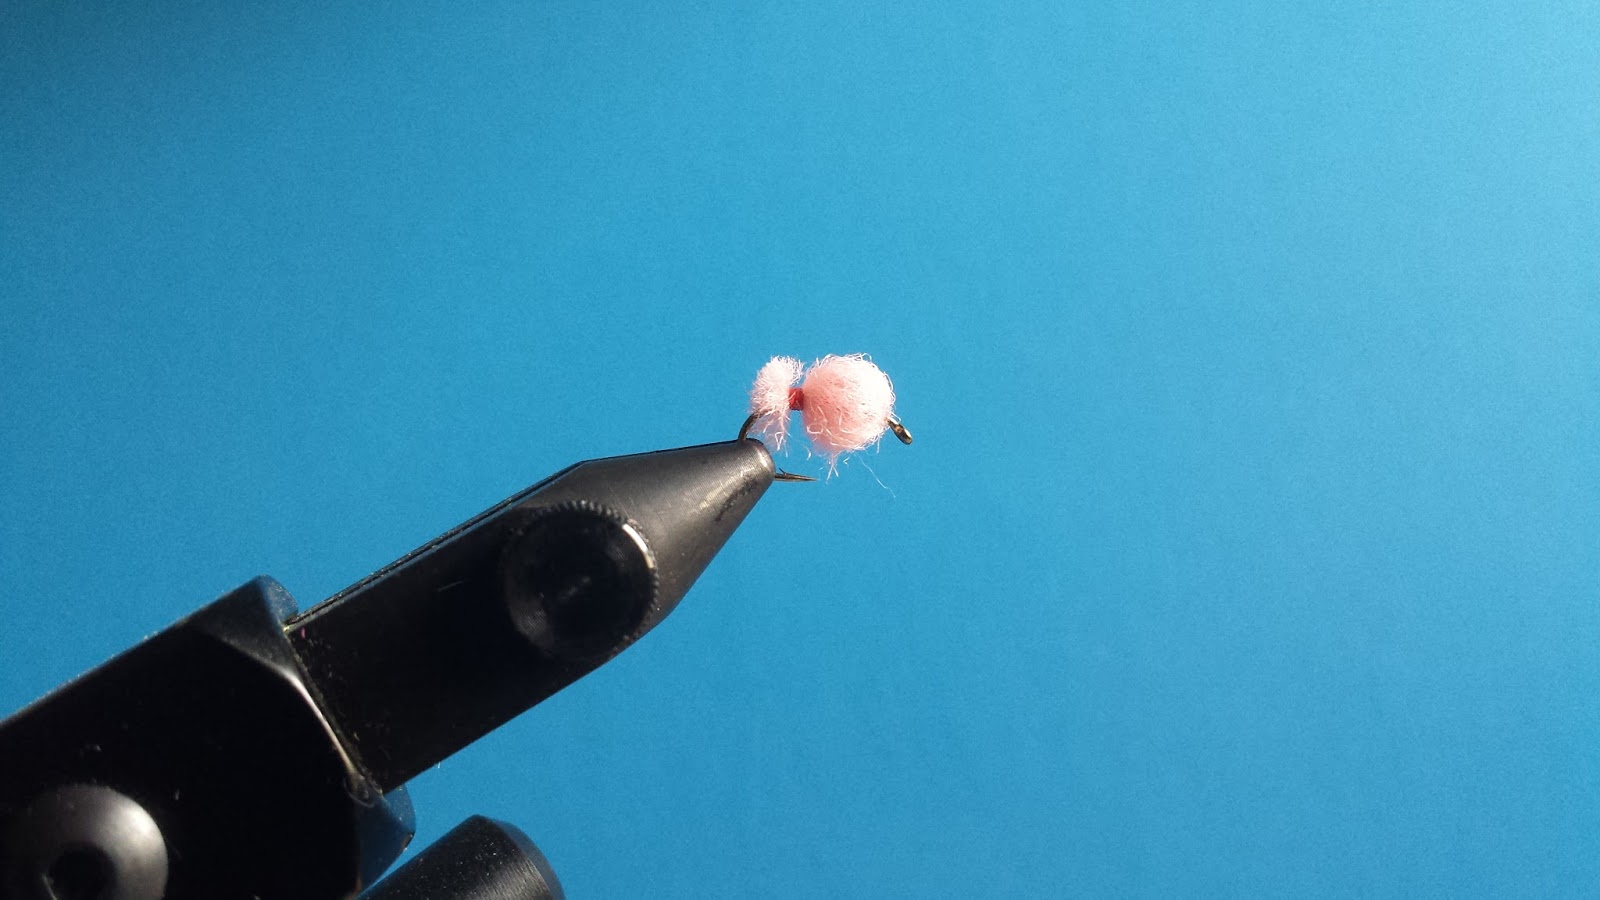
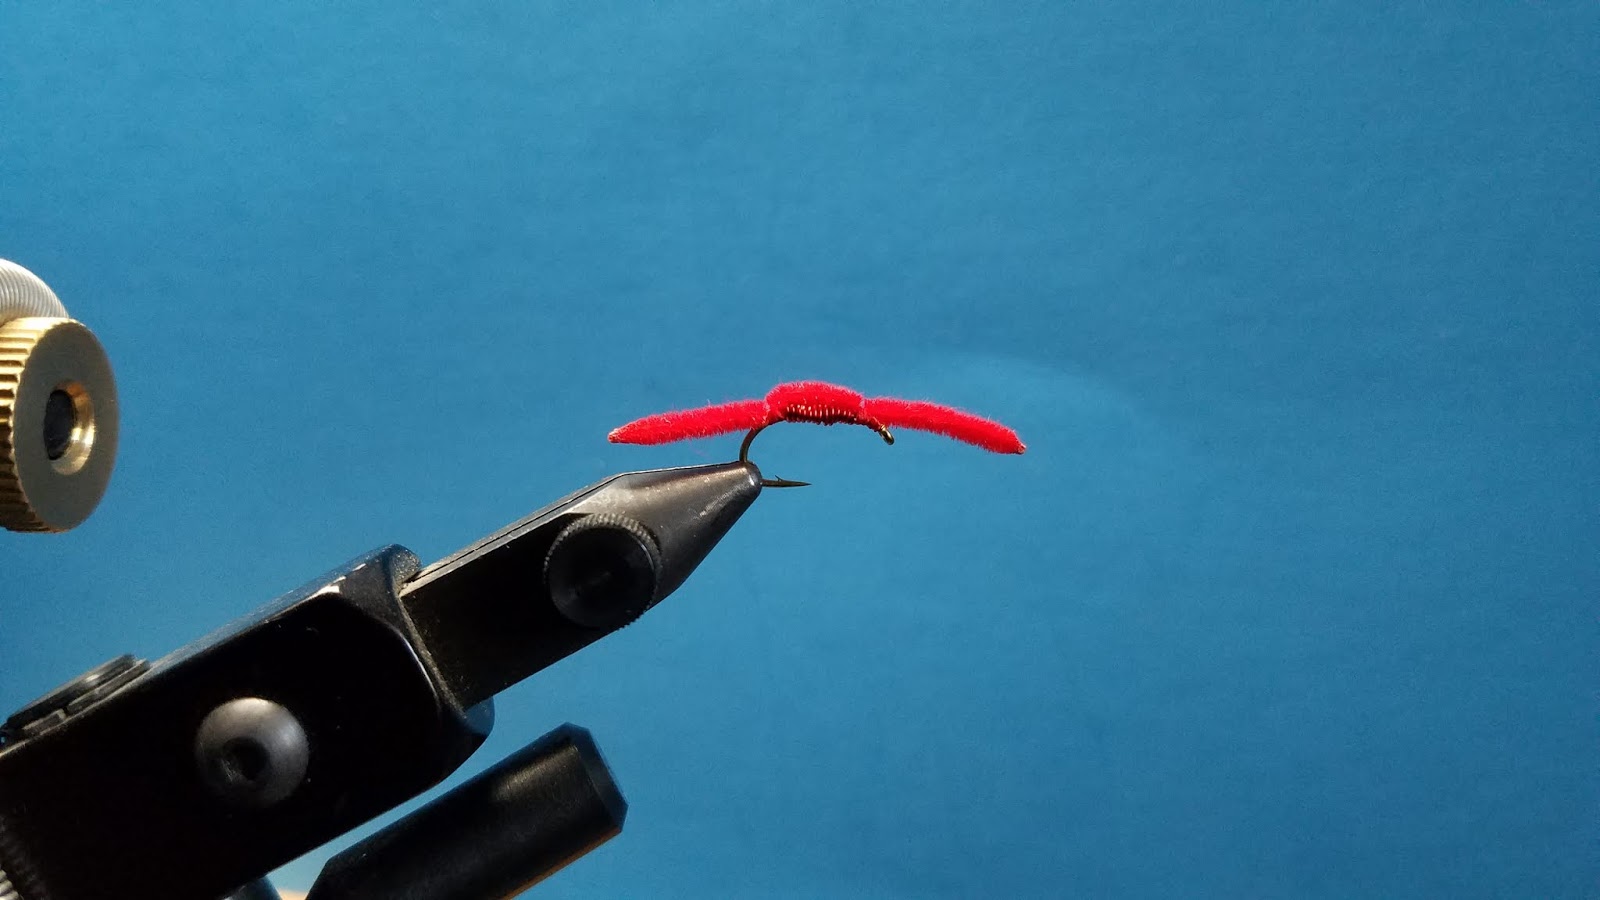
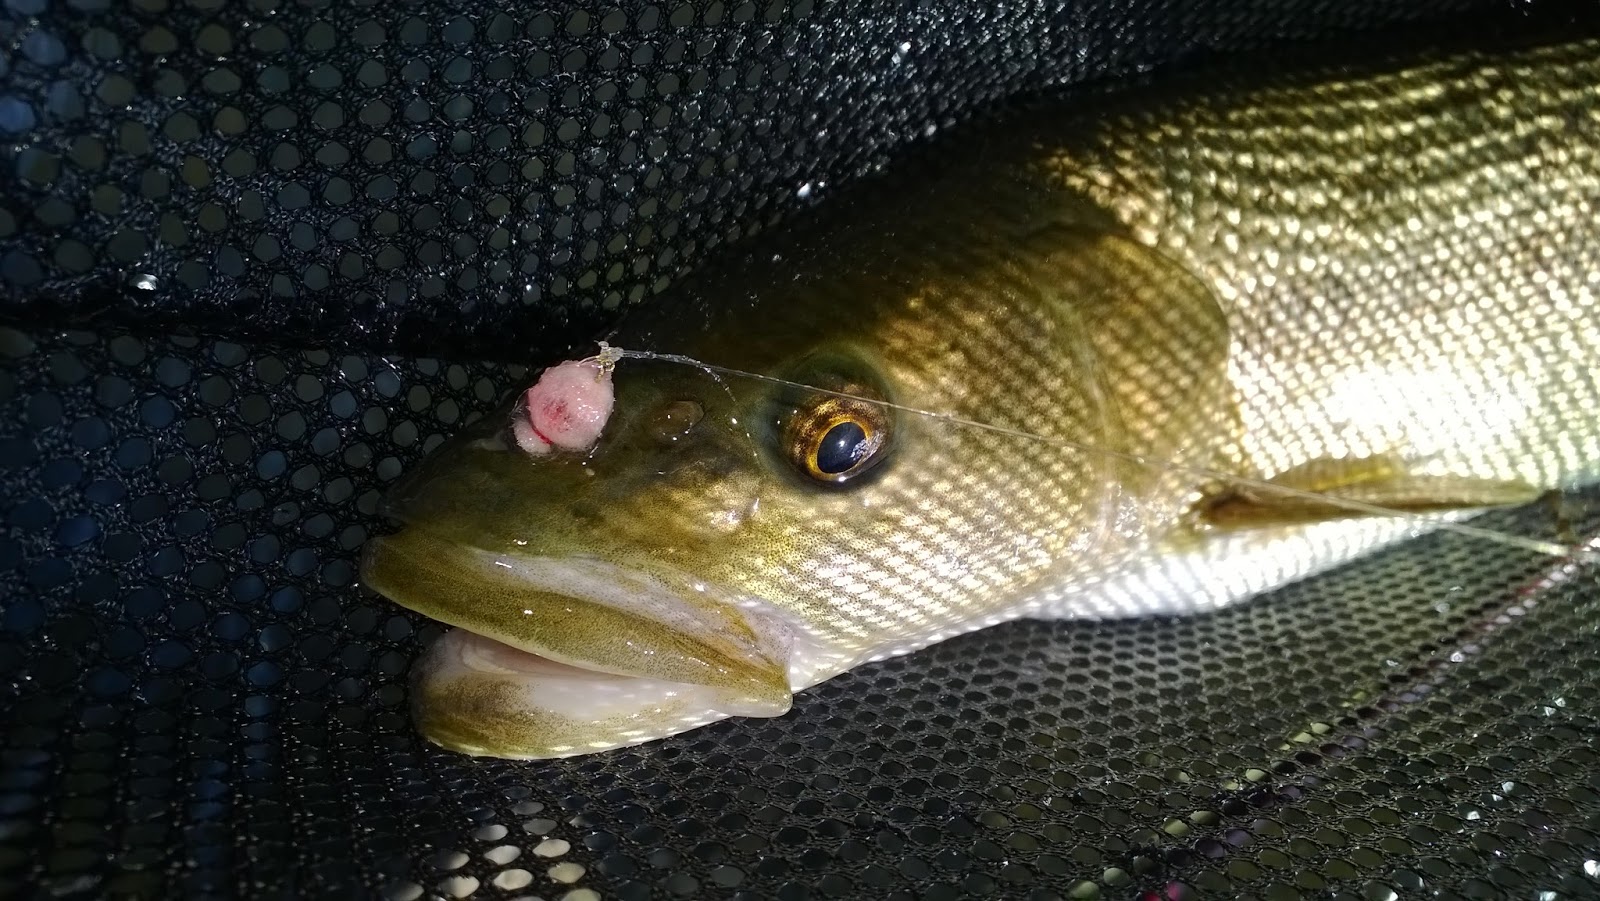
The Unreal Egg is a fly pattern that is a popular go-to when salmonoids are spawning. This egg pattern does an excellent job at imitating the eggs of different species of salmon and trout. Although the use of egg yarn to hide a bead on a hook is nothing new, this egg pattern simplifies the illusion with very few materials.

Jim Pettis is a California fly fishing guide that originated the Unreal Egg.

The Cascade egg yarn is unavailable in most fly shops therefore you will have to order it online from Cascade Crest Tools. I personally prefer the Cascade egg yarn because it is easier to work with and the veil effect looks better whereas it is more transparent than McFly Foam.

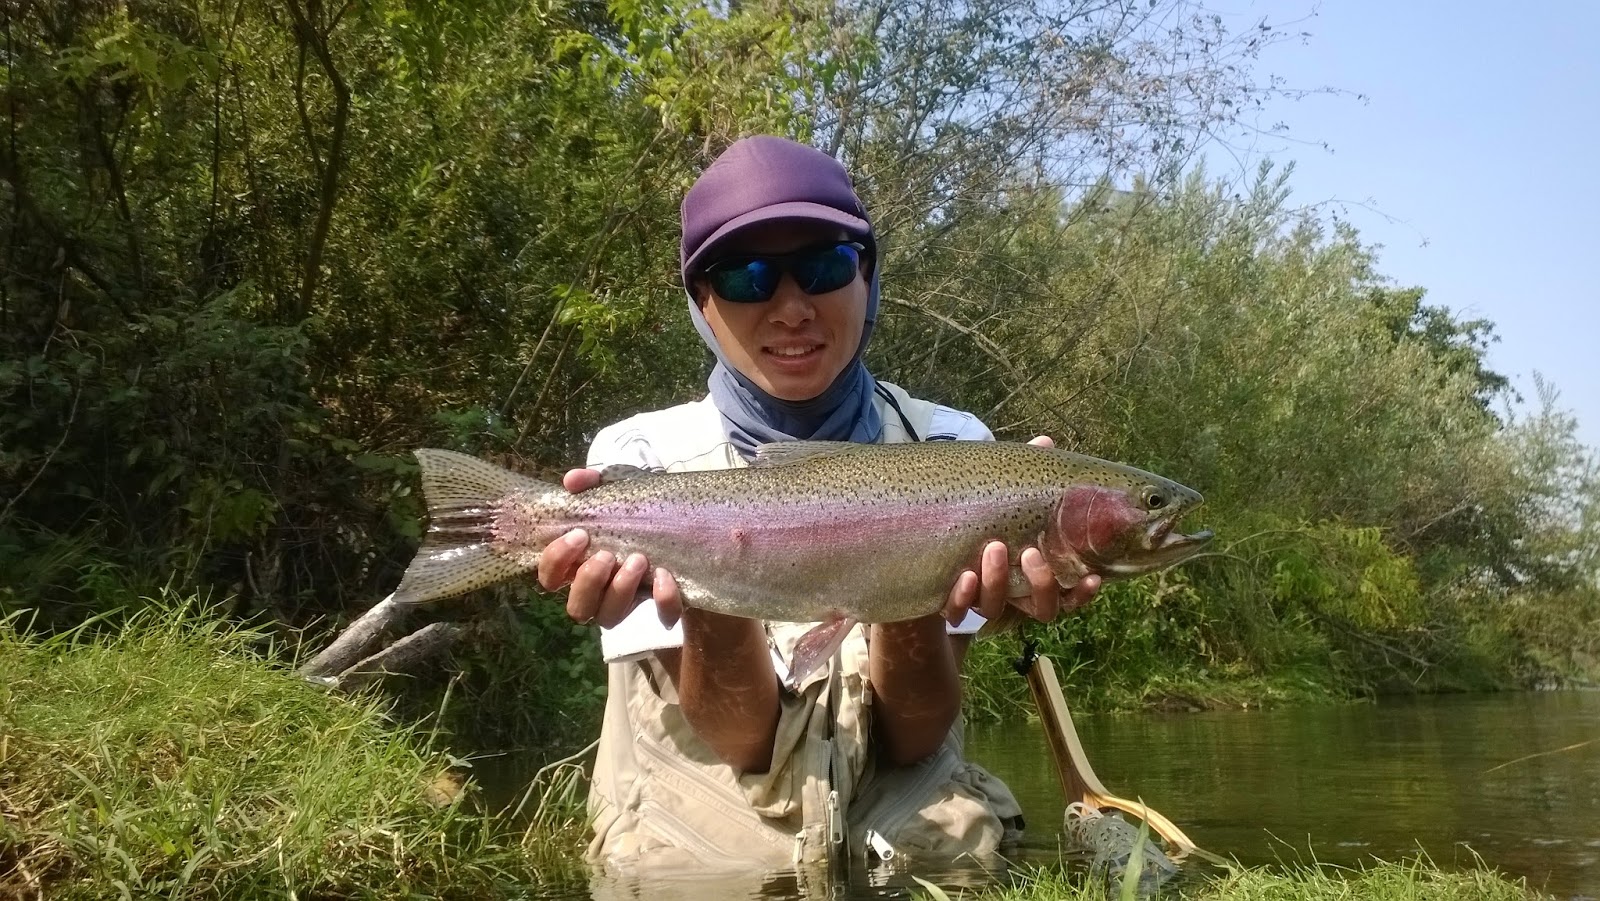
The Unreal Egg pattern is my favorite egg pattern to use during the egg bite. Dead-drifting this egg pattern around spawning salmon is perhaps the most an effective way to fish the Unreal Egg however it is much more fun to swing this egg pattern below them. By swinging a long ten to twelve feet leader, a BB splitshot, and an Unreal Egg with a nymph dropper, you can get some great grabs from steelhead, resident rainbow trout, and other egg eating fish.

This egg pattern is simple to tie and outfishes the glo bug. Add it to your arsenal of egg imitations and don’t be afraid to give it a swing.

Unreal Egg

Materials List:
Tiemco – 2457 – size 14
UNI-Thread – 6/0 – Red
Spirit River Hi-Lite Glass Bead – Red – Small
Cascade Egg Yarn – Baby Pink or McFly Foam –  Pink

Fly Tying Instructions
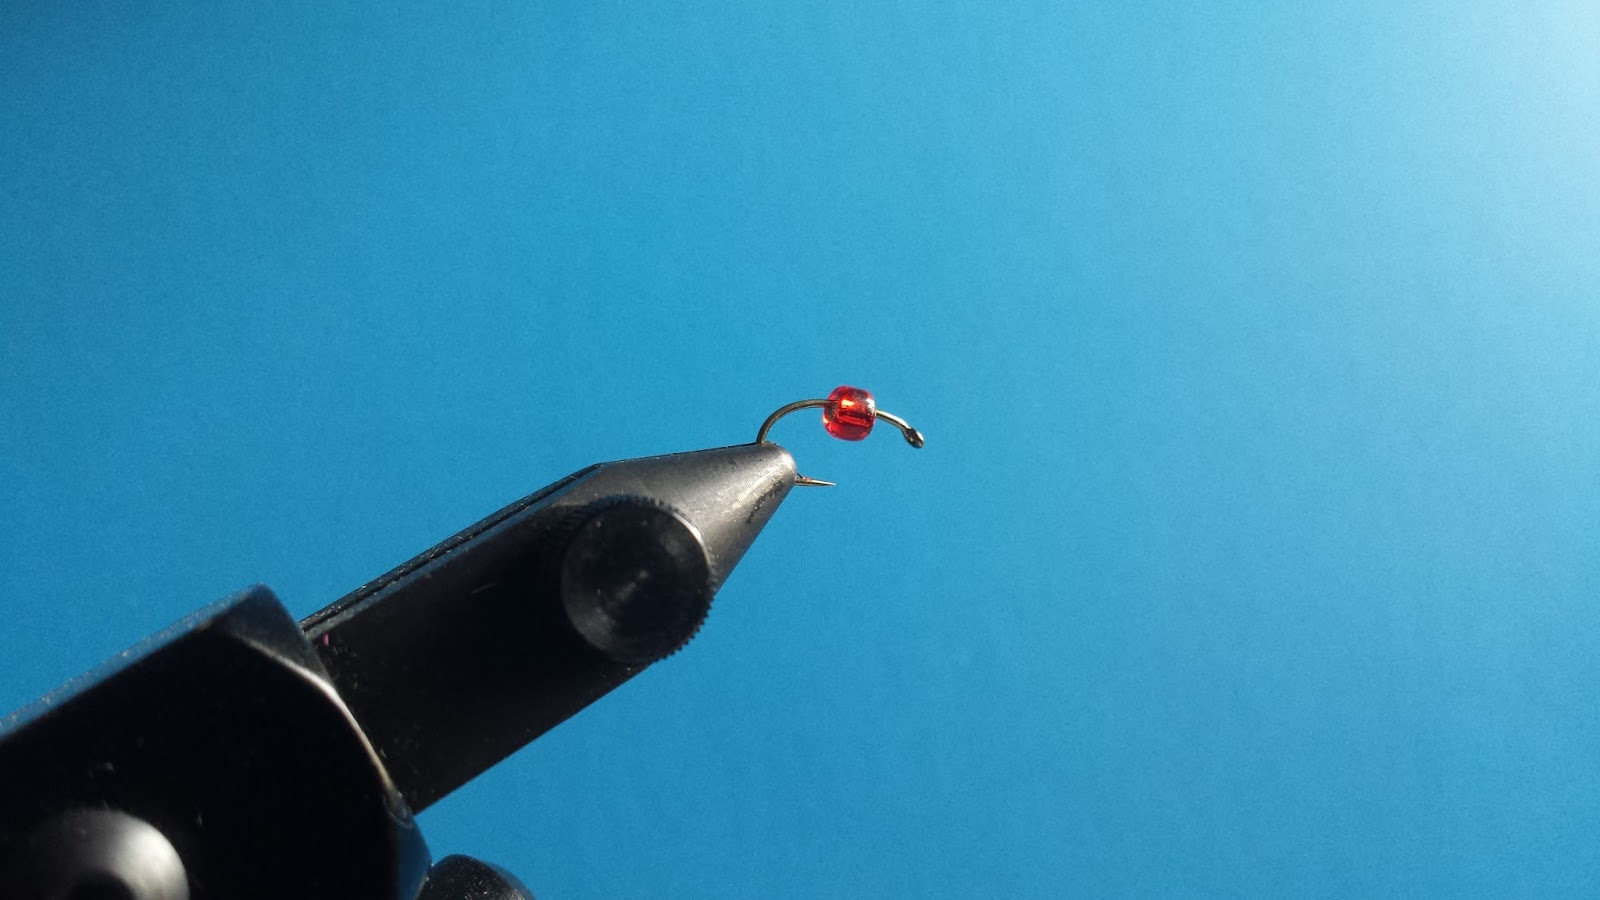
Step 1 – Begin by threading the glass bead onto the hook.
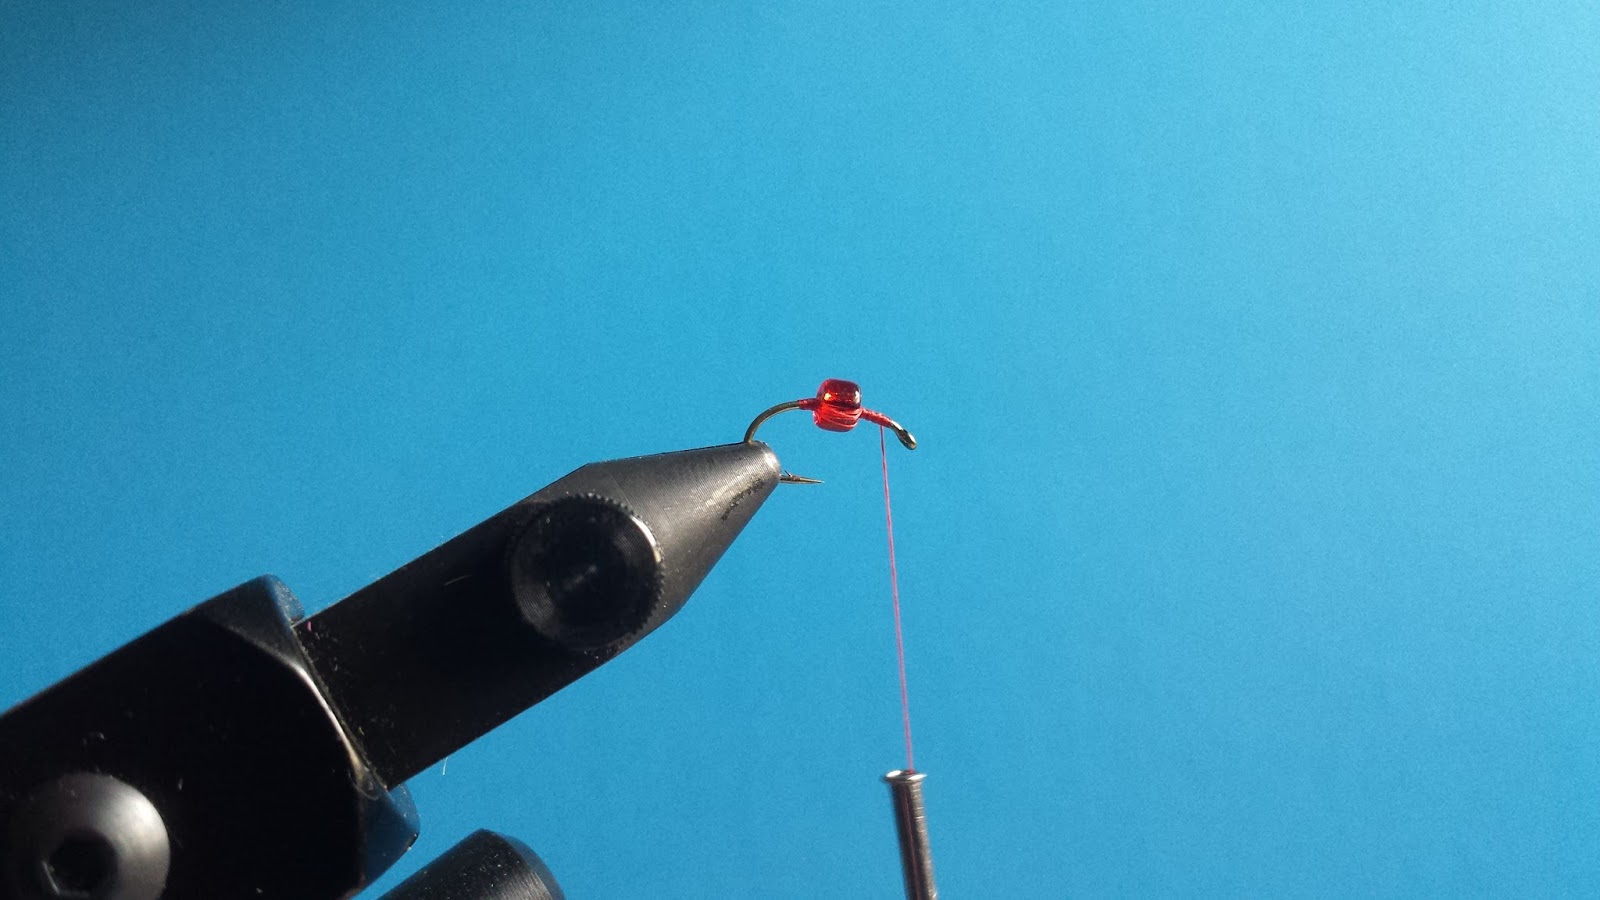
Step 2 – Start your thread behind the eye of the hook. Secure the bead to the middle of the hook by wrapping the thread behind the bead and back to the front several times.
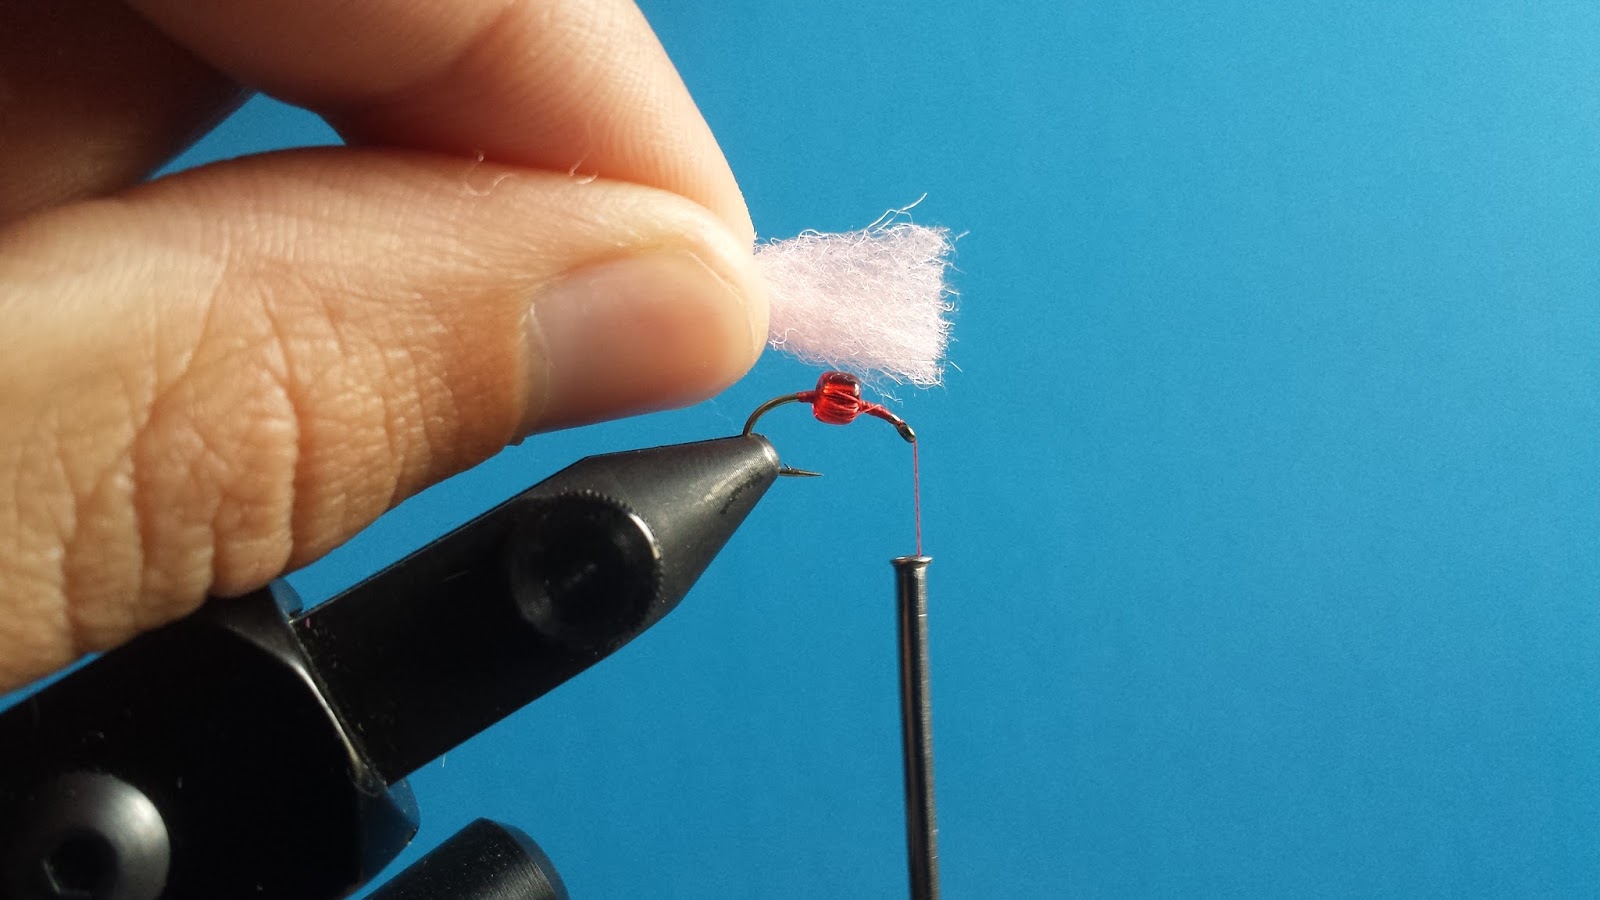
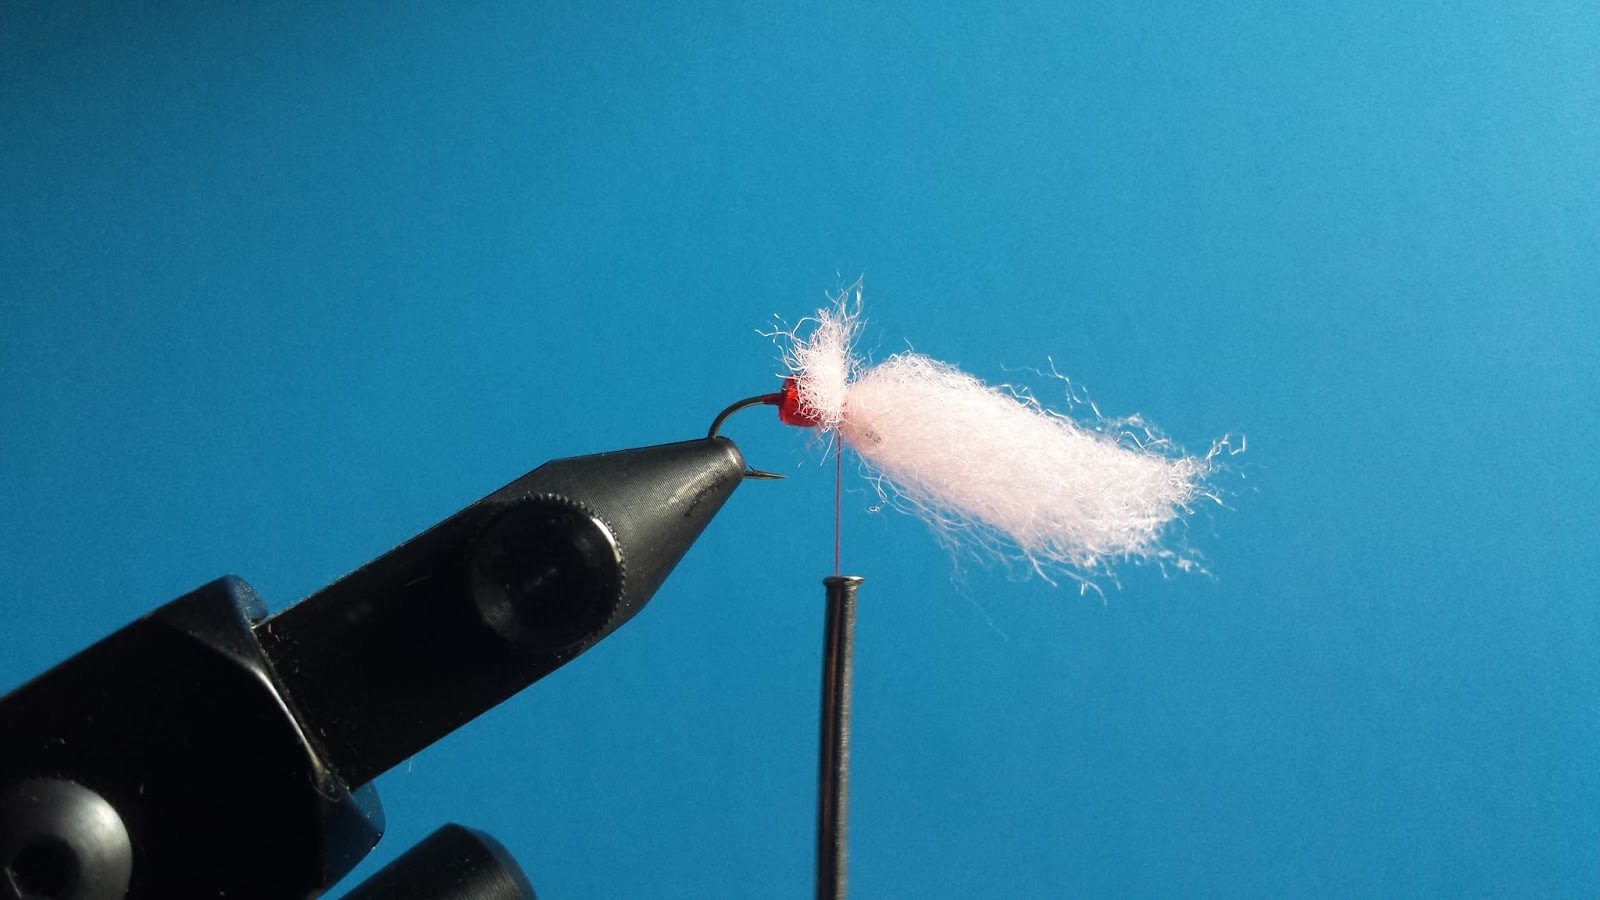
Step 3 – Cut out a little bit more than enough egg yarn to wrap around the bead. Place the yarn so that it surrounds the hook and then secure it behind the eye of the hook. Try not to secure with too many wraps. You want this a bit loose to shape the egg later.
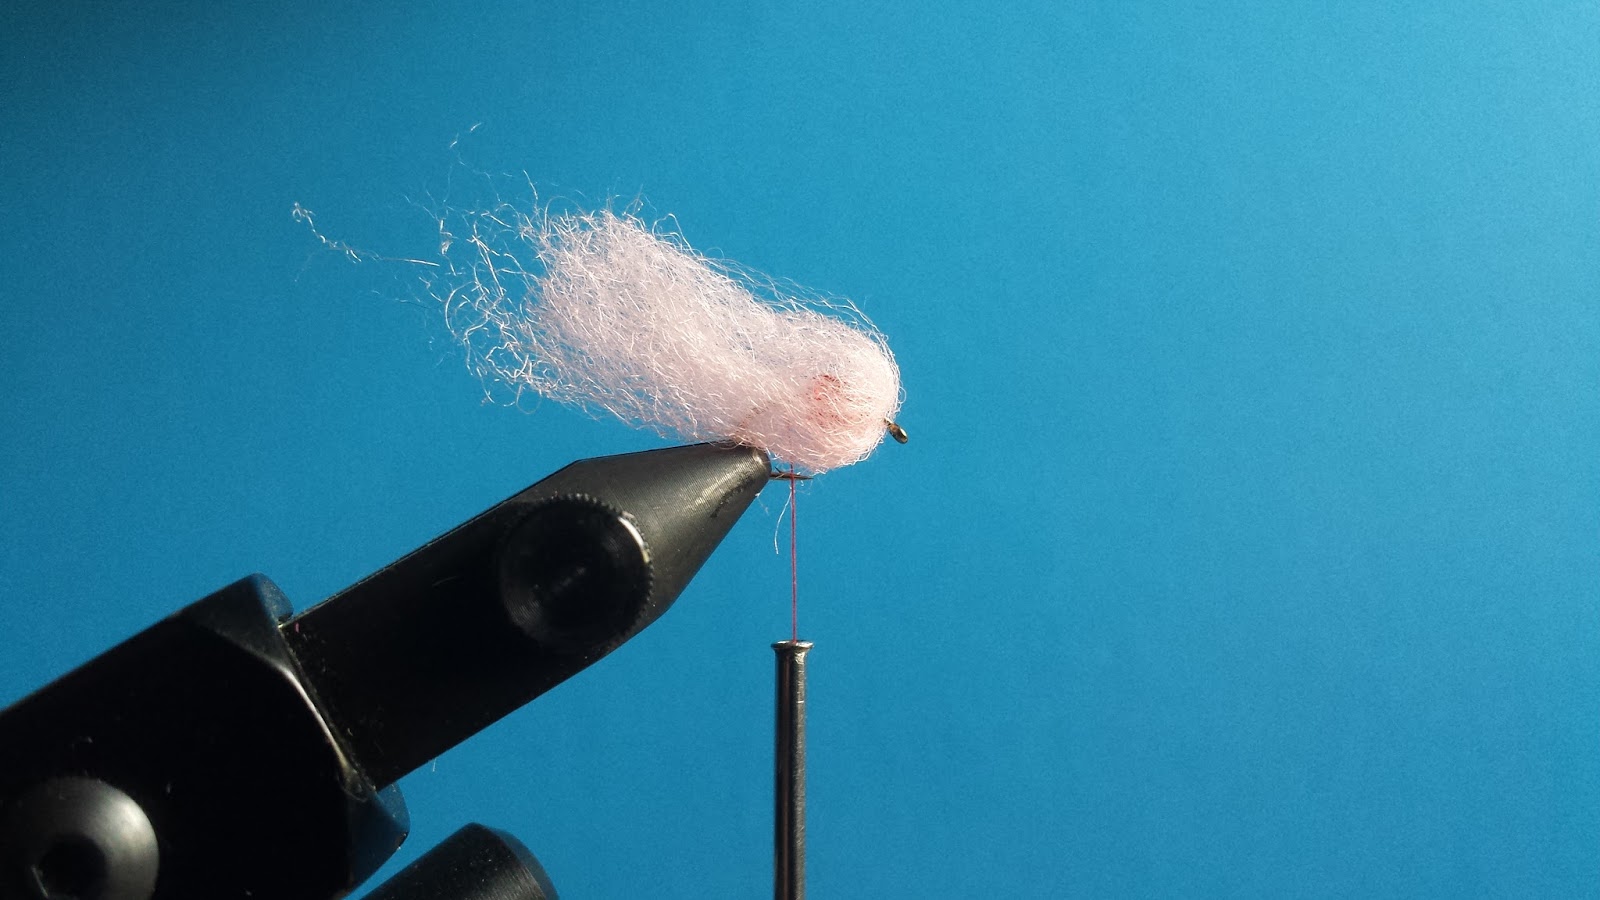
Step 4 – Pull the yarn inside out and towards the bend of the hook. Shape the yarn and make sure it covers the entire bead without any gaps.
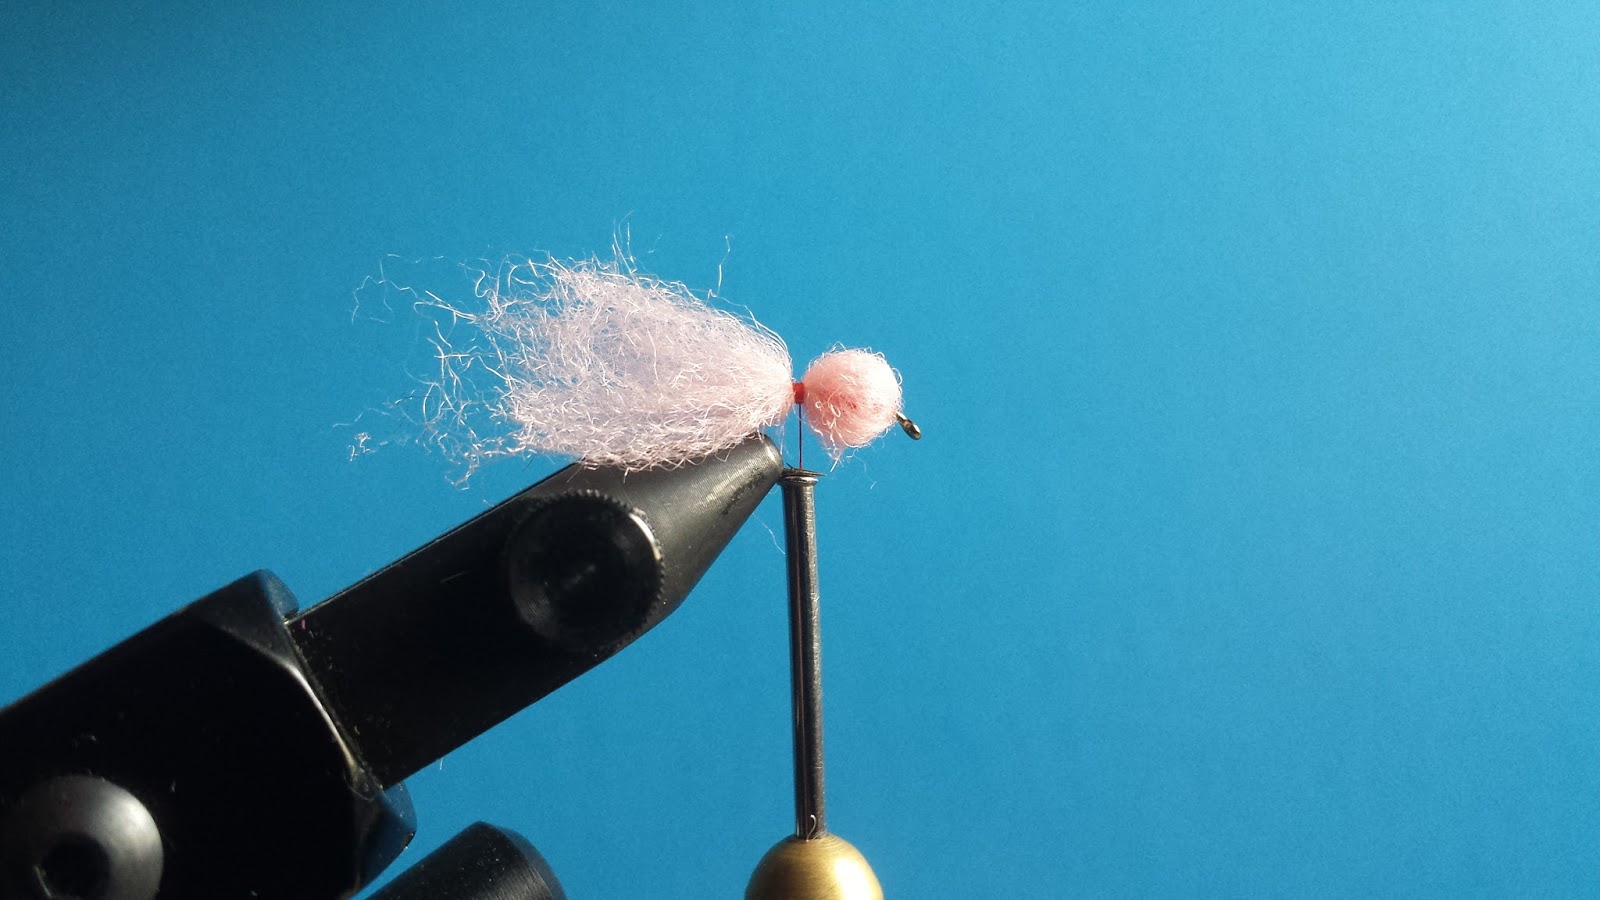
Step 5 – Wrap the yarn twice to form your egg. Push both the front and the end of the fly towards the bead to get the spherical egg shape.
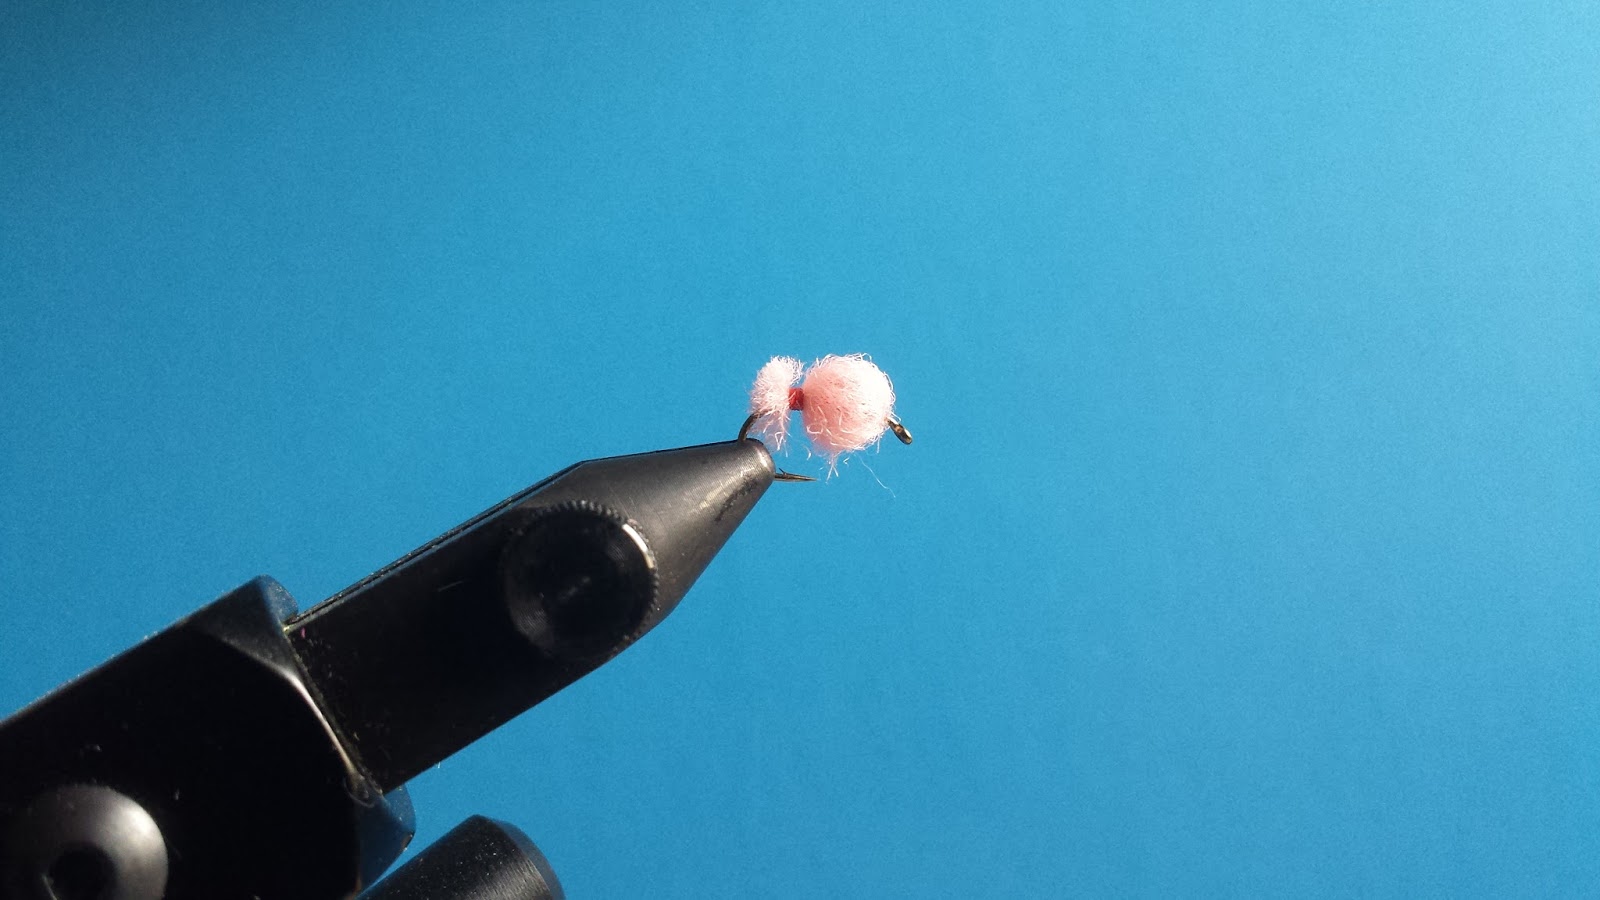
Step 6 – Once you are satisfied with the shape of the egg, you can secure the end with a few more wraps and then whip finish.
Fly Tying

Fly Tying: Sculpinno

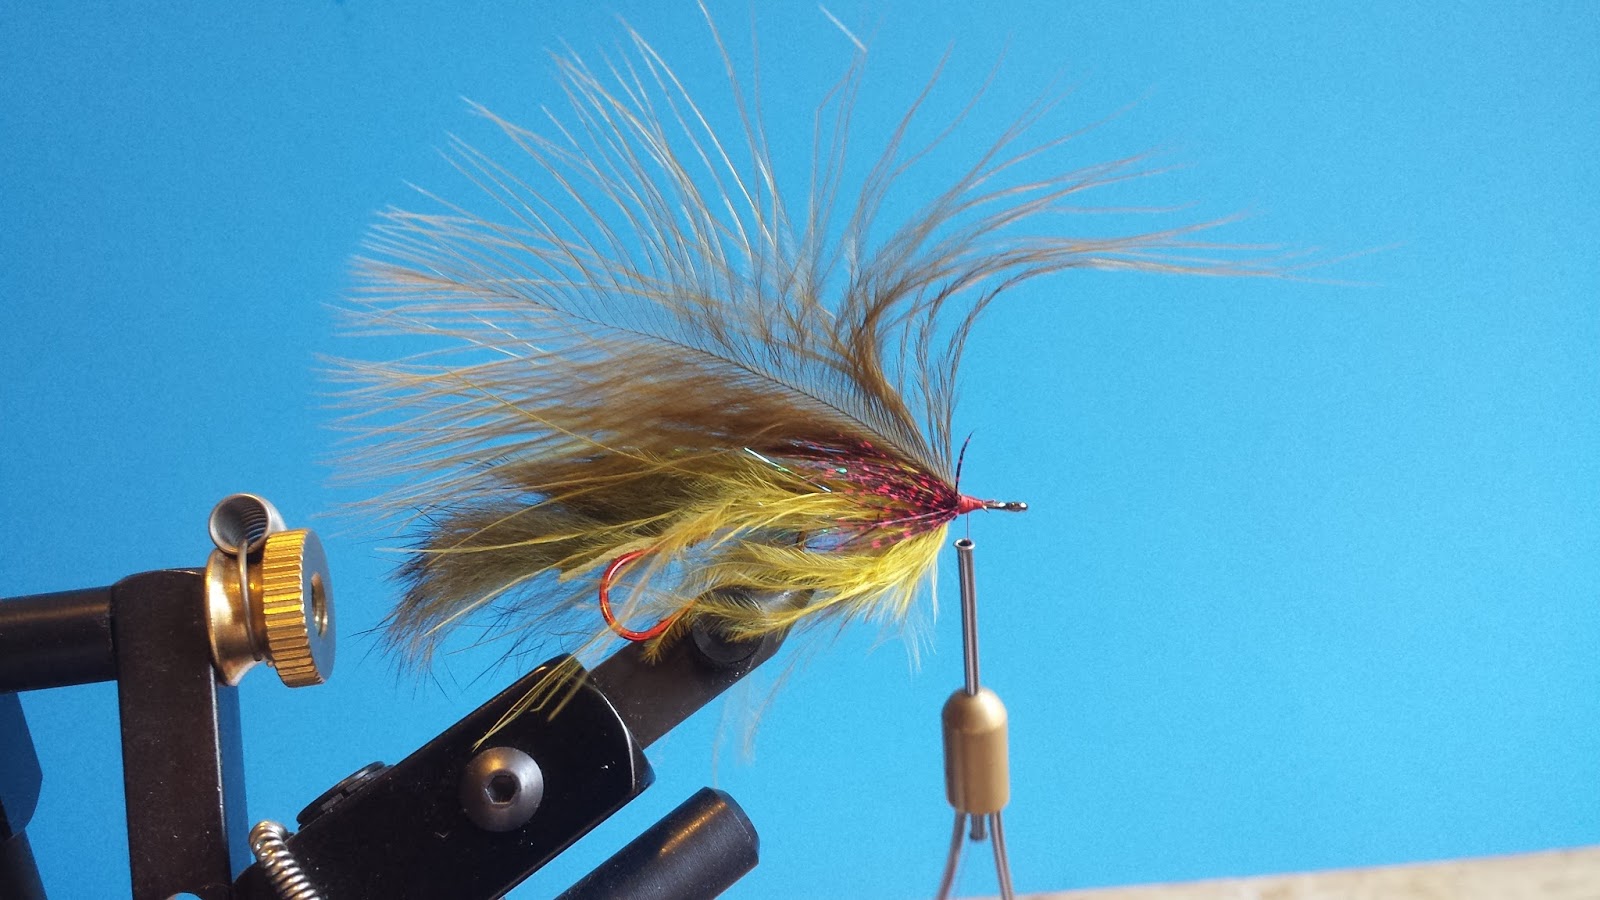
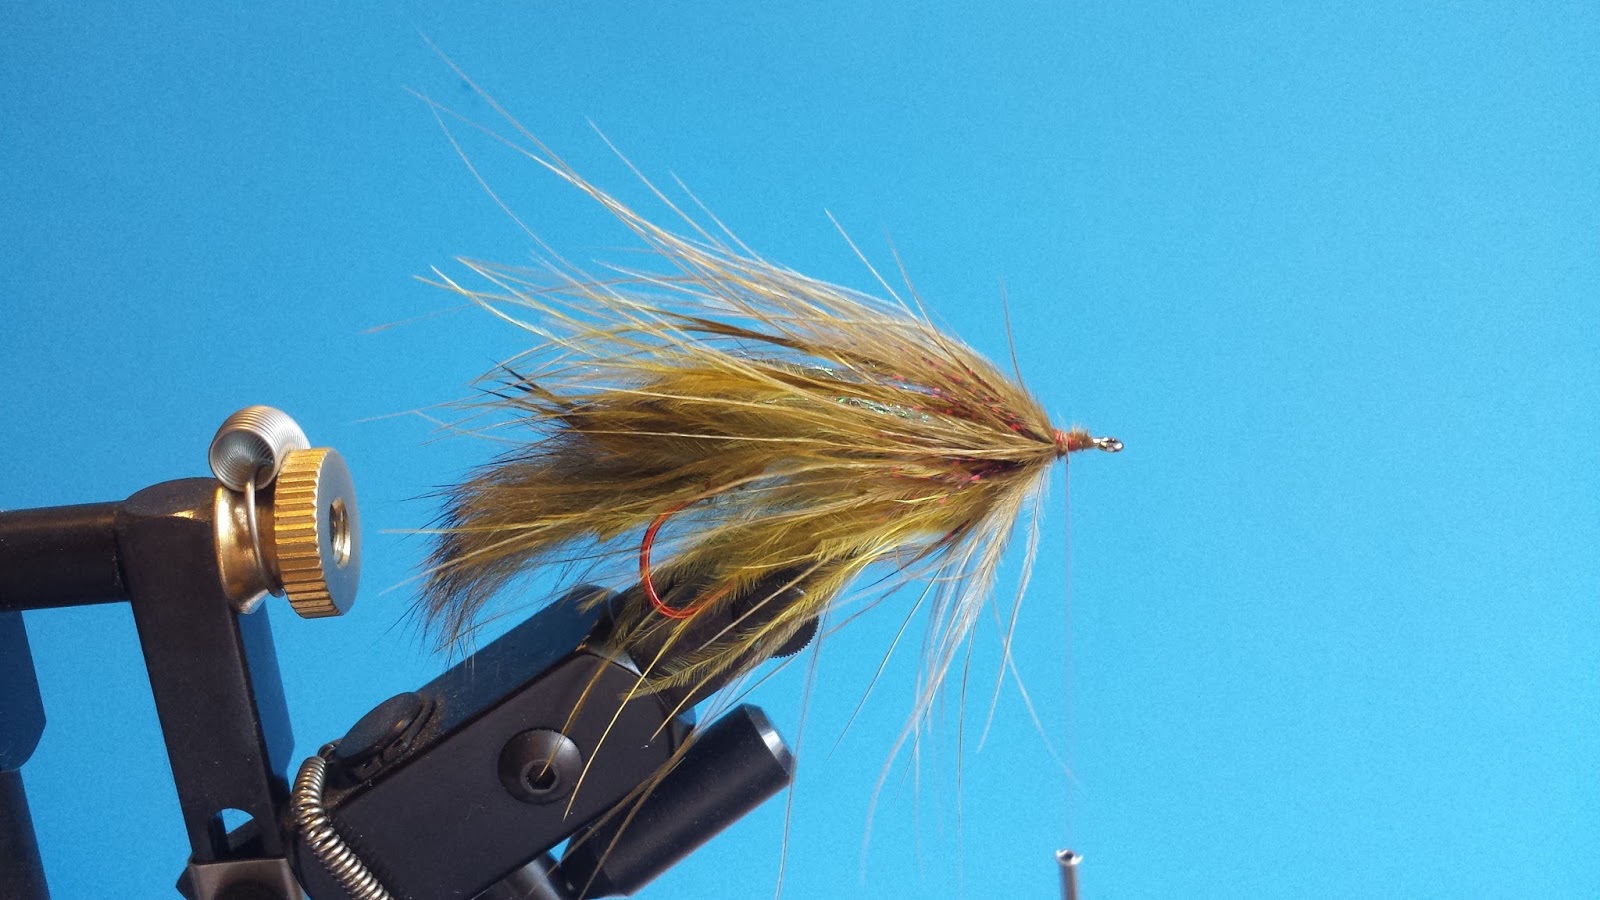
Spey casting and swinging big flies is my favorite method of taking fish on a fly rod. Although the number of fish I land while swinging is low, the takes are absolutely heart-stopping. There are thousands of streamer patterns that have been designed to catch fish on the swing but with so many on the market it can be difficult to find “the one”.

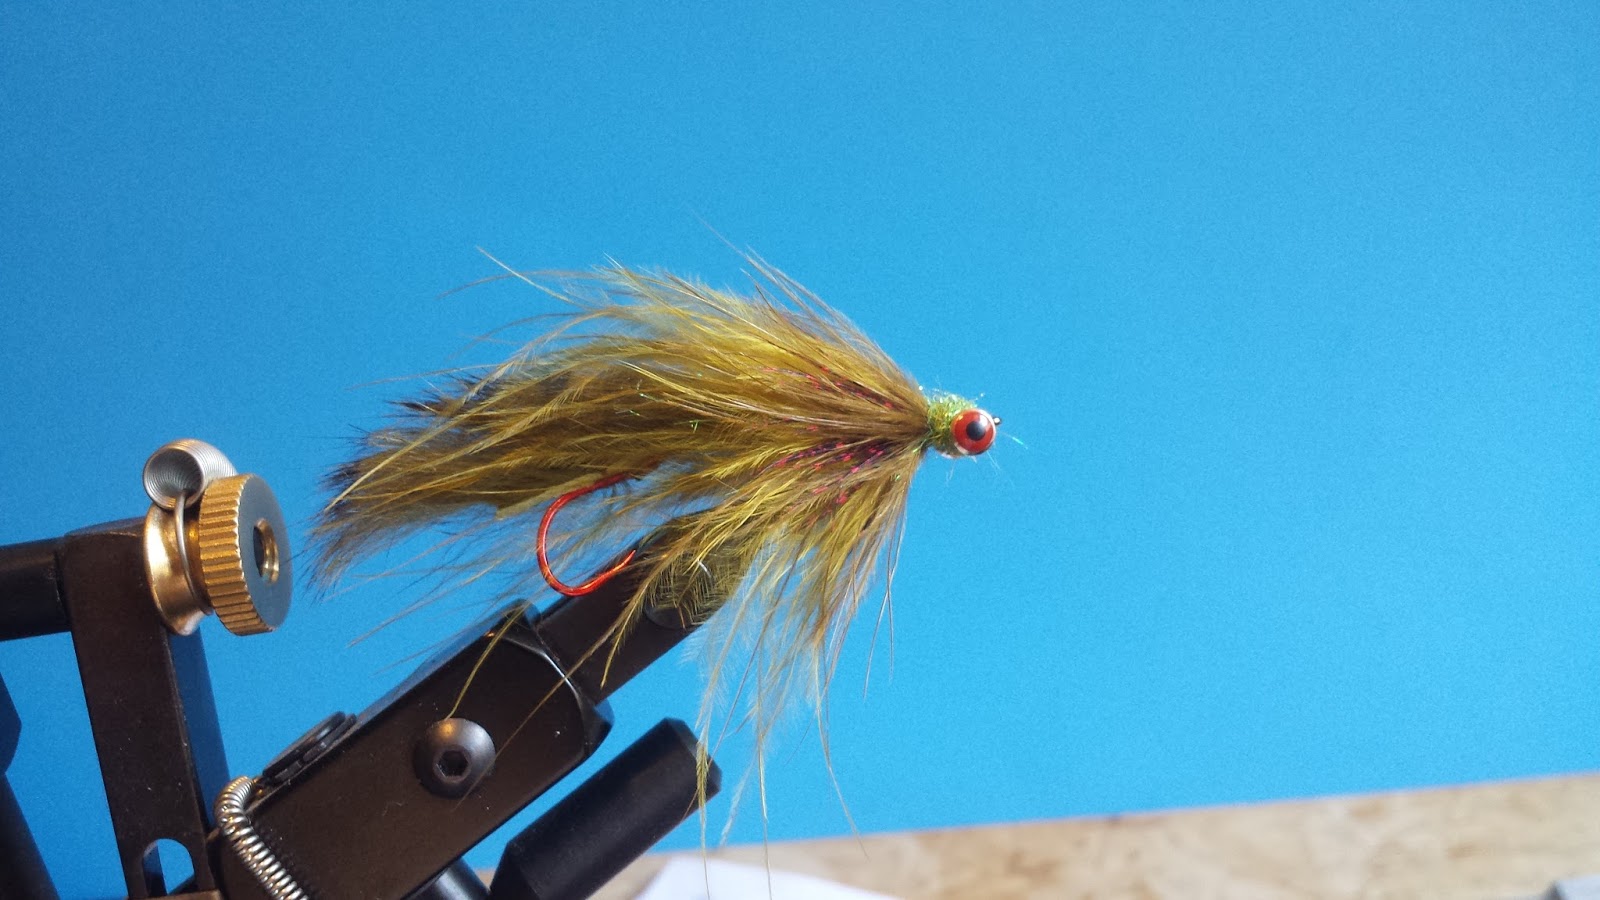
I wanted a swinging streamer pattern that had a little flash but not too much, good movement underwater, some weight but not too heavy, a good big profile but not too overwhelming, something familiar that I know works, and simple to tie. My Hero Sculpin was great for stripping however it was a bit too heavy for swinging. The Sculpinno was an amalgamation of these ideas.

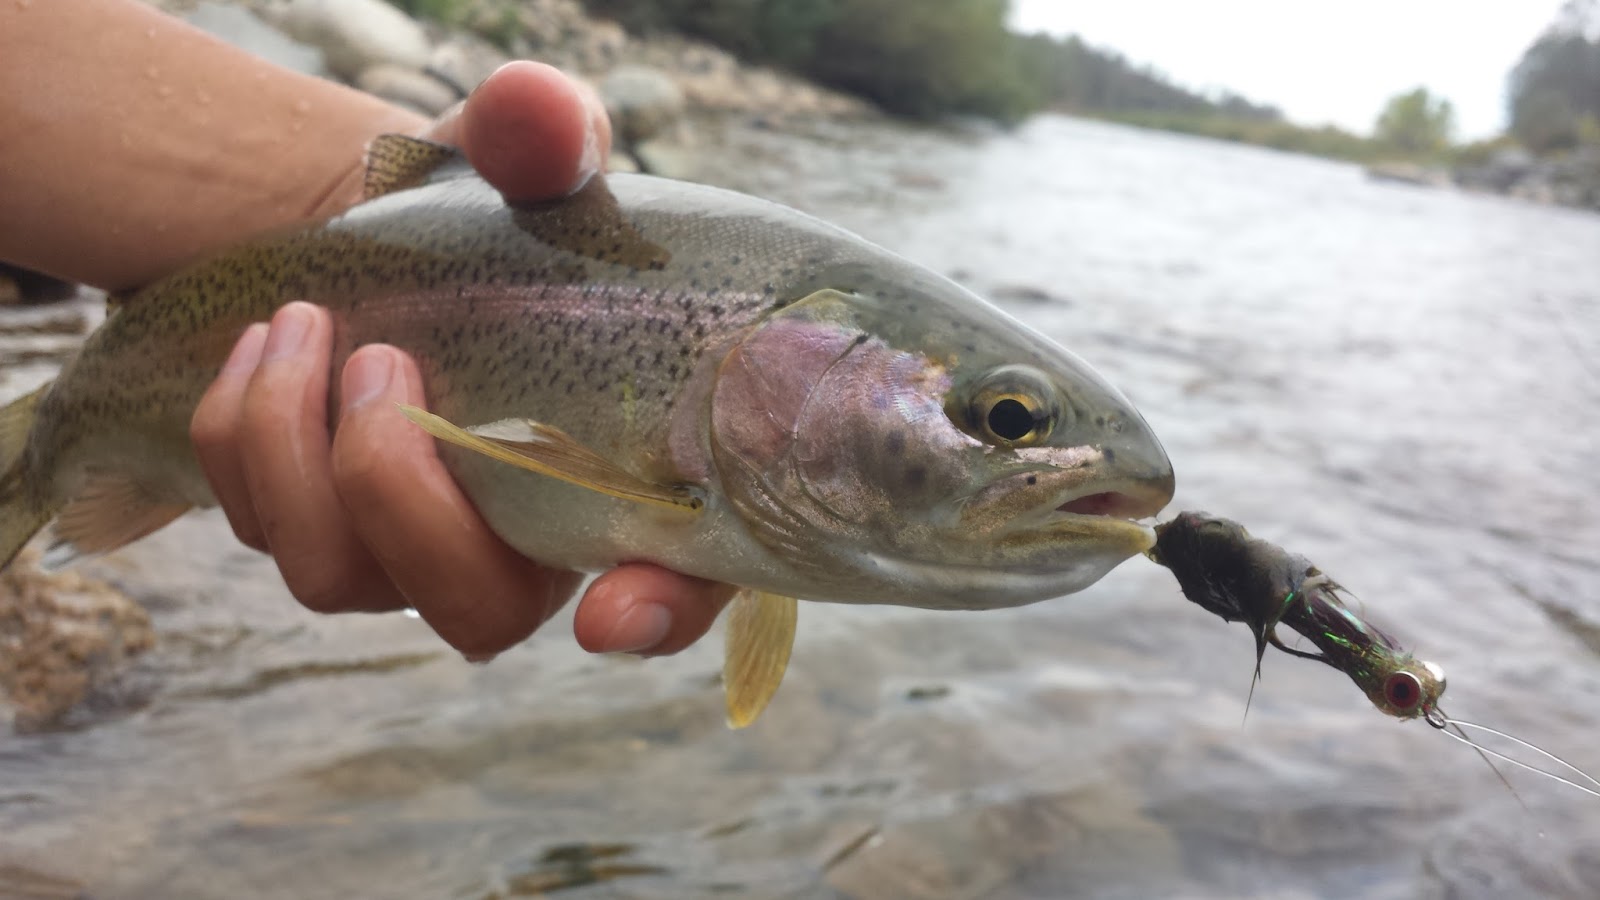
I was a bit hesitant about this pattern as I don’t have a lot of confidence in swinging big streamer patterns. After a few successful trial runs on different rivers I’m more than happy to announce… it works!

Sculpinno

Material List:
Owner – Red SSW 5311 – size 4
Umpqua – U502 – size 4
Danville’s 70 Denier Thread – Red
Pseudo Eyes – Medium – Red
Senyo Intruder Trailer Hook Wire – Standard Black
Black Barred Rabbit Strip – Olive
Marabou Plume – Olive
Marabou Blood Quill – Sculpin Olive
Guinea Feather – Red
Ice Dub – White
Ice Dub – Olive Brown

Fly Tying Instructions

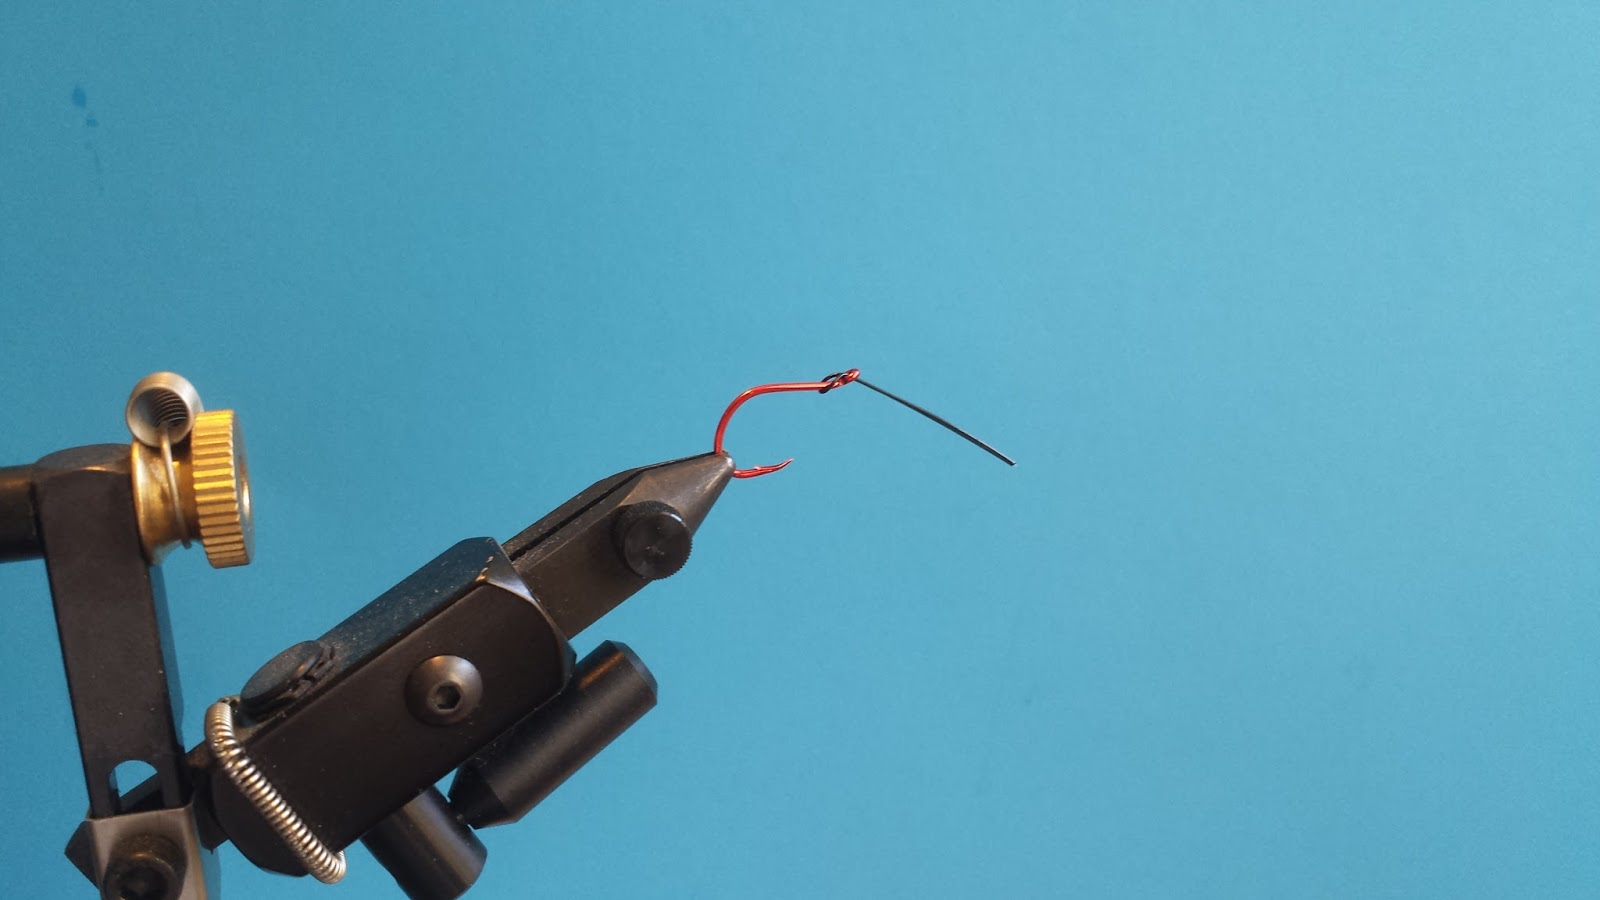
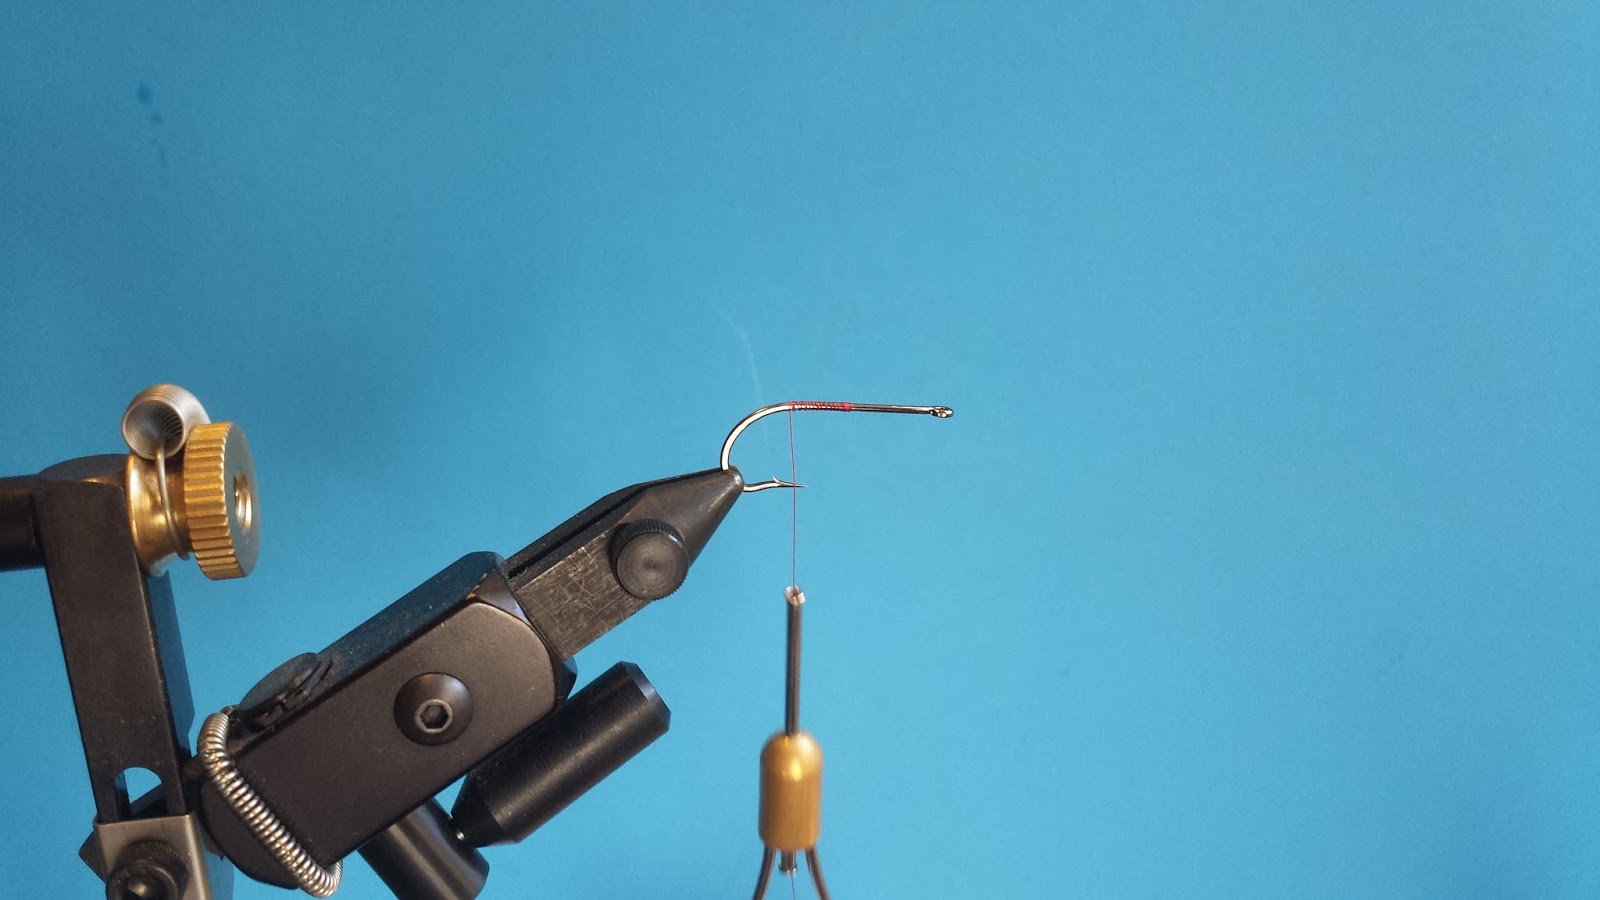
Step 1 – Start with the trailer hook. Pull both ends of the intruder wire through the top of the eye. As the wire forms a loop, pull the hook through the loop and pull the wire tight. The wire should be pointing down not up.

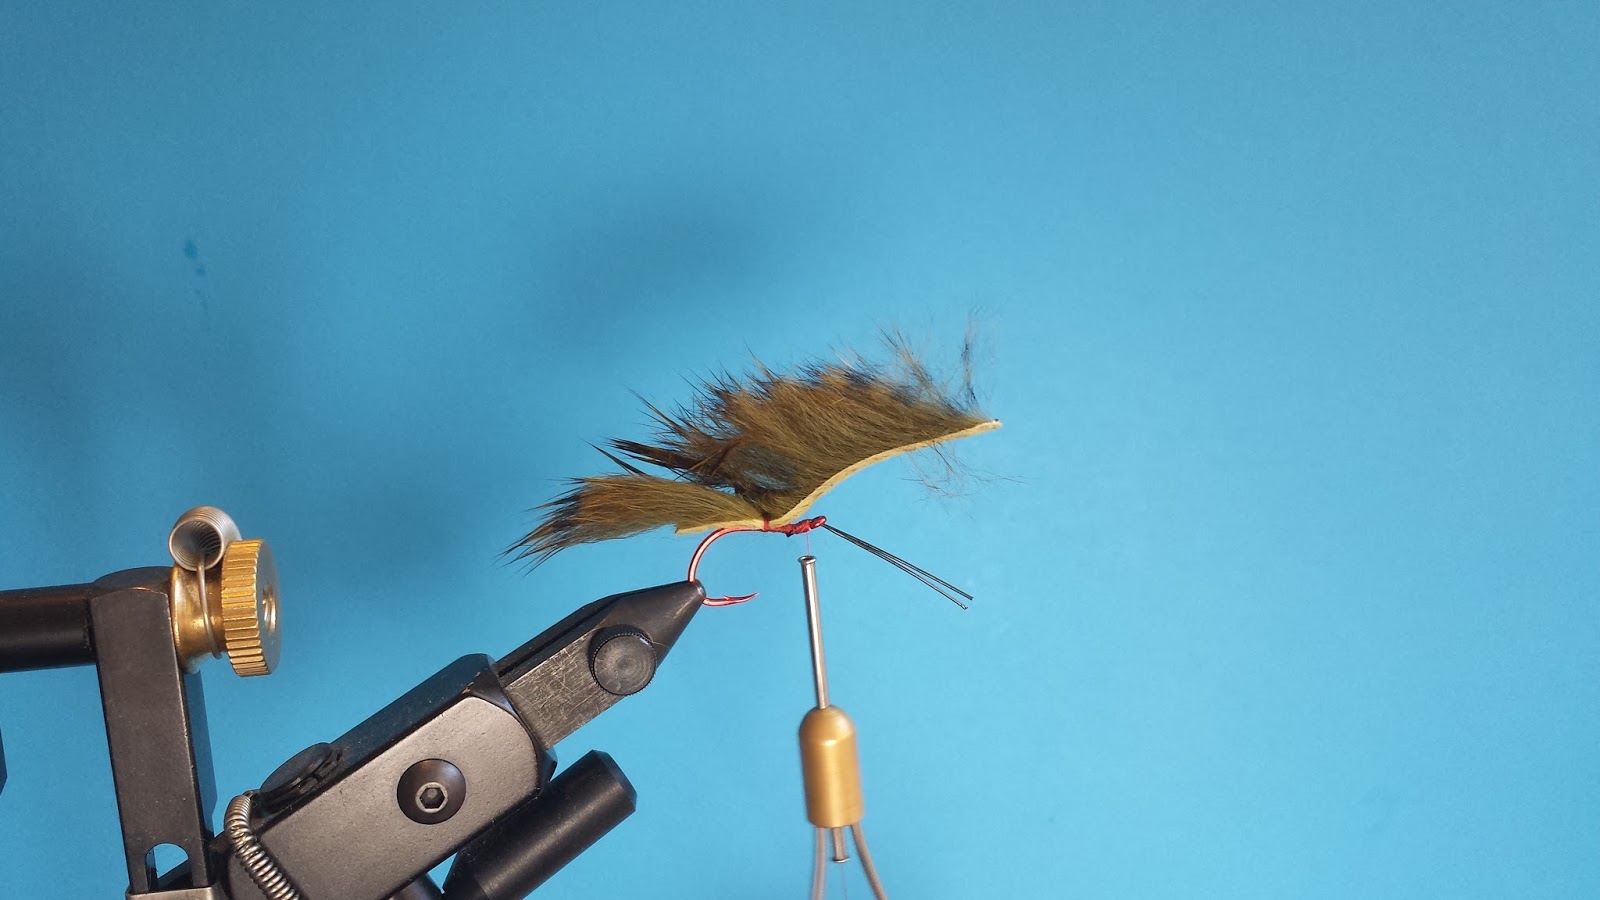
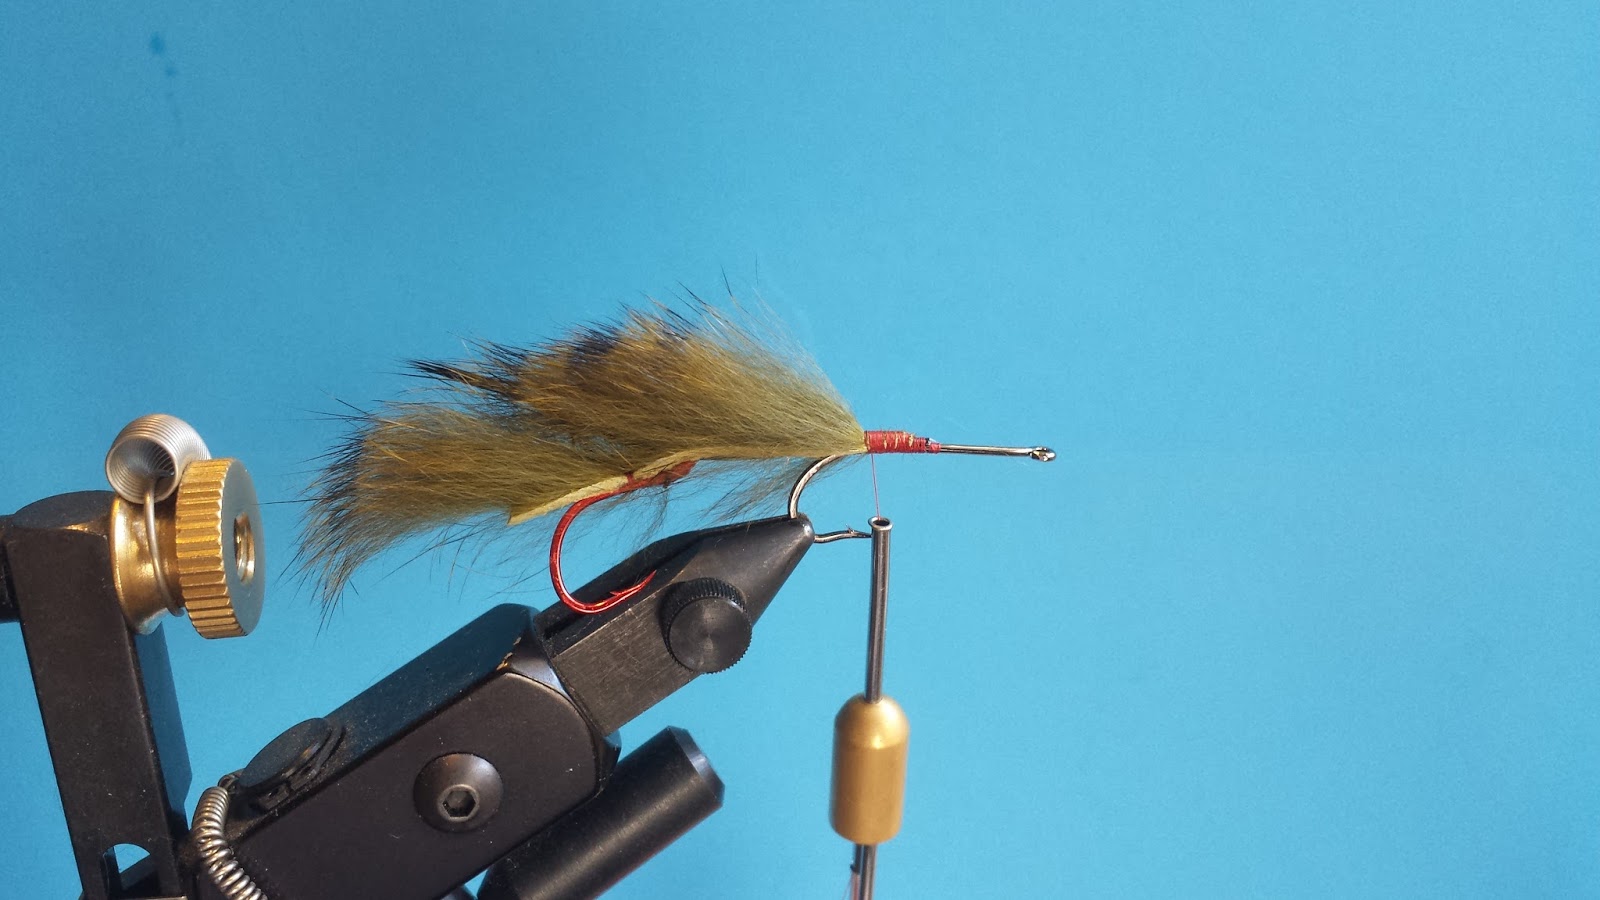
Step 2 – Start your thread and make a few wraps around the wire so that it stays in place. Tie in your rabbit strip in the middle of the shank. Be sure to split the hairs before securing the rabbit strip. Wetting the fibers helps make splitting the hair easier. Whip finish near the eye of the hook.

Take a bodkin and dap a bit of Zap-A-Gap to the bottom where all the thread is to make sure everything stays in place.

Step 3 – Take off the trailer hook and begin the body hook. Any straight eye short shank hook will do. In this tutorial I am using an Umpqua U502 size 4.

Step 4 – Before wrapping in the wire, make sure that both ends of the wire are parallel to each other and not twisted. Cut off any excess rabbit strip that exceeds beyond the middle shank of the hook and tie in the rabbit strip.

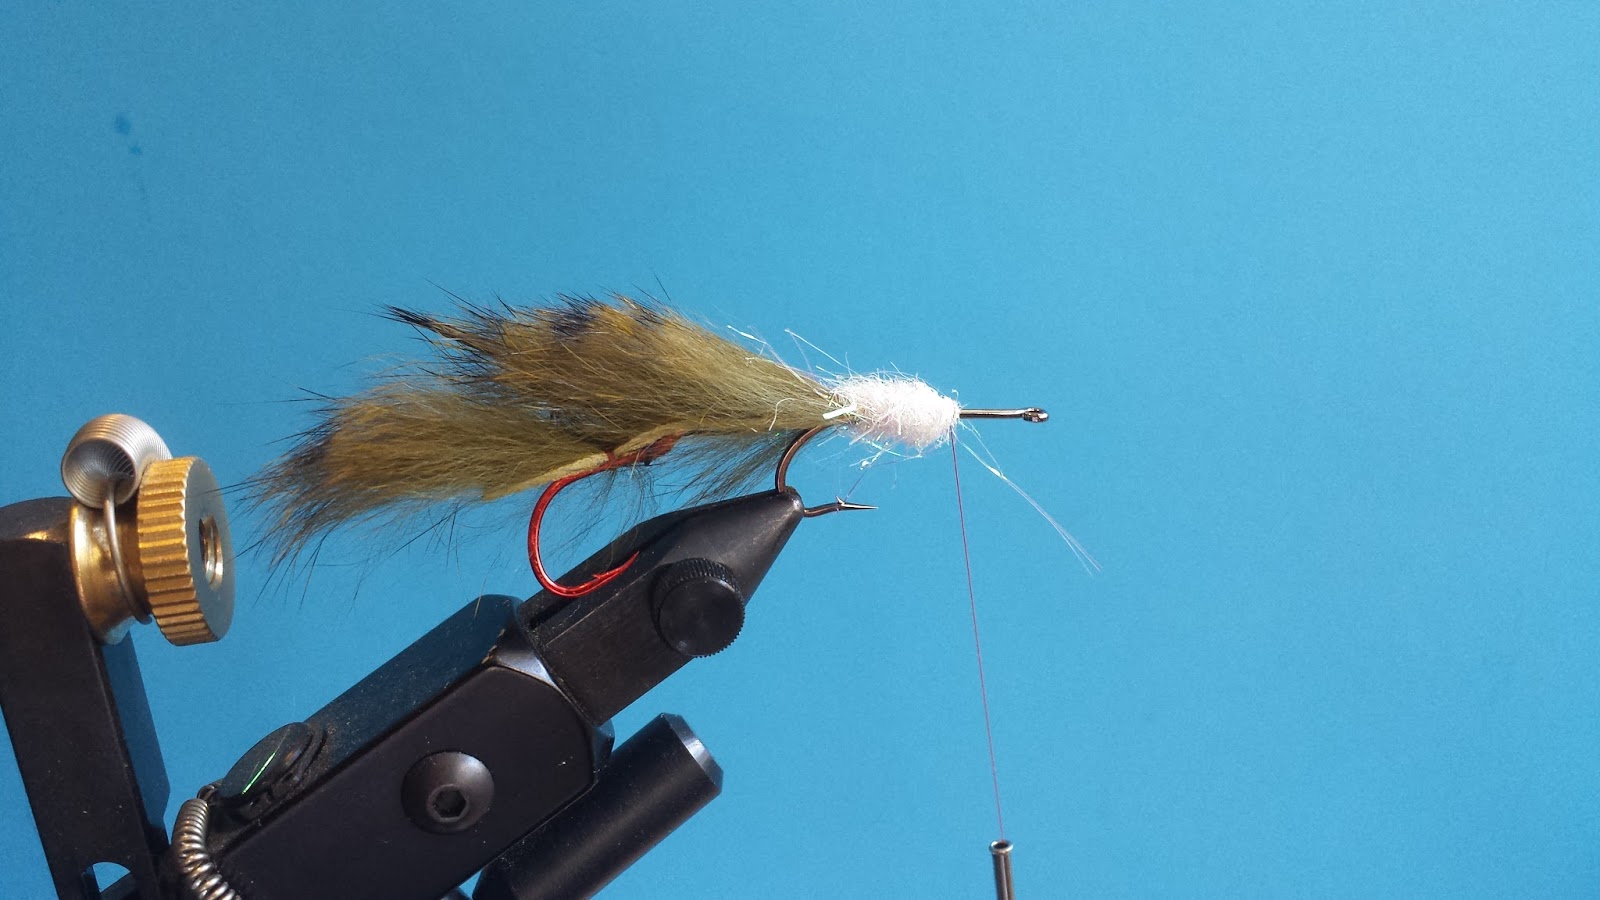
Step 5 – Dub in a good amount of white ice dub and be sure to leave at least an inch of bare shank. Take a dubbing brush or a piece of velro and brush out the fibers from the dubbing.

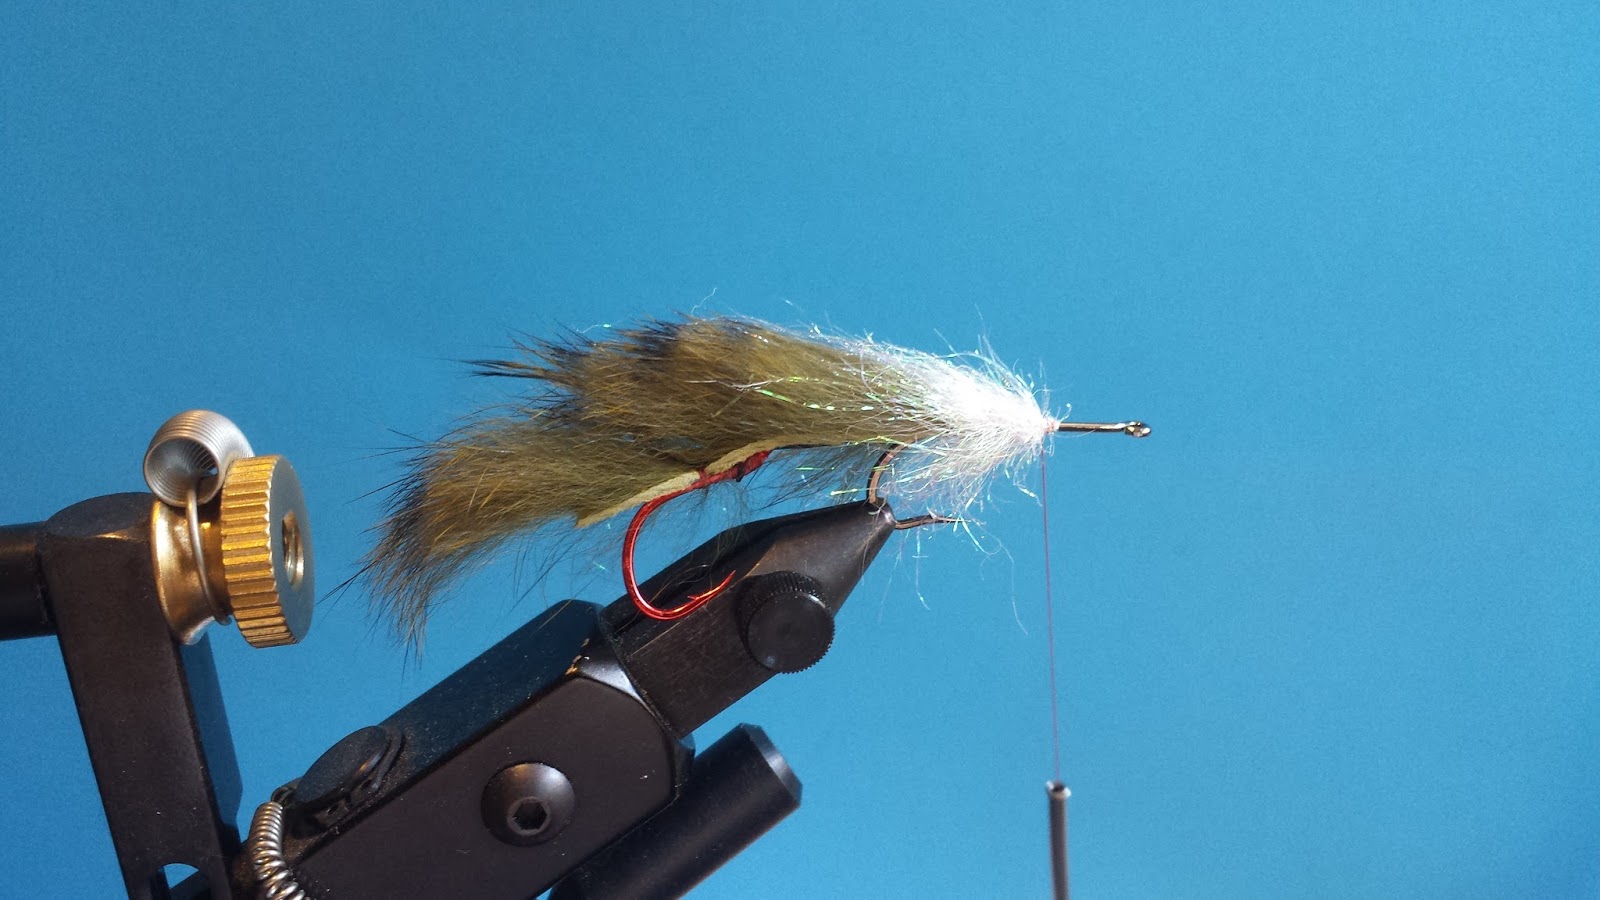
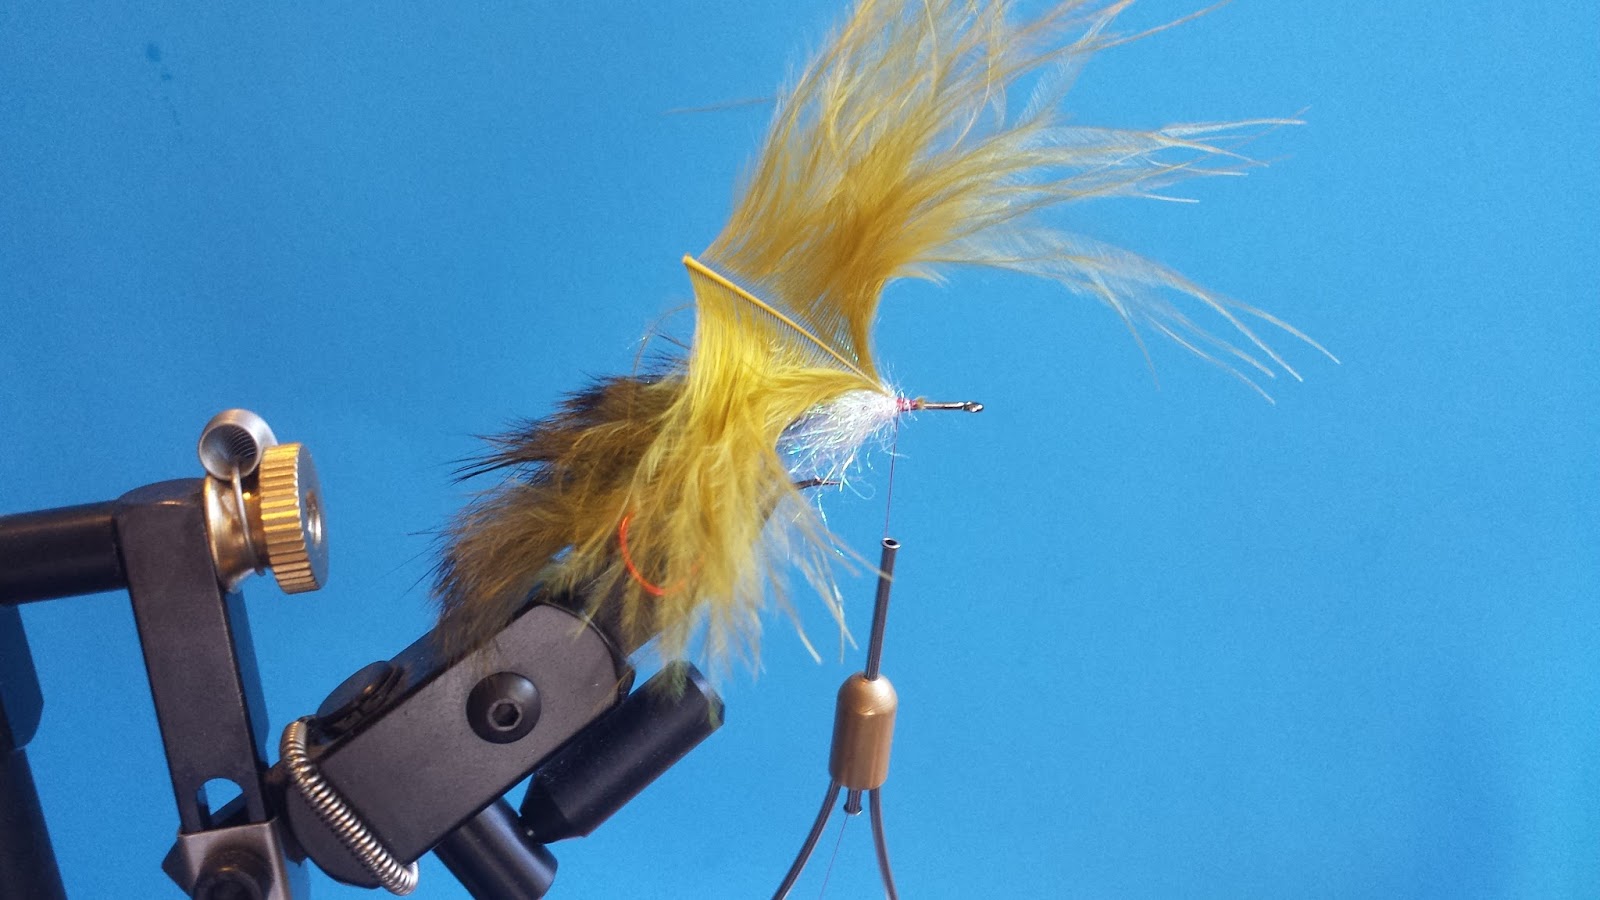
Step 6 – Tie in the olive marabou by the top stem. Spin the marabou. Be sure to pull back the feathers as you spin to avoid fibers getting caught. After a few turns, secure the wrap, pull back the feathers, and secure again.

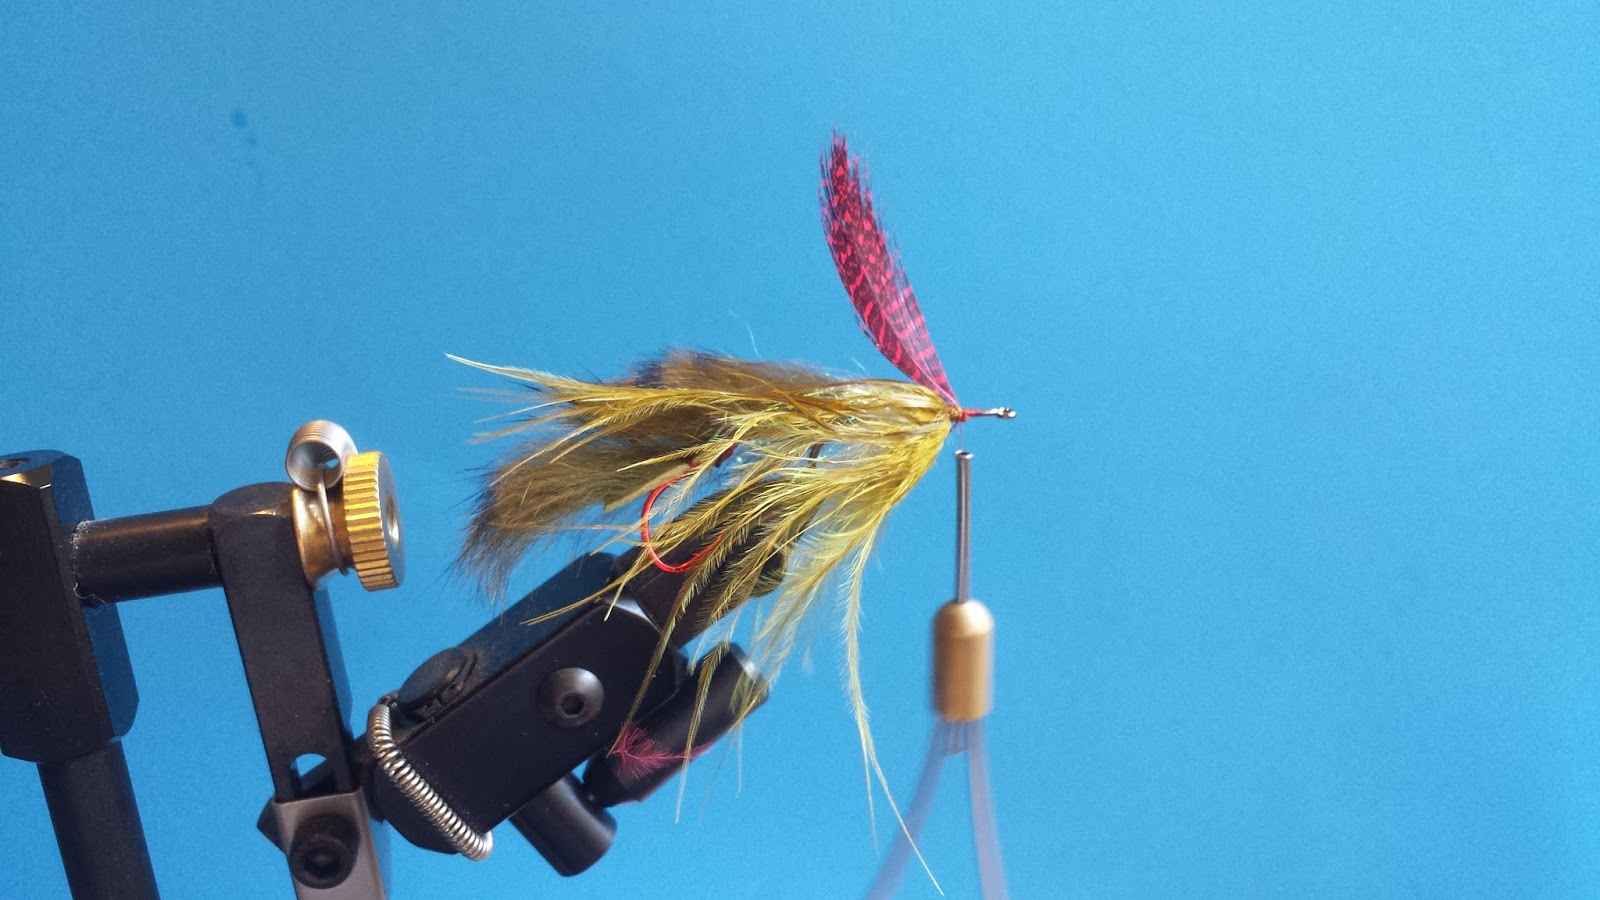
Step 7 – Tie in the red guinea feather by the stem. Spin the guinea feather. I like to use hackle piers to pinch the top of the feather. After a few turns, secure the wrap, pull back the feathers, and secure again.

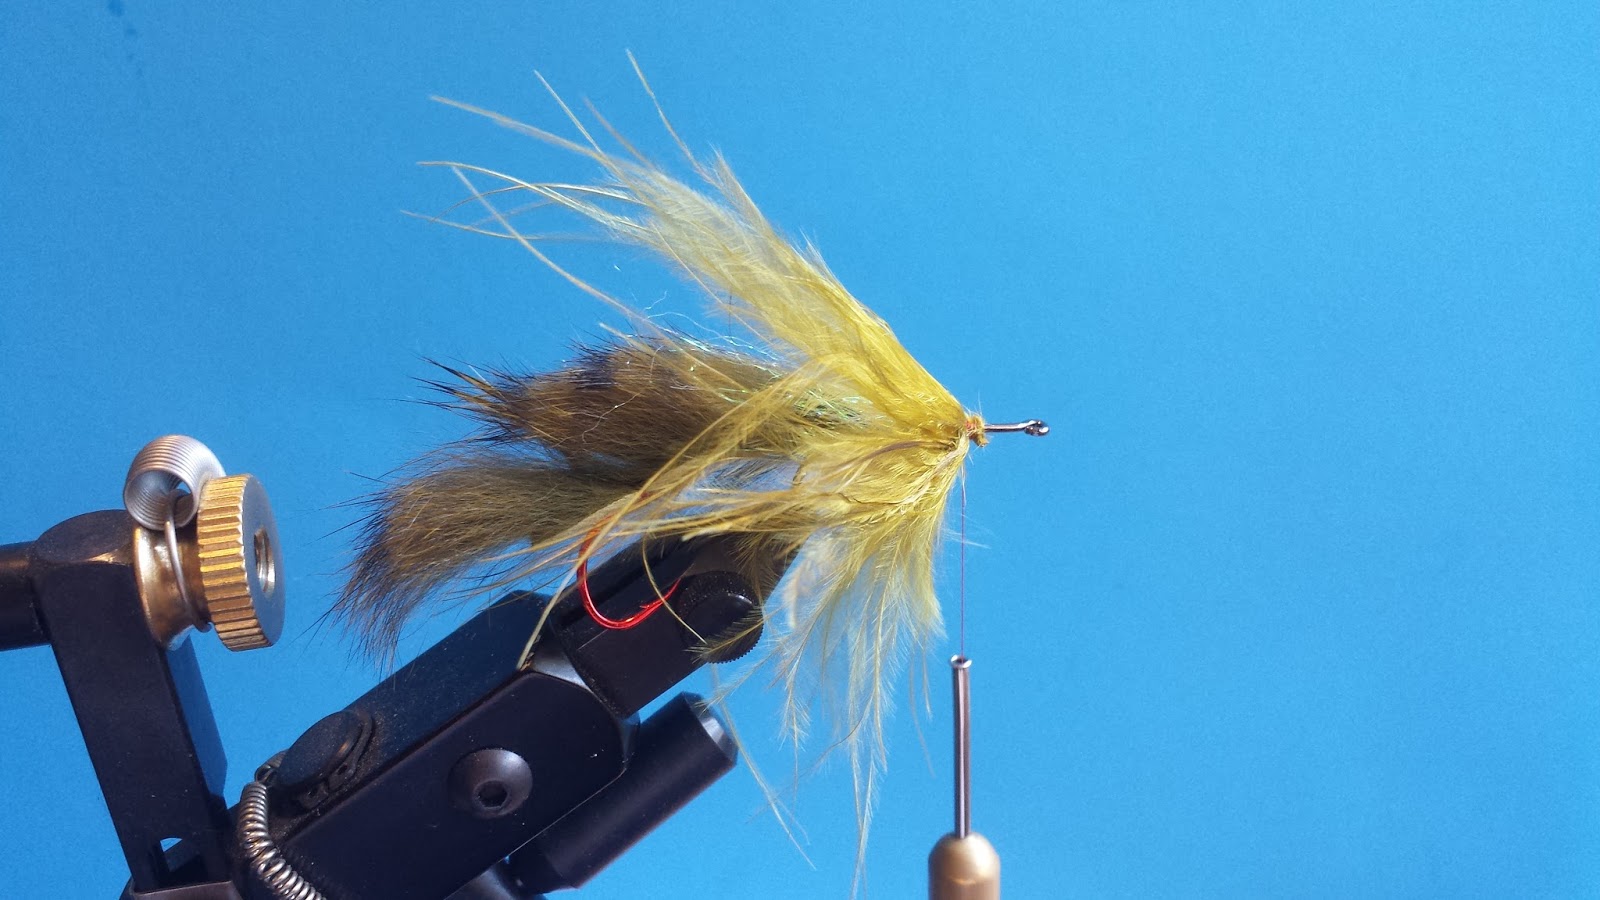
Step 8 – Tie in a sculpin olive marabou feather by the stem. Spin the marabou. Be sure to pull back the feathers as you spin to avoid fibers getting caught. After a few turns, secure the wrap, pull back the feathers, and secure again.

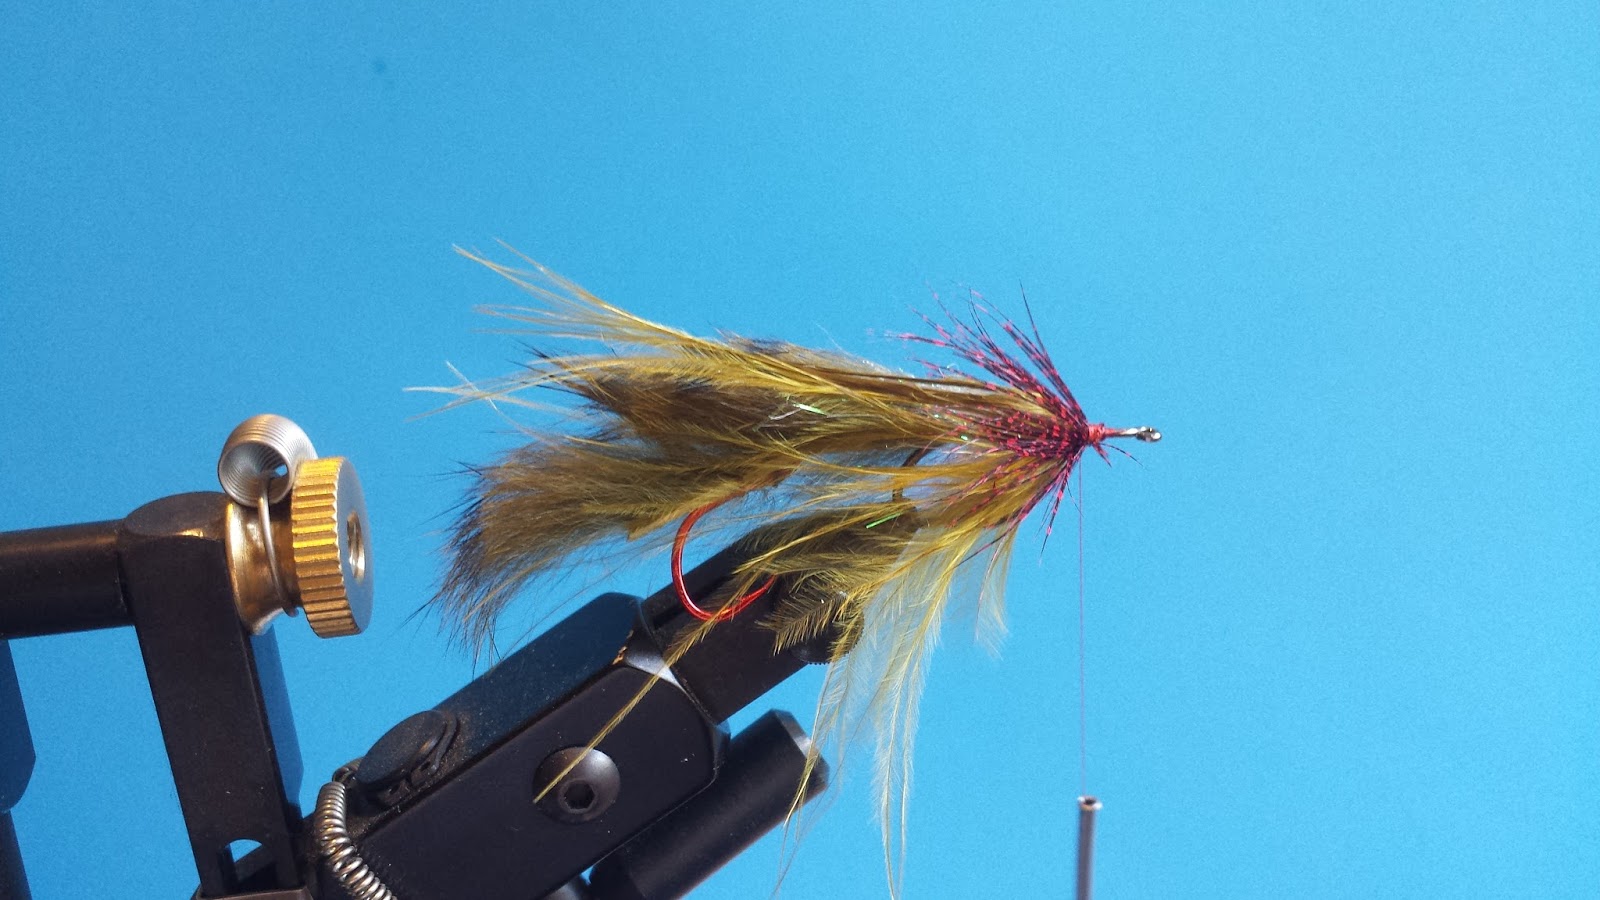
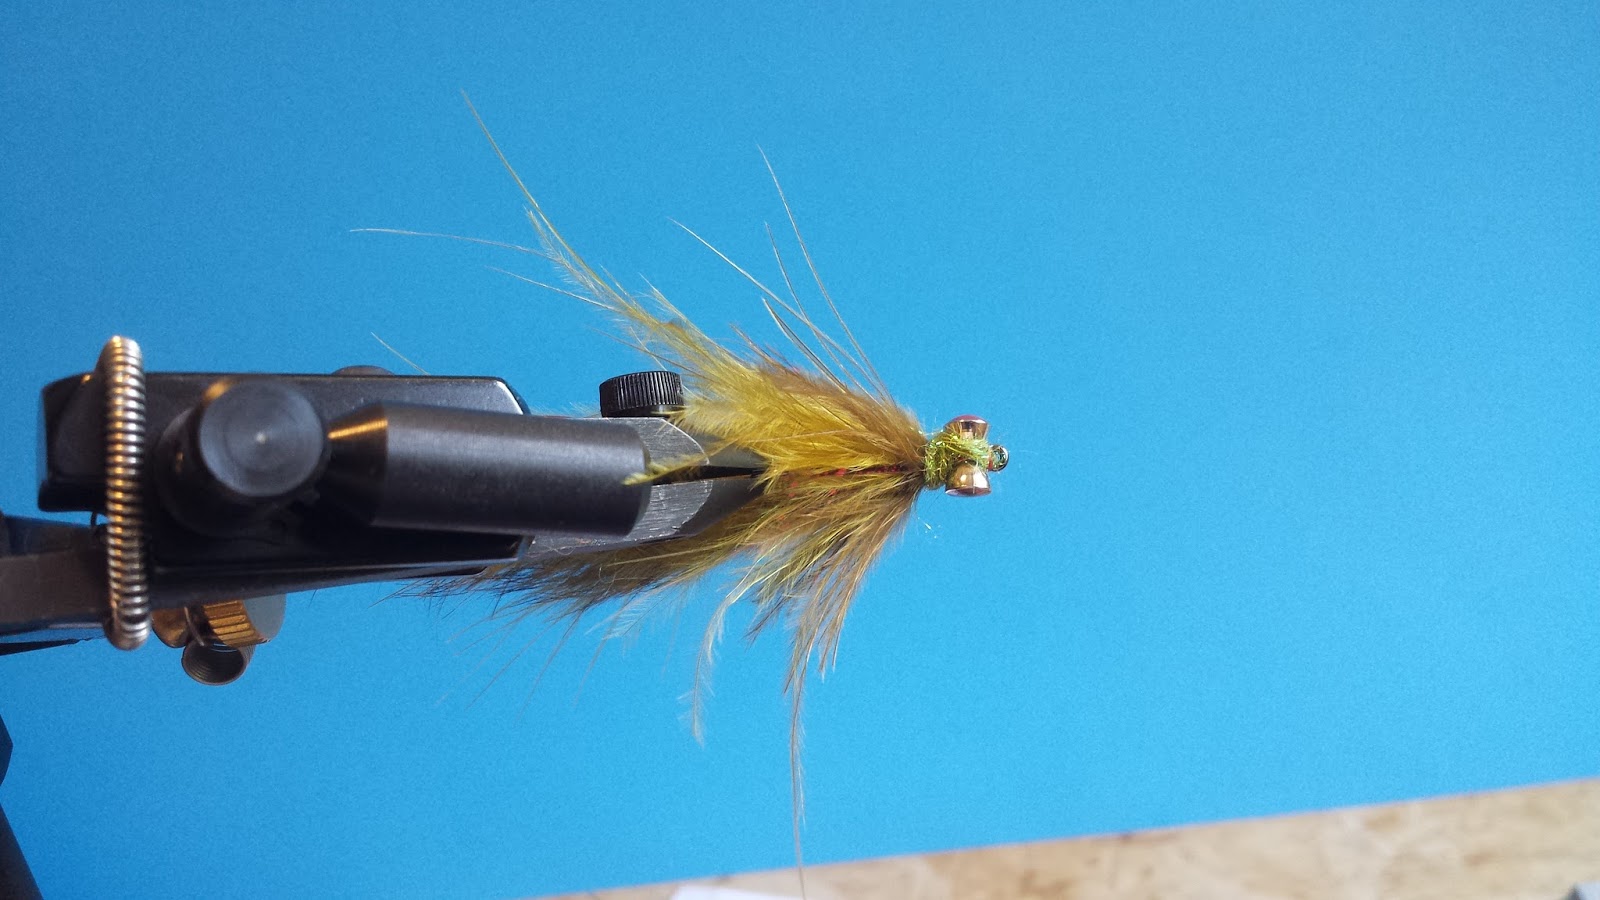
Step 10 – Tie in the pseudo eyes on the bottom of the hook. Figure eight the thread to secure. Dub some olive brown ice dubbing around the pseudo eyes. Be sure there is some dubbing underneath the eyes as I often miss dubbing this spot. End your thread at the eye of the hook and double whip-finish. Use a pair of metal cutters and clip off the body hook. Done!

1 2 3 4 5 6