Fly Tying

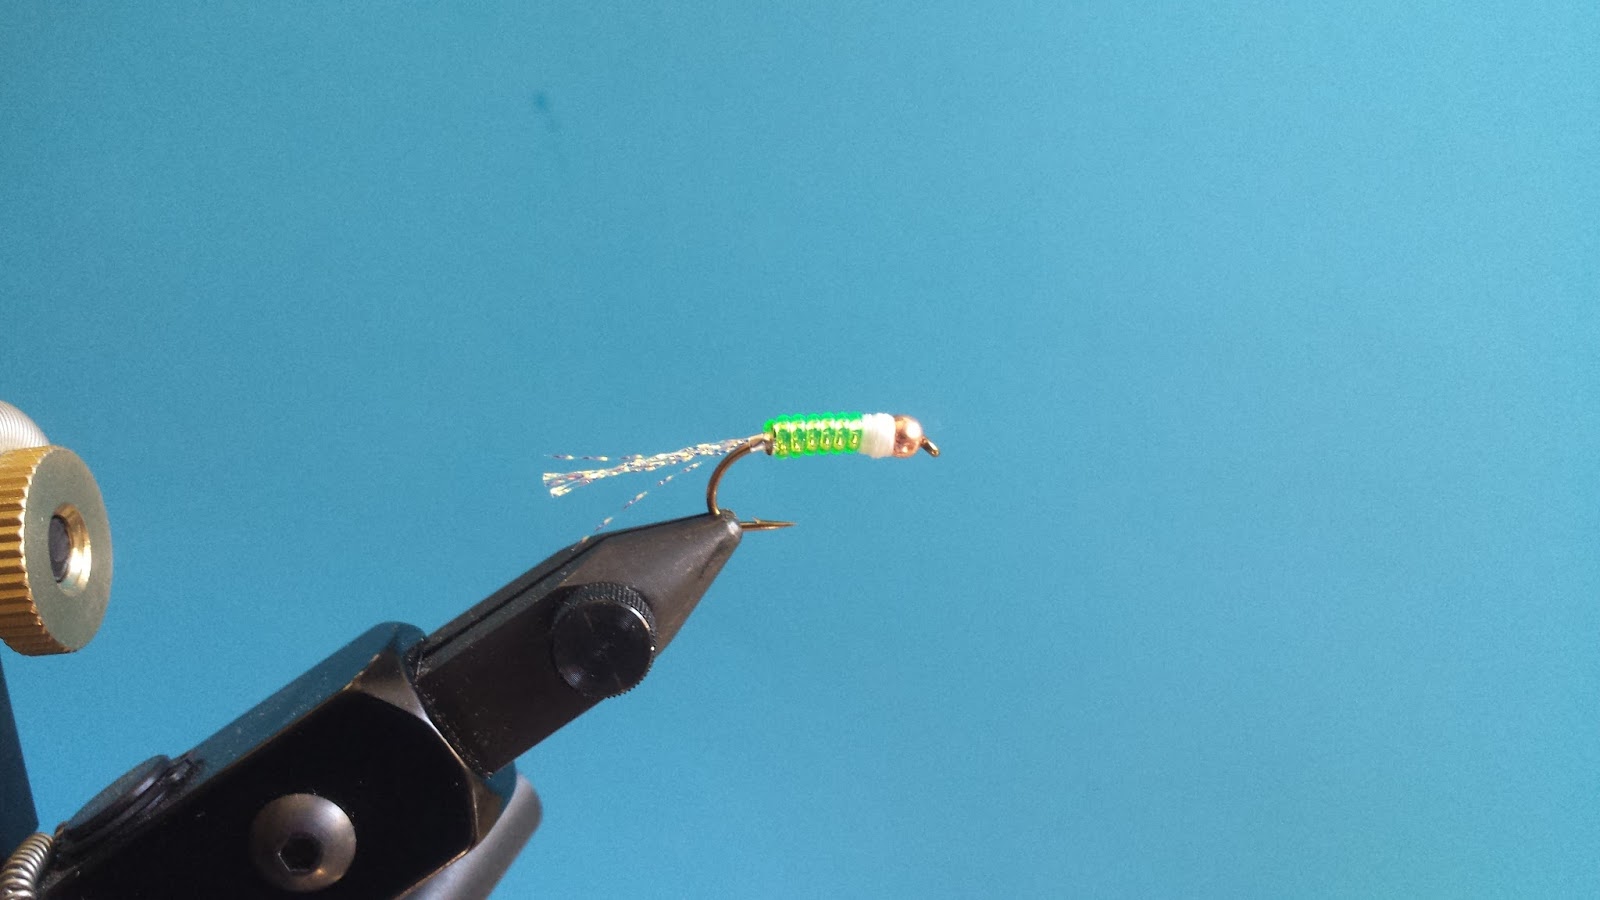
Fly Tying – Ryan’s Shad Dart

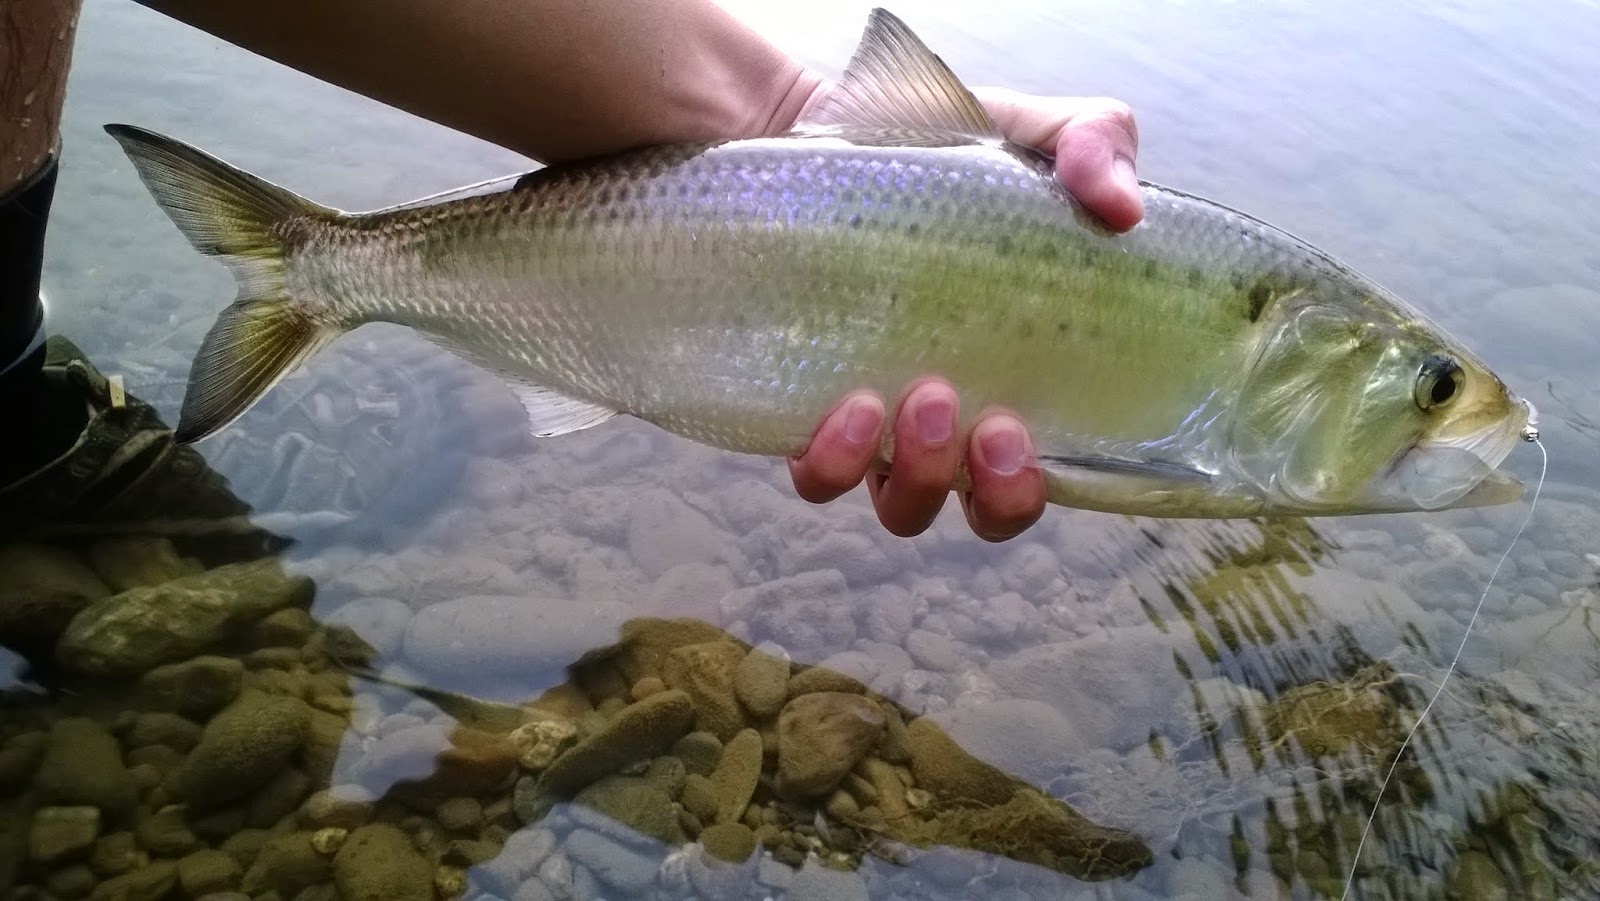
Grub style fly patterns are the usual go-to for American shad for whatever reason they just work. Shad can be quite particular about the color/size/pattern you present them, therefore having several patterns in different colors and sizes is necessary in finding what’s working.

Here are tying instructions for a simple grub pattern that works really well for American shad in the California valley.

Ryan’s Shad Dart

Materials List:
Daiichi – 1530 – size 8
Danville’s 210 Flymaster Plus Waxed Thread – White
Copper Beadhead – Size 3/16”
UTC Vinyl Rib – Medium – Chartreuse
Wapsi Flat Mylar Tinsel – Medium – Gold/Silver
Krystal Flash – Pearl

Fly Tying Instructions

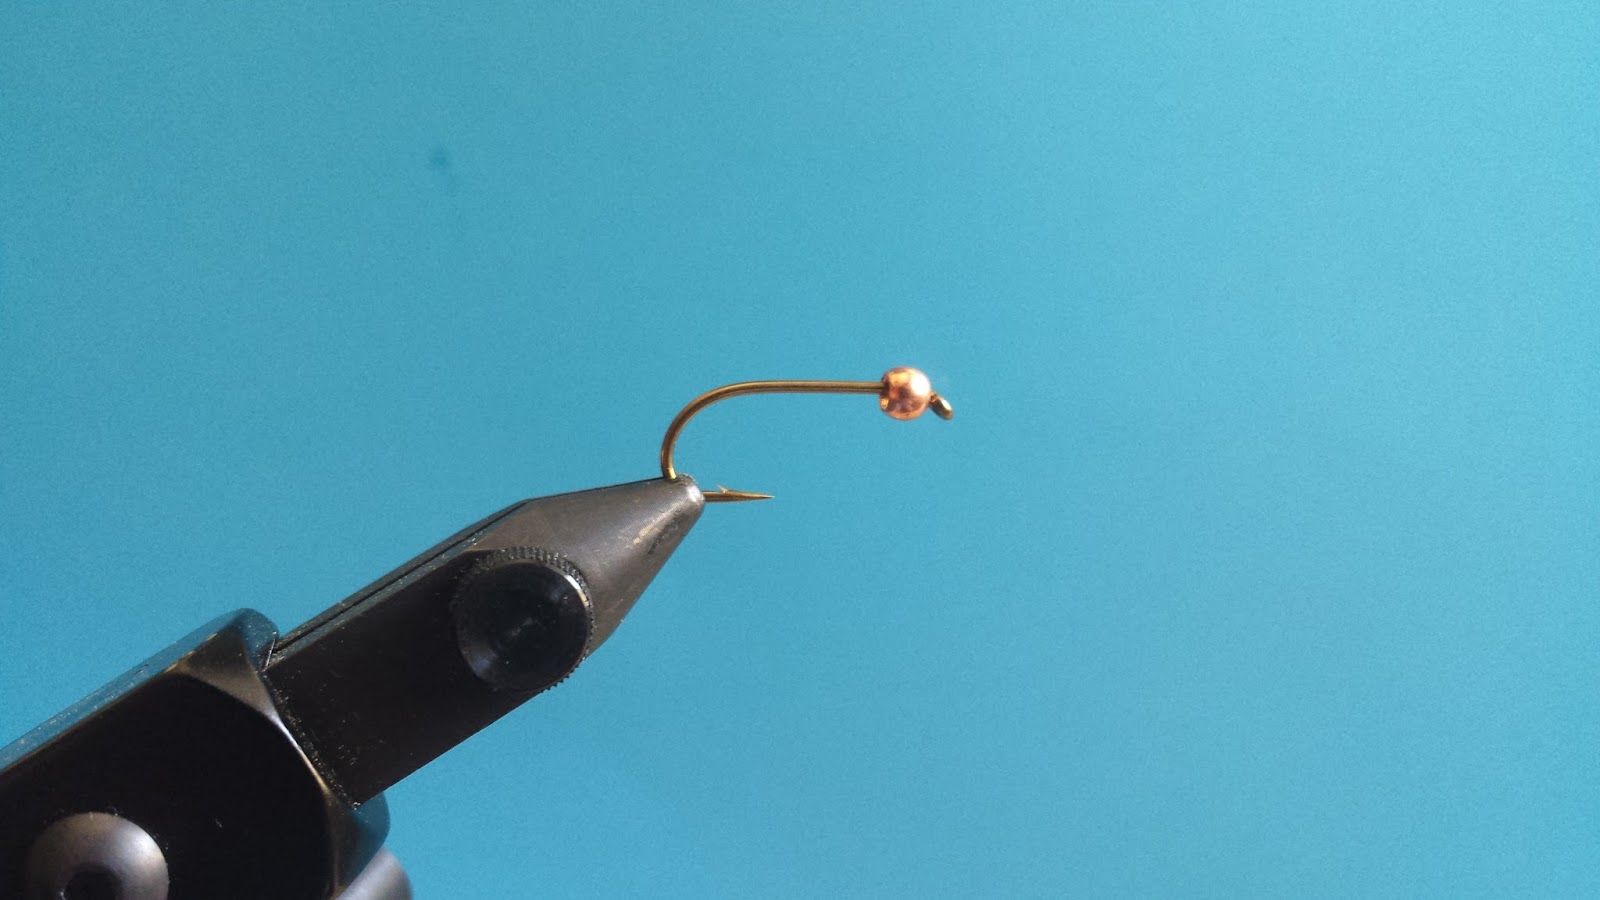
Step 1 – Start by threading your beadhead on to the hook.

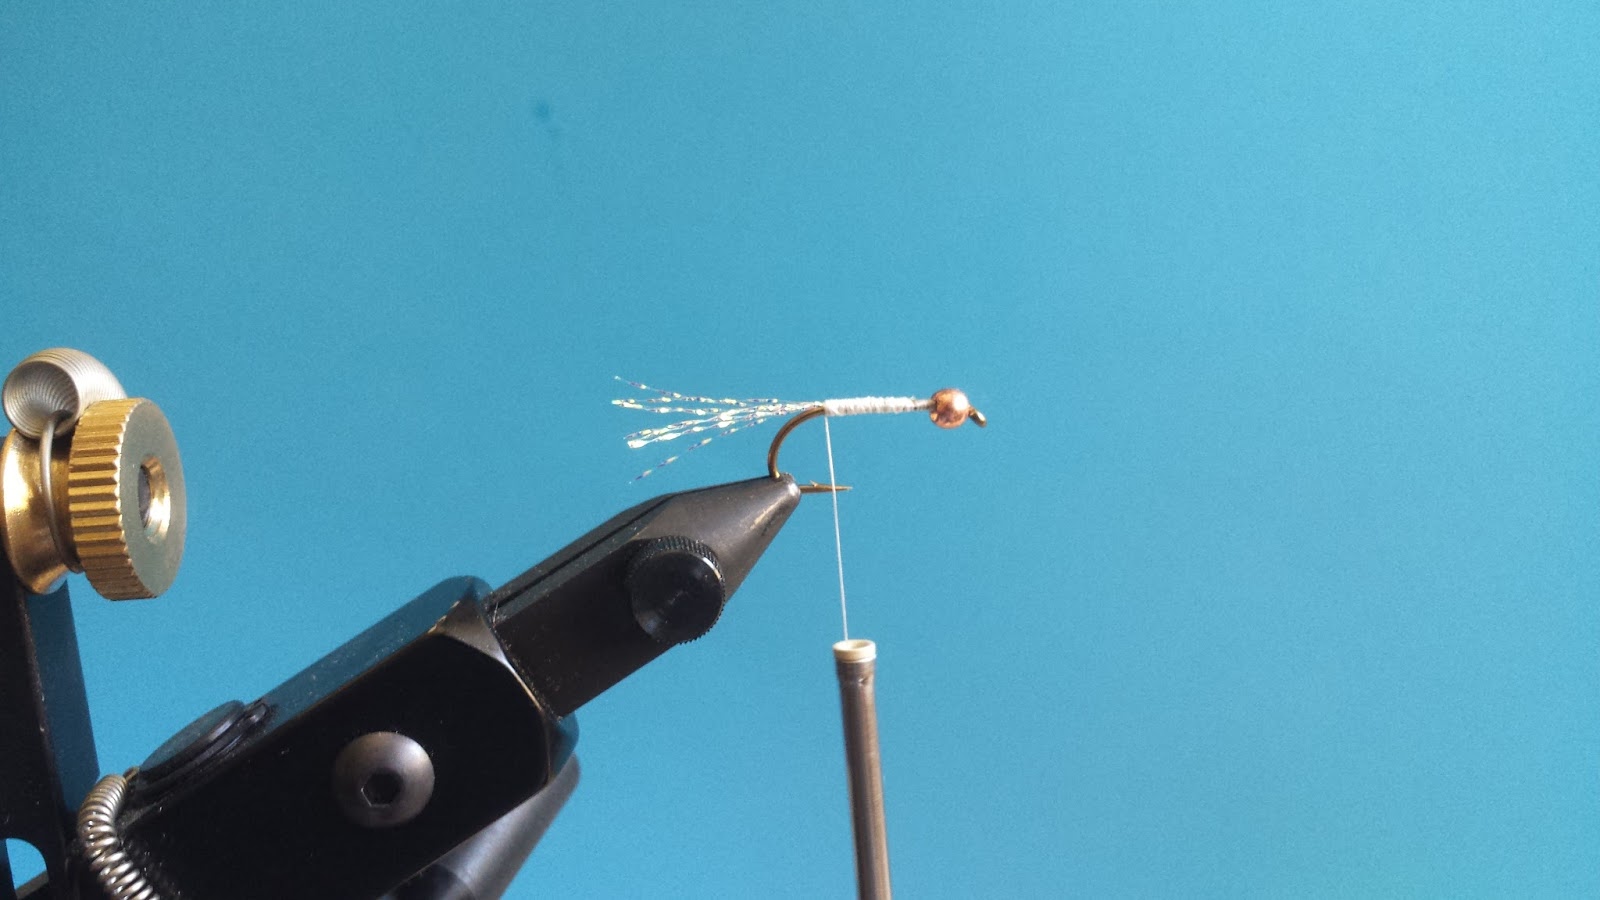
Step 2 – Tie about ten strands of krystal flash from the beadhead to the bend of the hook. After tying in the krystal flash, cut the excess krystal flash until it is about the length of the hook shank.

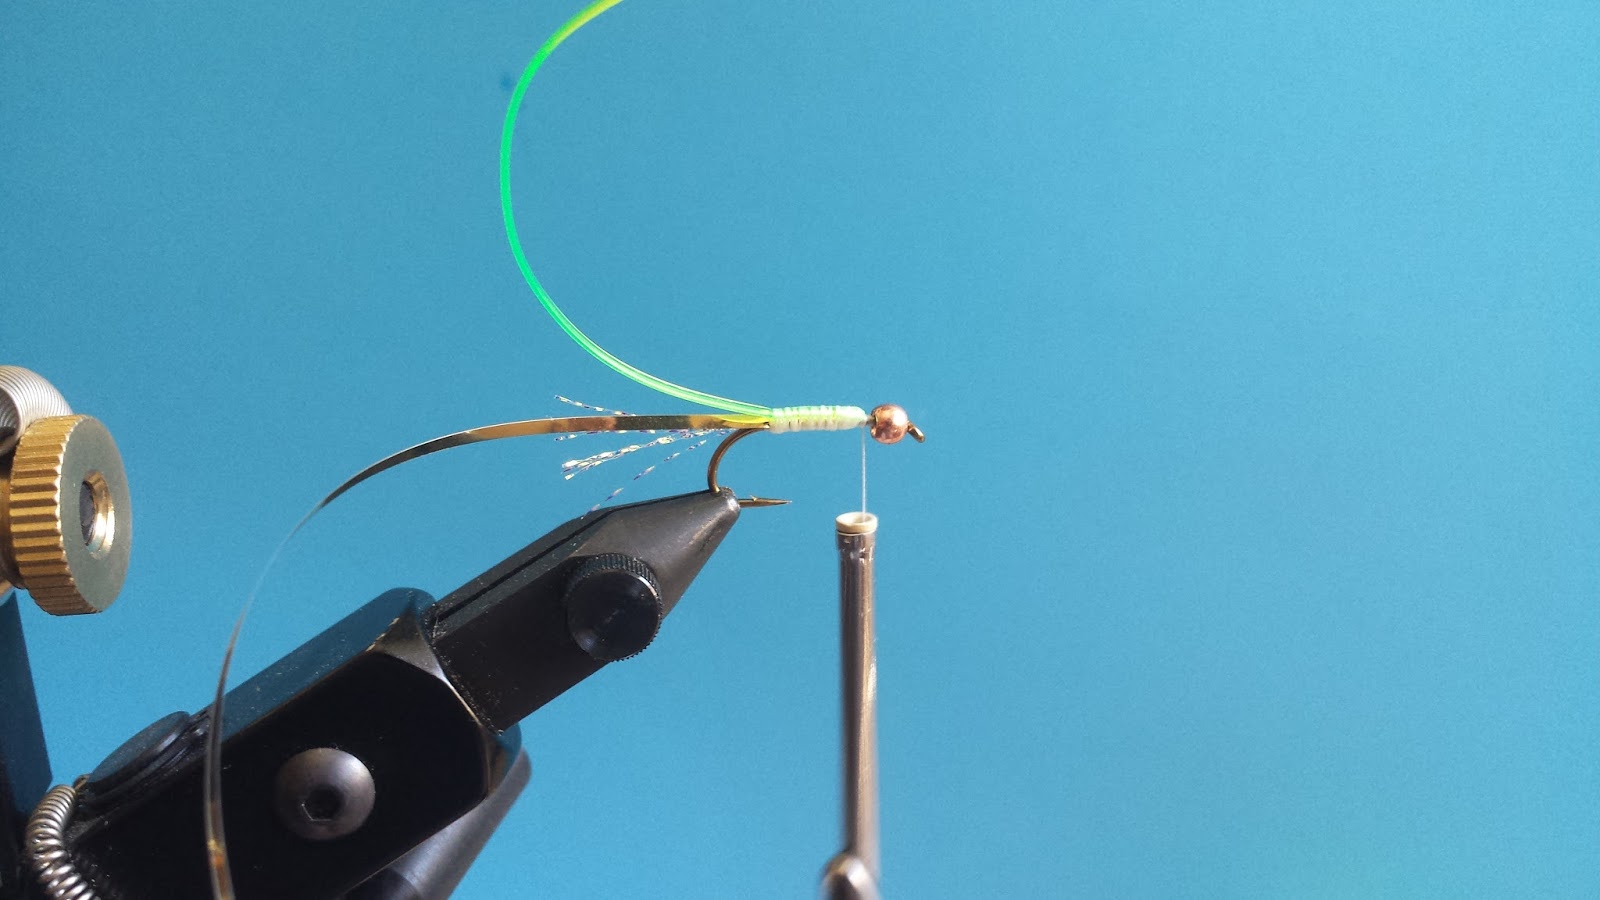
Step 3 – First tie in the tinsel with the gold side facing out then tie in the vinyl ribbing. Be sure to tie in both the tinsel and the vinyl from behind the beadhead so that the materials stay even. Work your thread back up to the beadhead after you secure your materials

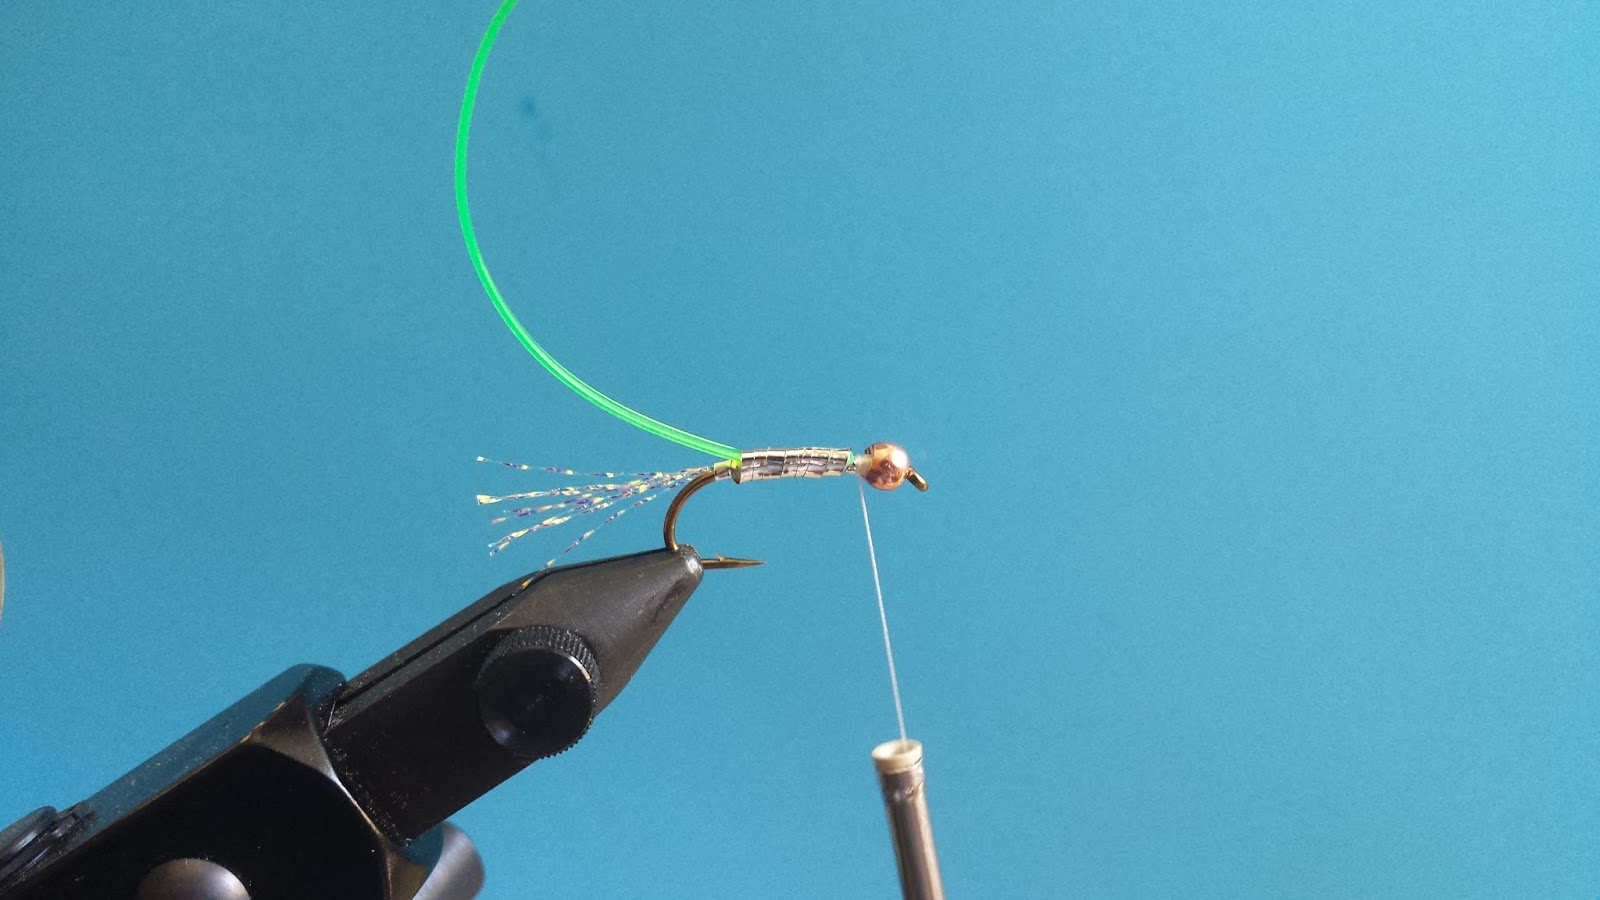
Step 4 – Begin wrapping the tinsel (silver side) starting from behind the vinyl. Wrap the tinsel tightly until you get to the beadhead. Secure the tinsel with a few thread wraps and cut off the excess.

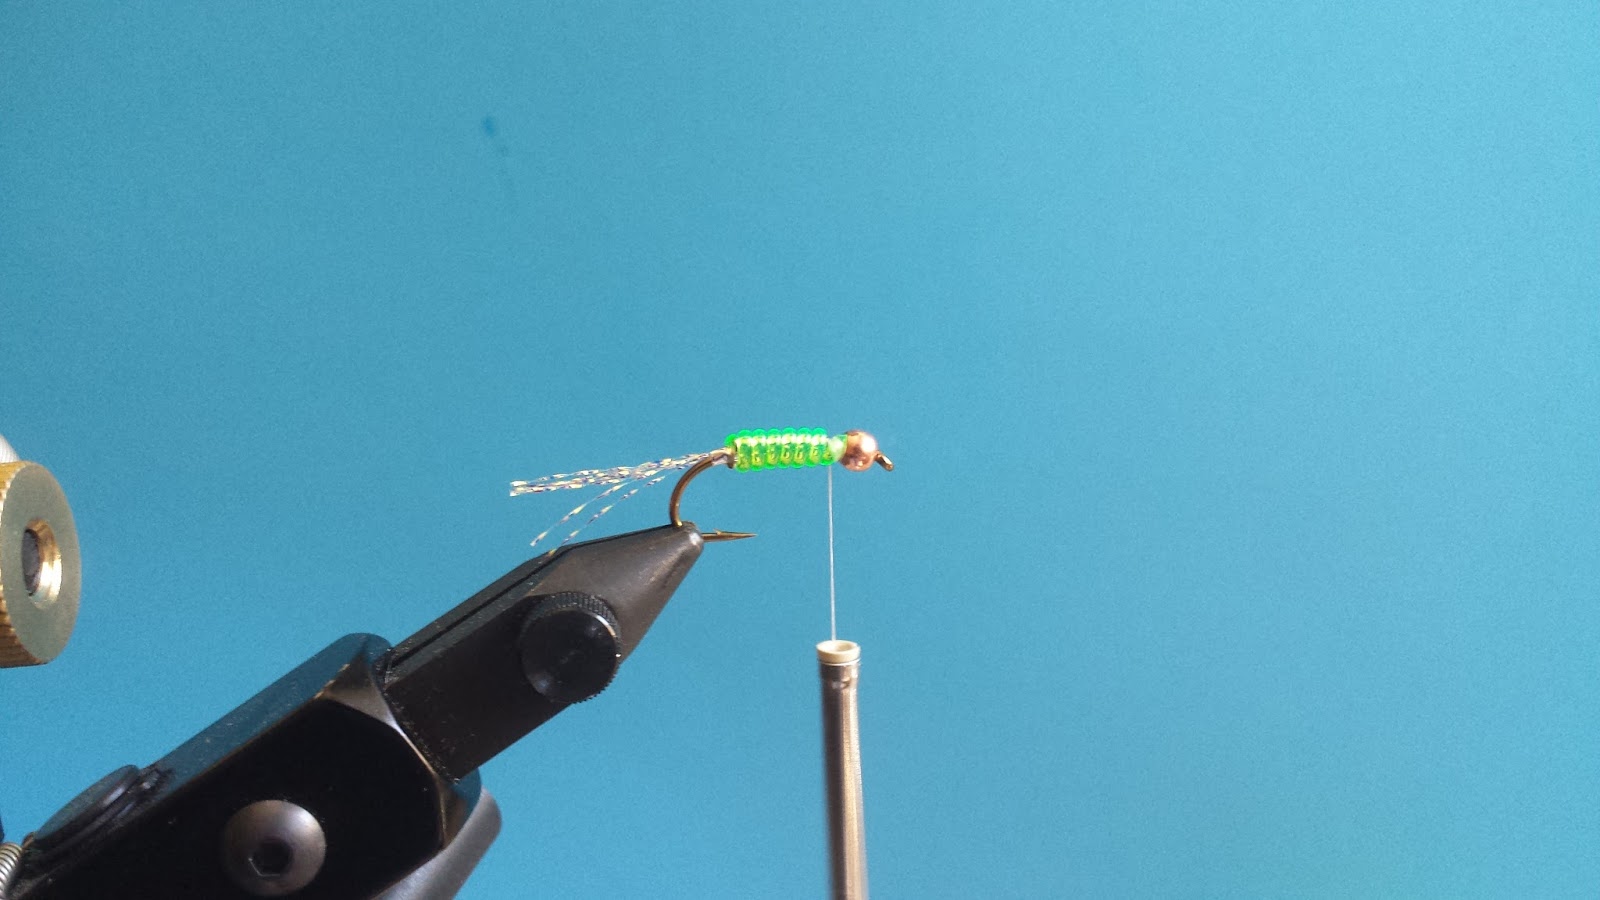
Step 5 – Begin tightly wrapping the vinyl ribbing to the front of the hook. Secure the vinyl and cut off the excess when you reach the beadhead.

Step 6 – Build a bulk of thread behind the beadhead and whip finish. Dab a bit of Zap-A-Gap around the thread to make sure it stays durable. Finished!
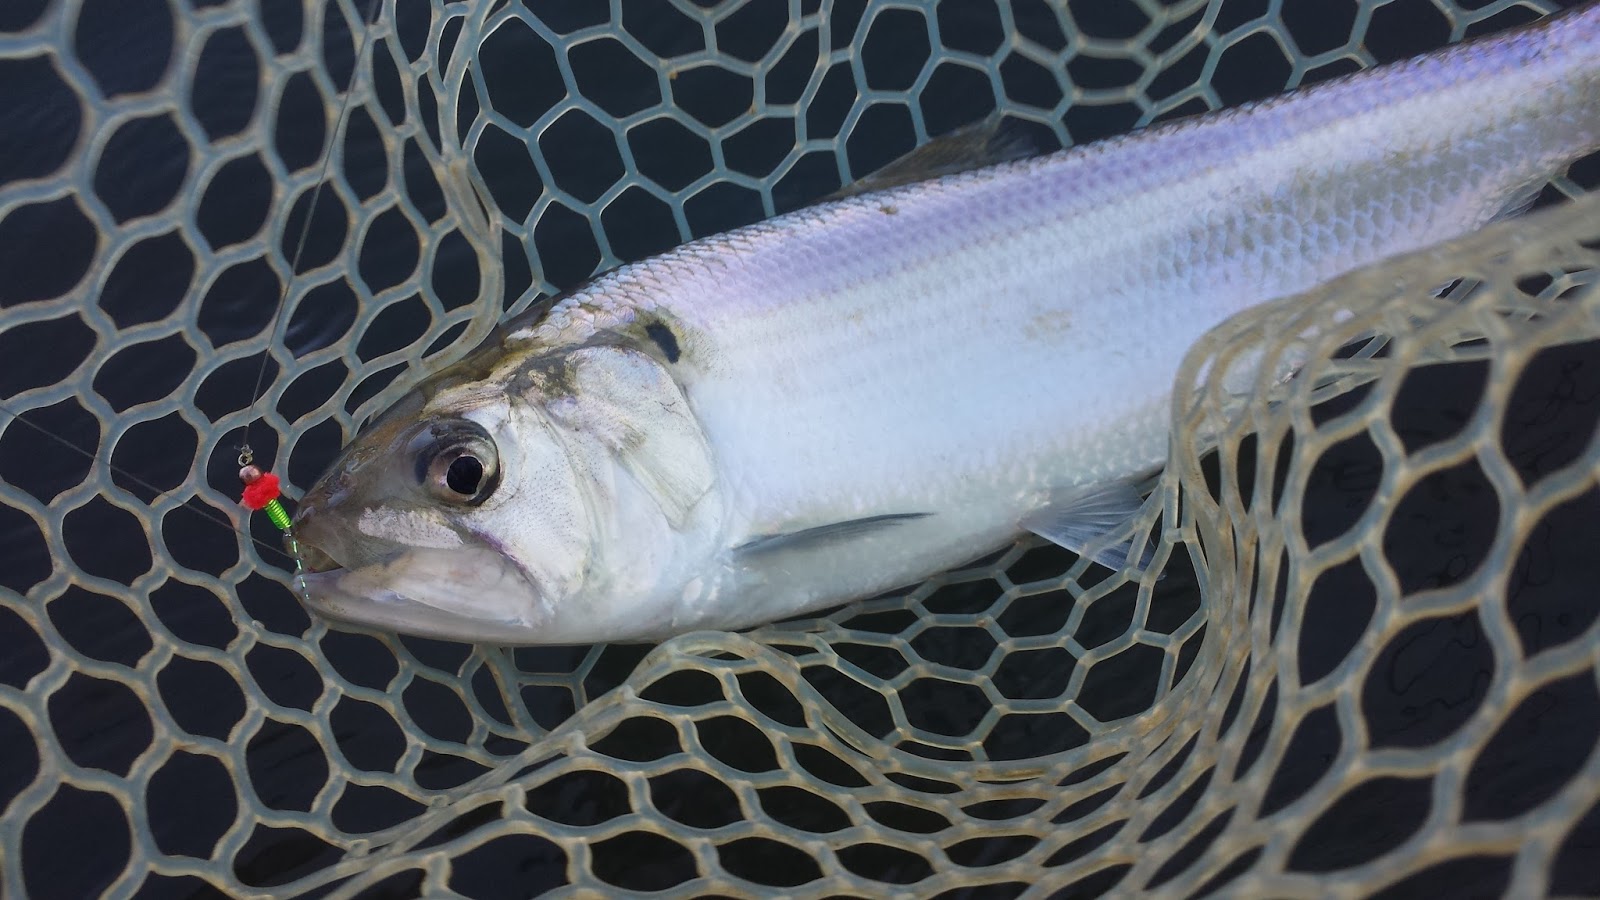
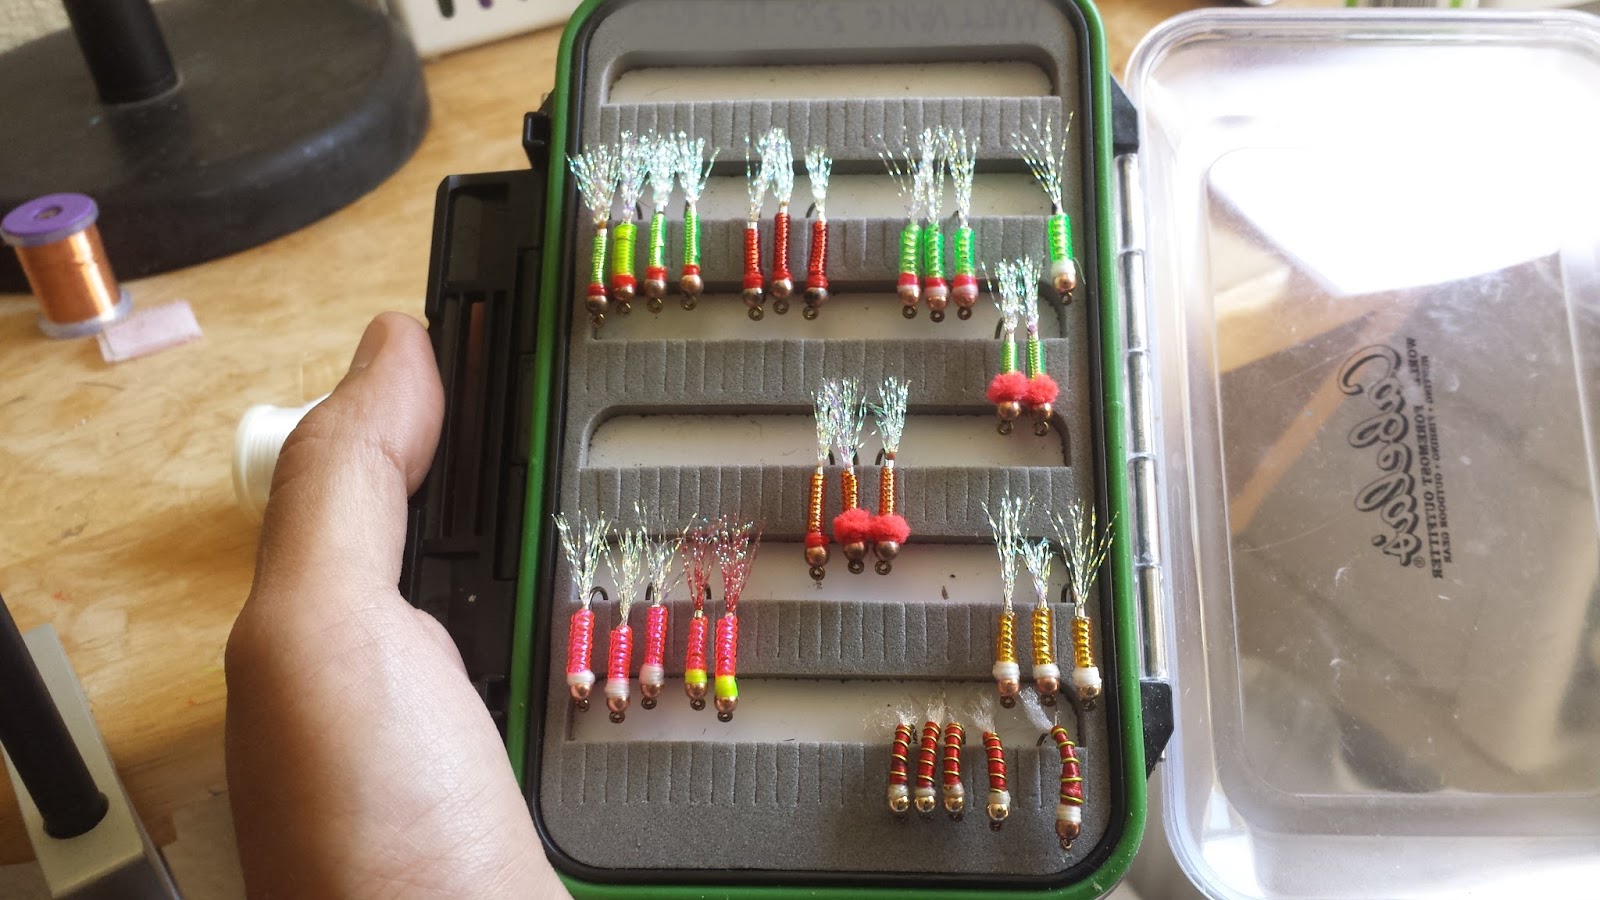
Having an arsenal of different shad flies will make you more productive during the run. Remember to switch flies often to figure out what’s working. Try tying Ryan’s Shad Dart with different materials to meet your needs.
I’d say that the pattern you use for American shad only dictates about 40% of your success, the more important 60% comes from how you present your flies. Don’t stick to just swinging all day, vary your presentations!
Fly Tying

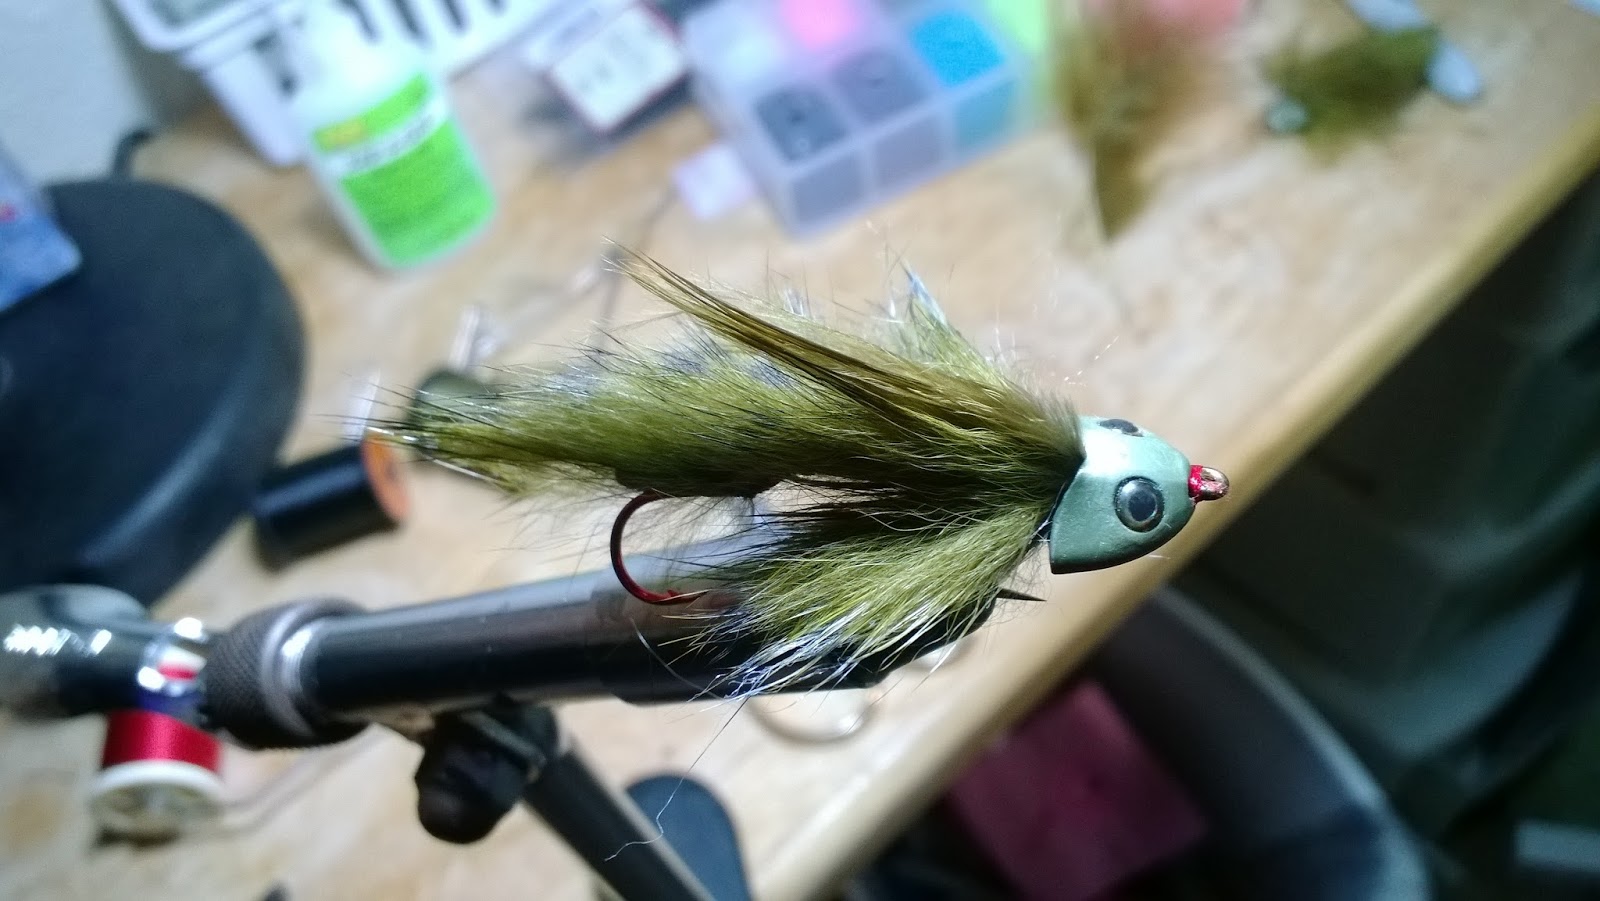
Fly Tying – Hero Sculpin

Hero Scuplin

Material List:
Owner – Red SSW 5311 – size 4 or 6
Daiichi – 2546 Saltwater Hook – size 2
Black Barred Rabbit Strip – Olive
Marabou Plume – Olive
Senyo Laser Yarn – White
Fishskull Sculpin Helmet – Small Olive
Senyo Intruder Trailer Hook Wire – Standard Black
Danville’s 70 Denier Thread – Red
Zap-A-Gap

Fly Tying Instructions

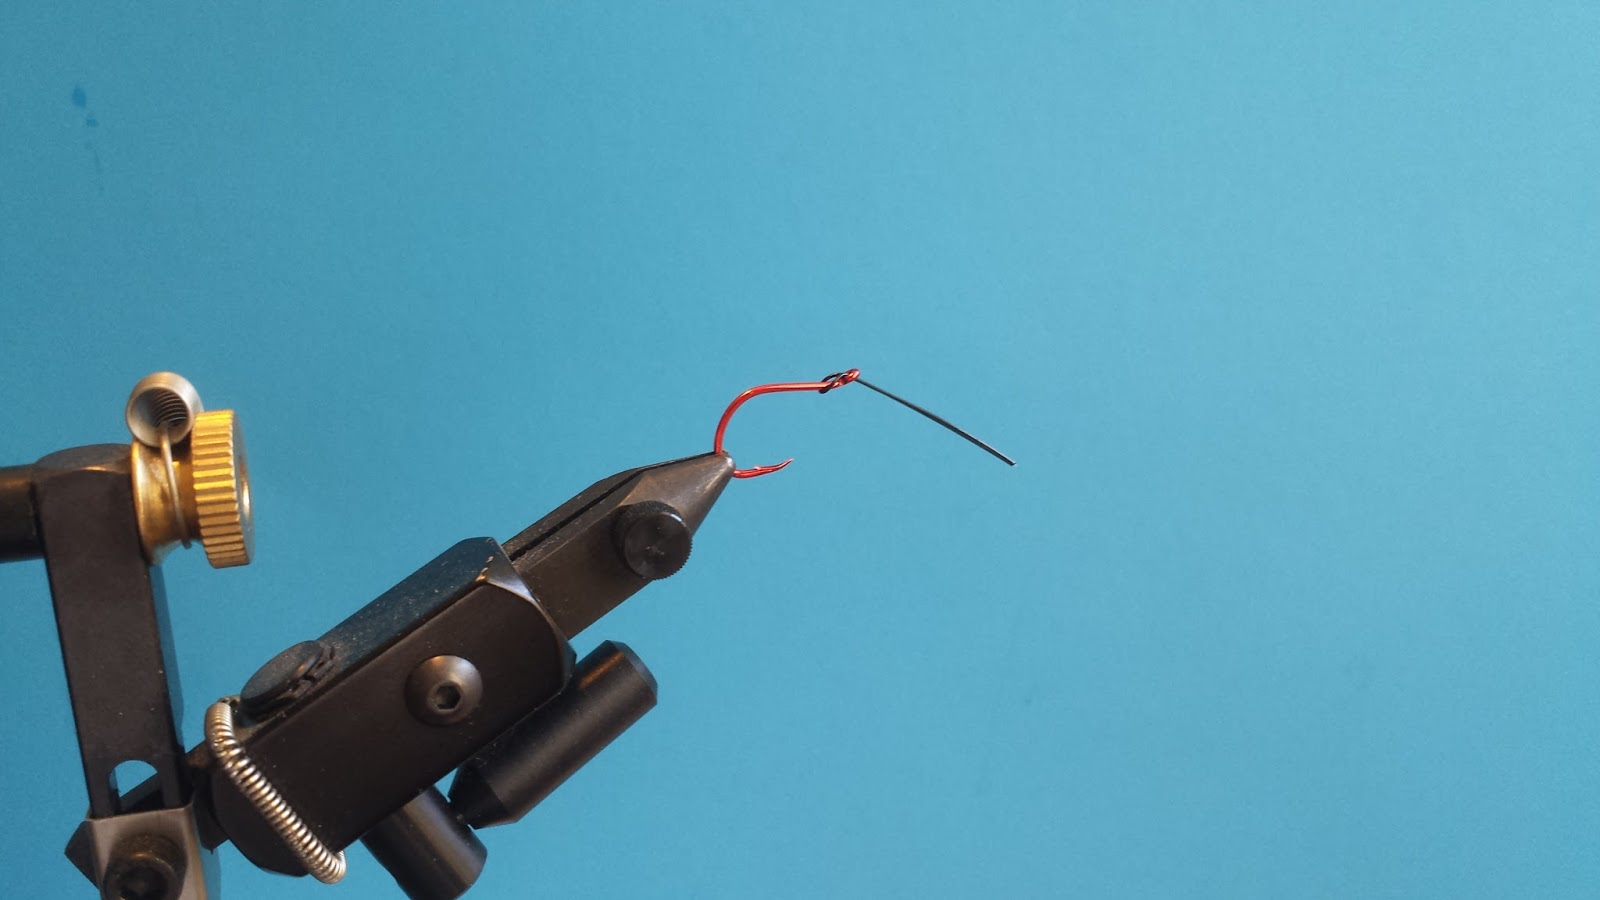
Step 1 – Start with the trailer hook. Pull both ends of the intruder wire through the top of the eye. As the wire forms a loop, pull the hook through the loop and pull the wire tight. The wire should be pointing down not up.

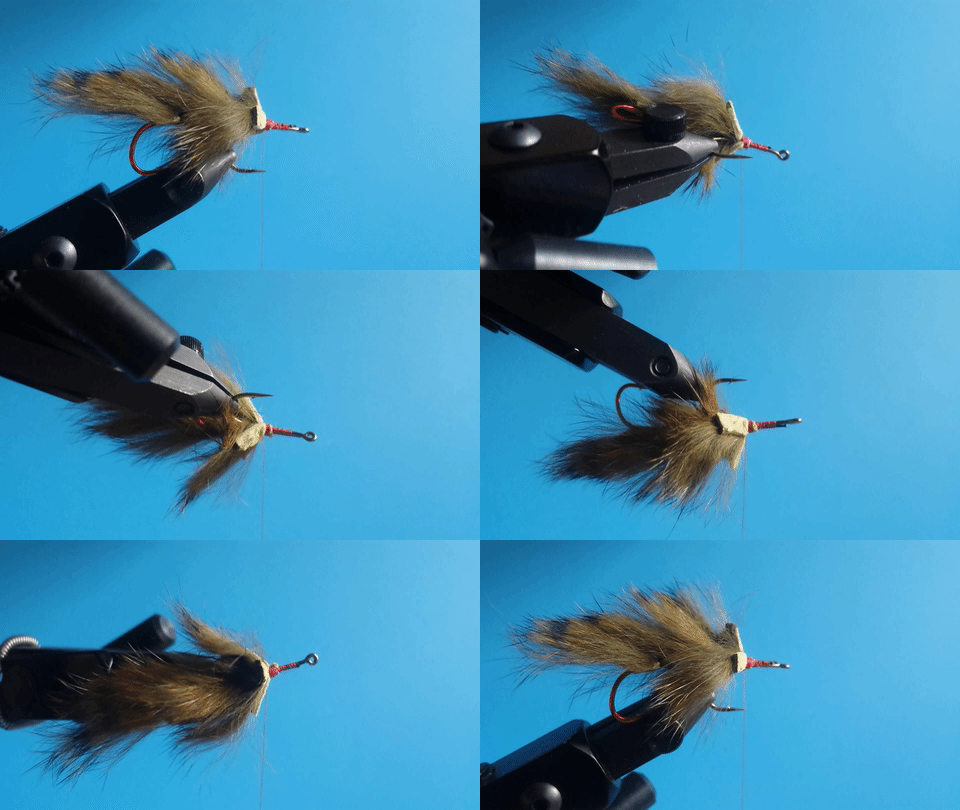
Step 2 – Start your thread and make a few wraps around the wire so that it stays in place. Tie in your rabbit strip in the middle of the shank. Be sure to split the hairs before securing the rabbit strip. Wetting the fibers helps make splitting the hair easier. Whip finish near the eye of the hook.

Take a bodkin and dap a bit of Zap-A-Gap to the bottom where all the thread is to make sure everything stays in place.

Step 3 – Take off the trailer hook and begin the body hook. Any straight eye short shank hook will do. In this tutorial I am using a garbage Daiichi hook that I forget the name of. A size 2 saltwater hook will work as well.

Step 4 – Start your thread. Before wrapping in the wire, make sure that both ends of the wire are parallel to each other and not twisted. Cut off any excess wire that goes past the eye of the hook. Make several tight wraps and stop the thread at the bend.

Step 5 – Secure the rabbit strip. Fold the excess up, you will be using this strip later.

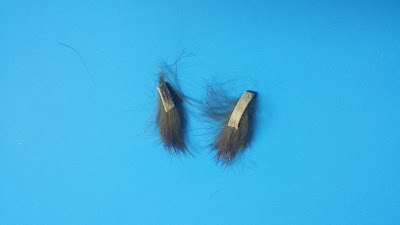
Step 6a – Cut two small pieces of rabbit strip. You will be using these two small pieces for the pectoral fins.

Step 6b – Begin by wrapping the first small strip to the side of the hook shank with two tight wraps. Wrap the second small strip to the opposite side. Once both strips are tied in make a few more wraps to secure.

Step 7 – Fold in one of the small rabbit strips and secure it at the end. Fold in the second small strip on the opposite side. Try not to trap any fibers during this folding process. Once both small strips are folded, make a few tight wraps around both ends to secure.

Step 8 – Pull the original top rabbit strip over the top of the hook shank and secure with a few tight wraps. Your fly should look like this.

Step 9 – Tie in a clump of white laser yarn to the bottom of the shank. Be generous with the amount of laser yarn you use, more is better than less. Pull back and shape the yarn so that it forms a tapered belly. Make a few wraps to secure the yarn.

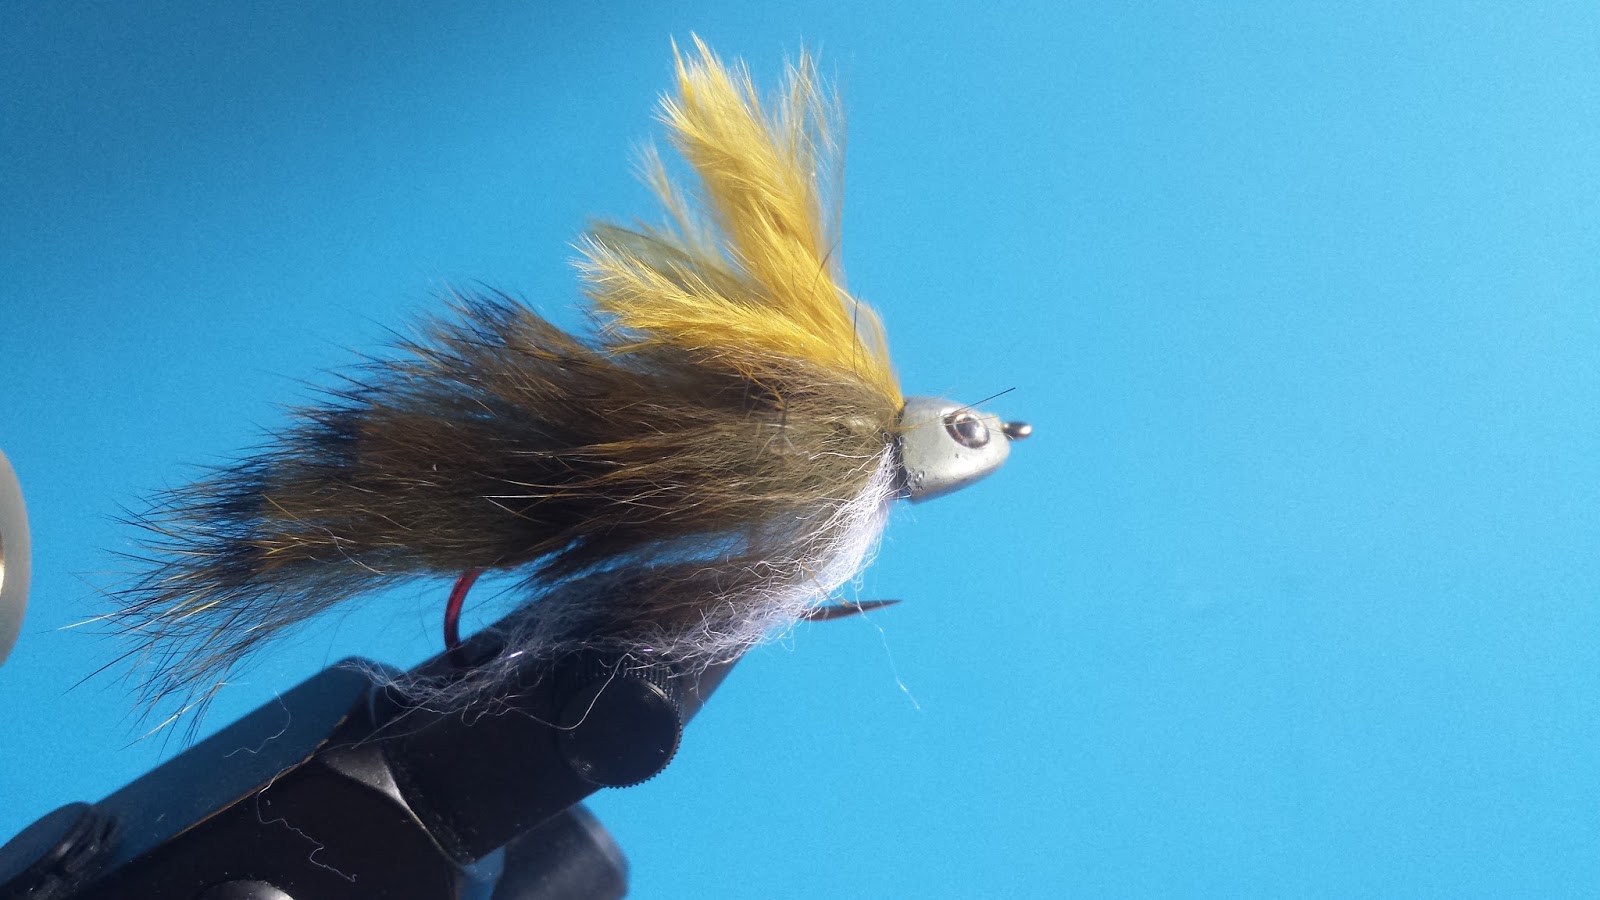
Step 10 – Tie in a clump of olive marabou to the top of the fly. Stack another clump of marabou to the first clump. There should be two clumps total.

Step 11 – After tying in the marabou tear off any long excess and begin building your thread for the sculpin helmet.

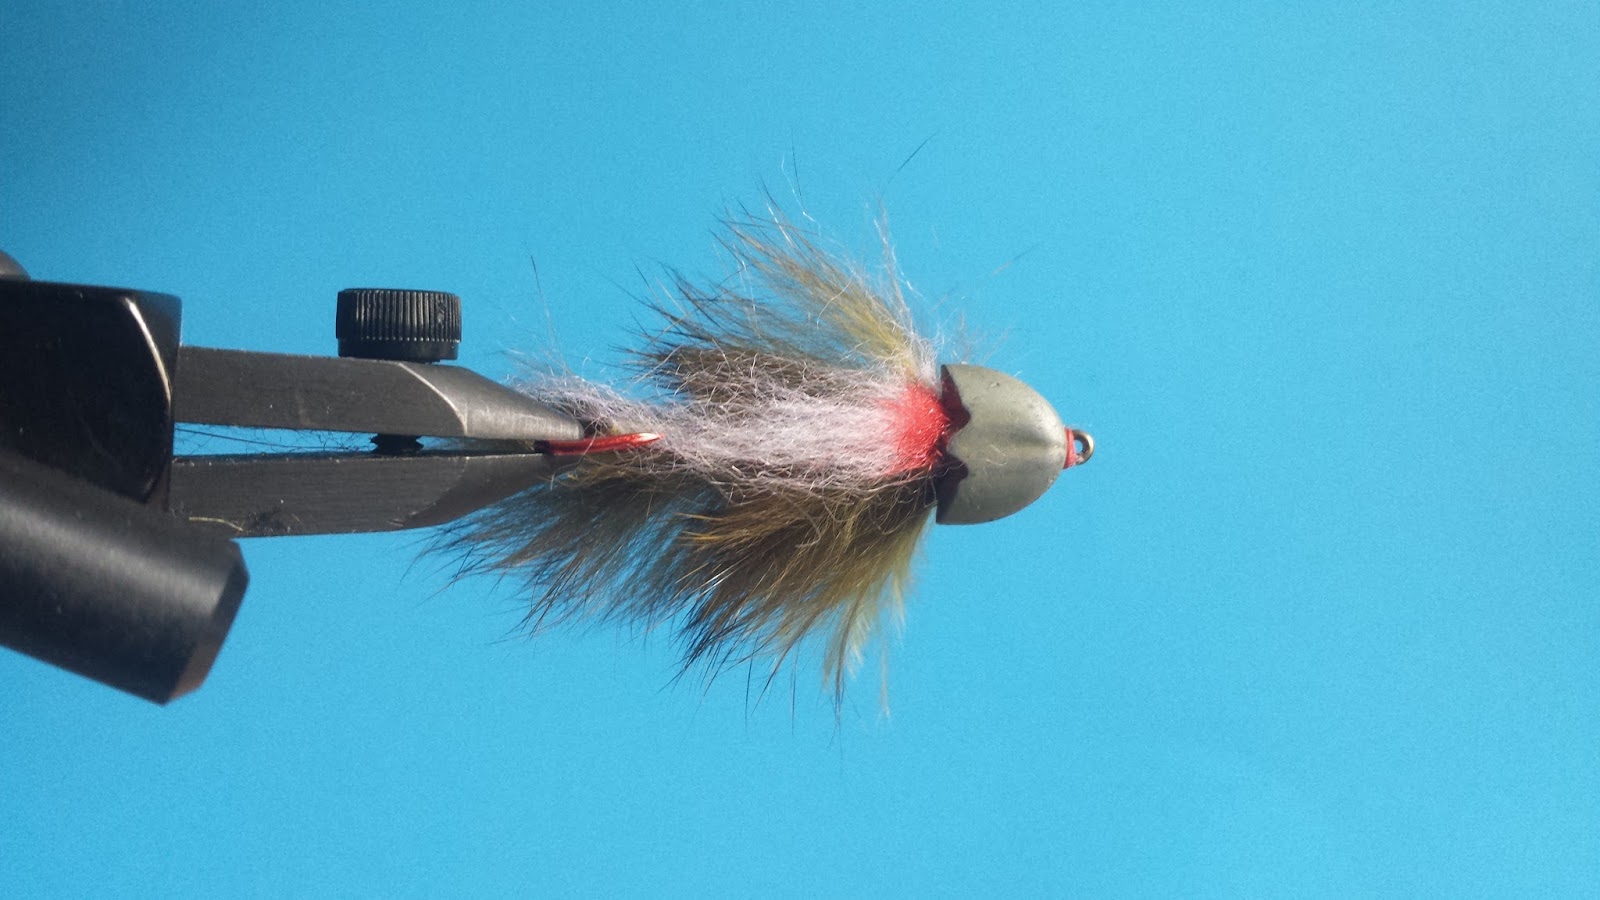
Try your sculpin helmet to make sure it cinches nice and tight. If it doesn’t fit tight continue building your thread until it does. Once the helmet fits tight, whip finish.

Put no more than two drops of Zap-A-Gap to where the helmet is going to fit then put on the helmet. Push back the helmet to ensure that there is enough space between the helmet and the eye of the hook.

Secure the helmet by wrapping some thread around the eye of the hook. Zap-A-Gap this thread so that it doesn’t fall apart.

Step 12 – Cut off the body hook. I use a wire cutter. Flip the fly over and use a red permanent marker to color in the throat of the fly.

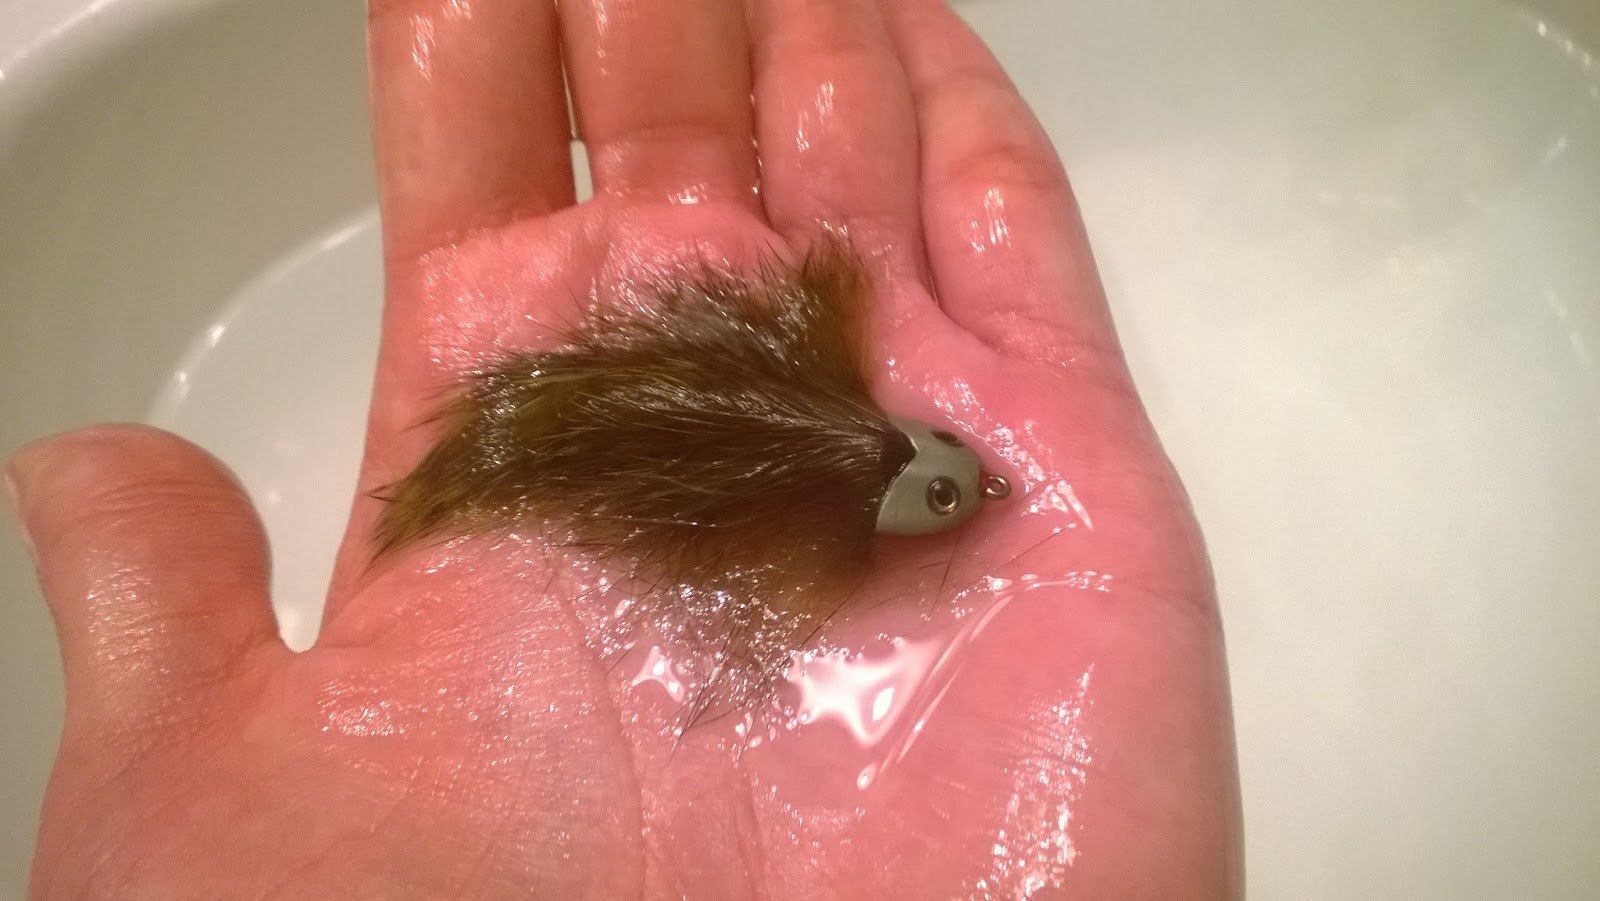
Finished!

1 3 4 5 6