Fly Tying

Fly Tying: S&M Nymph

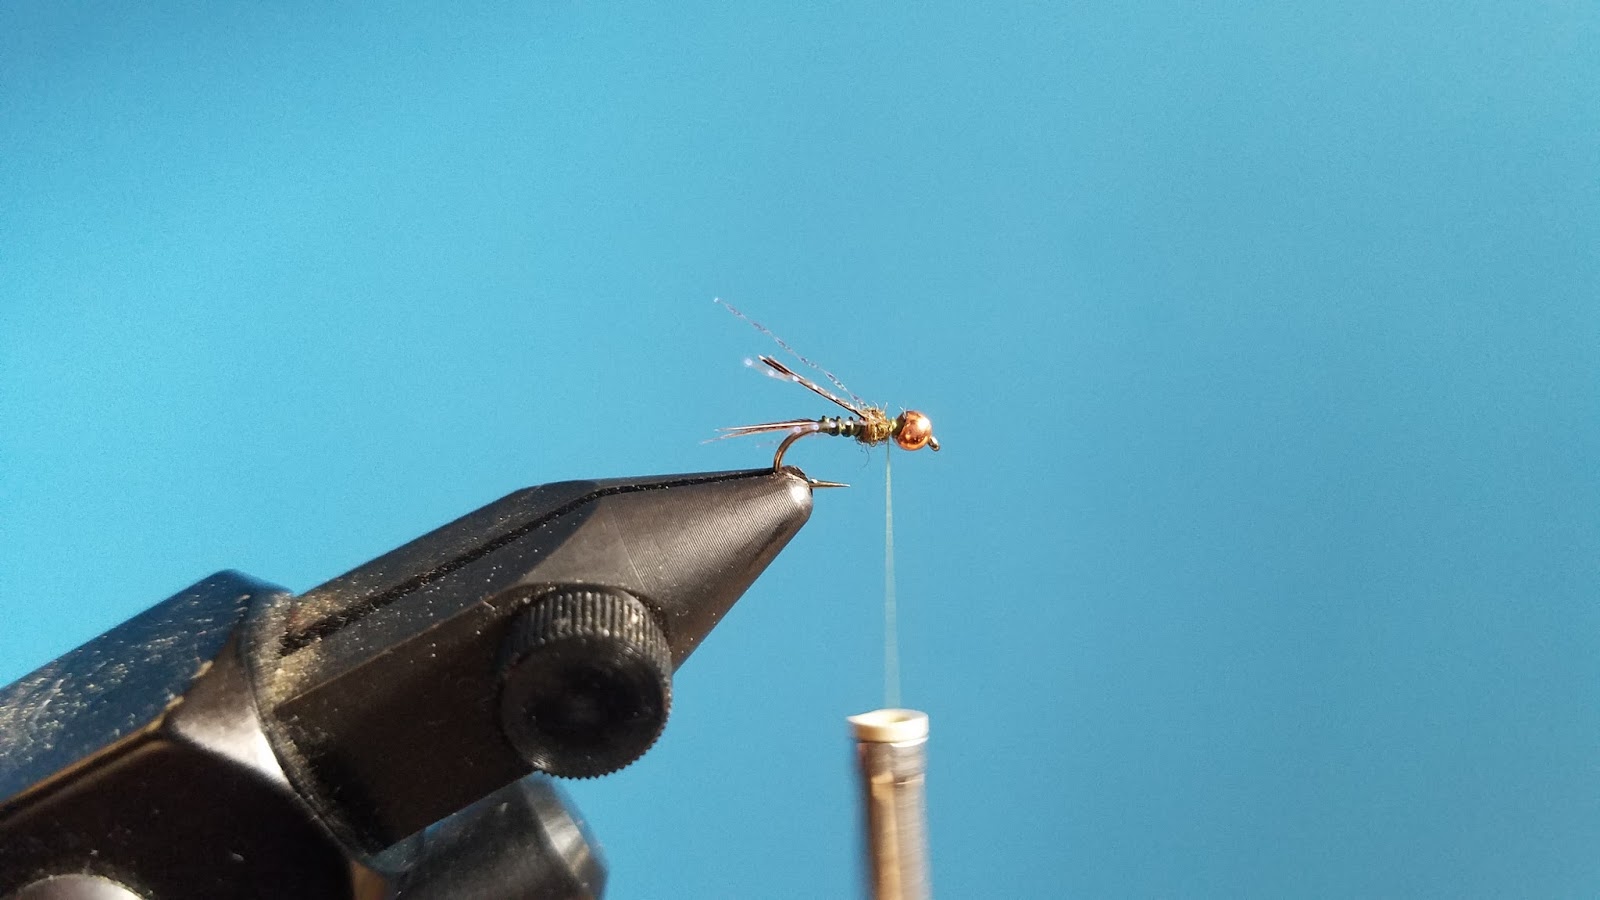
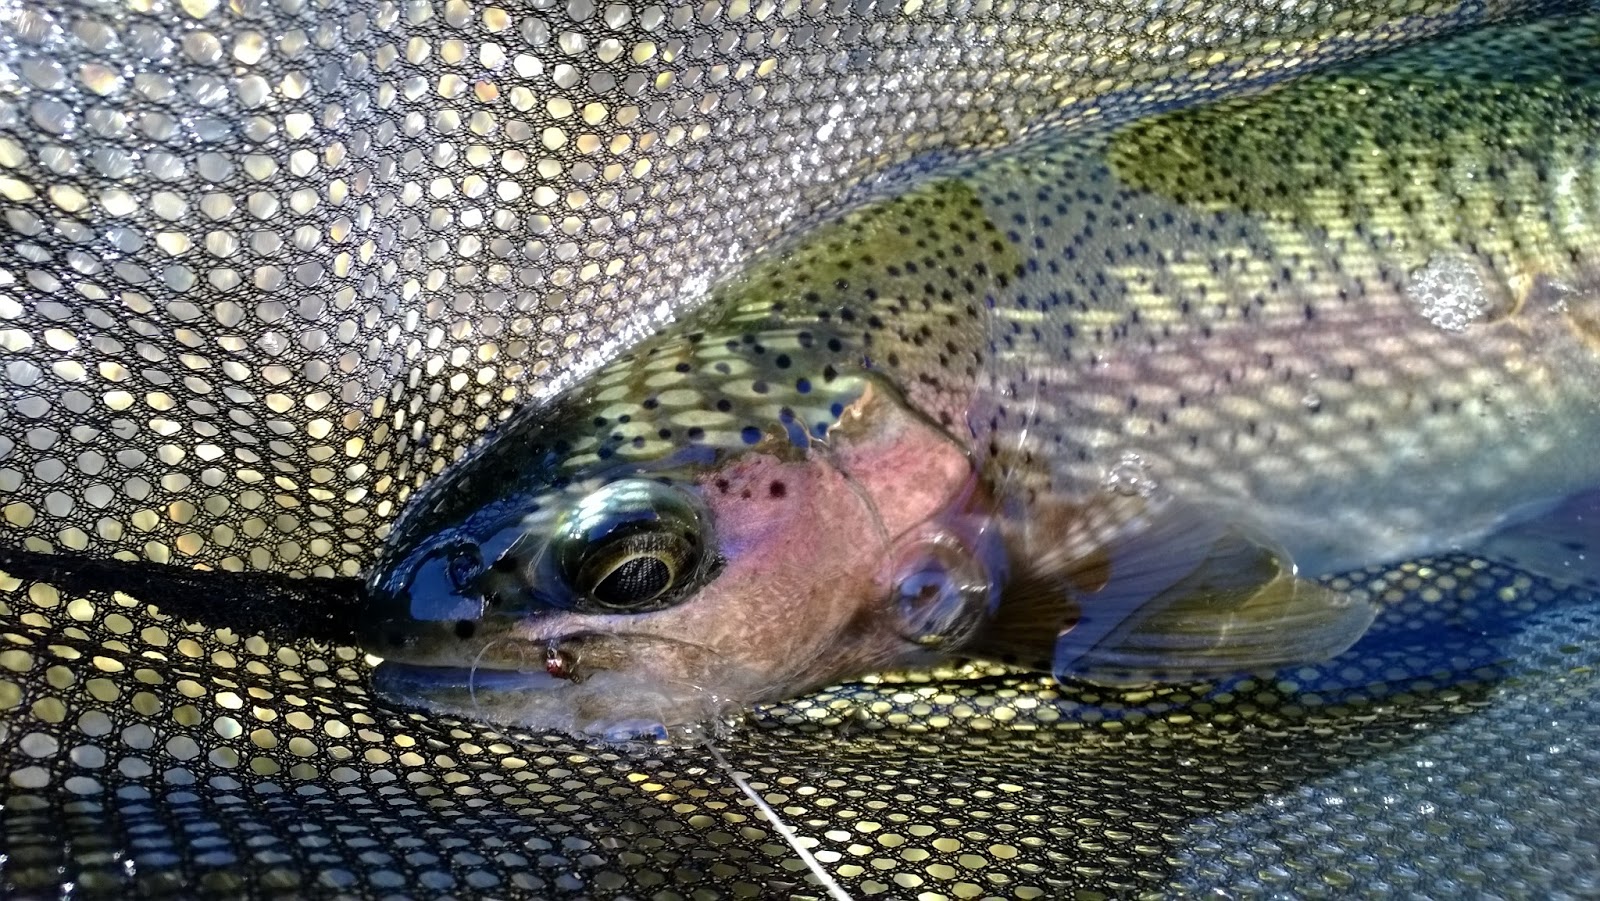
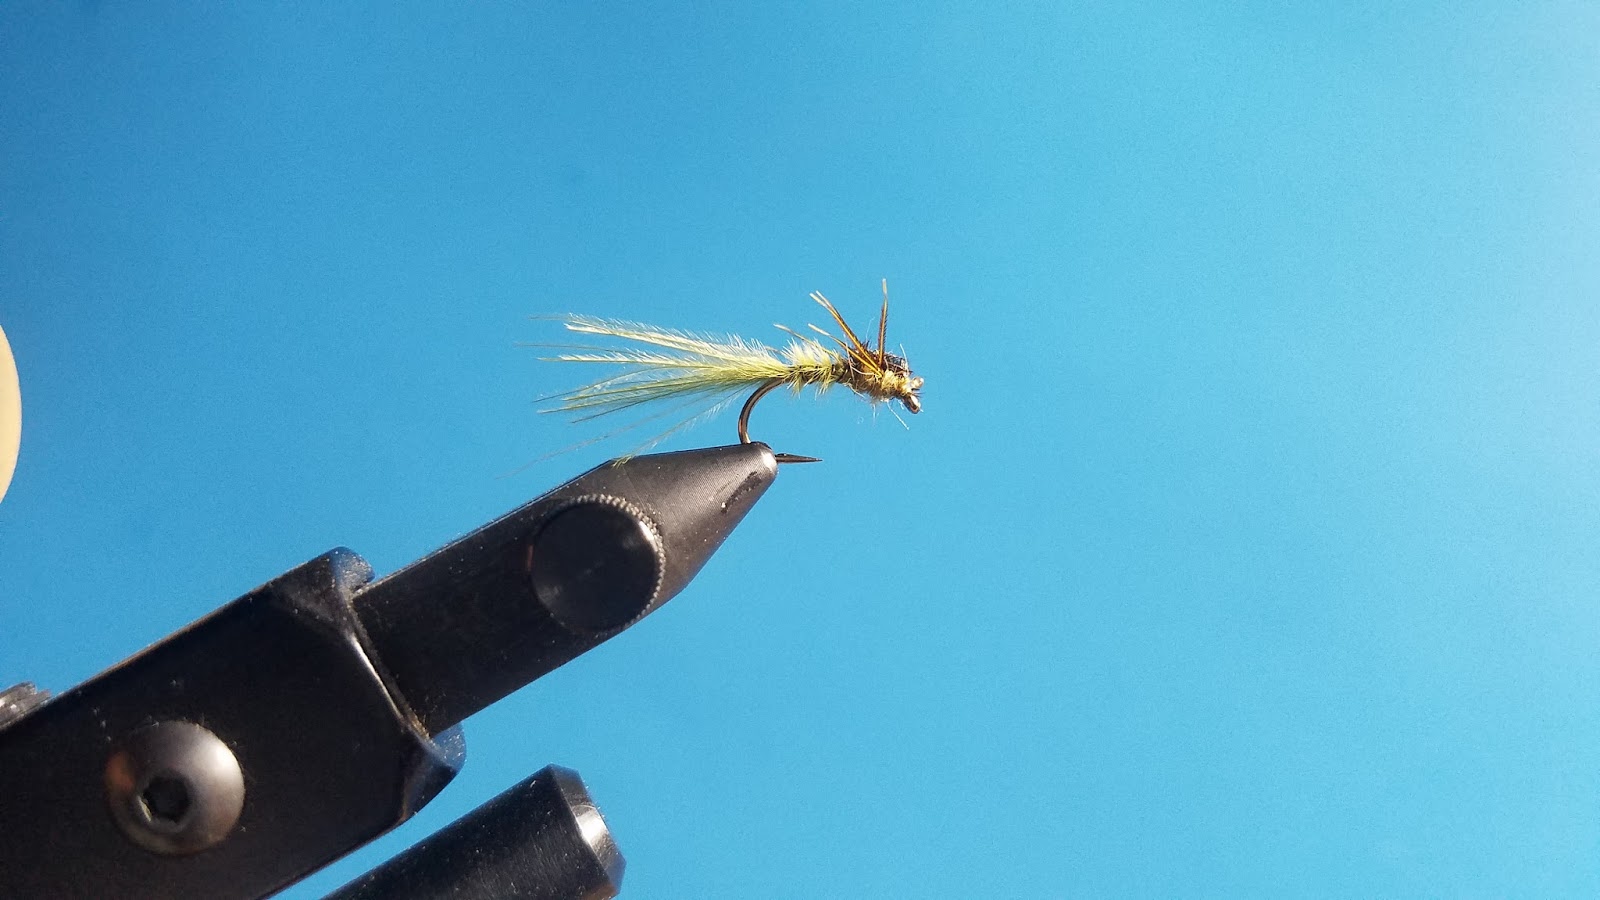
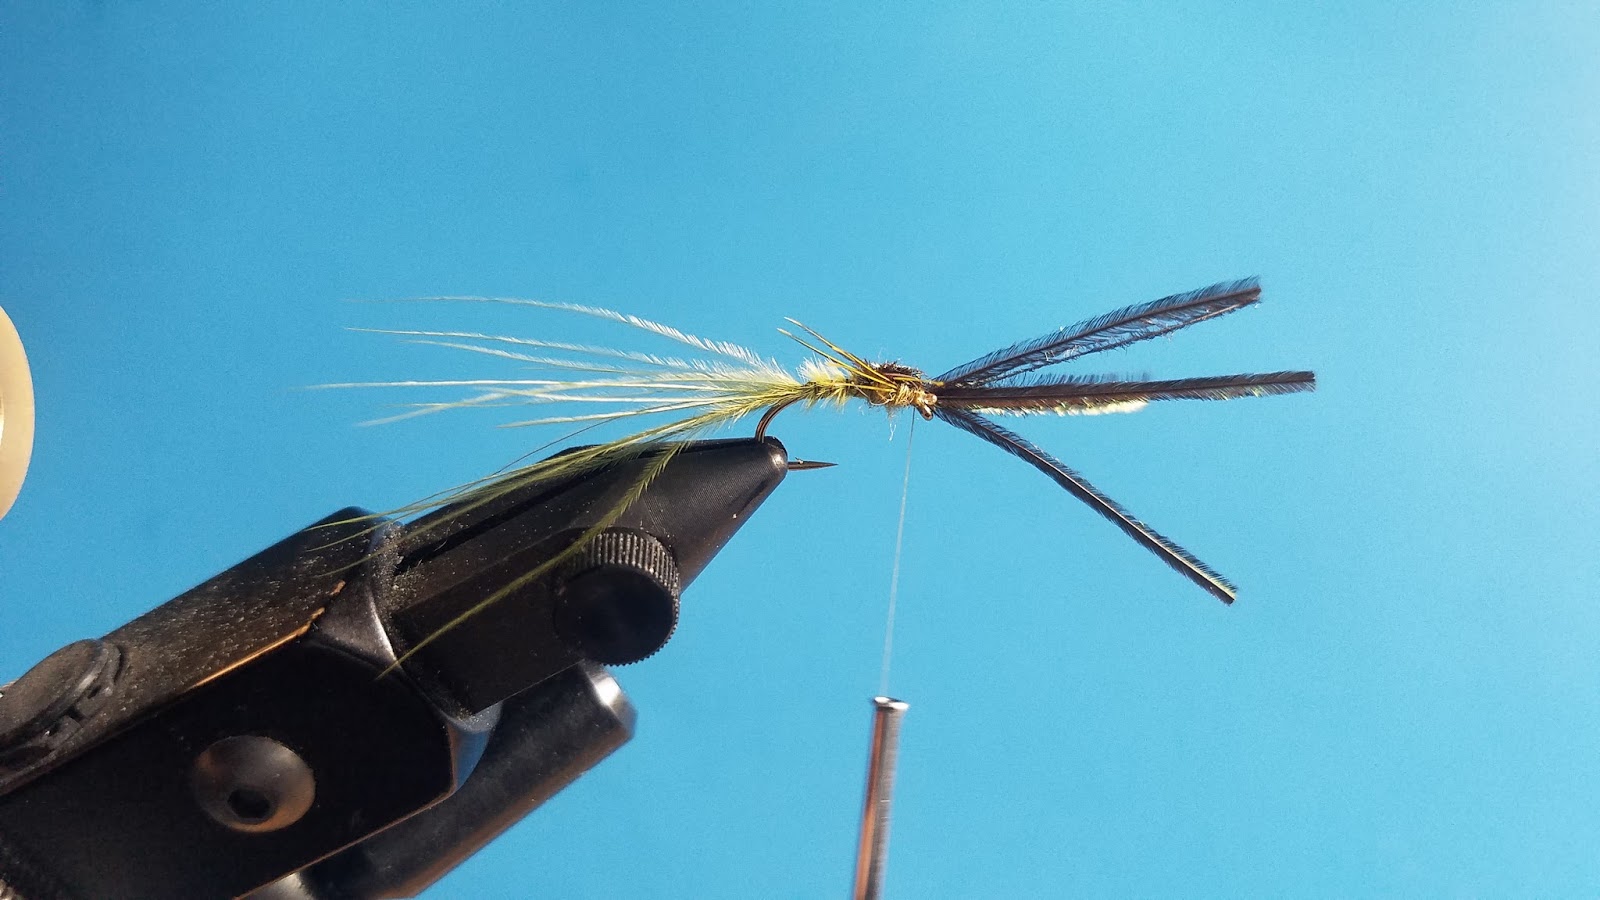
The S&M nymph is a pattern designed by local guide Hogan Brown. This is a superb blue-winged olive nymph that Hogan created specifically for the Lower Yuba River. Not only does this pattern work well on its home river it also works on any river or stream with a significant BWO population.

S&M Nymph

Material List
TMC – 3769 – Size 16
Bead – Gold – 3/32”
Uni-Thread – 8/0 – Olive
UTC Ultra Wire – Olive
Krystal Flash – Midge – Olive
Mercer’s Buggy Nymph – Dubbing – Olive
Pheasant Tail – Natural
Goose Biot – Brown

Fly Tying Instructions
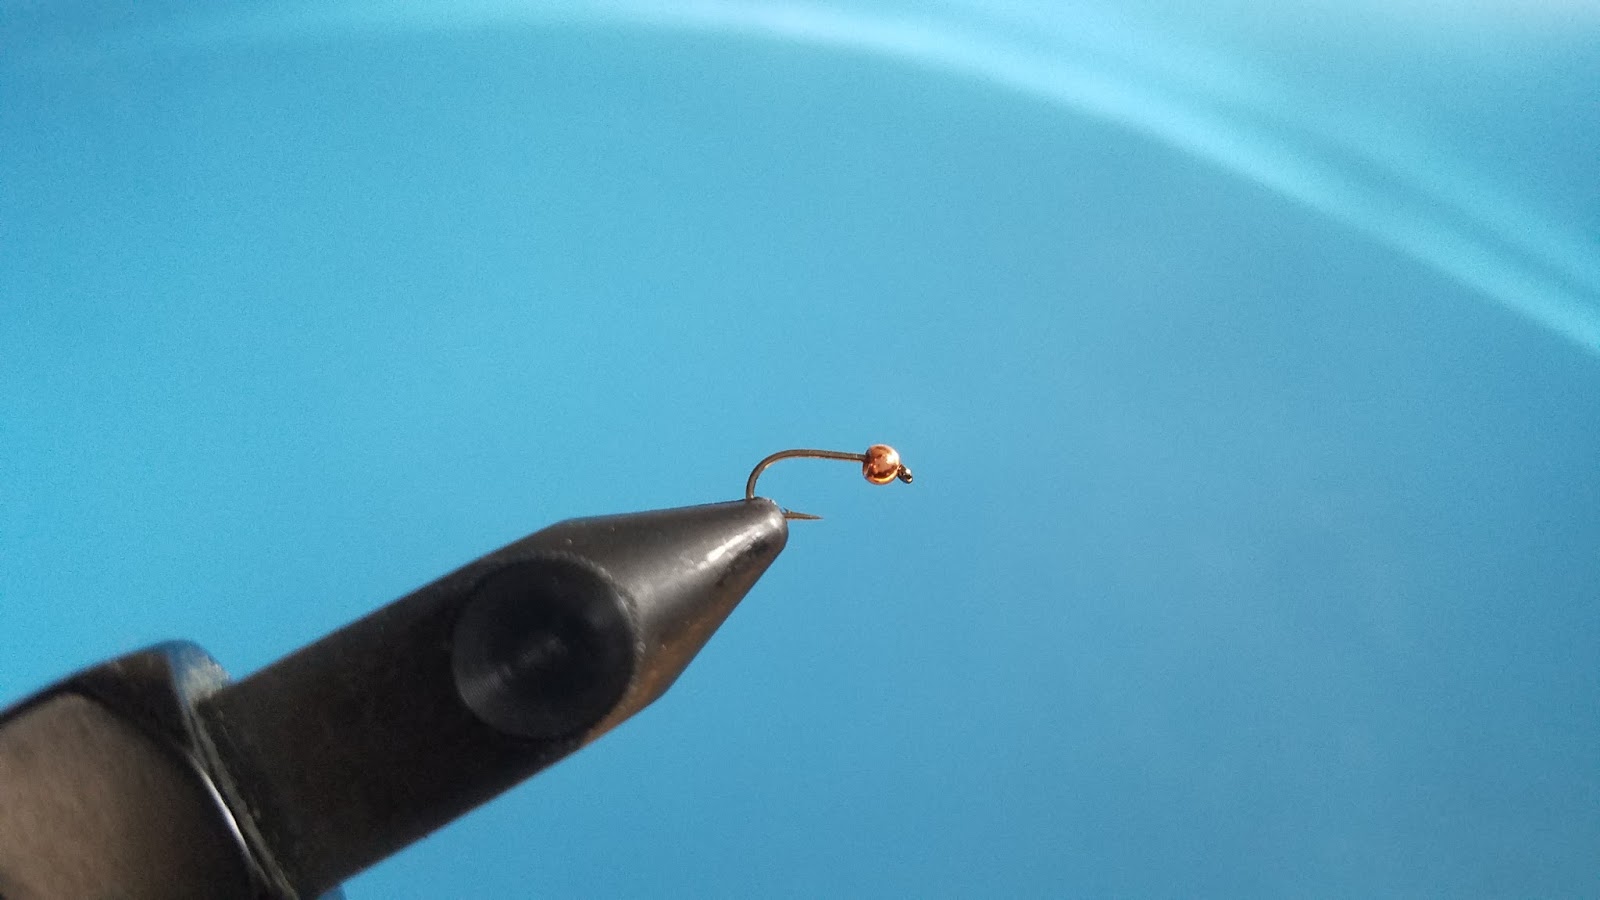
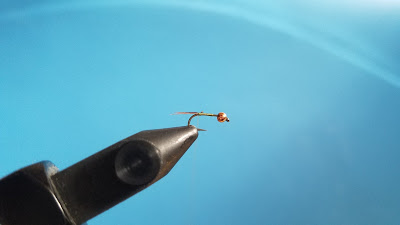
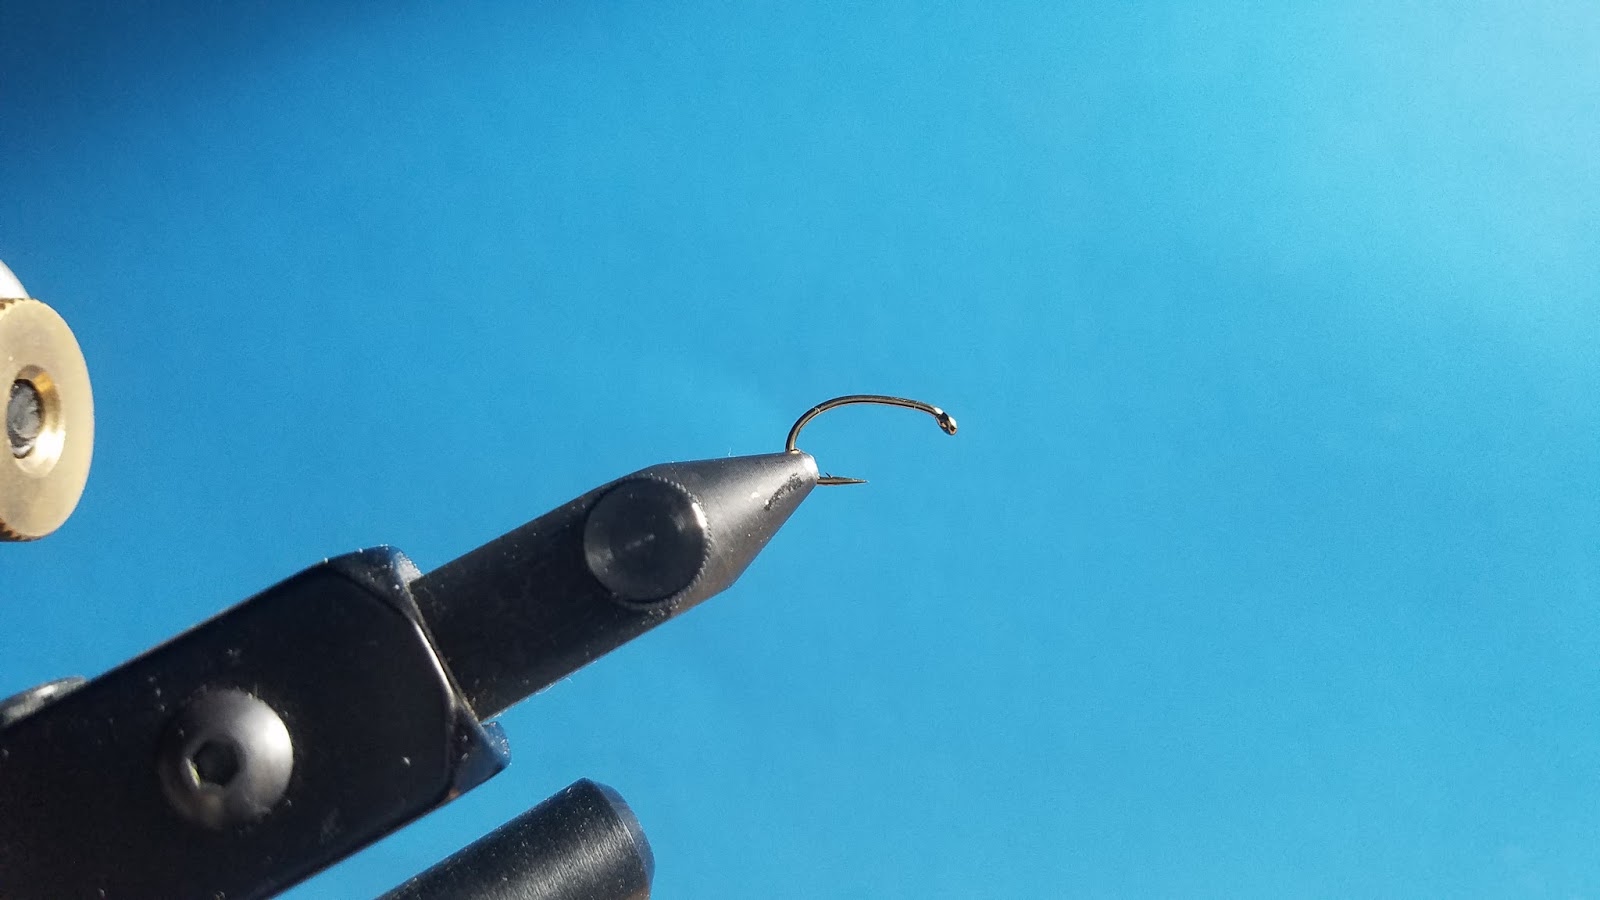
Step 1 – Set up your hook with the beadhead.
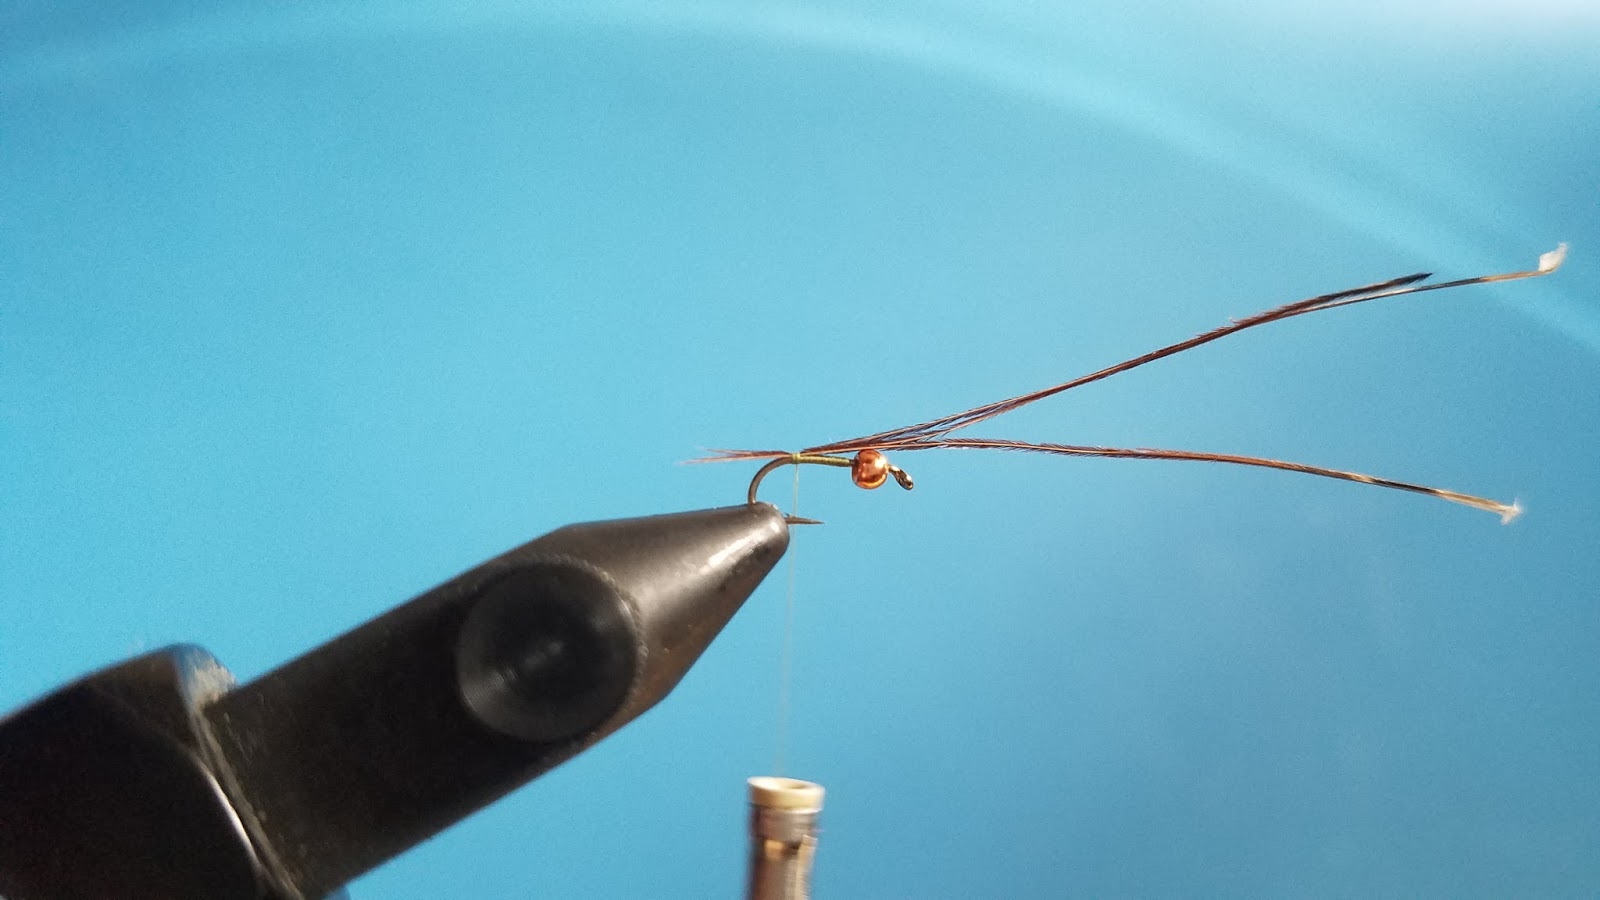
Step 2 – Tie in your thread and three strands of pleasant tail fibers. . I like to measure the fibers about half the shank of the hook. Cut off the excess. Wrap your olive thread to create the abdomen
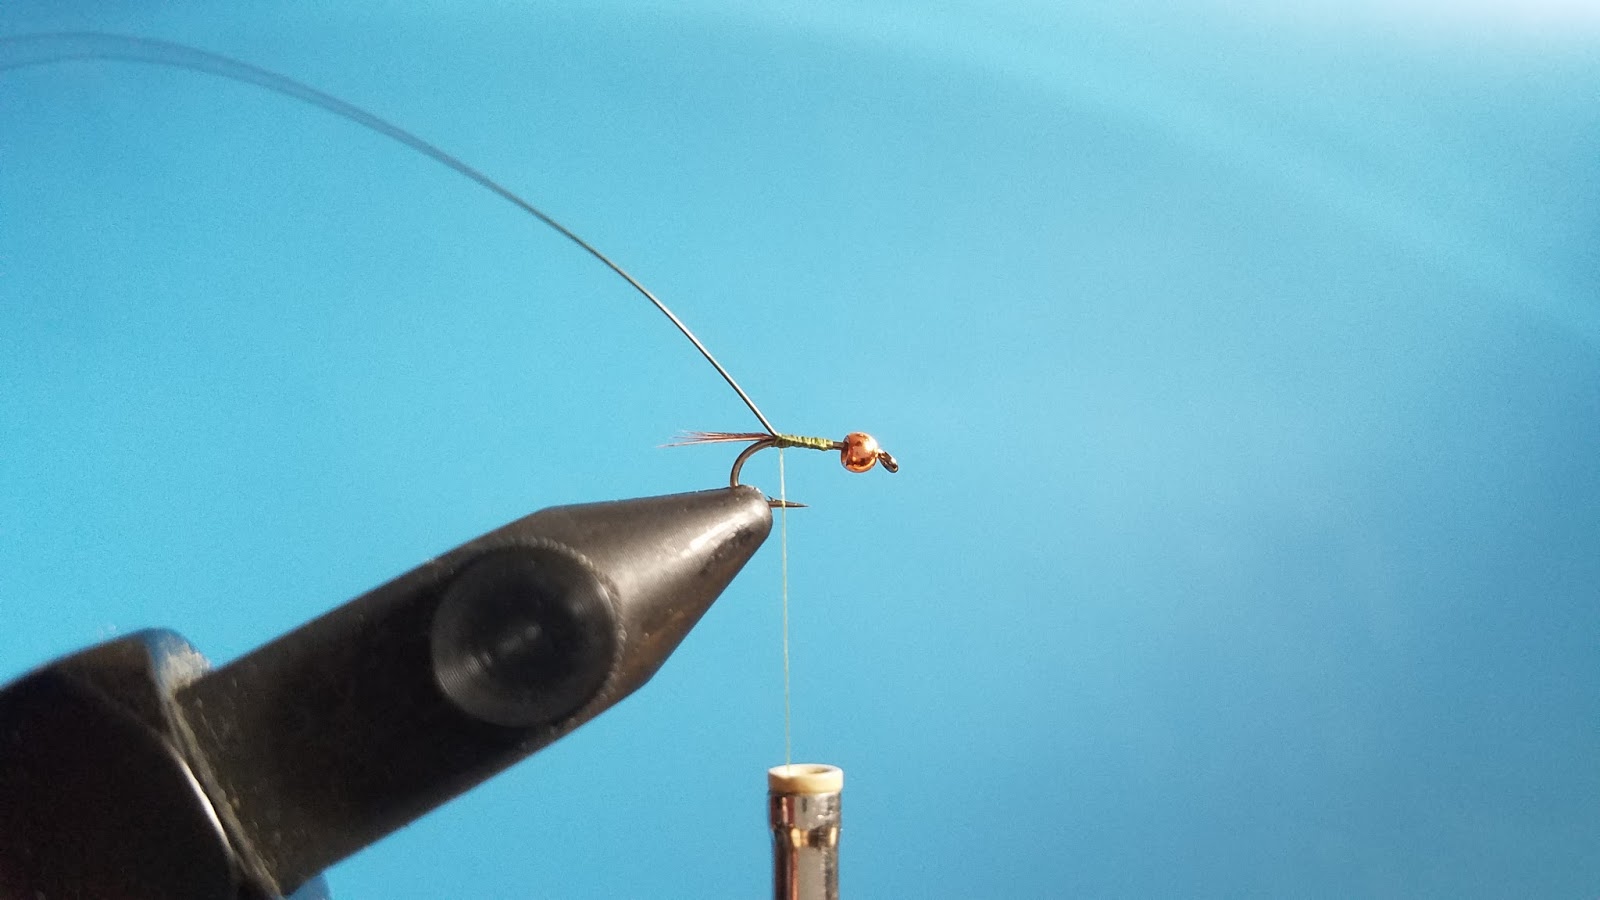
Step 3 – Next tie in your olive wire. Note that the original recipe uses a solid dark olive wire rather than the shiny variant.
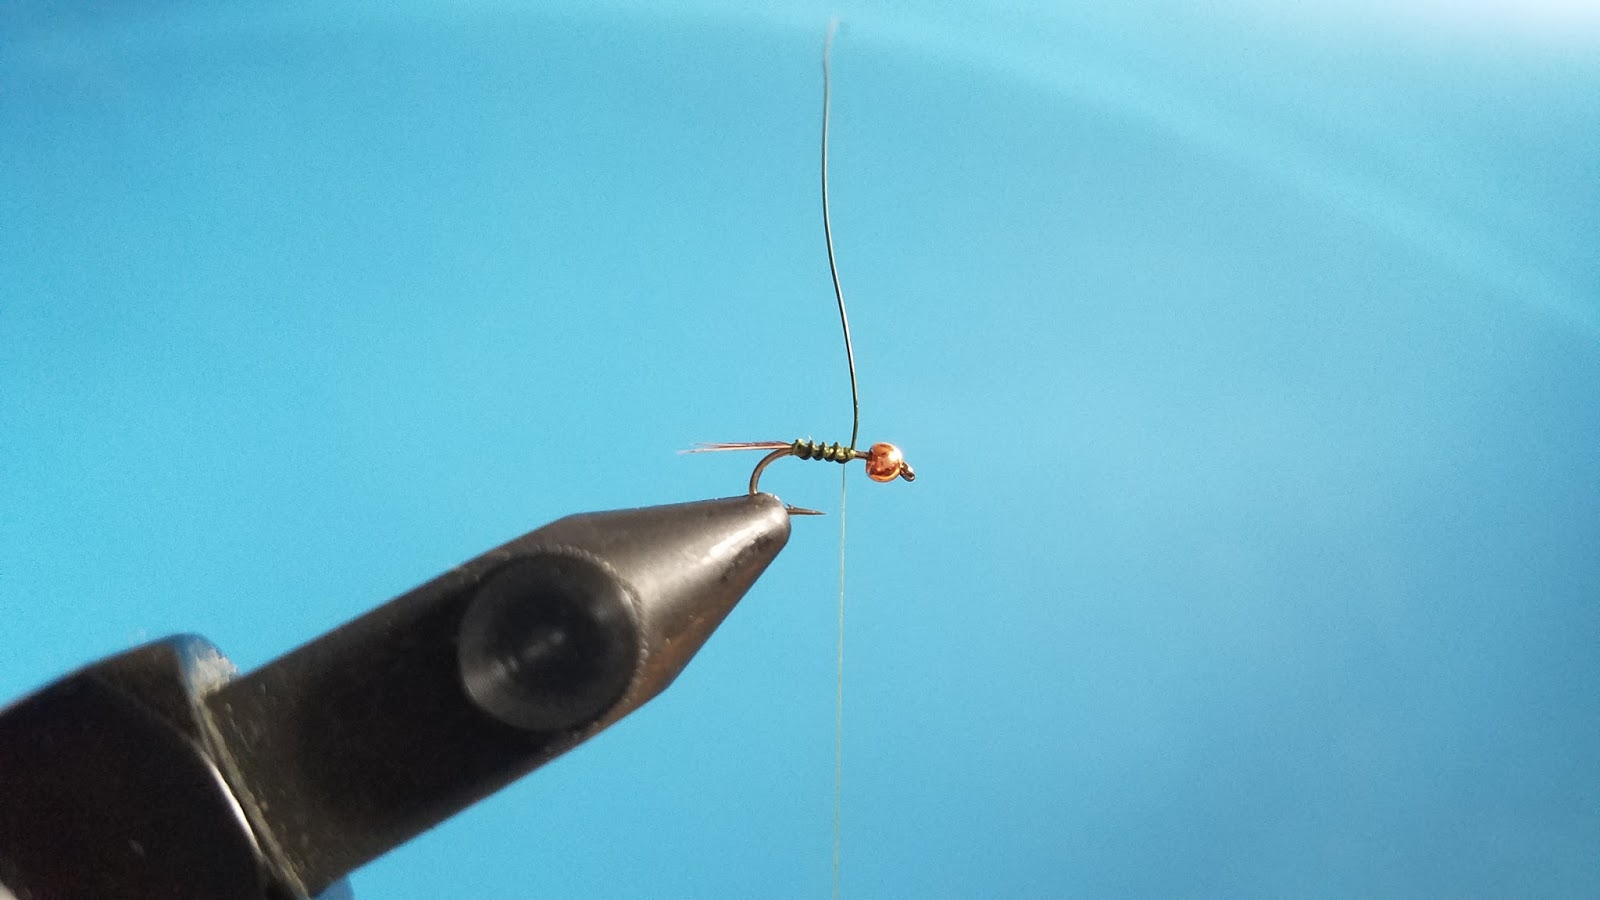
Step 4 – Make a few turns with your wire to form the segments of the abdomen and cut off the excess.
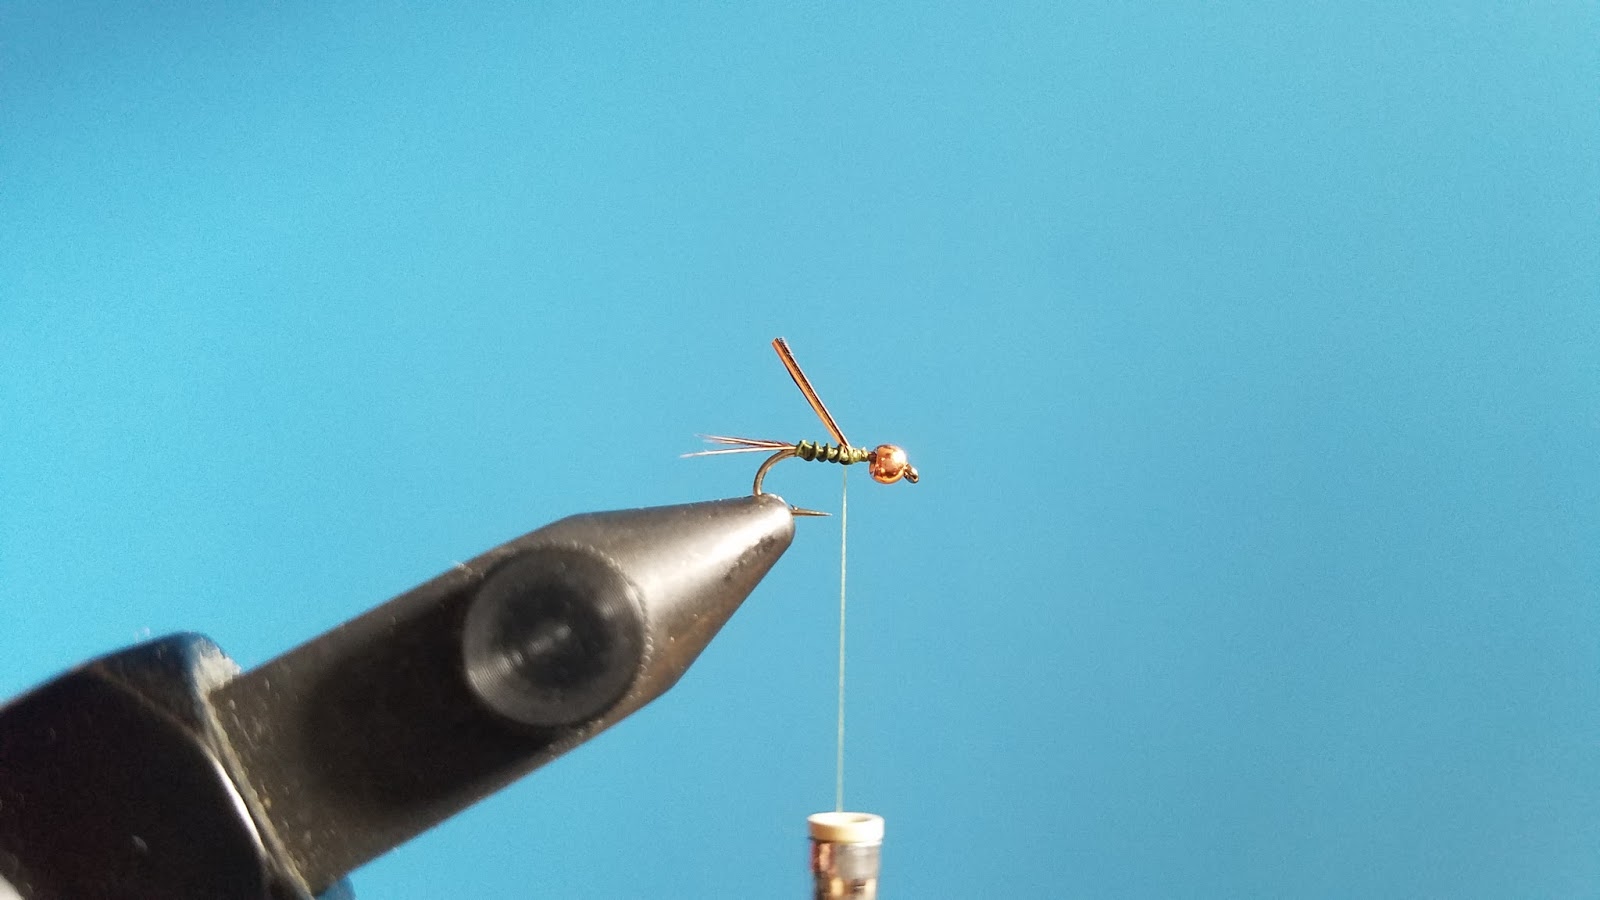
Step 5 – For the goose biot wingcase cut off a bit of the pointed end to get full use of the fiber. Tie in the biot.
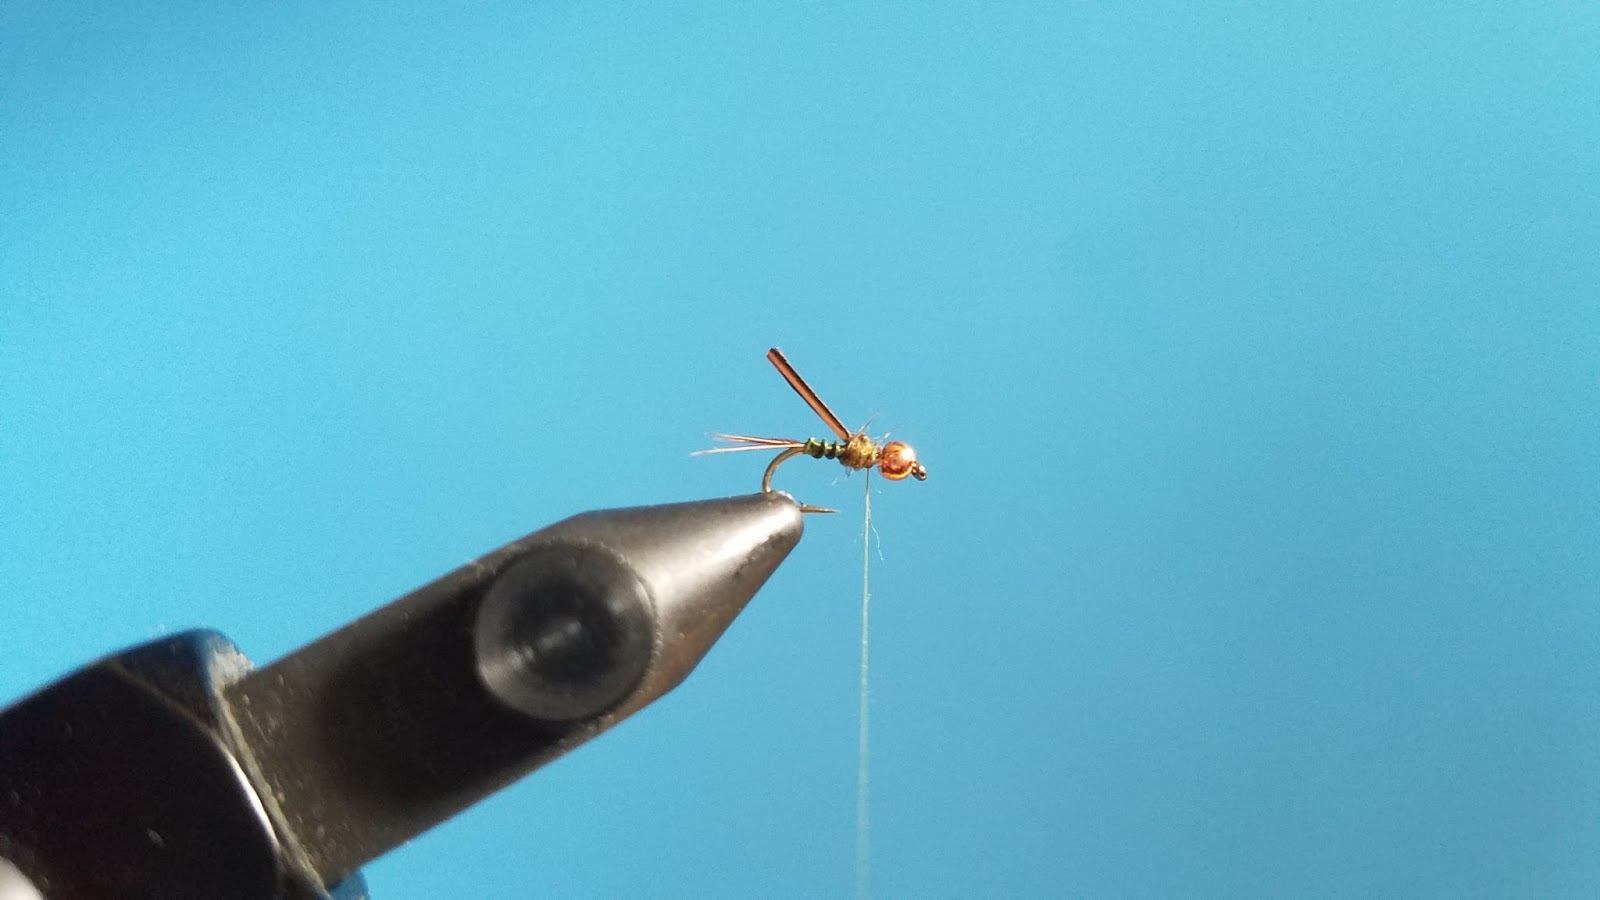
Step 6 – Tie in a bit of dubbing about halfway up the shank of the bare hook.
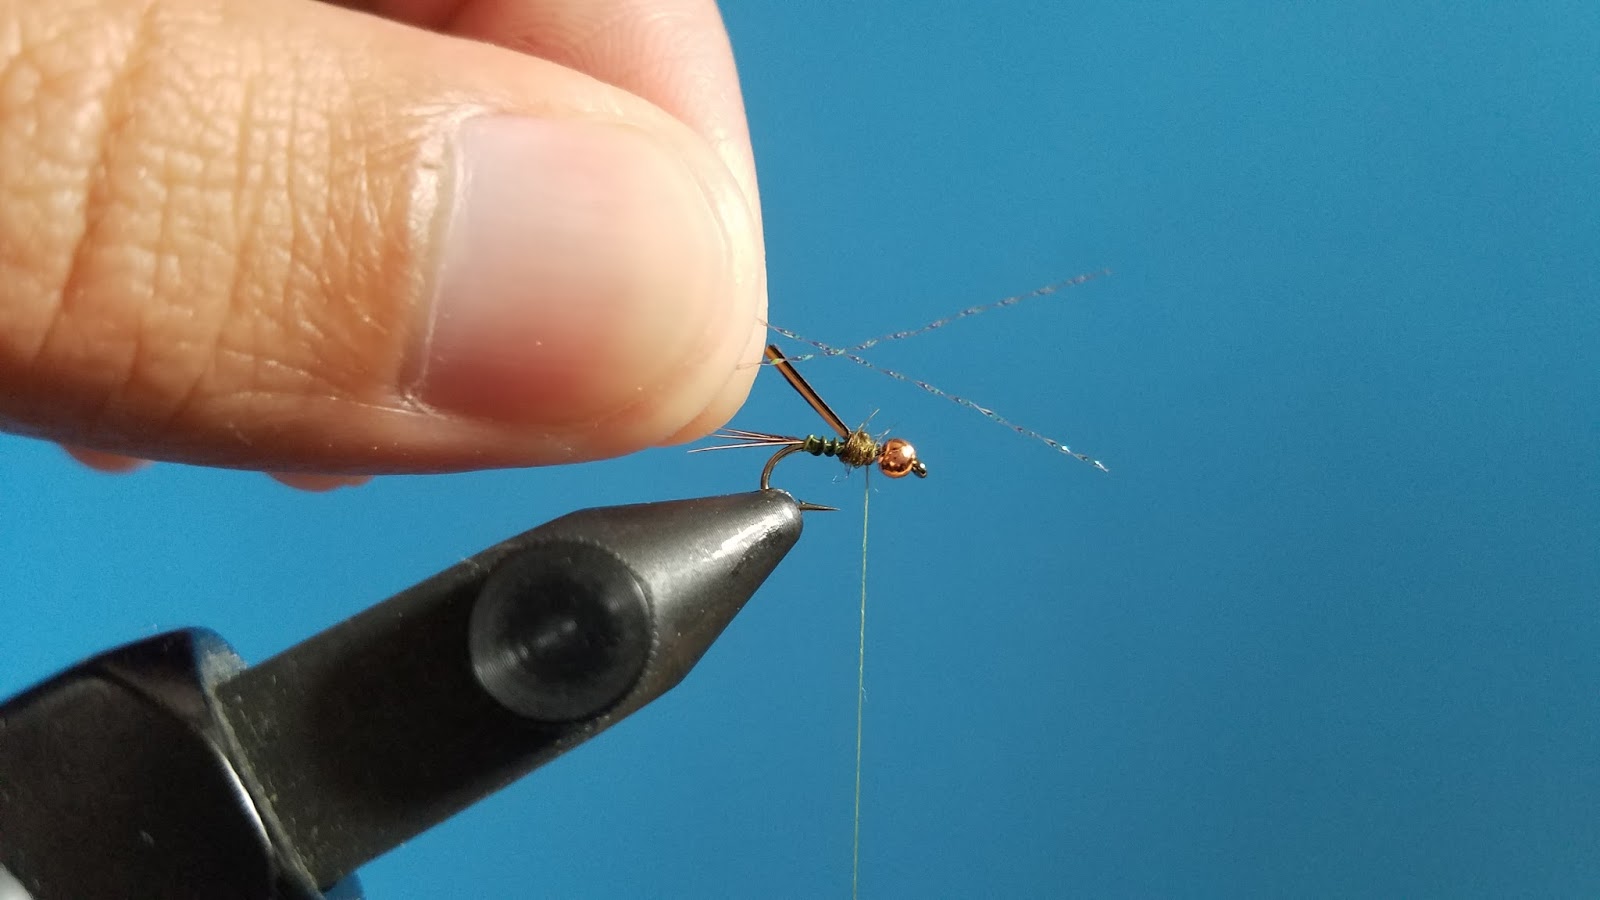
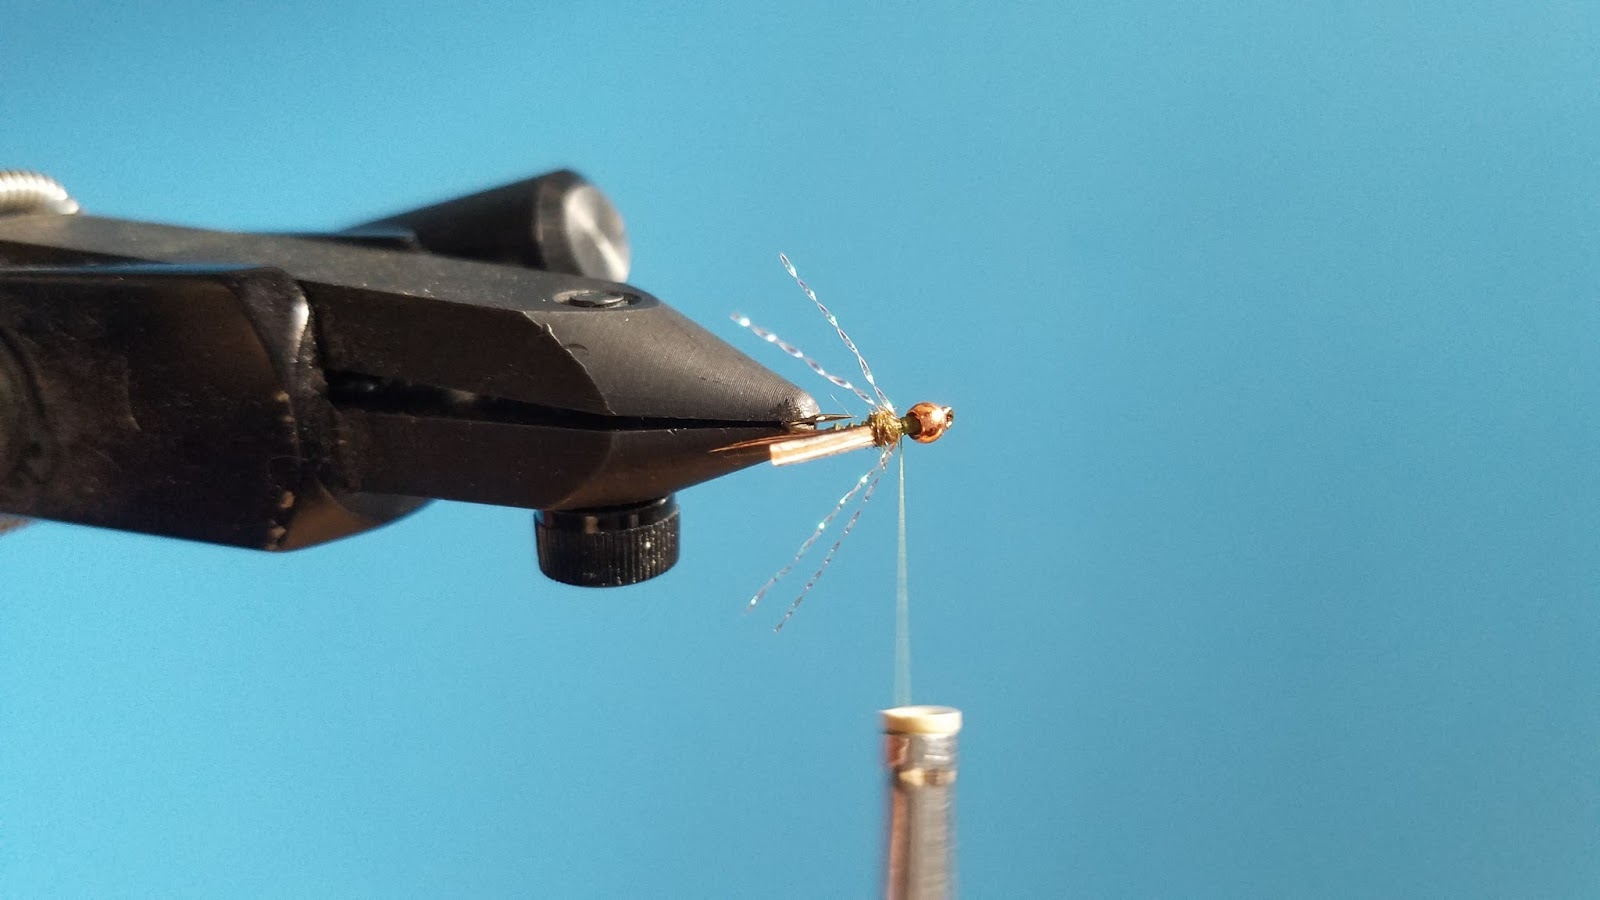
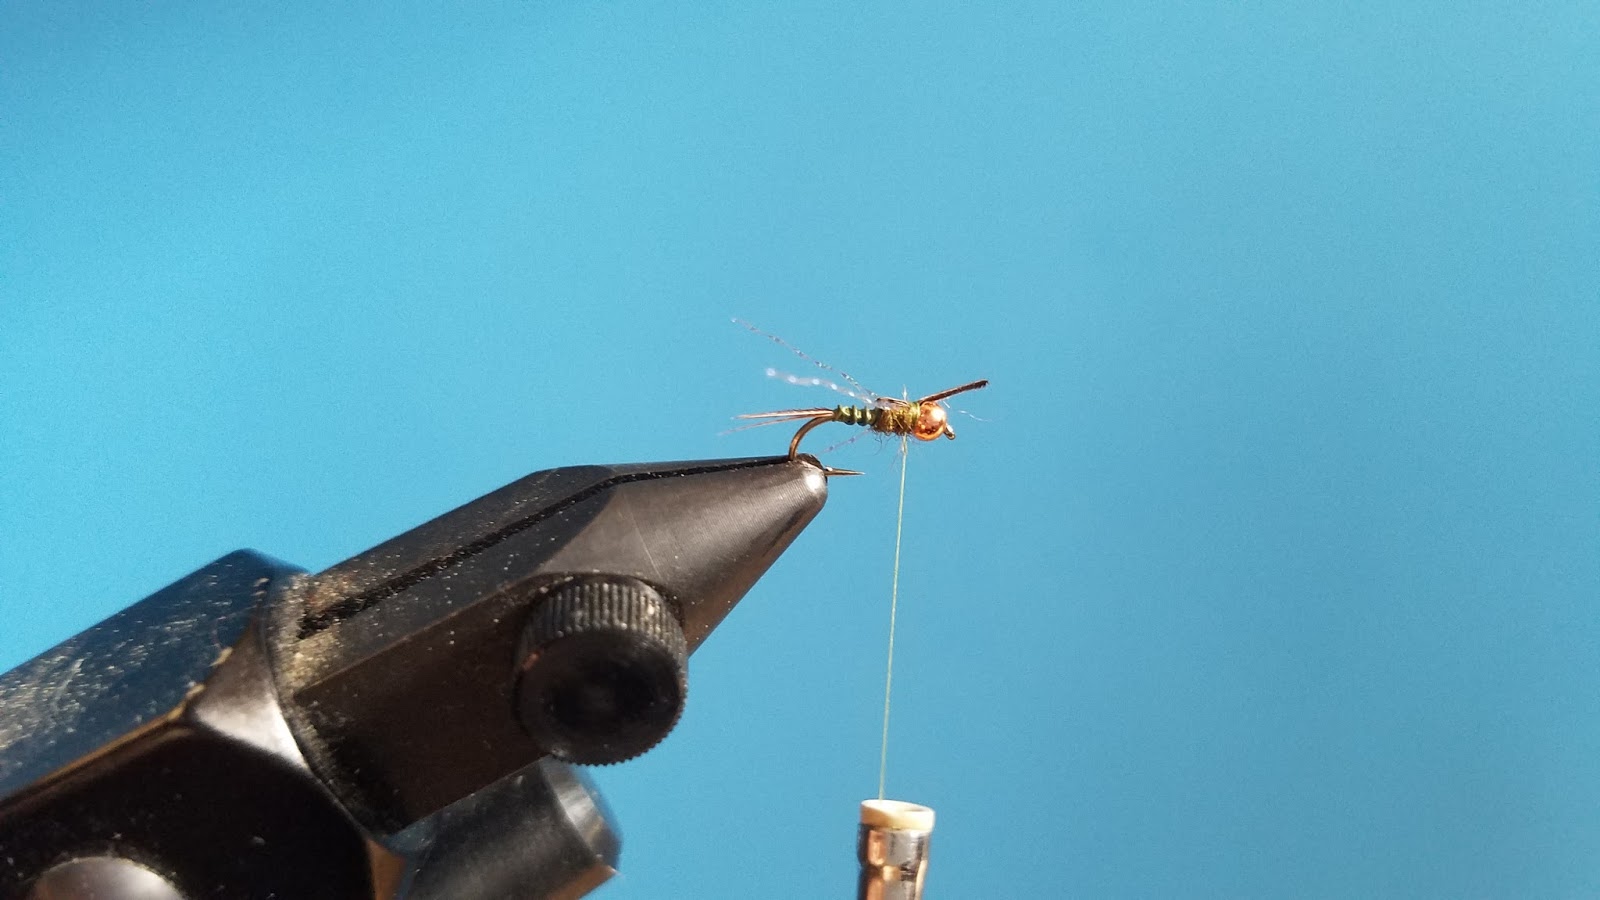
Step 7 – For the krystal flash legs I like to cross two strands like an X and tie them in with a figure eight wrap. To secure I will pull the strands back and make a few thread wraps while trying to them keep them in place.
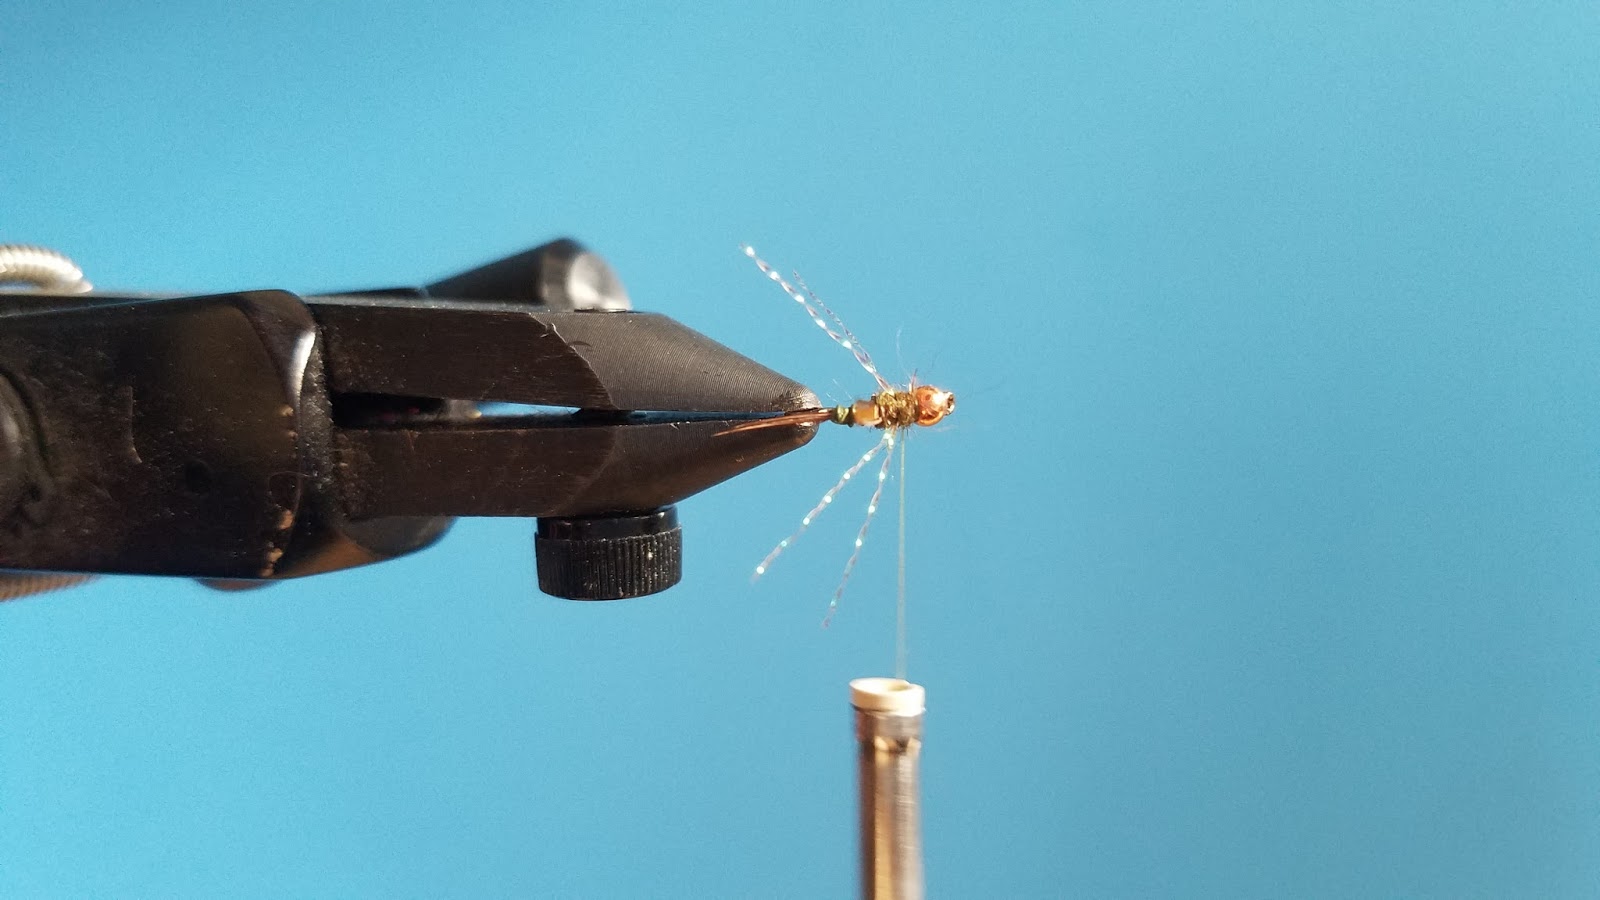
Step 8 – Dub the rest of the hook. You may need to add a bit more dubbing behind the copper bead in order to create the proper tapered look of the fly.
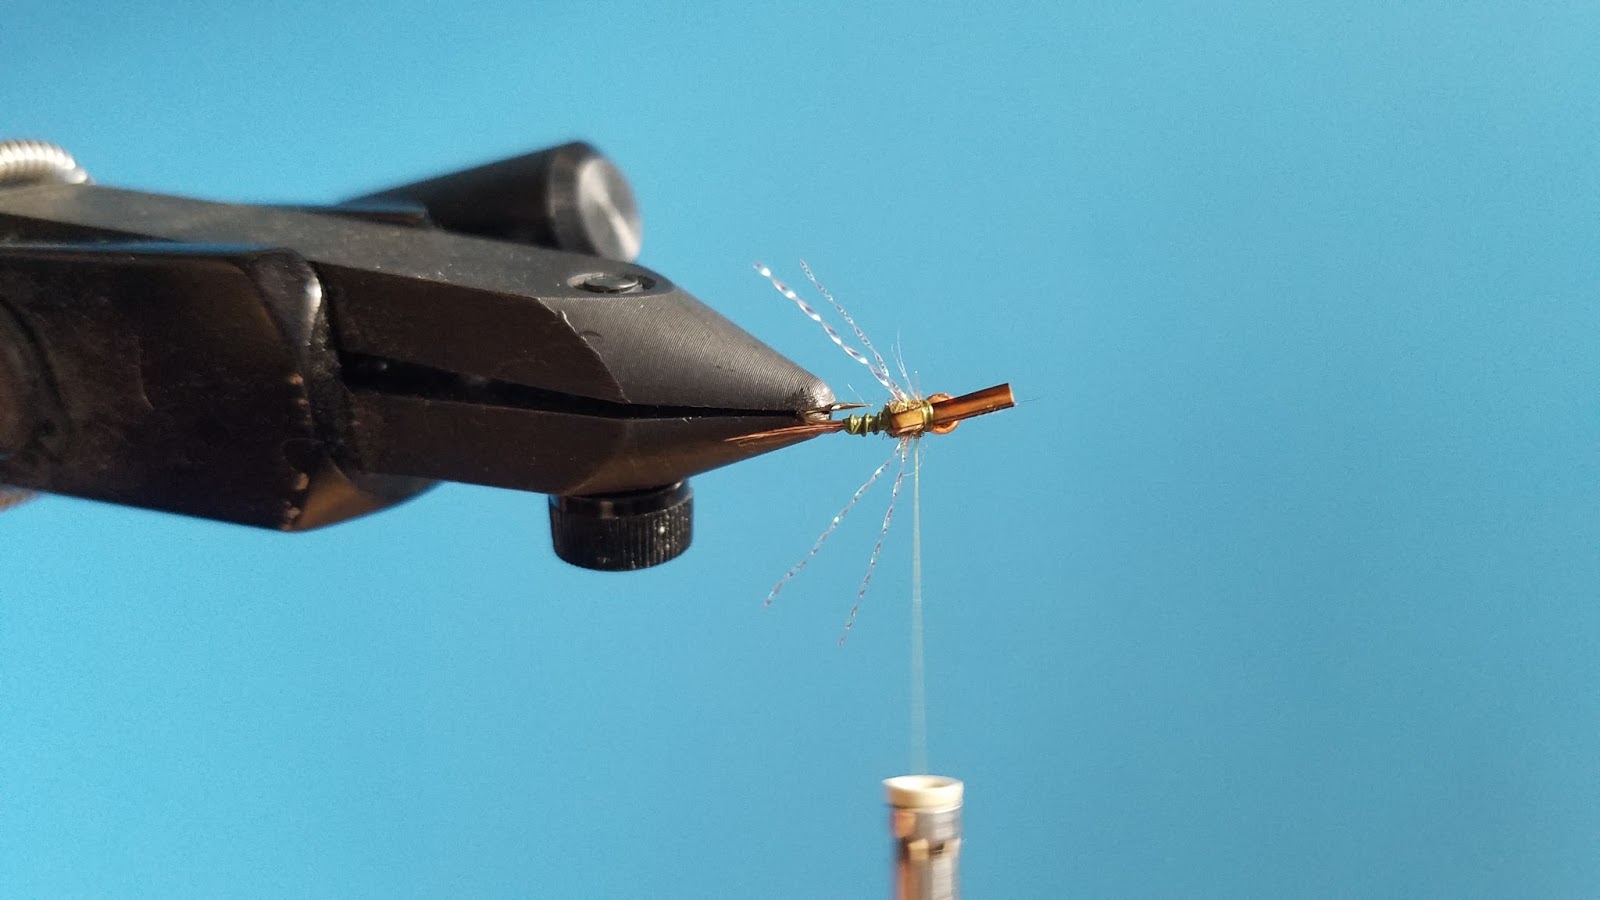
Step 9 – Fold the goose biot over. Make a few wraps to secure and whip finish twice for durability.
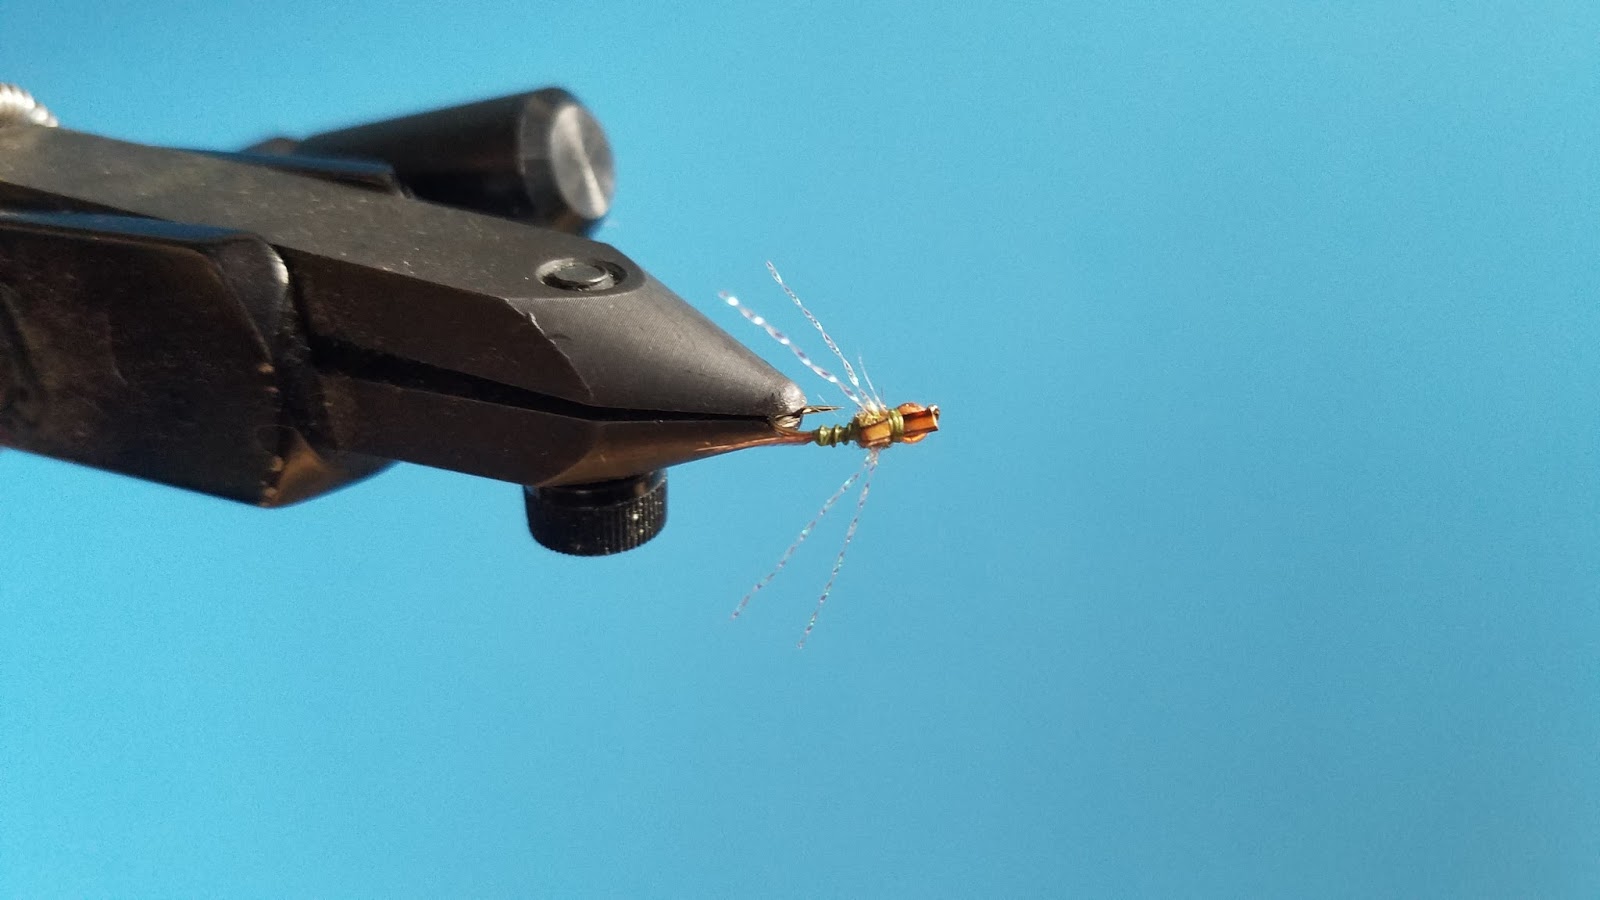
Step 10 – Cut off the excess goose biot so that it folds just over the beadhead.
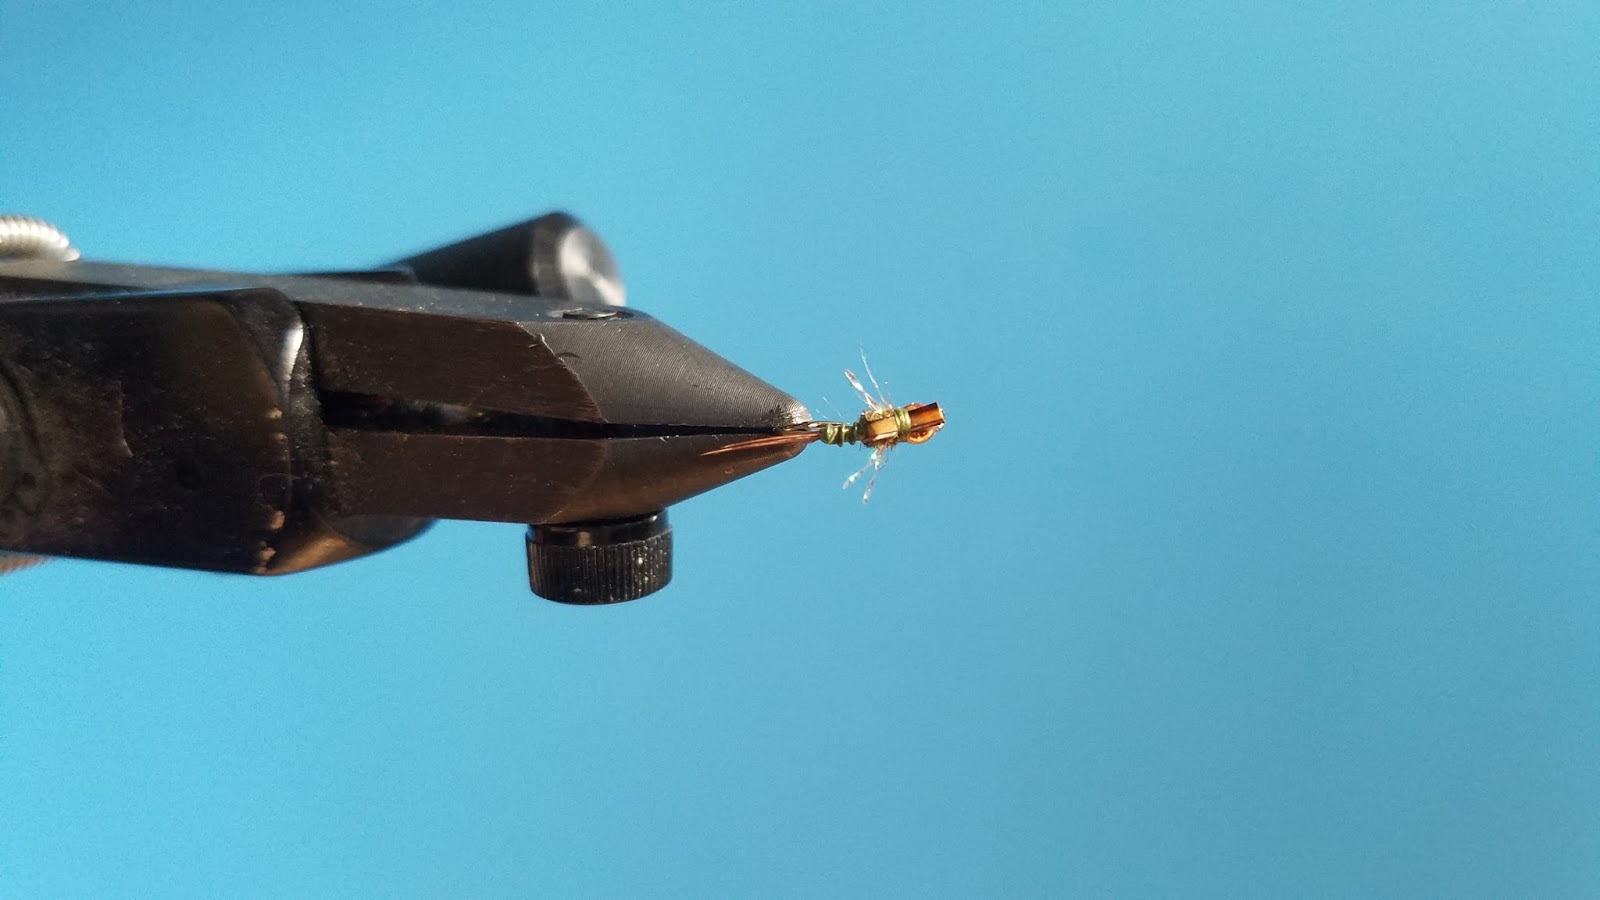
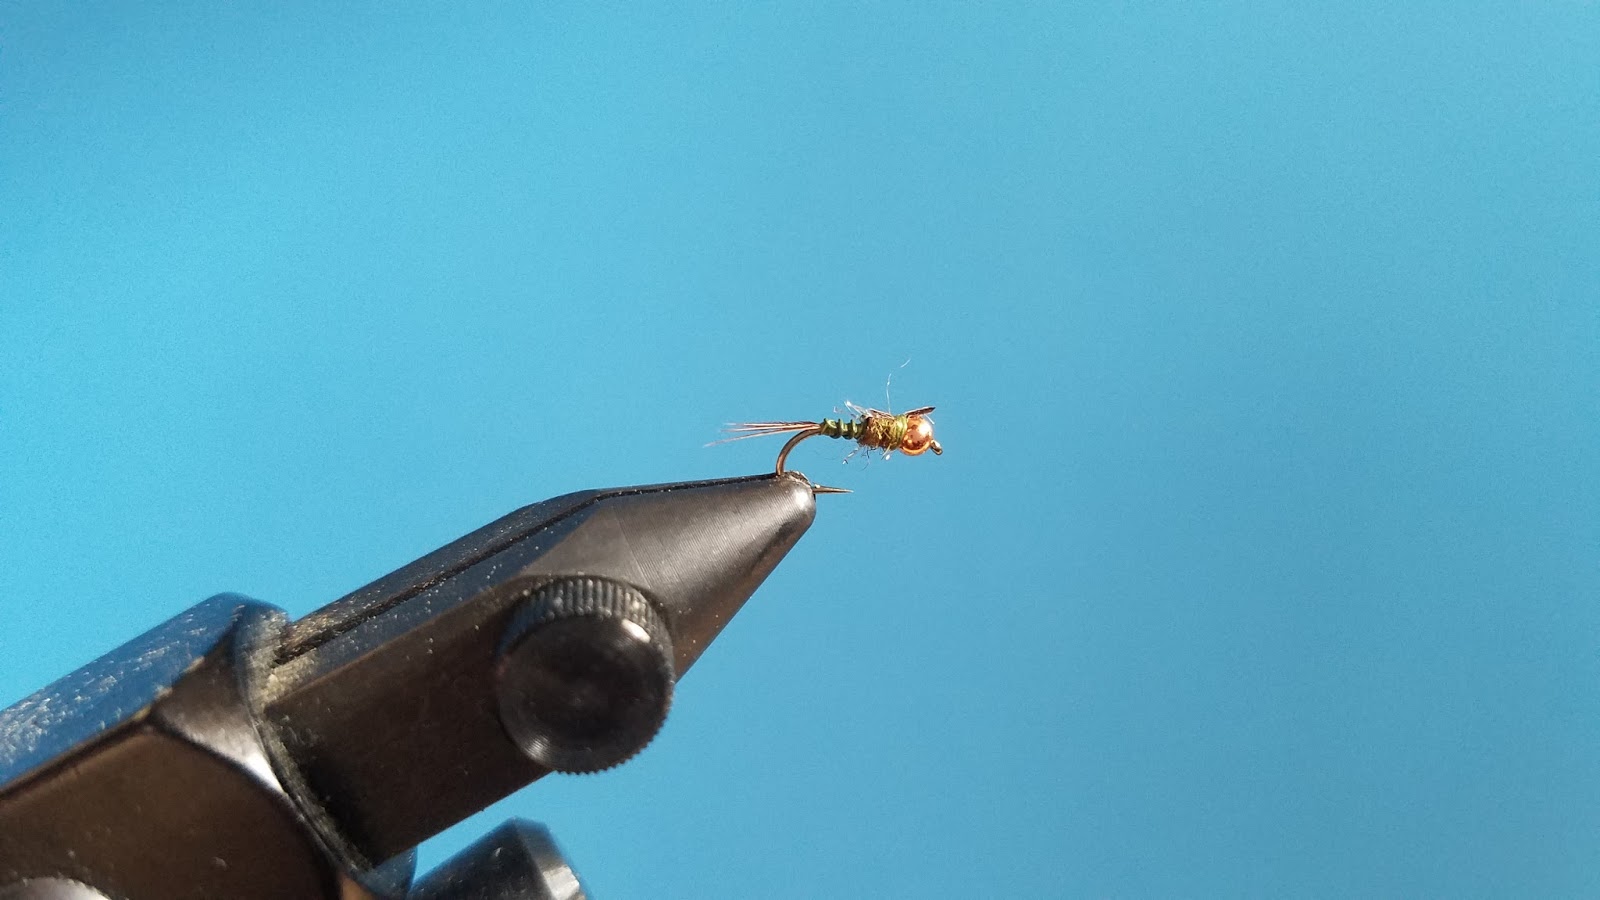
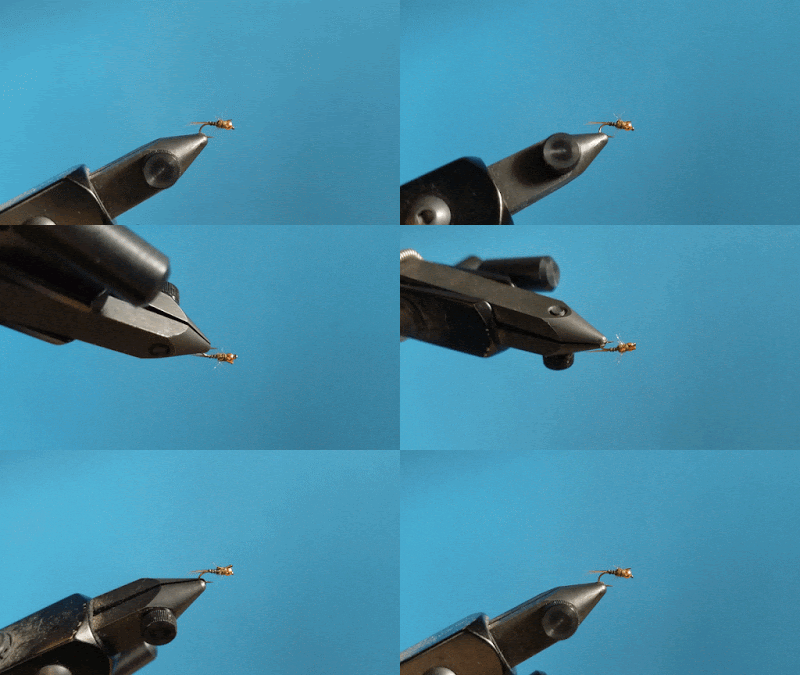
Step 11 – Cut off the excess krystal flash. I like to pull back the krystal flash back towards the bend of the hook and cut were the strand meets the bend.
Fly Tying

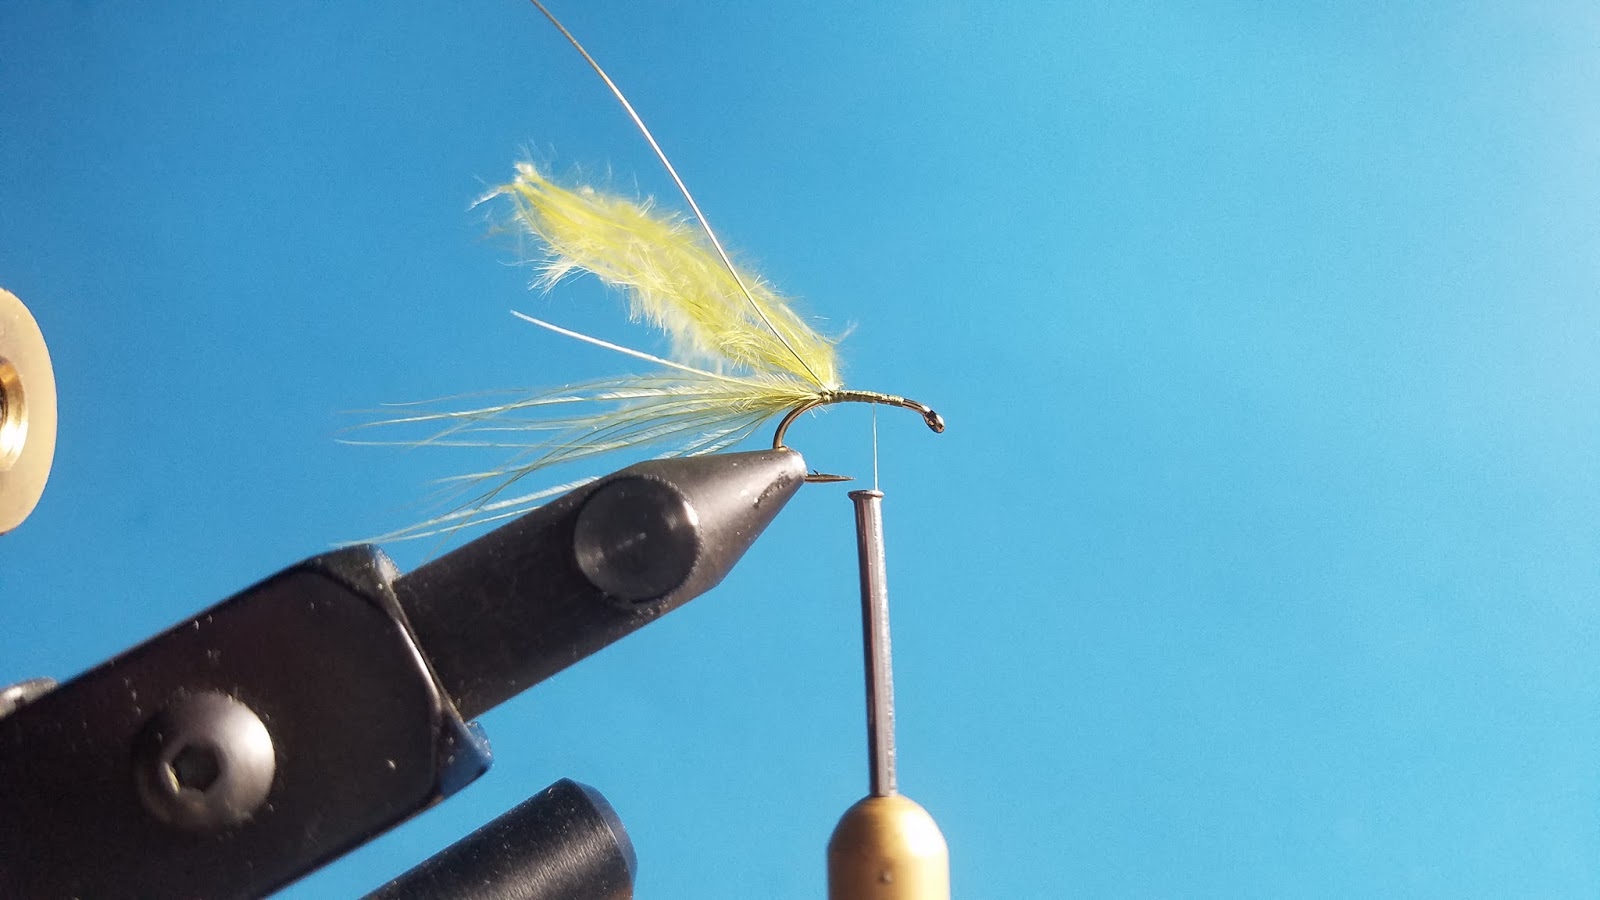
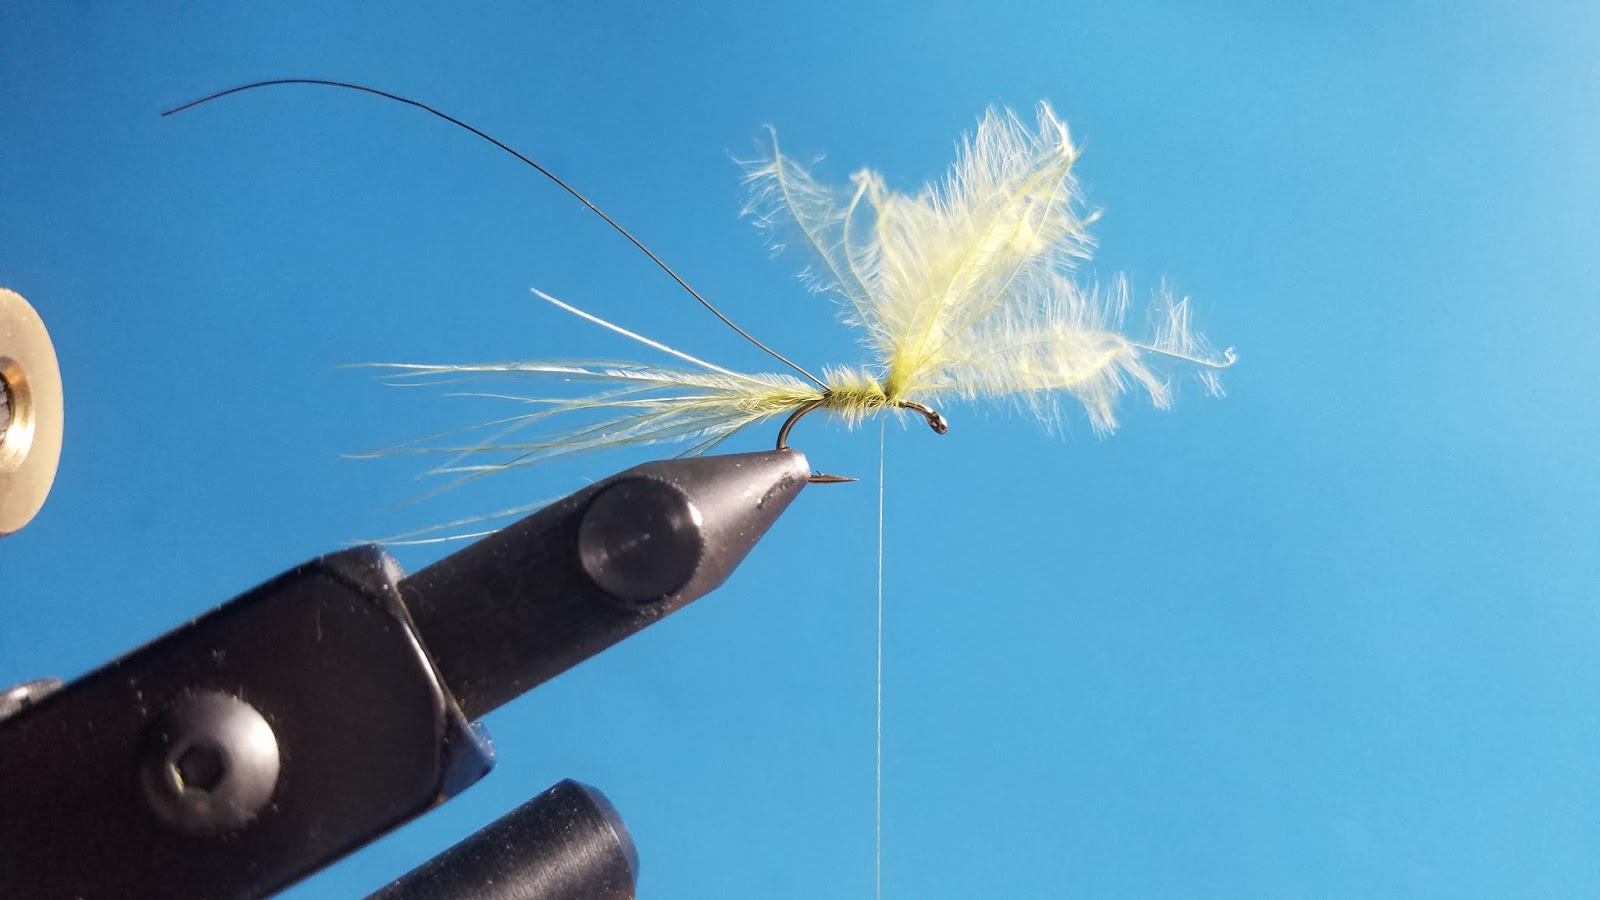
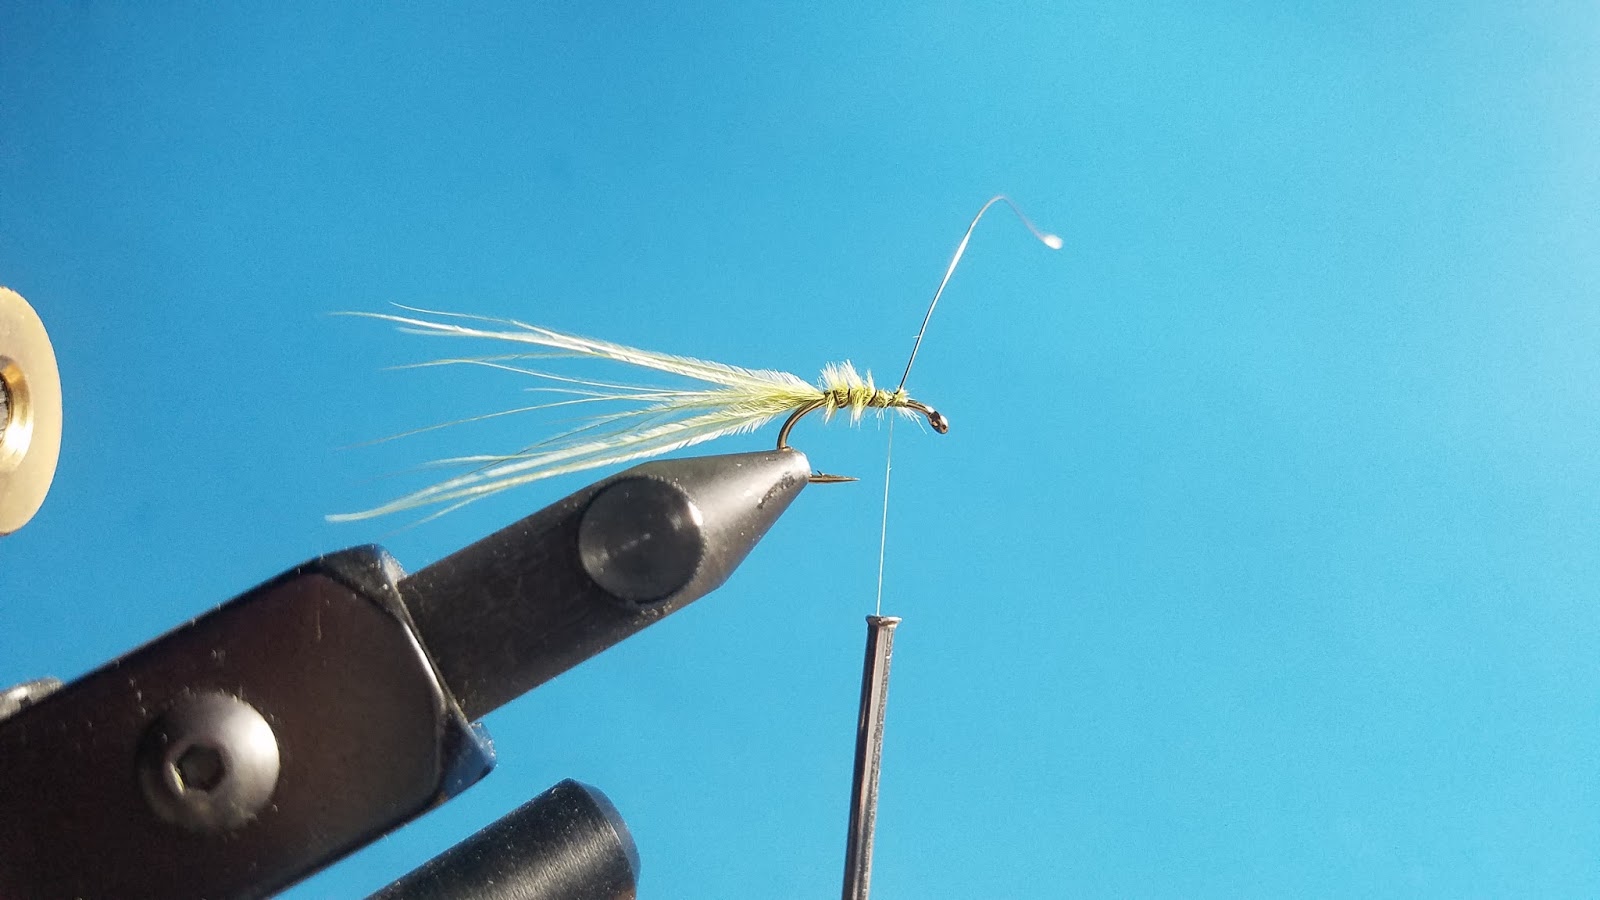
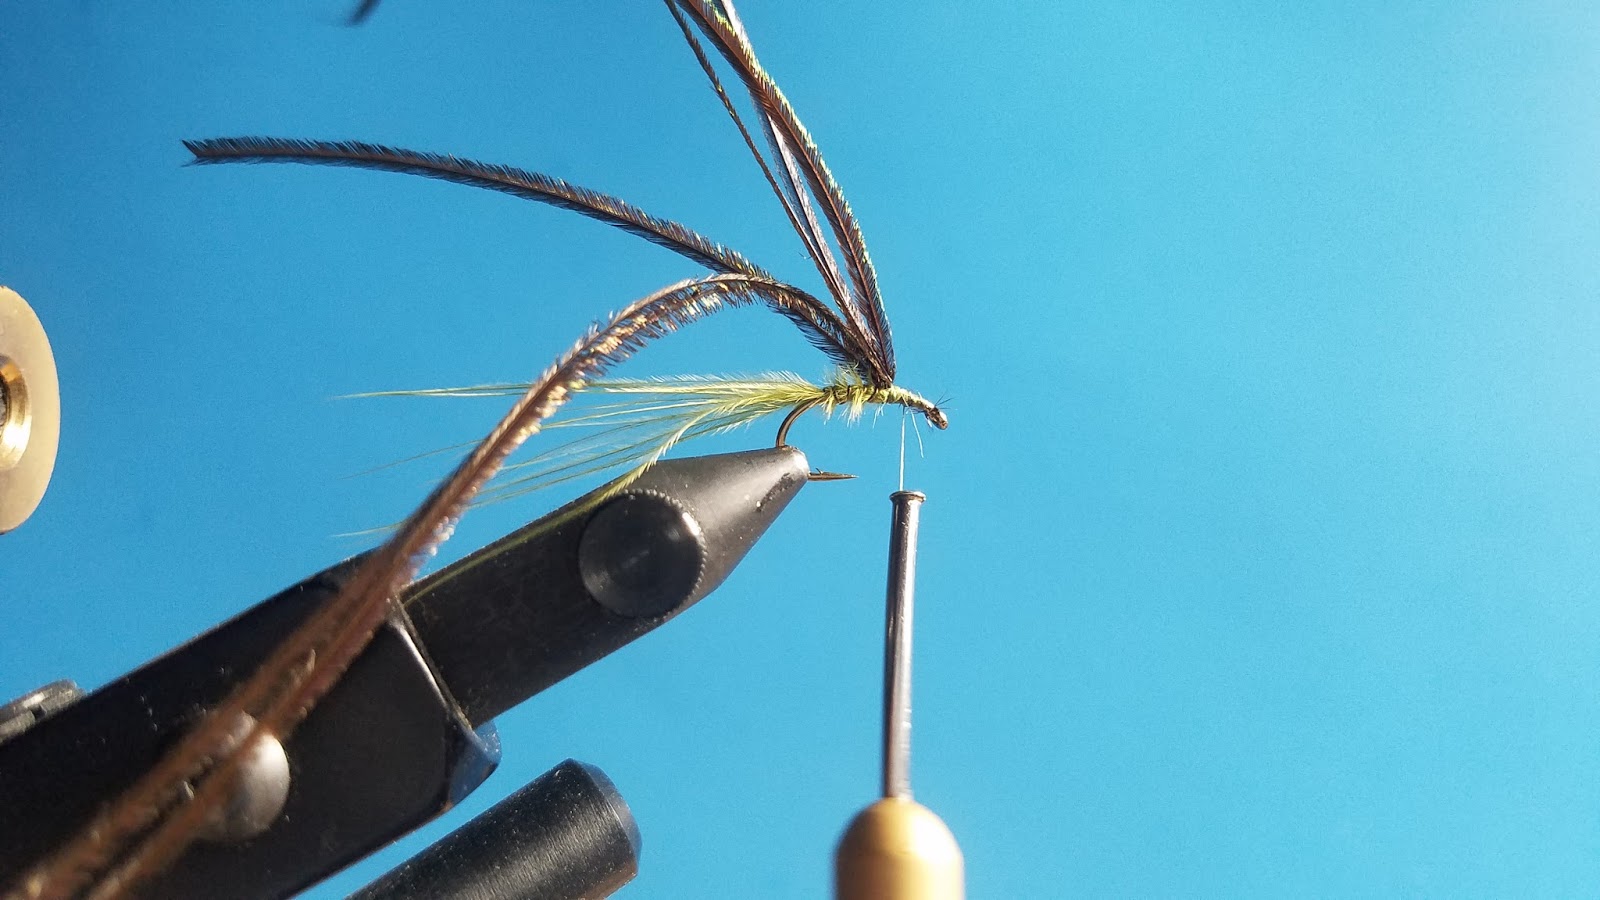
Fly Tying: Dancing Damsel

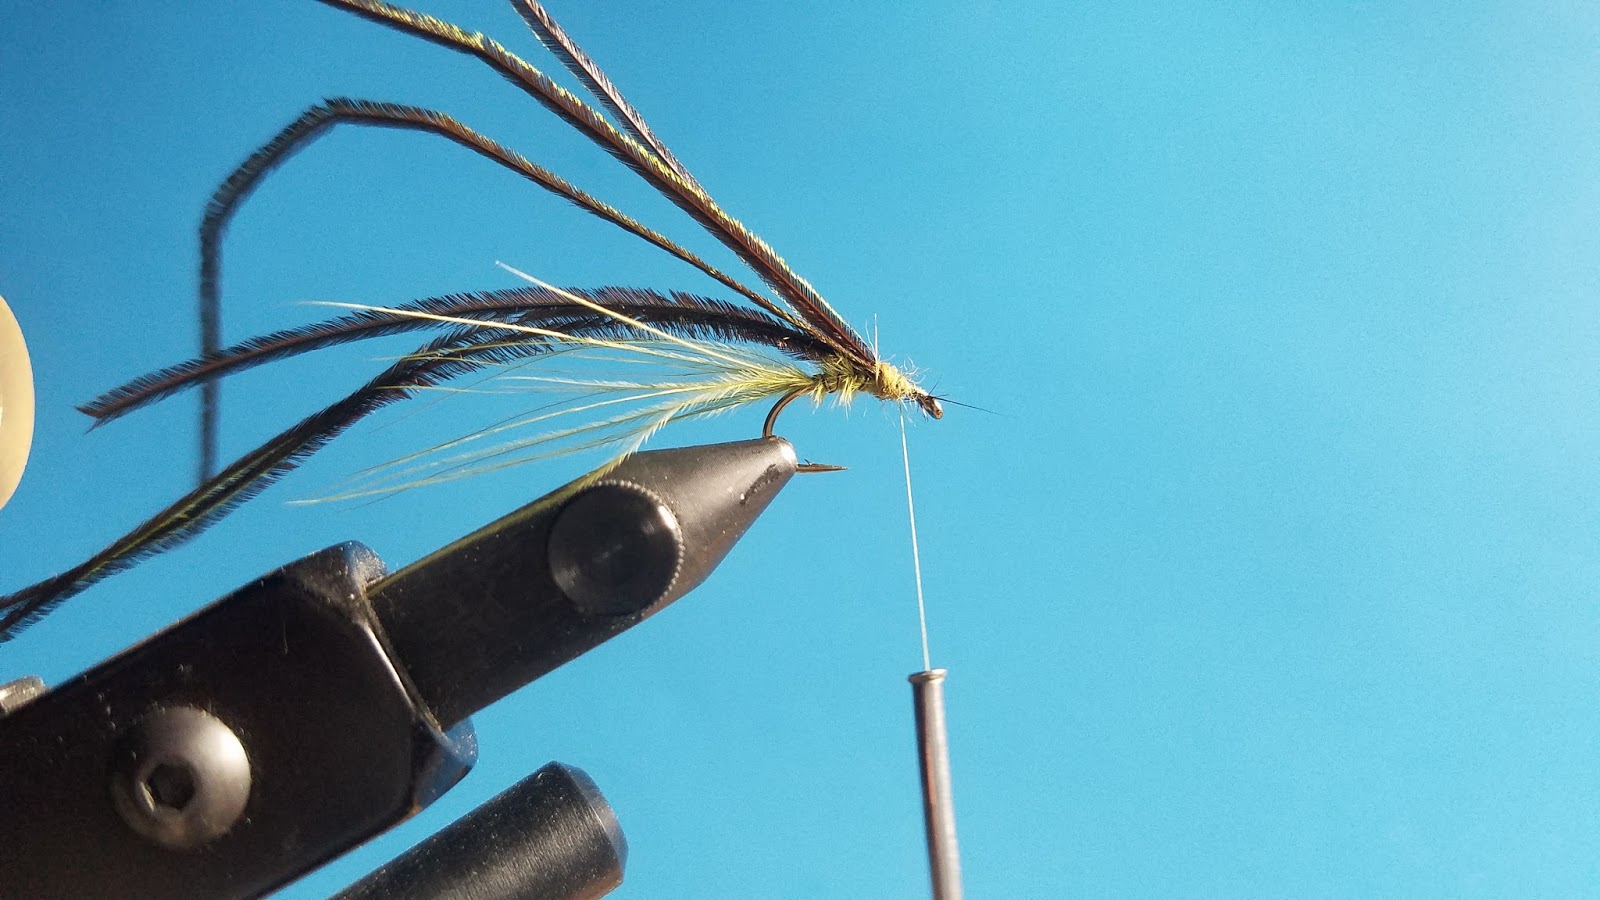
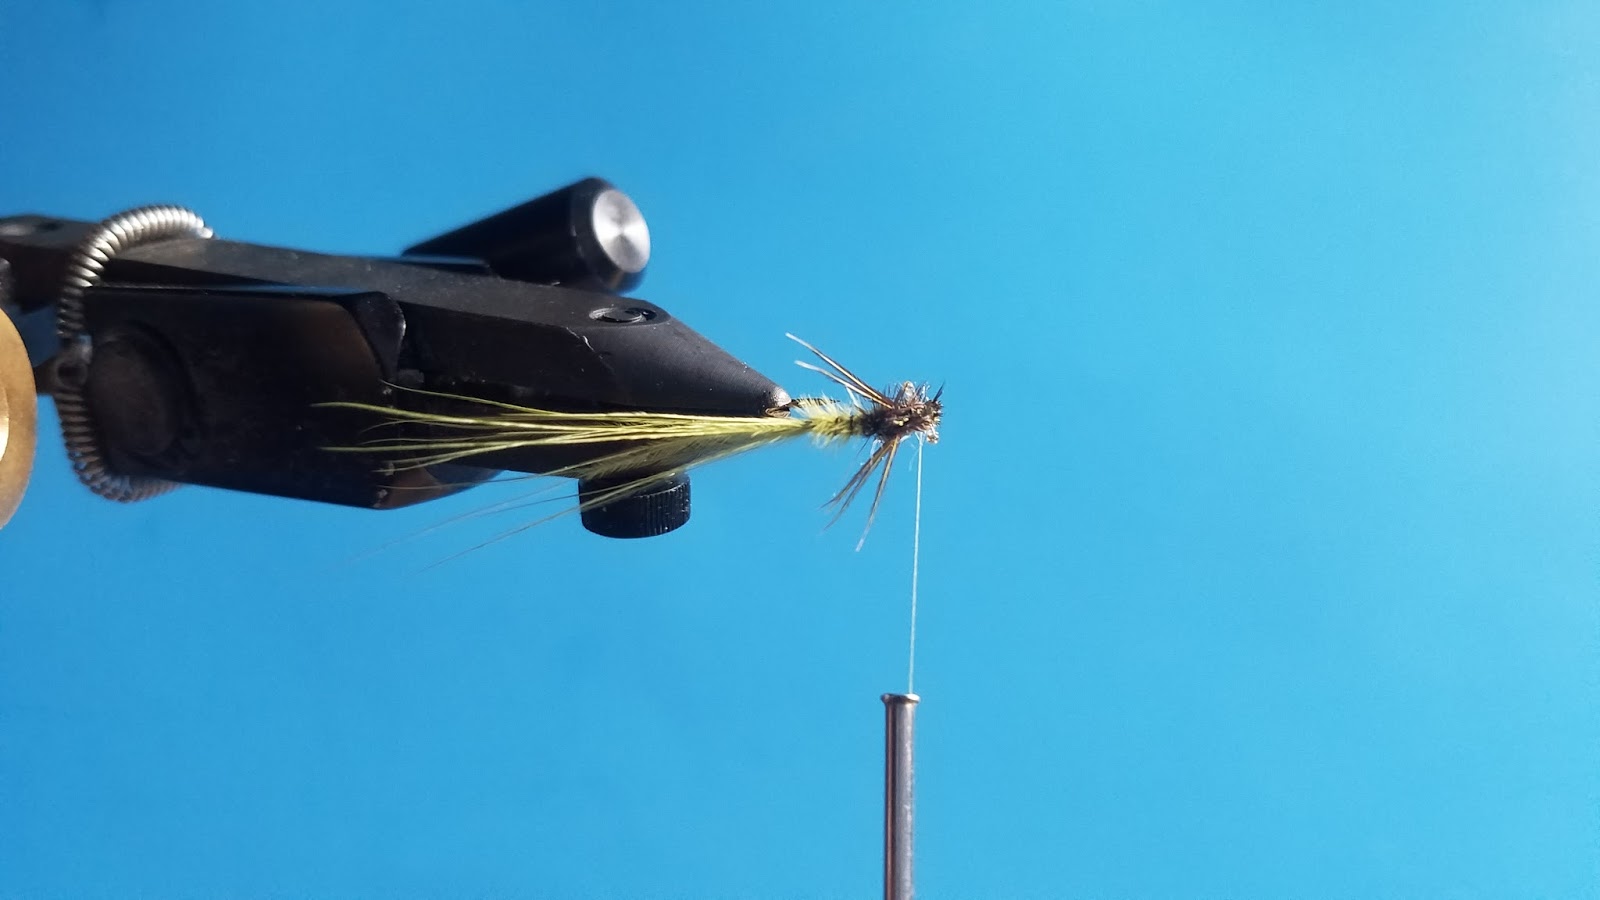
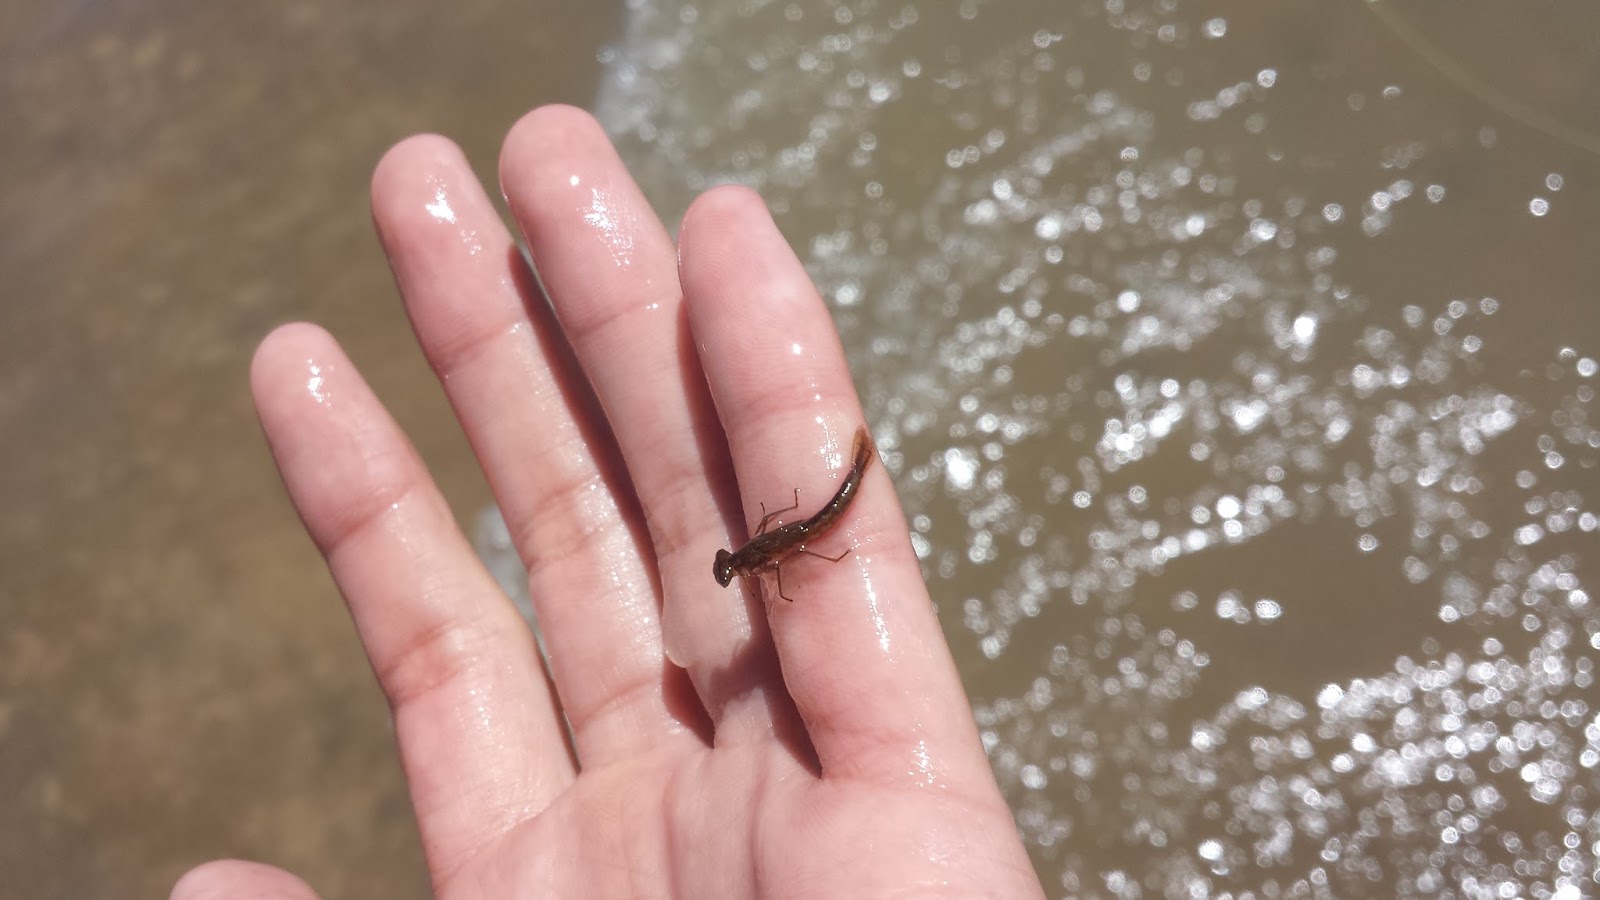
Damselflies will often make their first appearance when the water temperatures rise in the late spring and early summer. Although they can be found in virtually every body of water they are particularly abundant in weedy shallow lakes. The great damsel migration begins when large numbers of damsel nymphs begin to wiggle away from their underwater homes to try and reach the shore where they climb to the surface to molt into adults. Aquatic predators will often key in on the migration and gorge themselves until the migration ends.

The Dancing Damsel is a pattern that I came up with to try and match the naturals that I observed. During the migration the fish aren’t too particular about what patterns you use however they soon wise up as the fishing pressure increases and they are continuously fooled.

I believe that most commercially available damsel nymph patterns are either too big or too long. The majority of the nymphs I’ve observed here in California are a little bit over an inch long with slim bodies. Tie this fly in light olive, olive, and brown to match the naturals. Fish hunting damsel nymphs are usually cruising near the surface therefore a floating line with a 4x leader will get the job done. Use slow short strips and make three to five second pauses in-between each strip. Strikes can be subtle so be prepared.

Dancing Damsel

Material List
TMC – 2457 – Size 14
Uni-Thread – 8/0 – Olive
Mono Eyes – 10# 0.012′ test
UTC Ultra Wire – Olive
Mercer’s Buggy Dubbing – Olive
Peacock Herl
Marabou Plume – Light Olive
Pheasant Tail – Olive

Fly Tying Instructions

Step 1 – Set up your hook

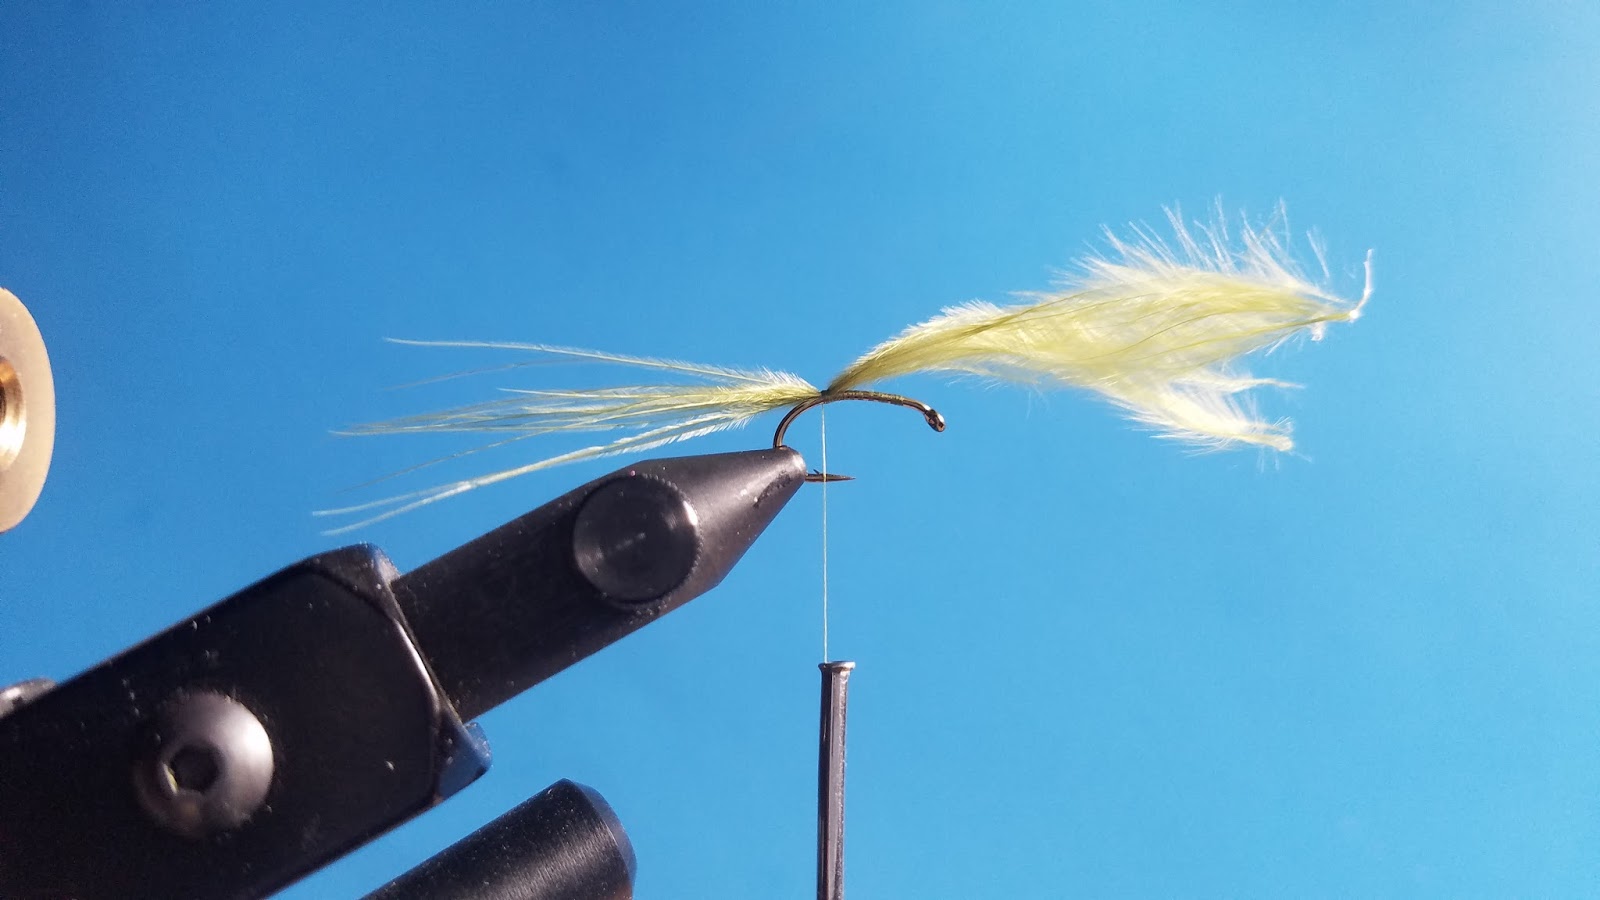
Step 2 – Start your thread and tie in about ten strands of marabou fibers.

Step 3 – Tie in your wire

Step 4 – Wrap the excess marabou fiber butts to about 2/3rds the eye of the hook and cut off the remaining excess.

Step 5 – Wrap the wire to form the ribbing.

Step 6 – Tie in about five strands of peacock herl. Pull them back for now so that they are out of the way.

Step 7 – Dub in some dubbing halfway up the bare shank.

Step 8 – Tie in three pheasant tails fibers on each side to represent the legs.

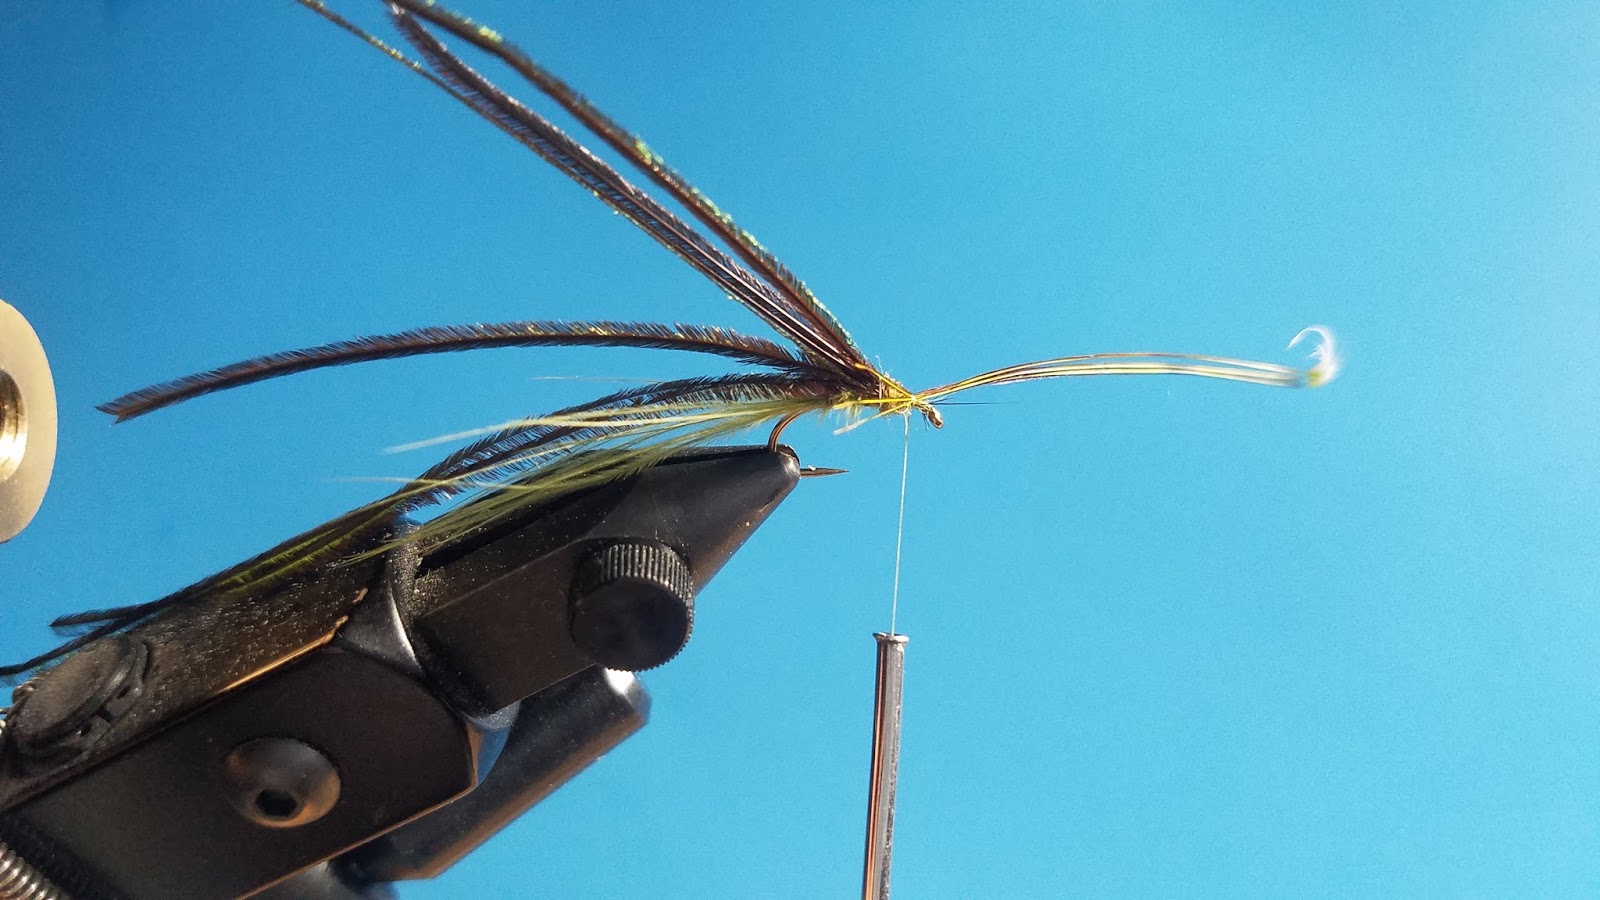
Step 9 – To make the mono eyes cut off a bit of 10# monofilament and burn off the ends until you get the shape you want. Tie in the mono eyes using a few figure-eight wraps.

Step 10 – Add in a bit more dubbing to hide the legs.

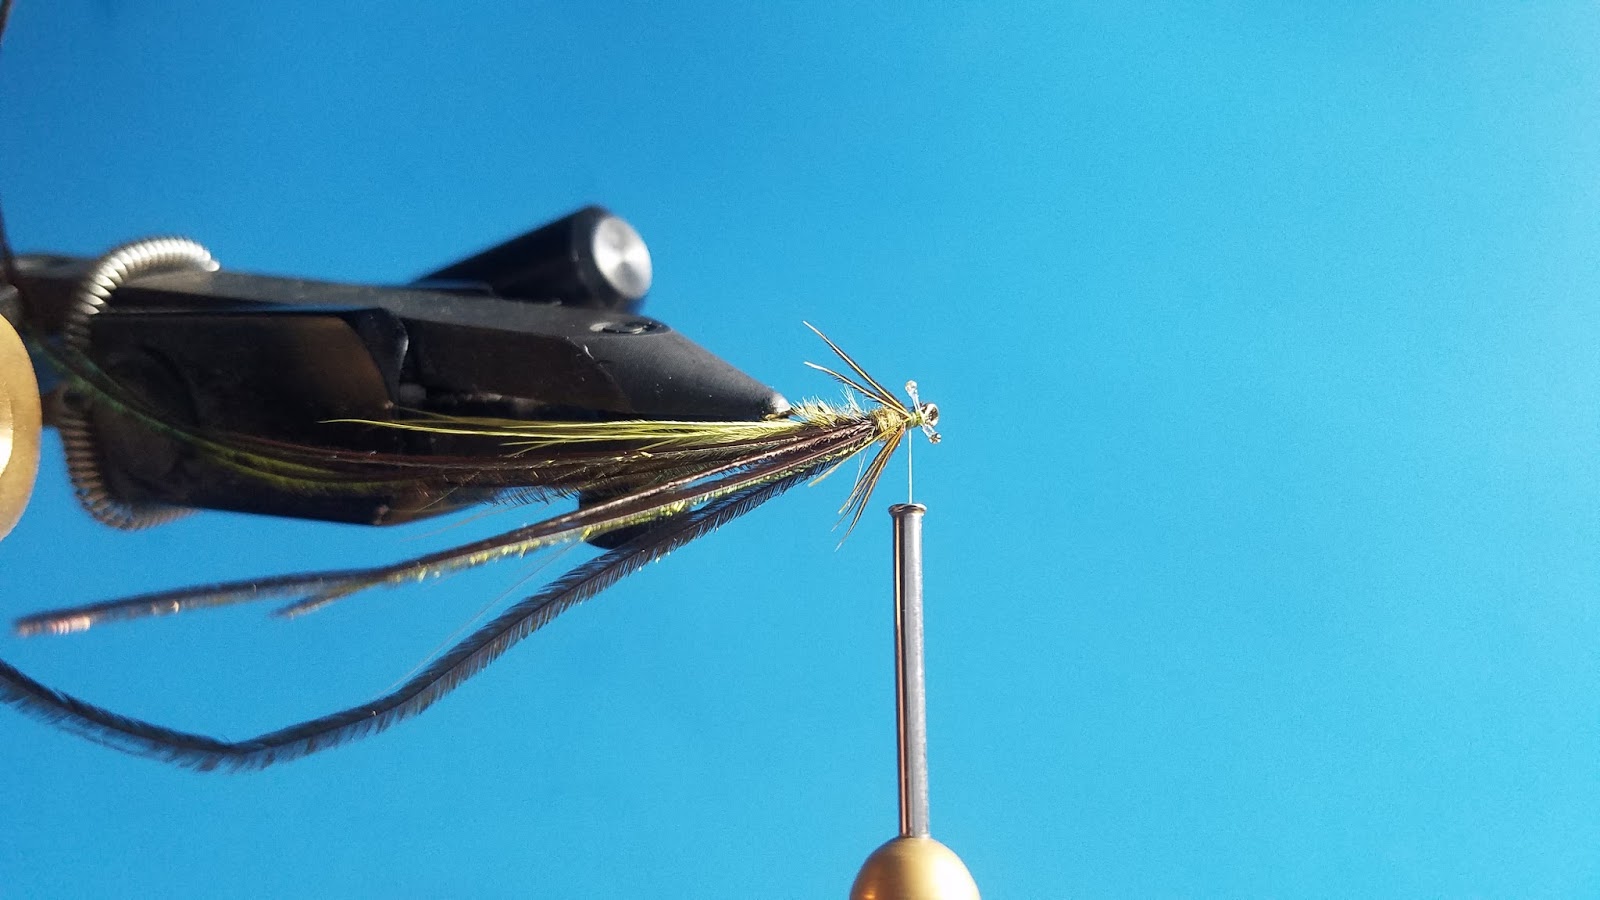
Step 11 – Pull the peacock herl fibers over the mono eyes and cut the excess.

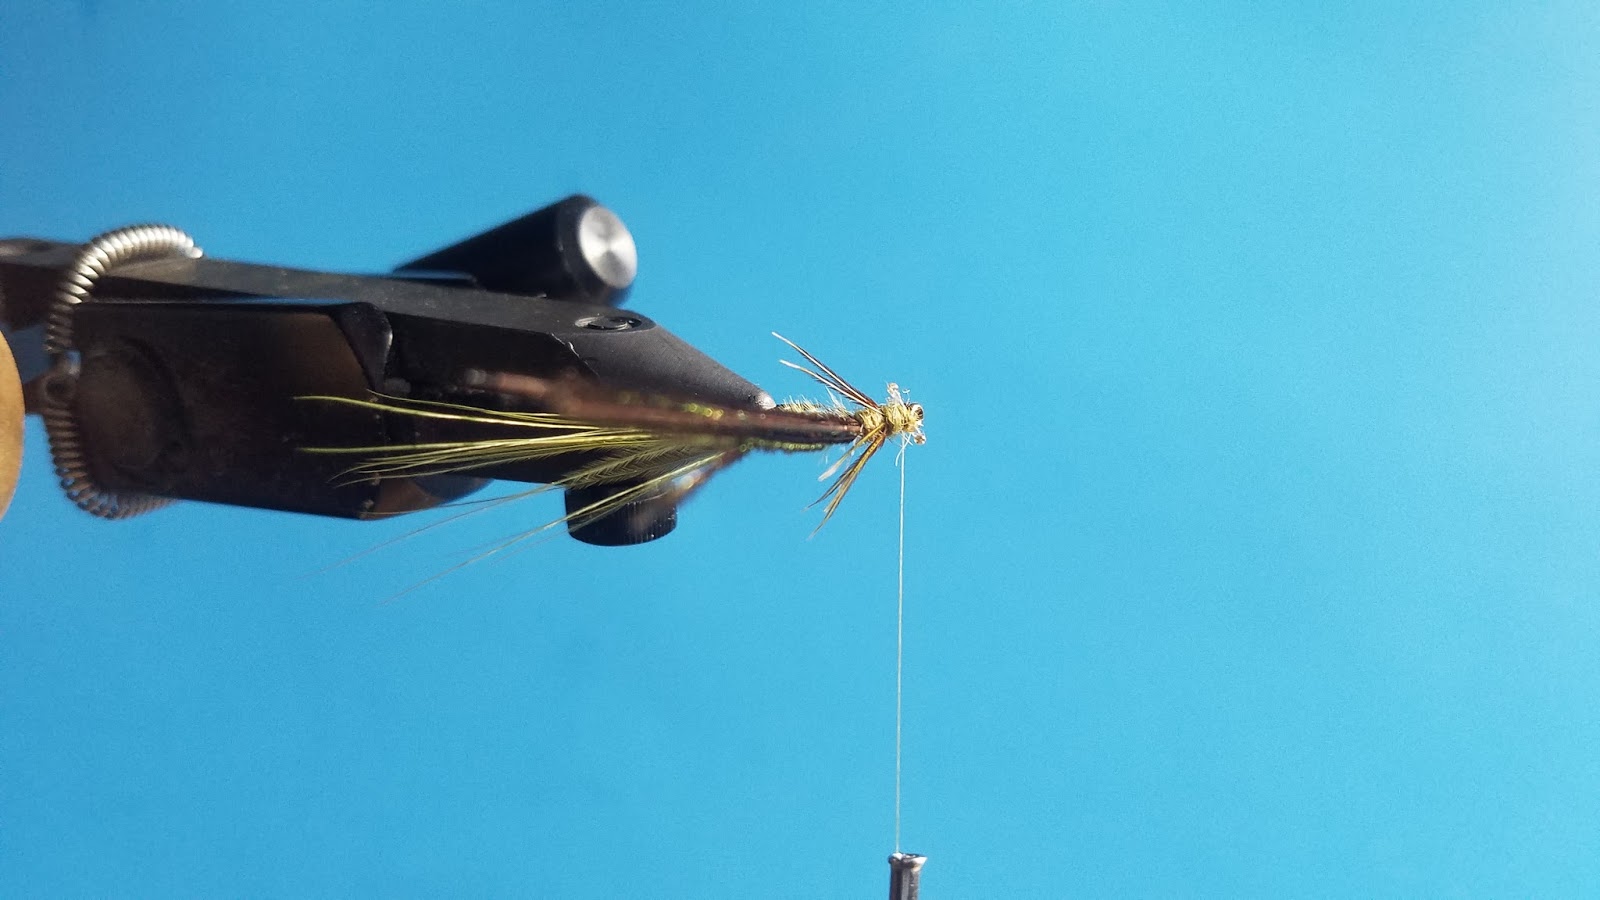
Step 12 – Secure and whip finish twice. Pinch off a bit of the marabou fibers and finished!

1 2 3 4 6