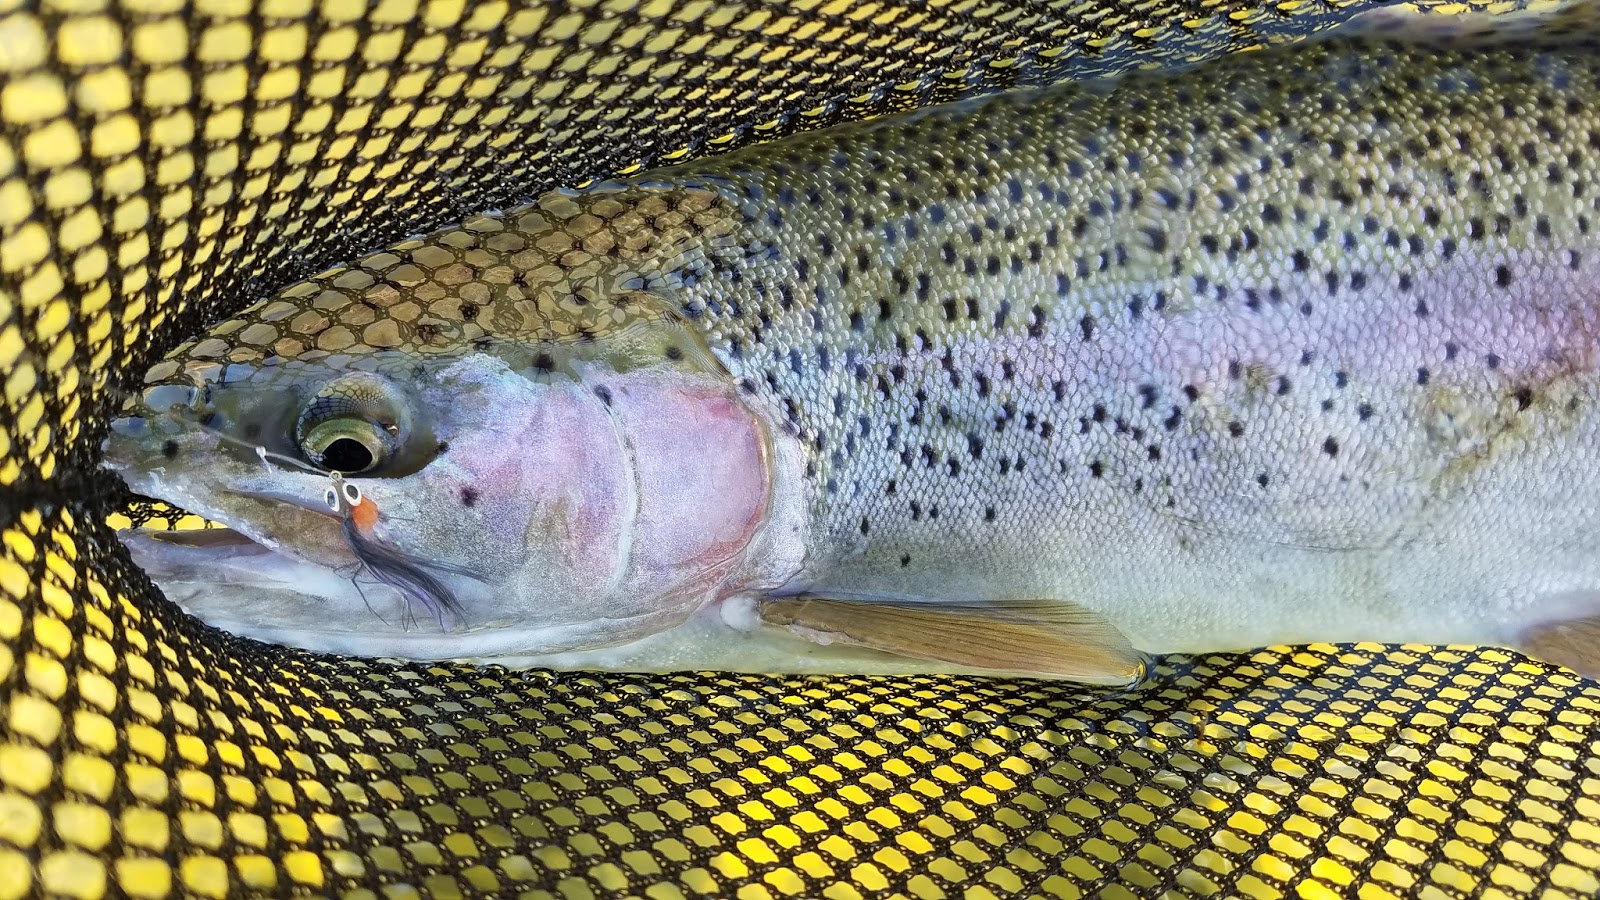
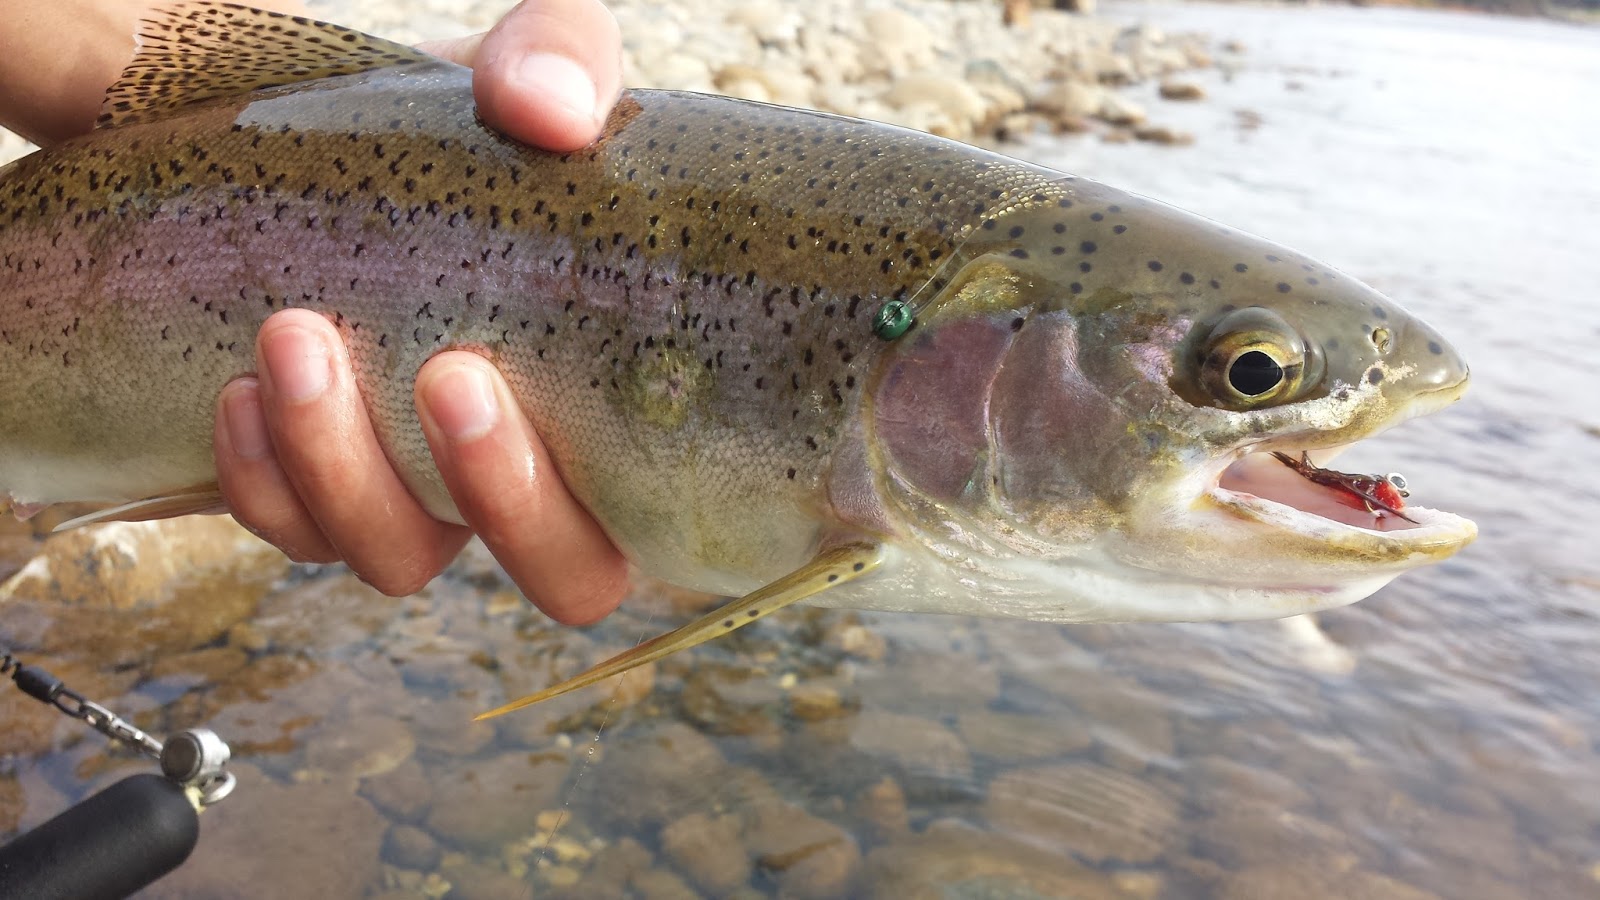
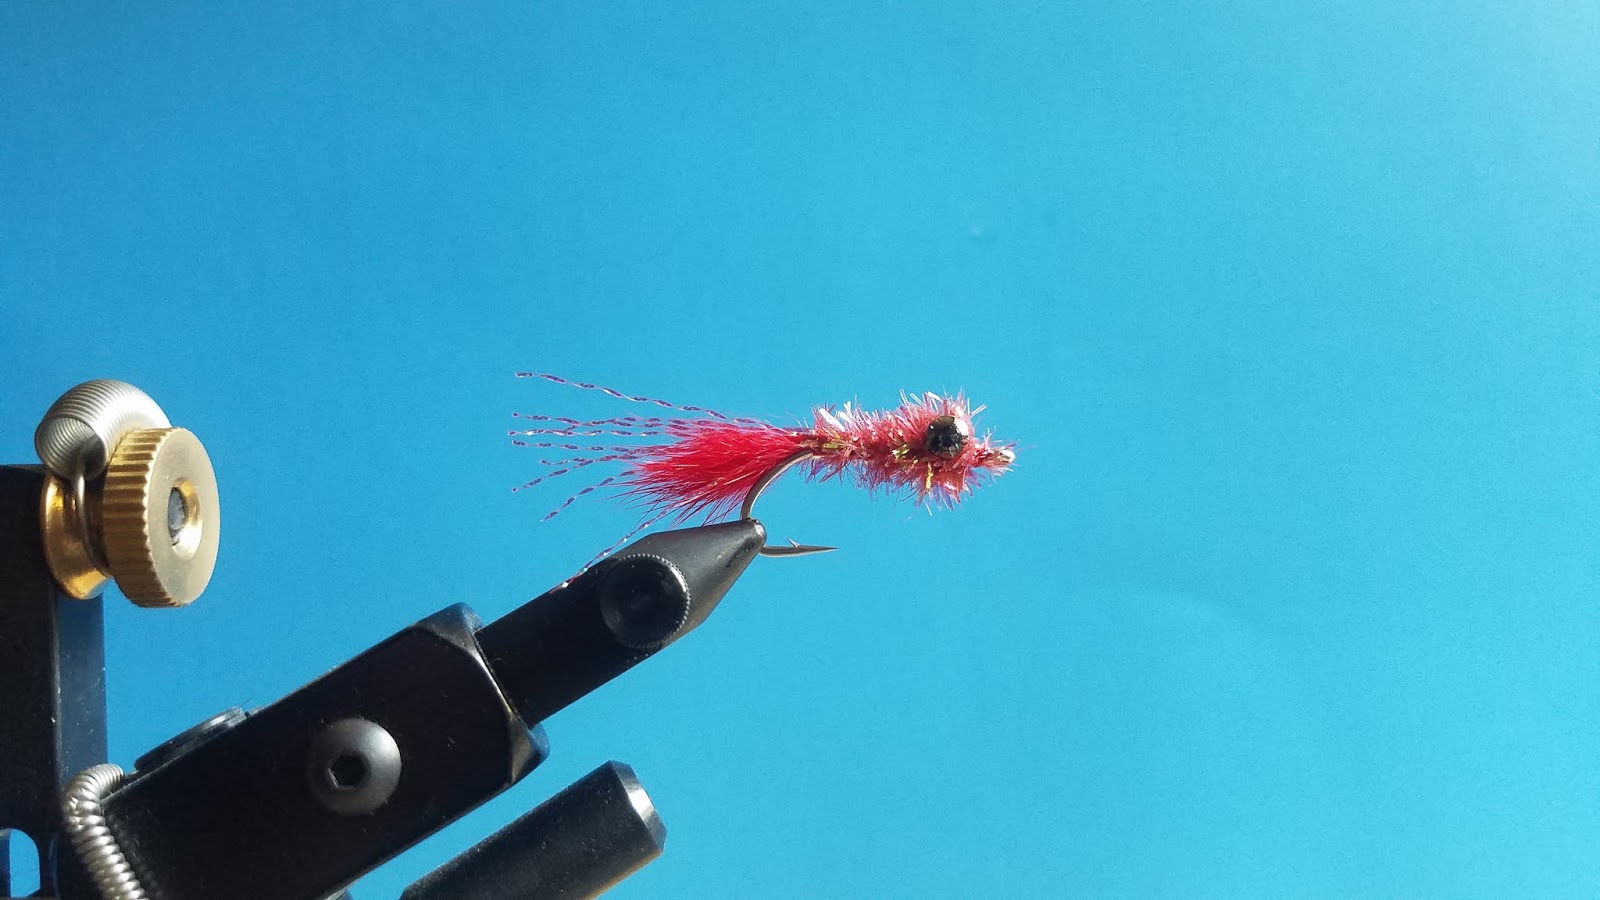
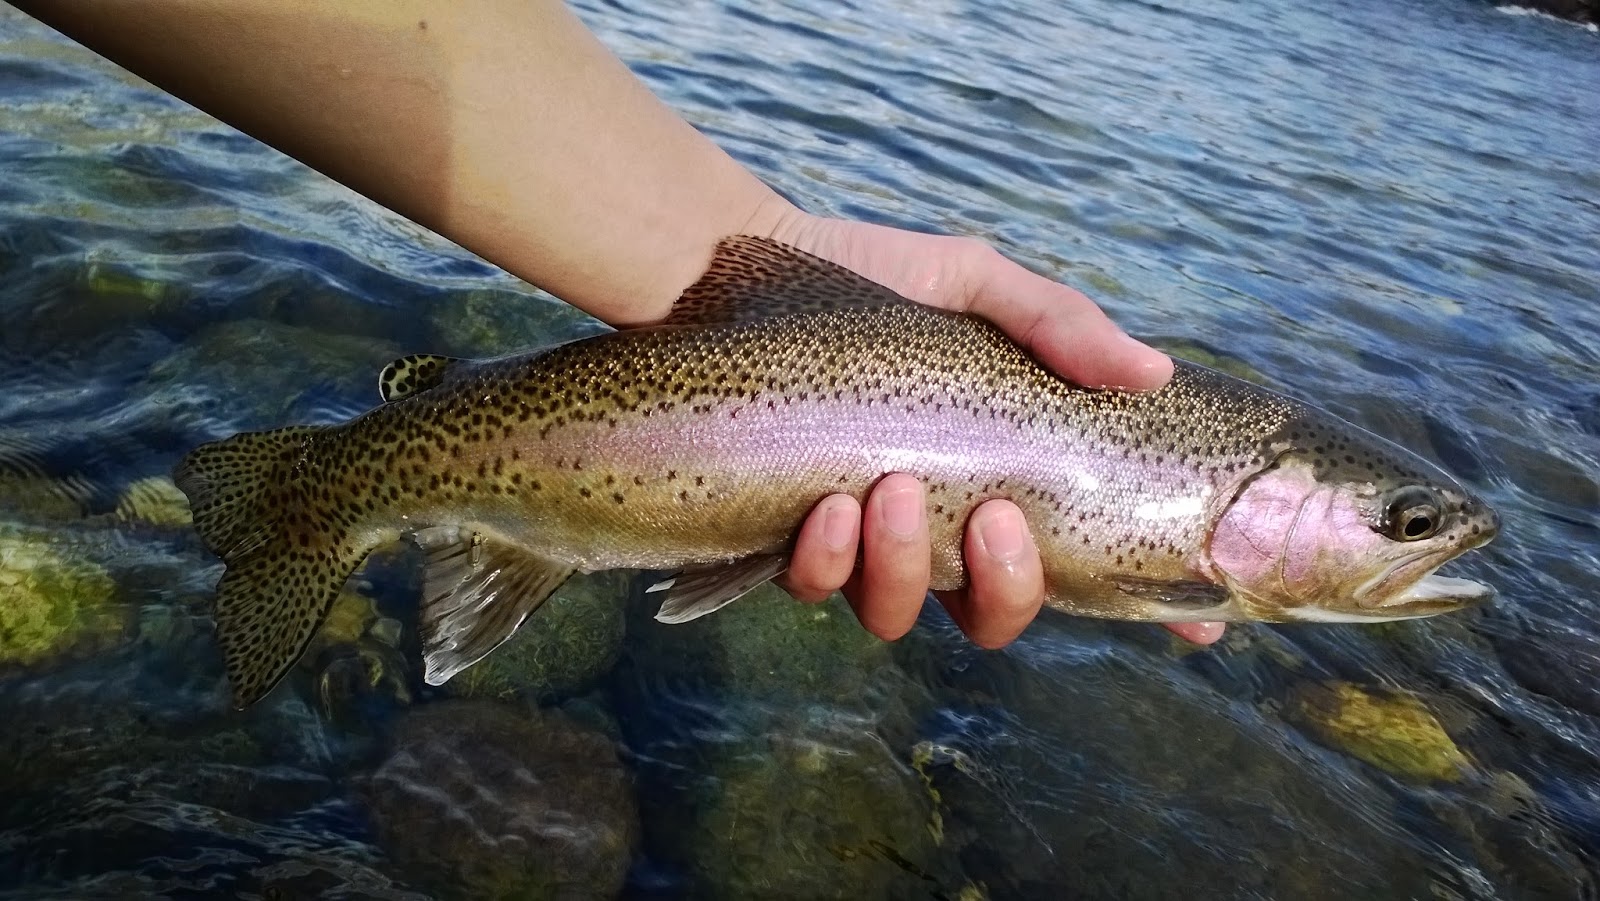
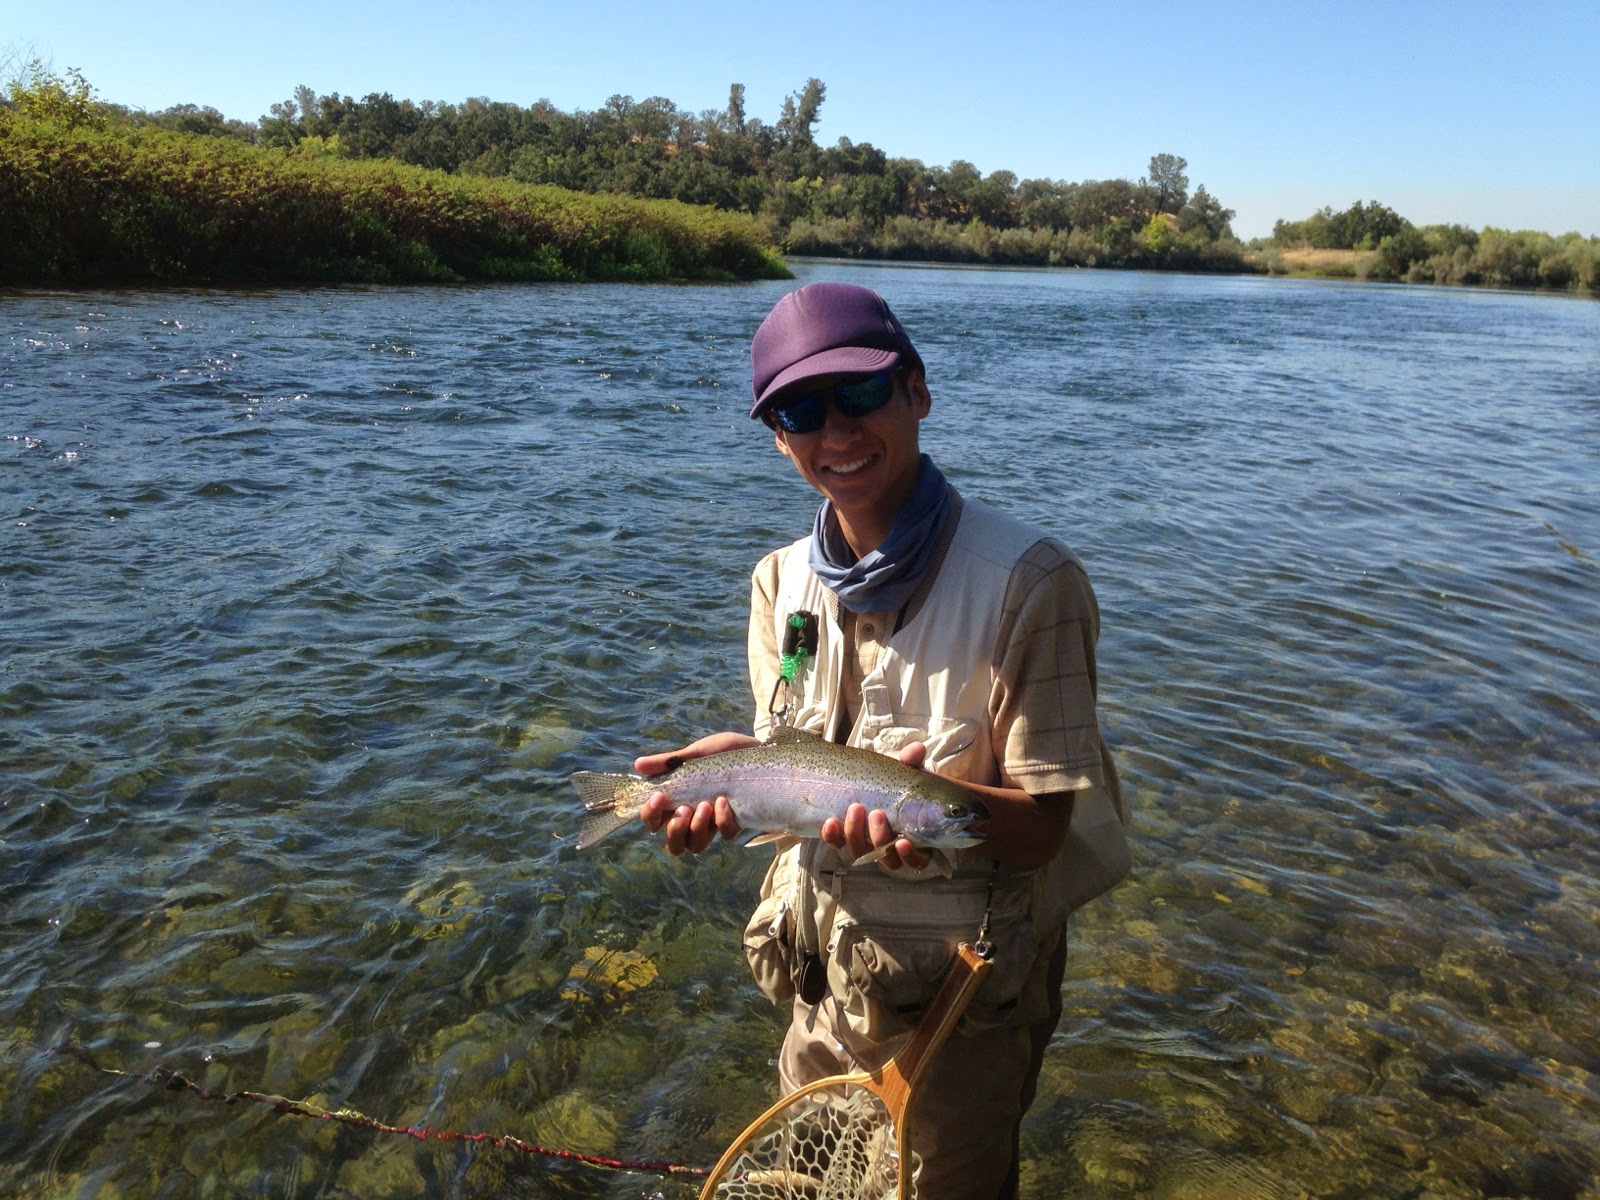
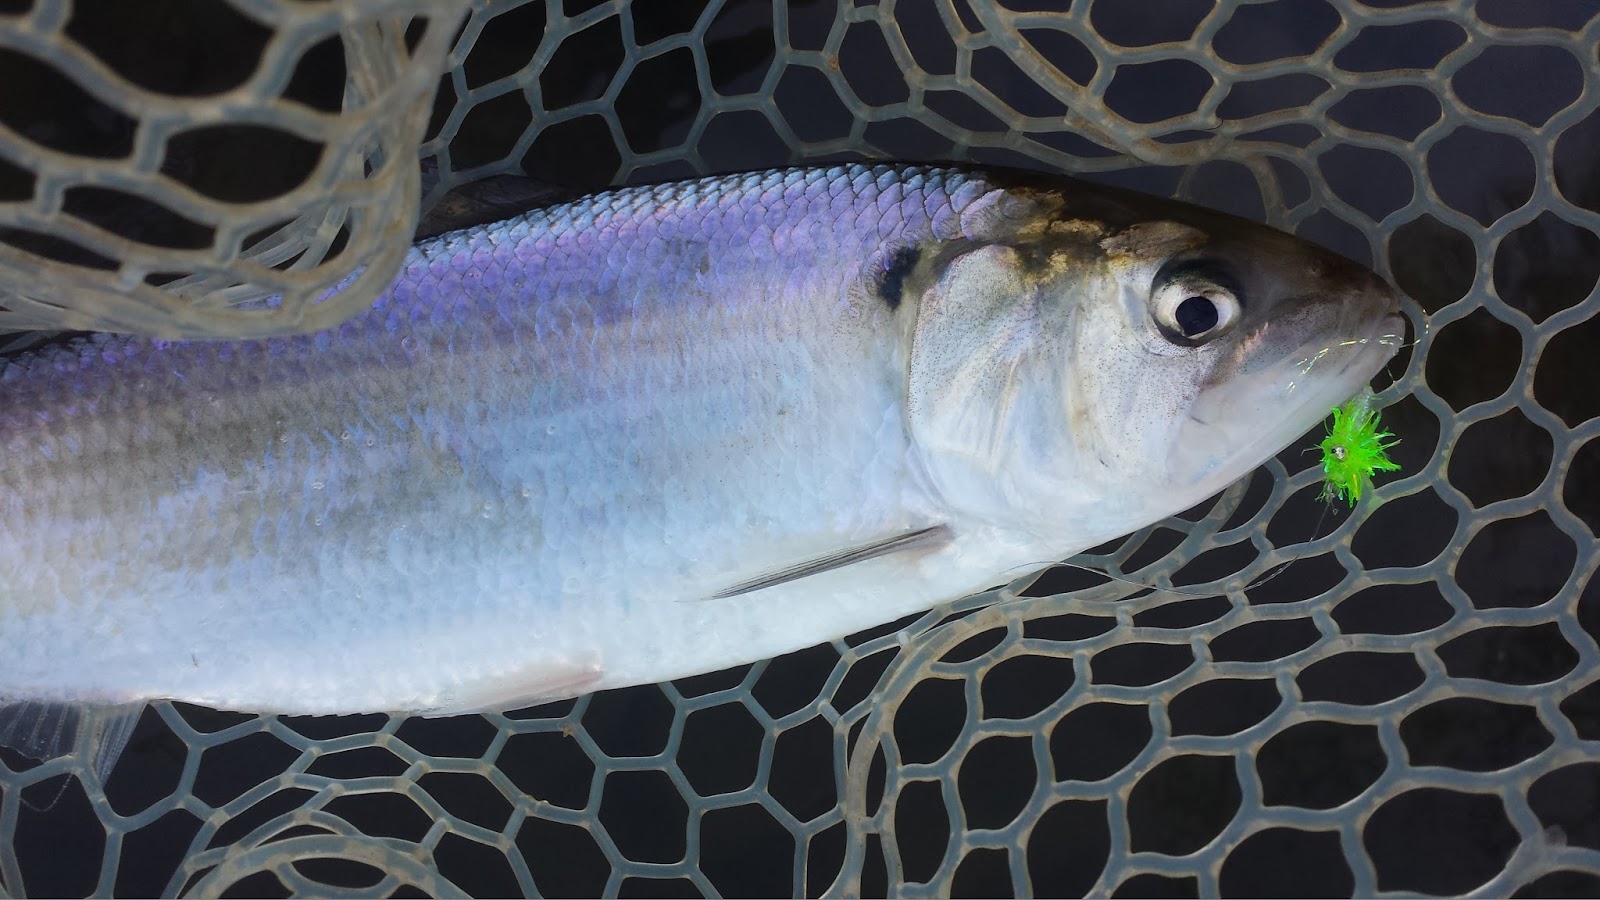
Salmon alevins are a staple food for trout and many other species when they are available in the winter and early spring. These young fish are poor swimmers that become easy prey when swept out into the current. Alevin patterns are not only fun to tie but also fun to fish. It’s a fish eat fish world out there and getting a grab from a voracious predator can be quite thrill.
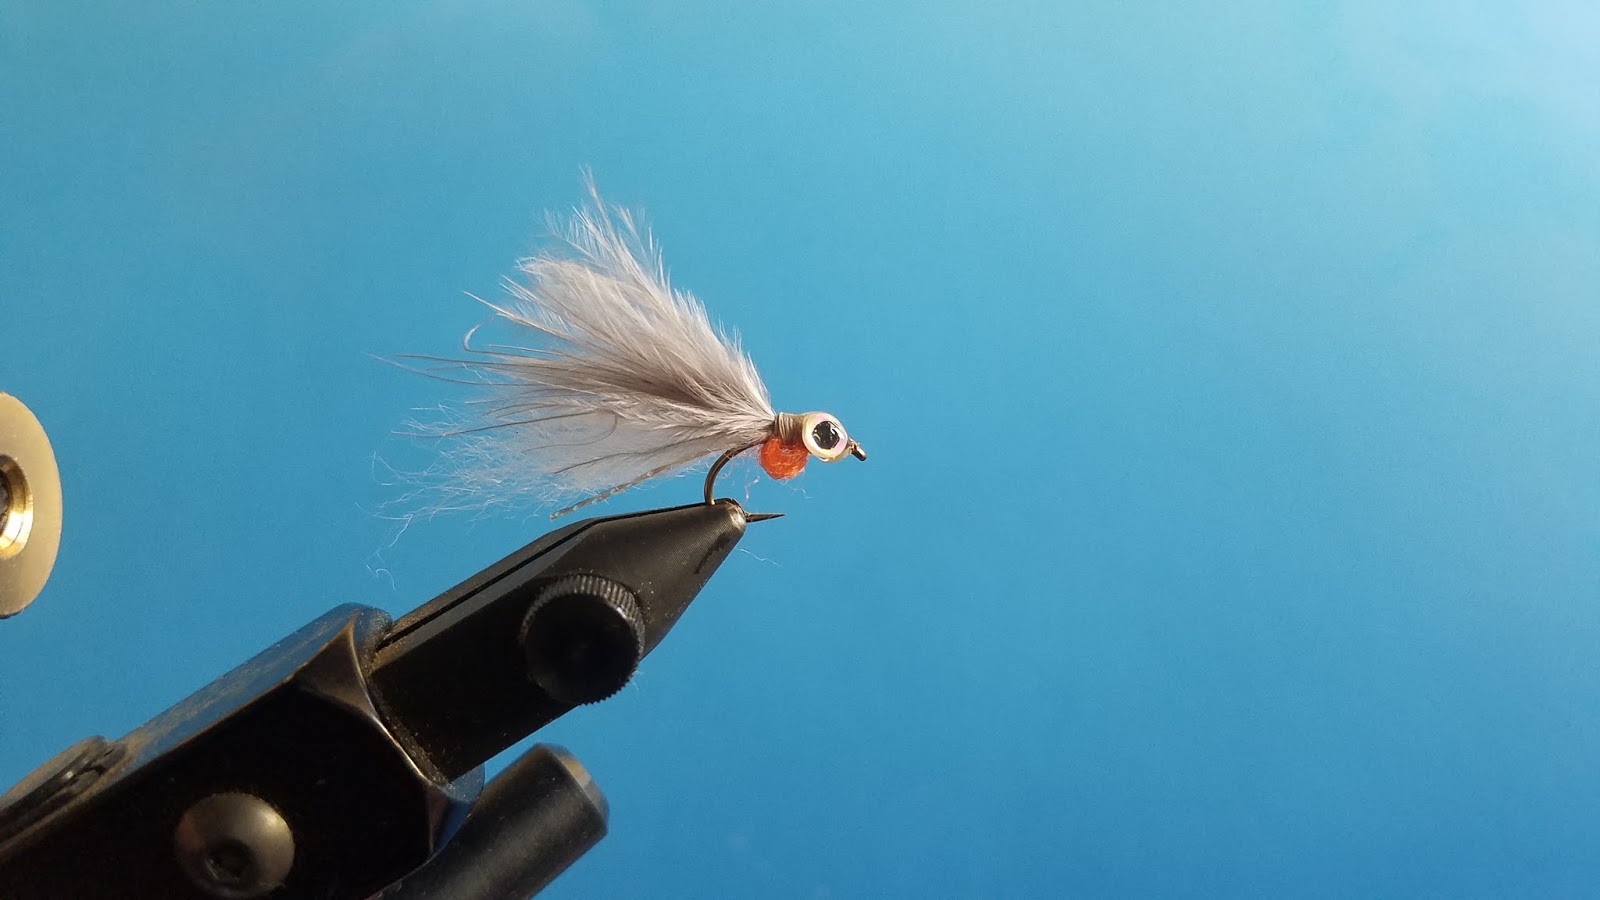
The EZ Alevin is a pattern I created for primarily swinging however a dead drift presentation it would also be applicable. It takes the great simple features of other alevin patterns I’ve fished in addition to adding some movement. I’ve had great luck swinging this alevin and losing a few to the river and fish isn’t an issue because it’s a quick-and-easy tie.
EZ Alevin
TMC – 2457 – Size 14
Uni-Thread – 8/0 – Gray
Holo-Eyes – 1/8” – Silver
Krystal Flash – Olive
Senyo Laser Yarn – White
Marabou Plume – Gray
Cascade – Egg Yarn – Orange Roe
Fly Tying Instruction
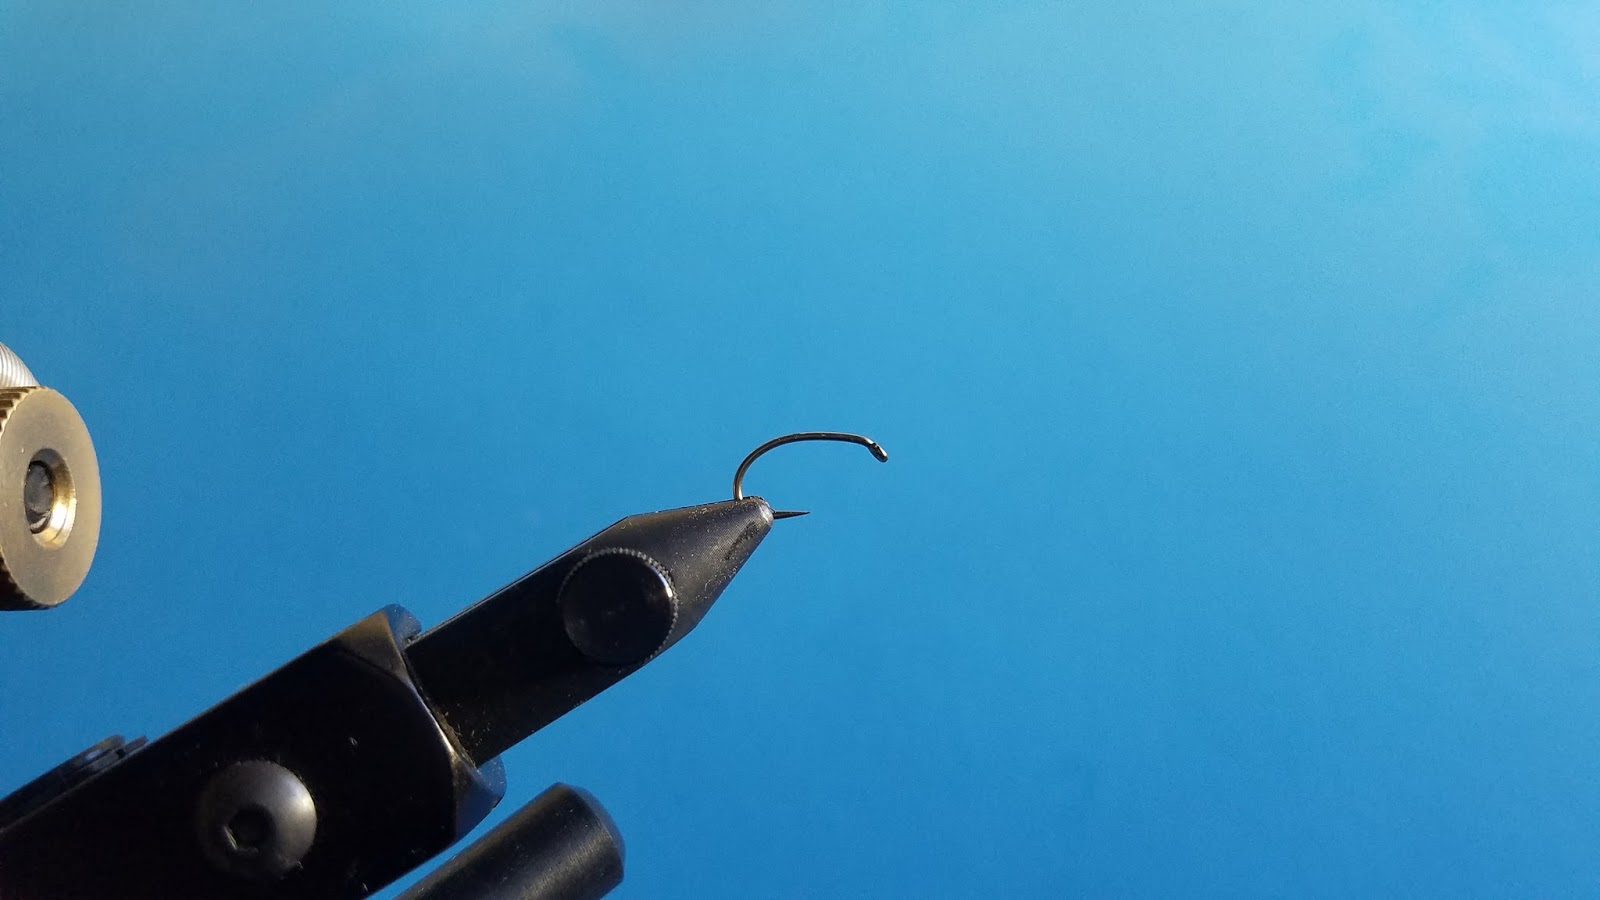
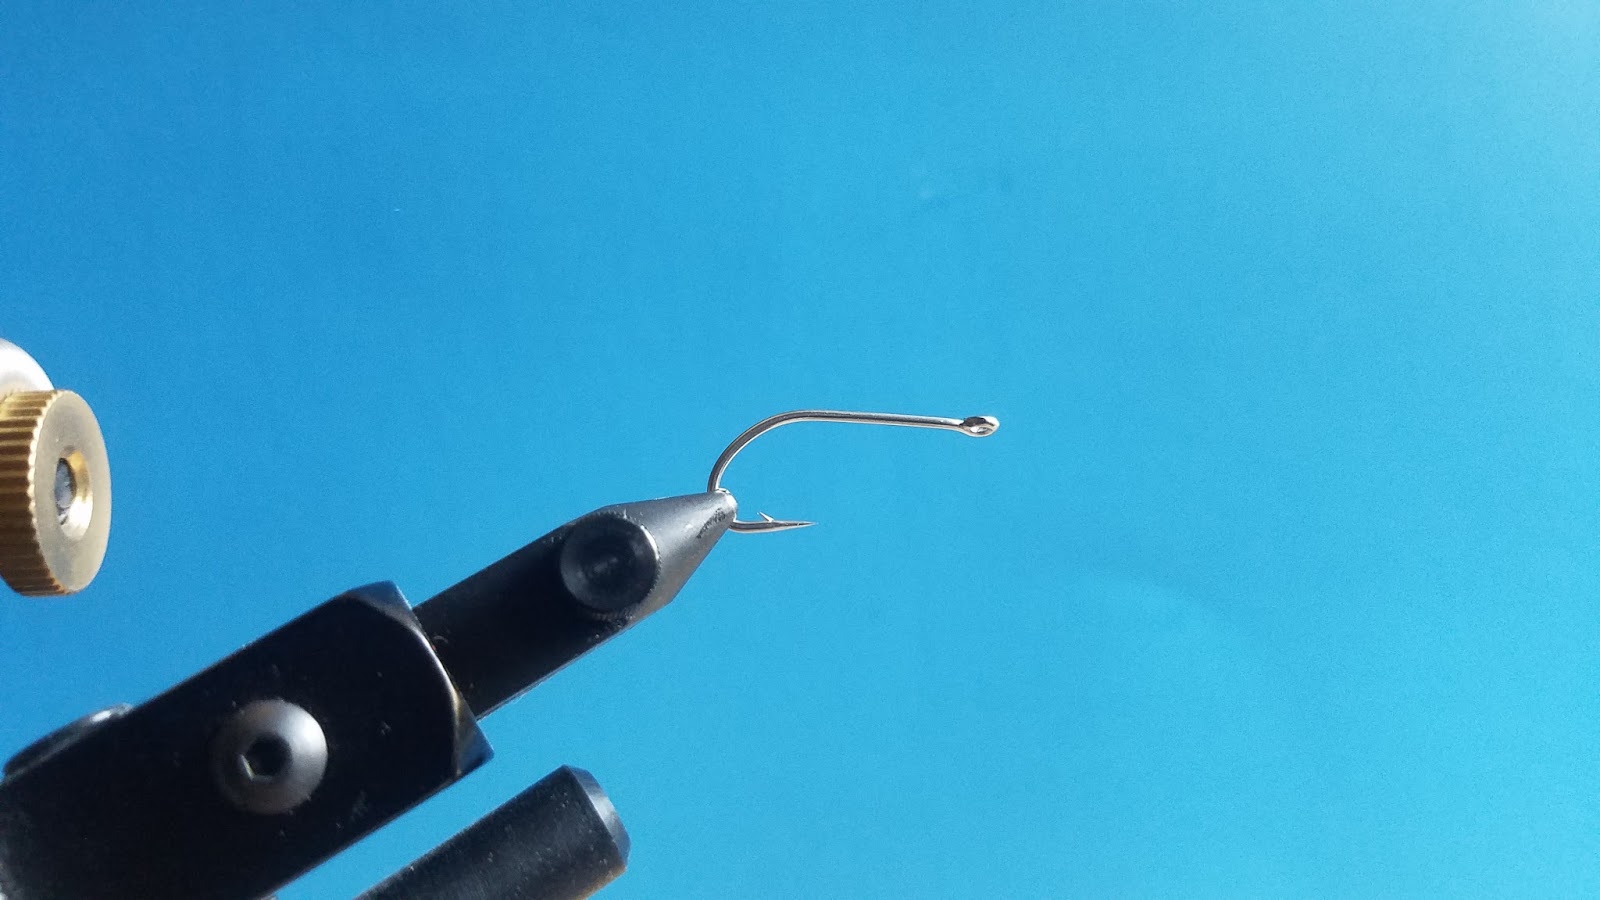
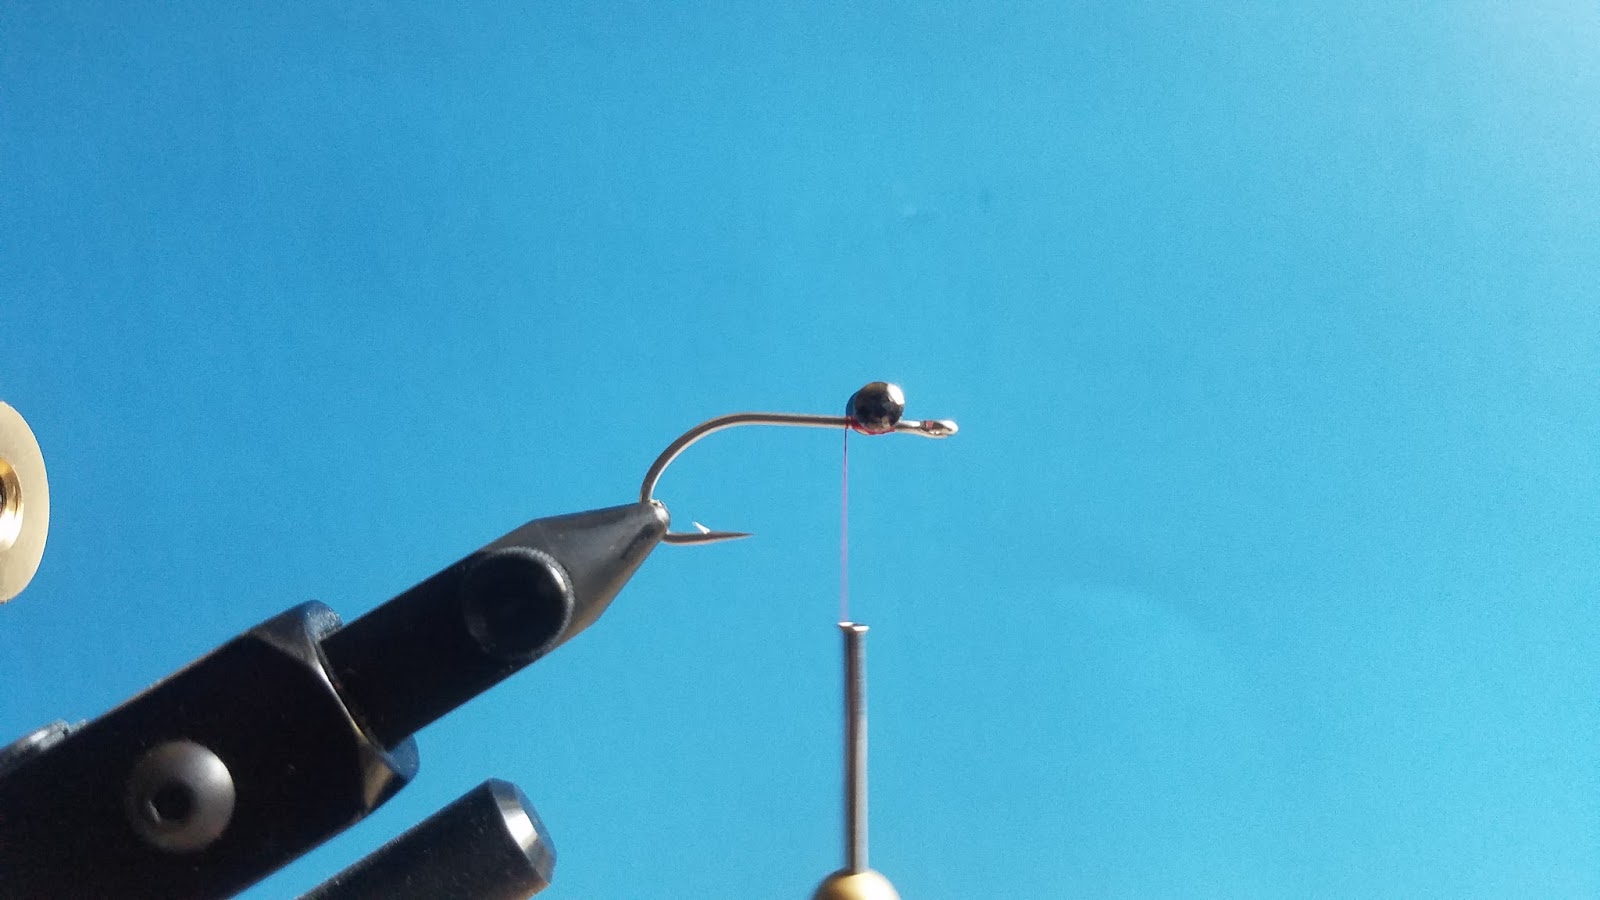
Step 1: Start the thread onto your hook.
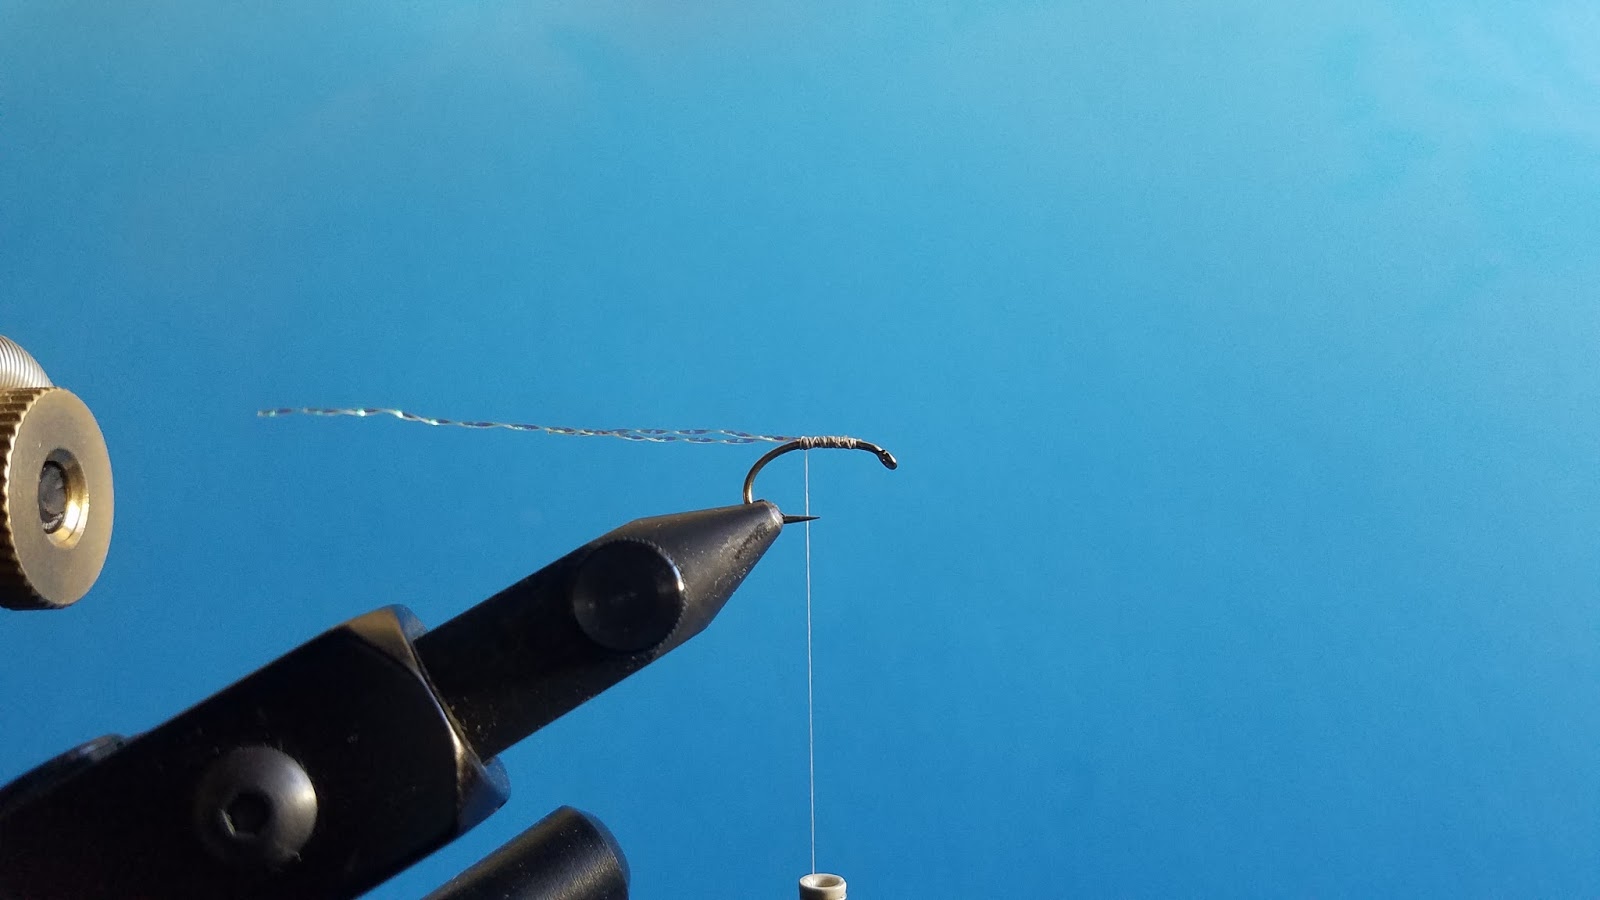
Step 2: Tie one strand of krystal flash to the side of the hook on both sides.
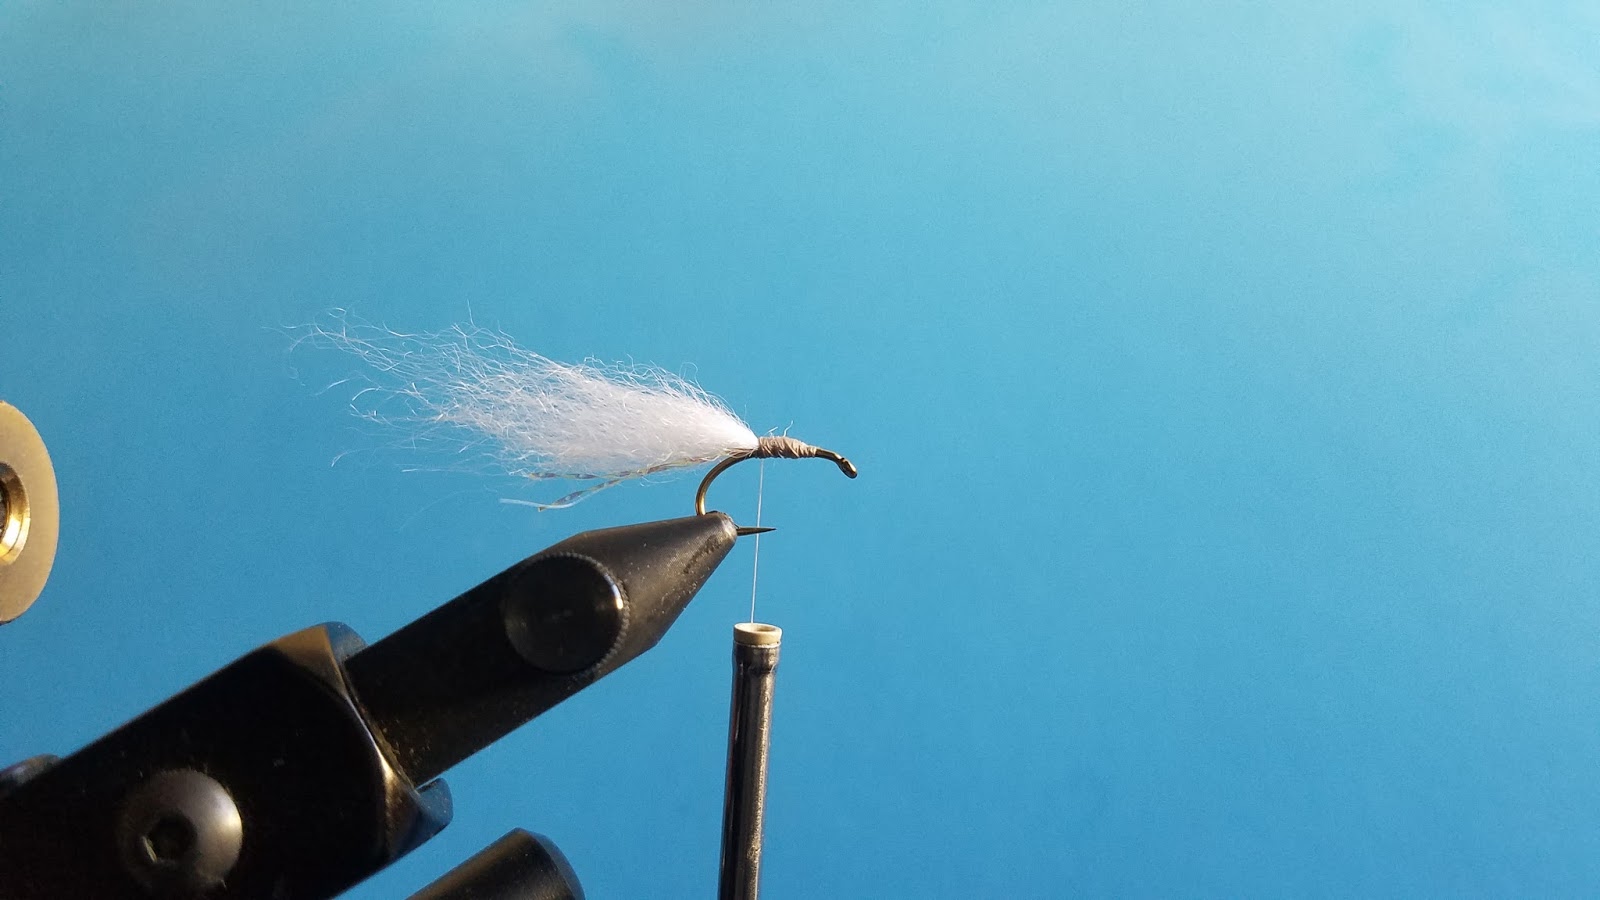
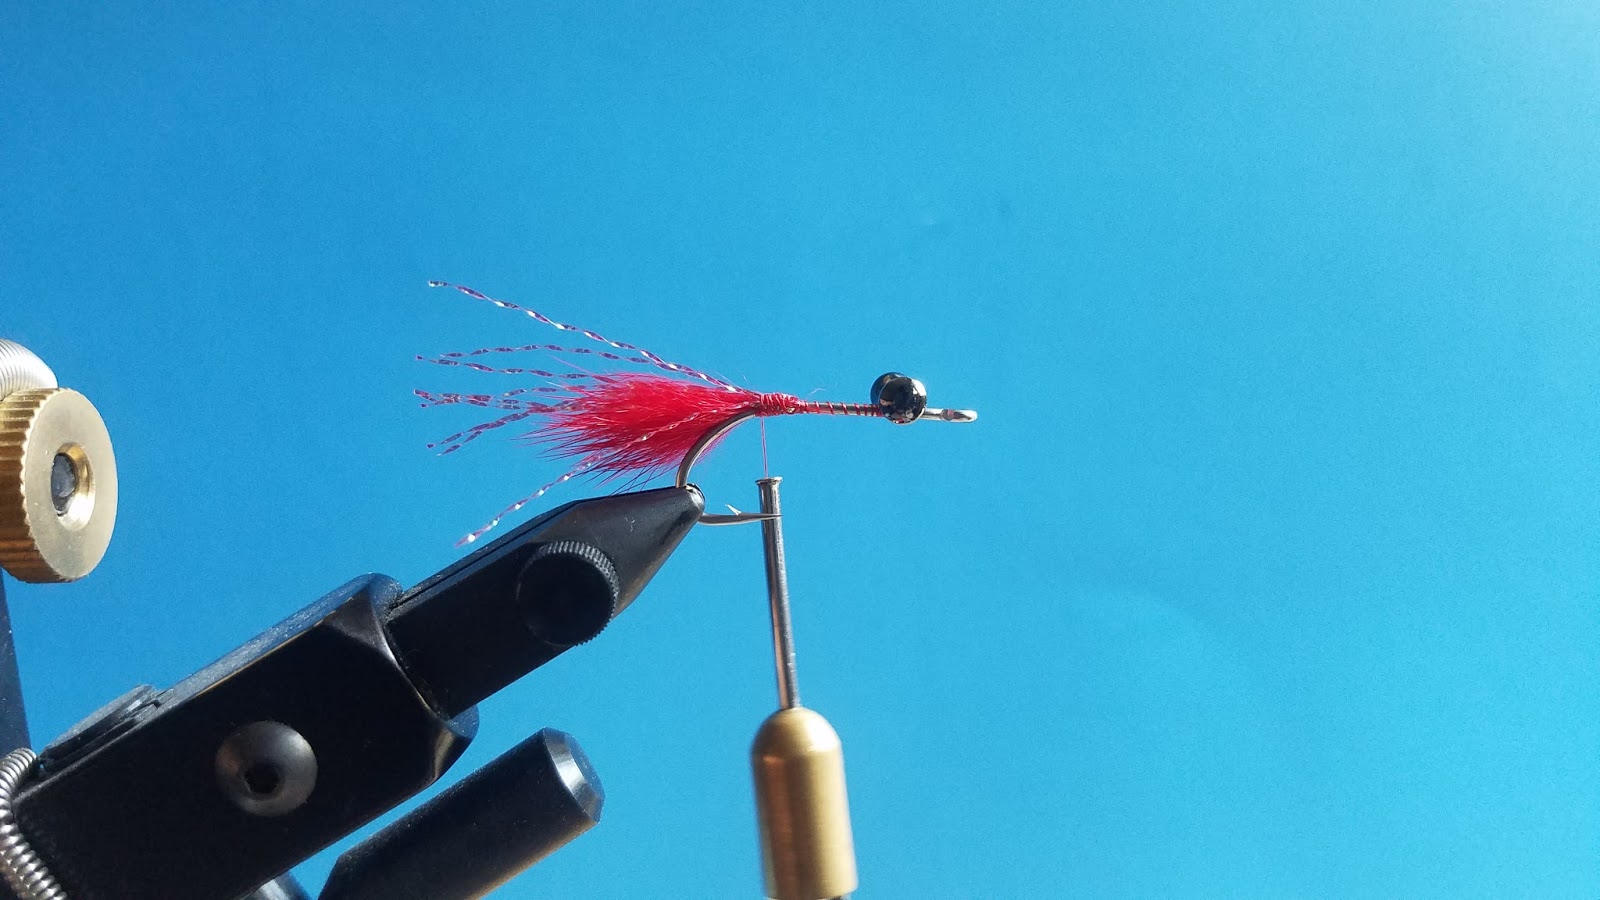
Step 3: Tie on a good amount of laser yarn and secure. You want about a hooks length worth of yarn. Cut off the krystal flash so it is about two-thirds the length of your yarn.
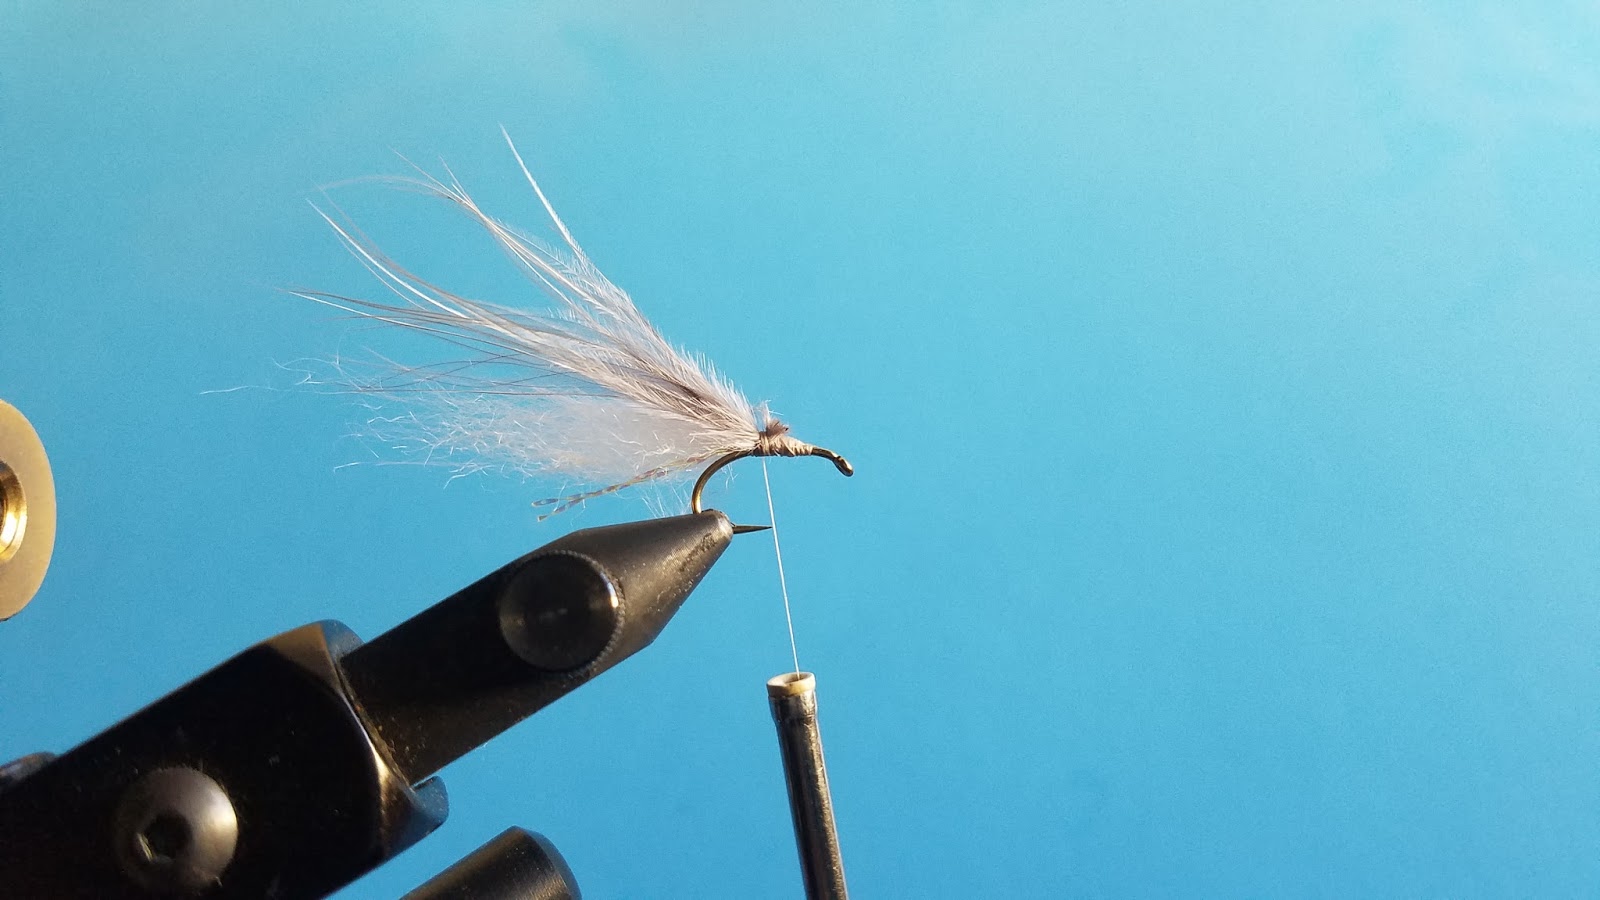
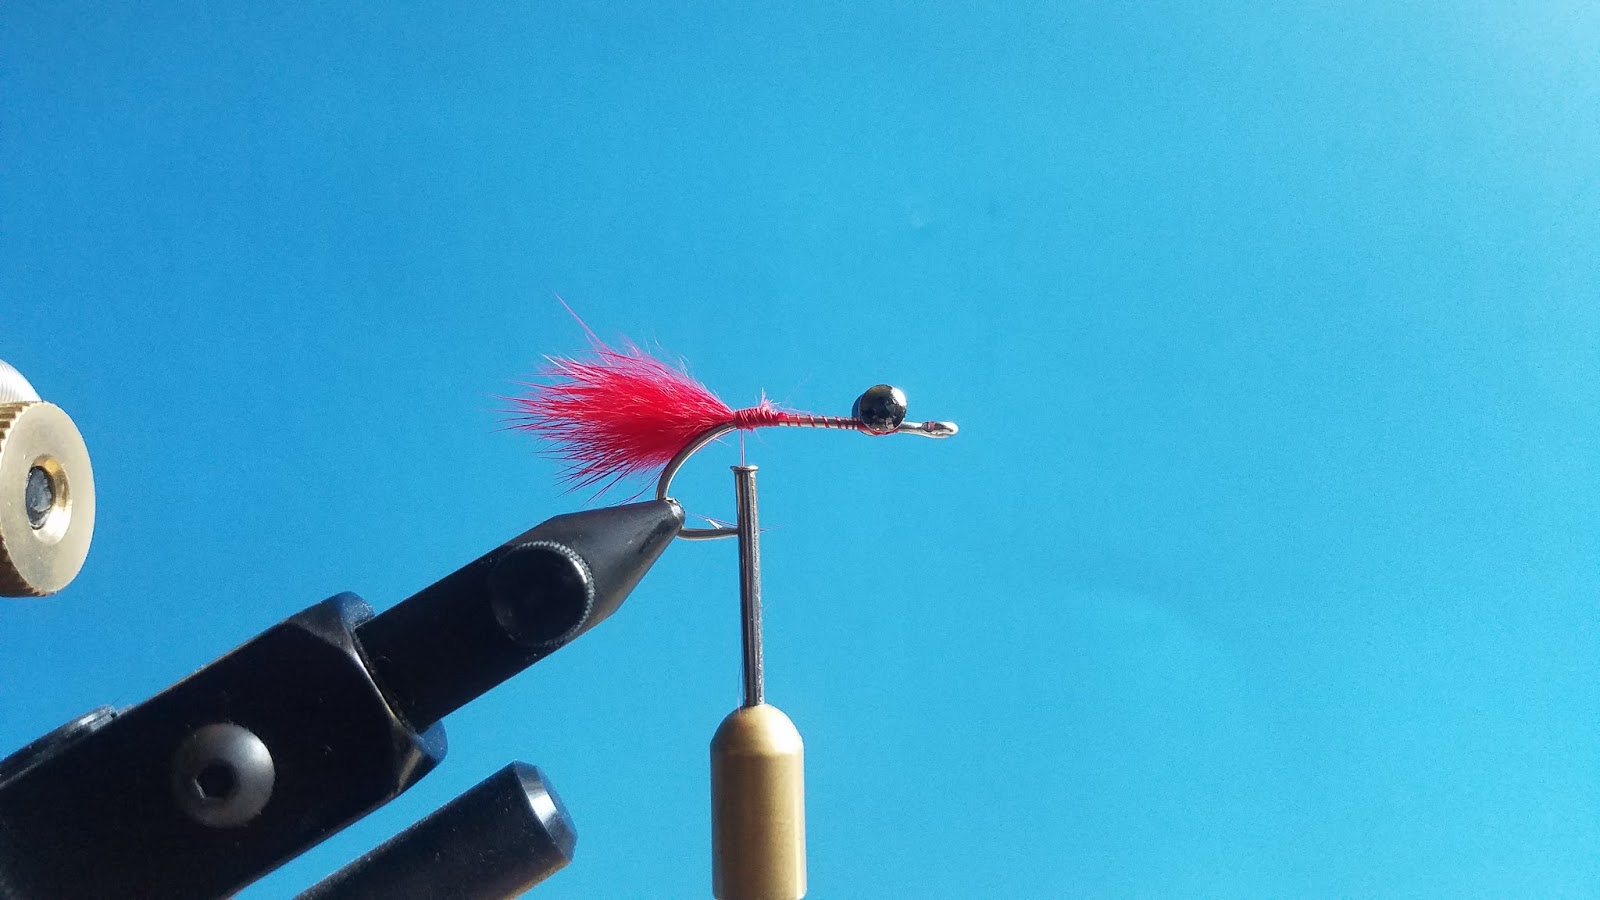
Step 4: Tie on your first couple fibers of marabou. Repeat once more with a few fibers to stack the marabou.
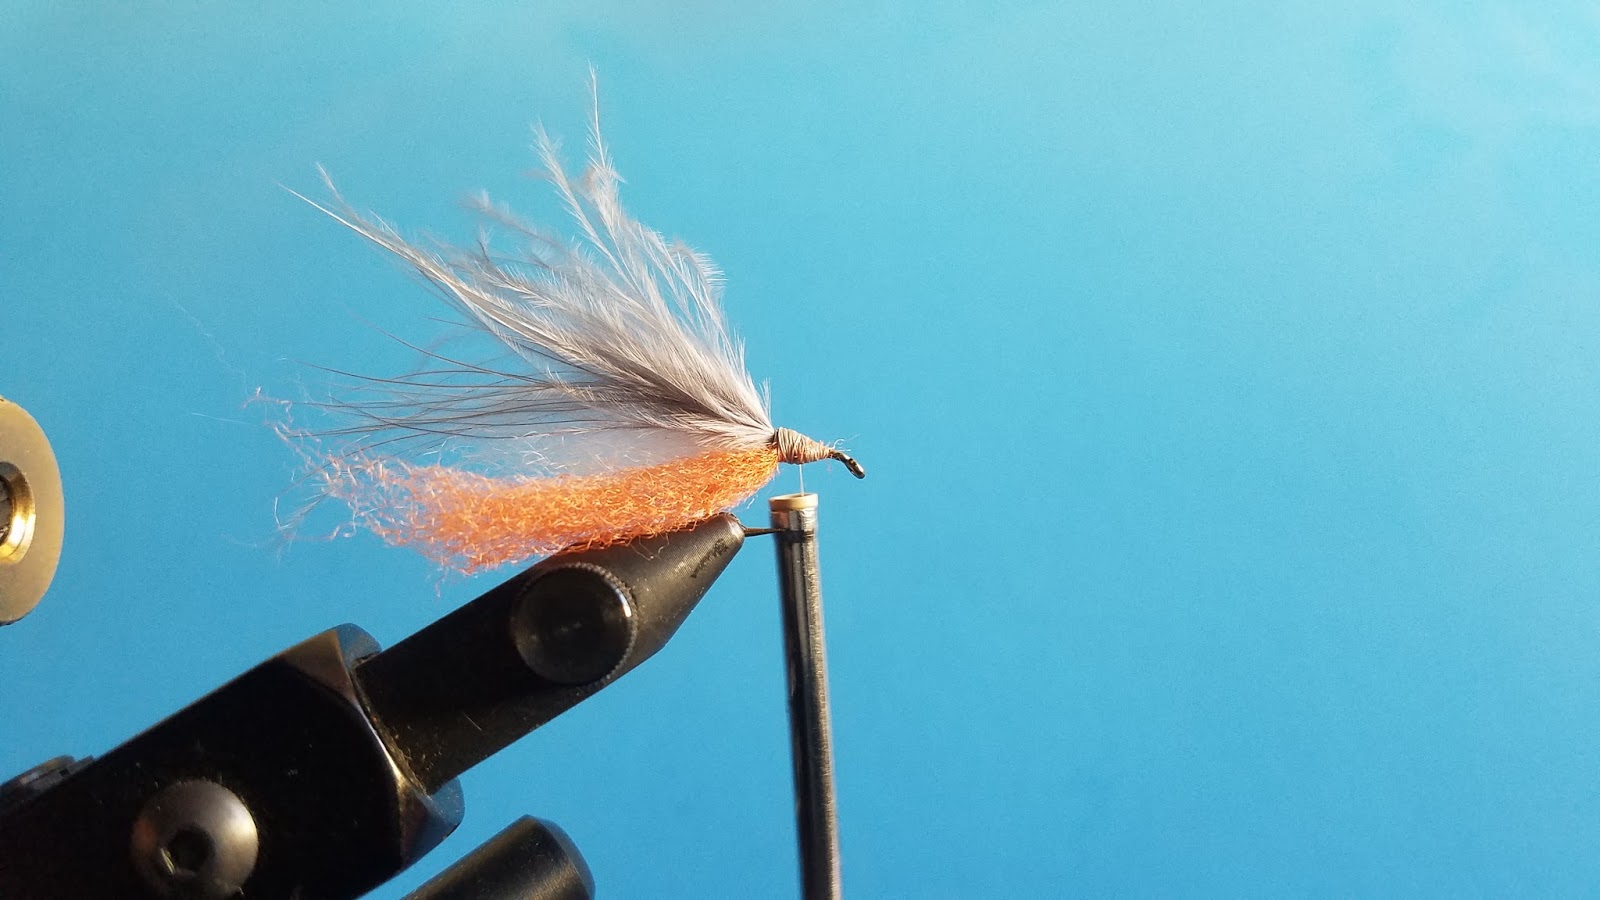
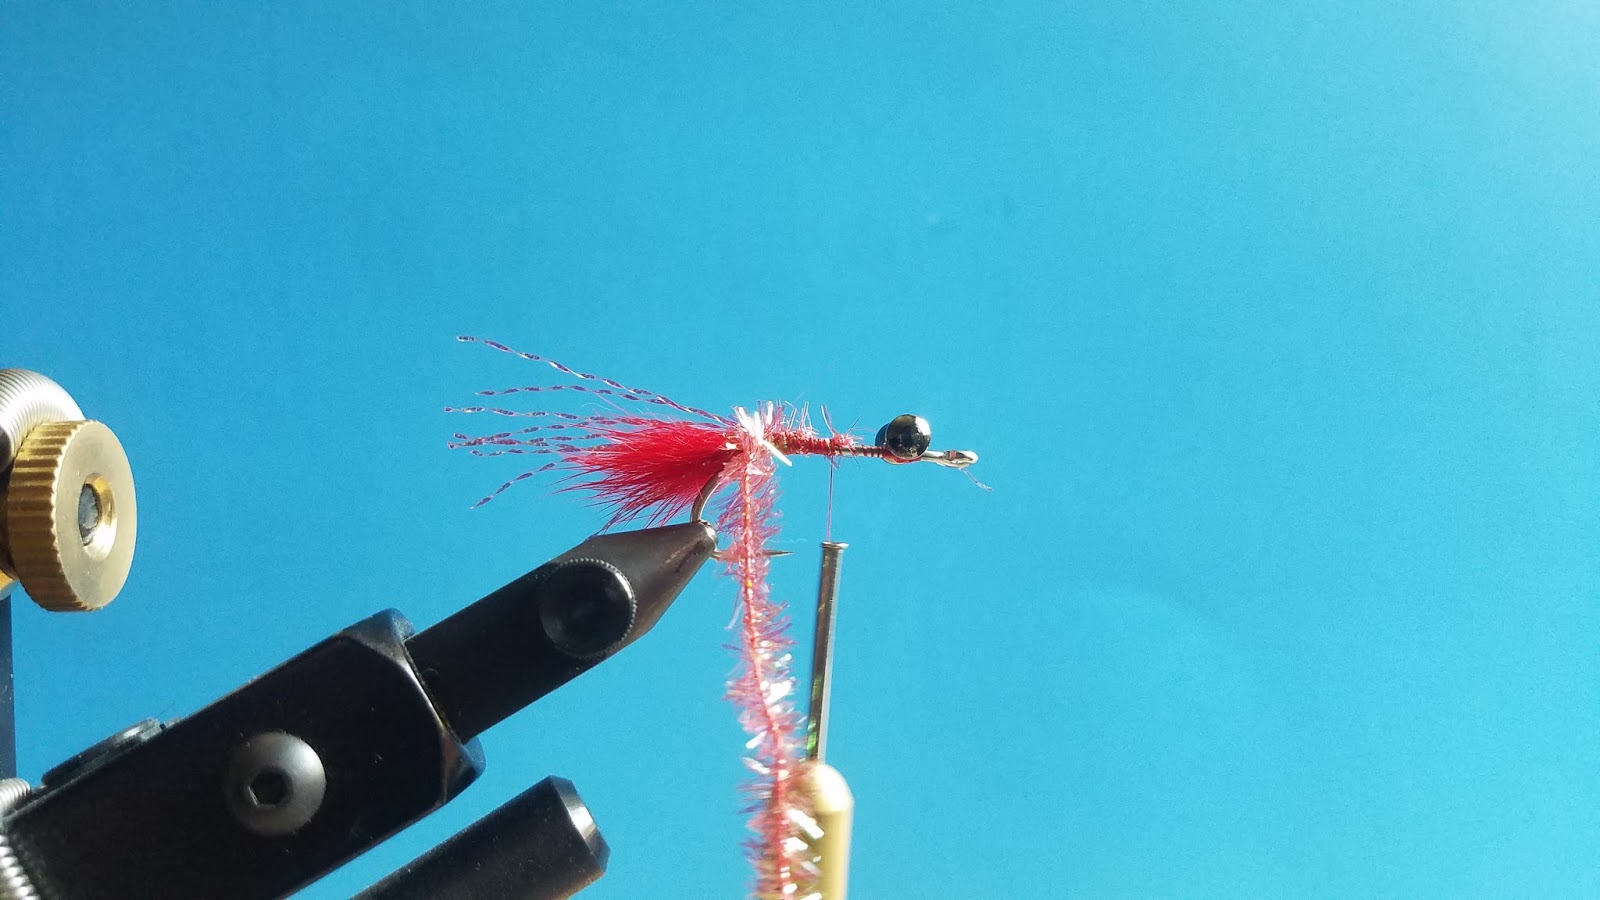
Step 5: With a pinch wrap tie on your egg yarn to the bottom of the hook. Try your best to keep the yarn centered to the bottom of the hook.
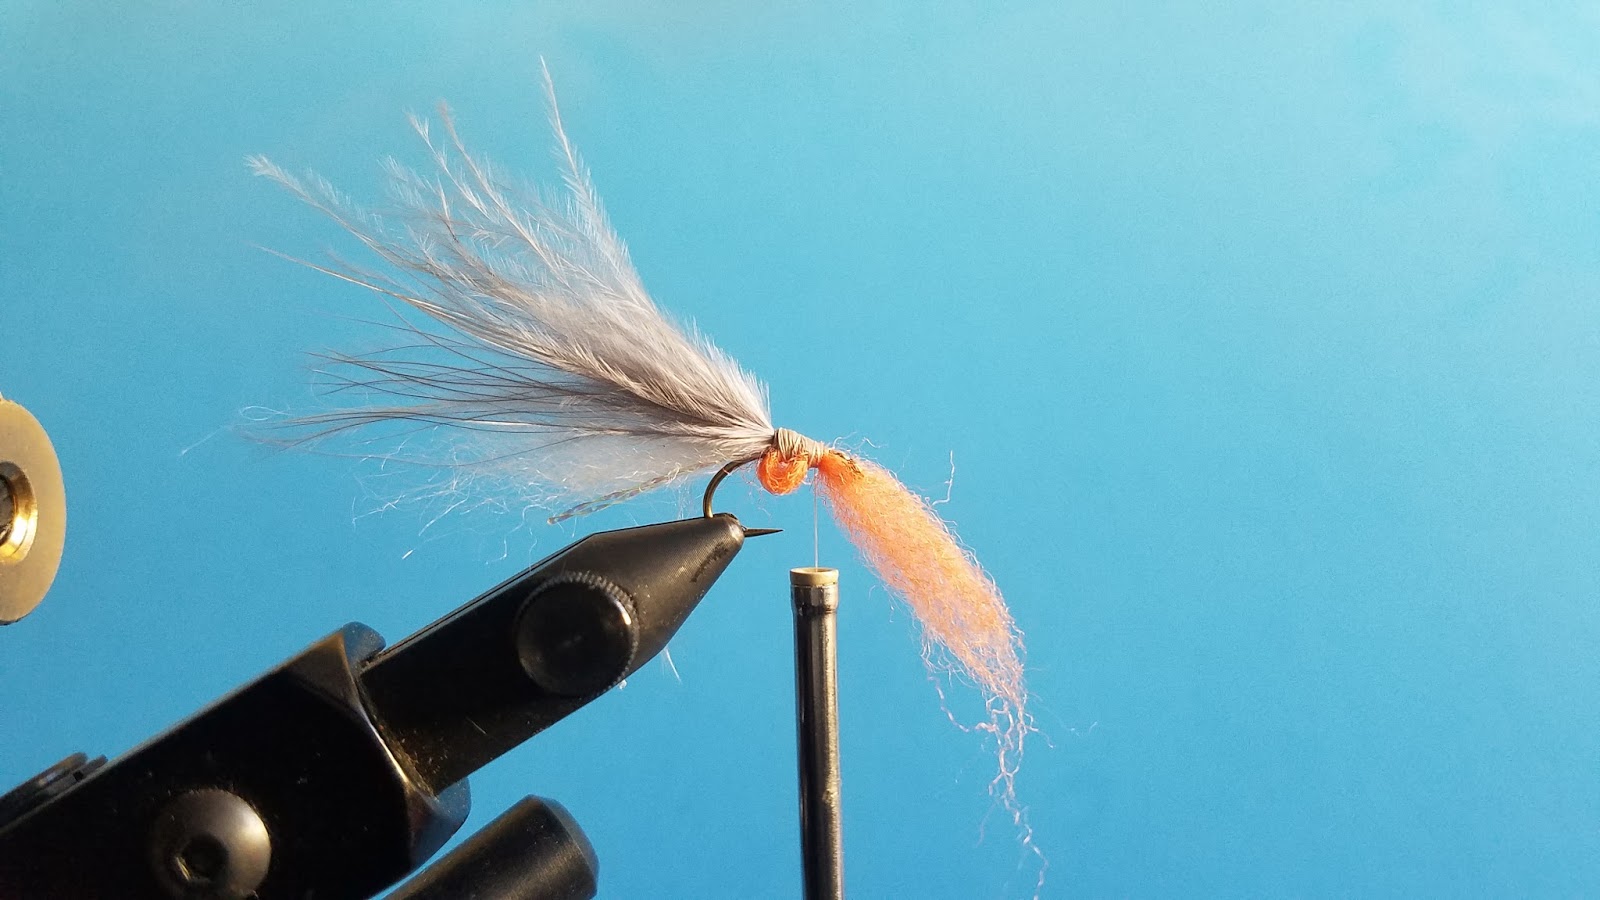
Step 6: Pull the yarn forward and push it back a bit to form an egg sac. Once you’ve created the shape you’re satisfied with wrap and secure.
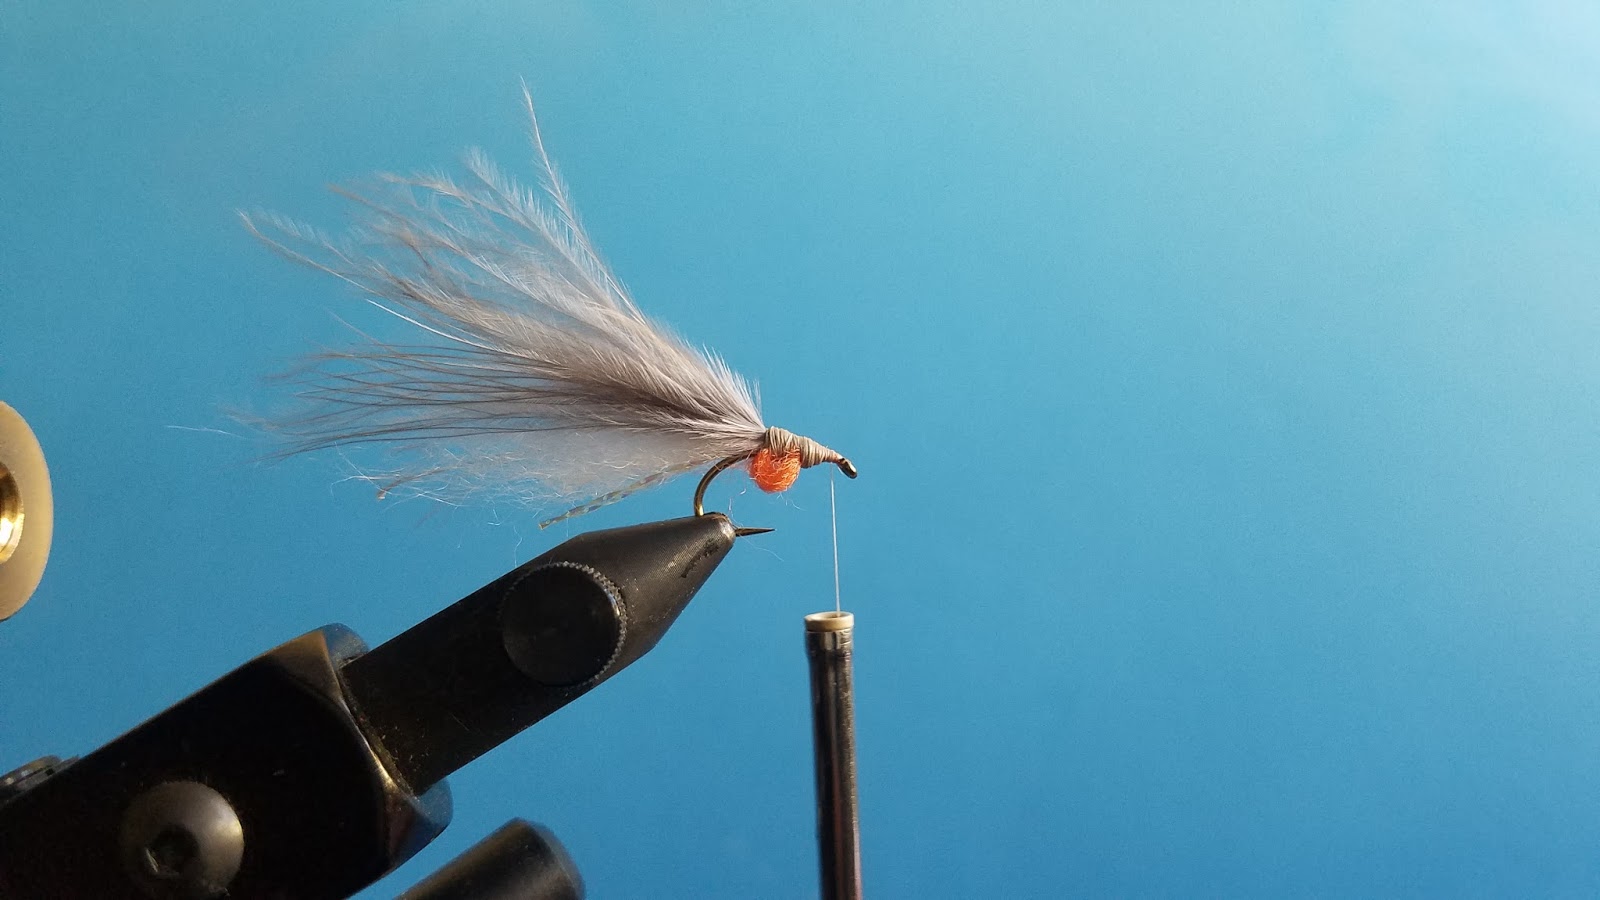
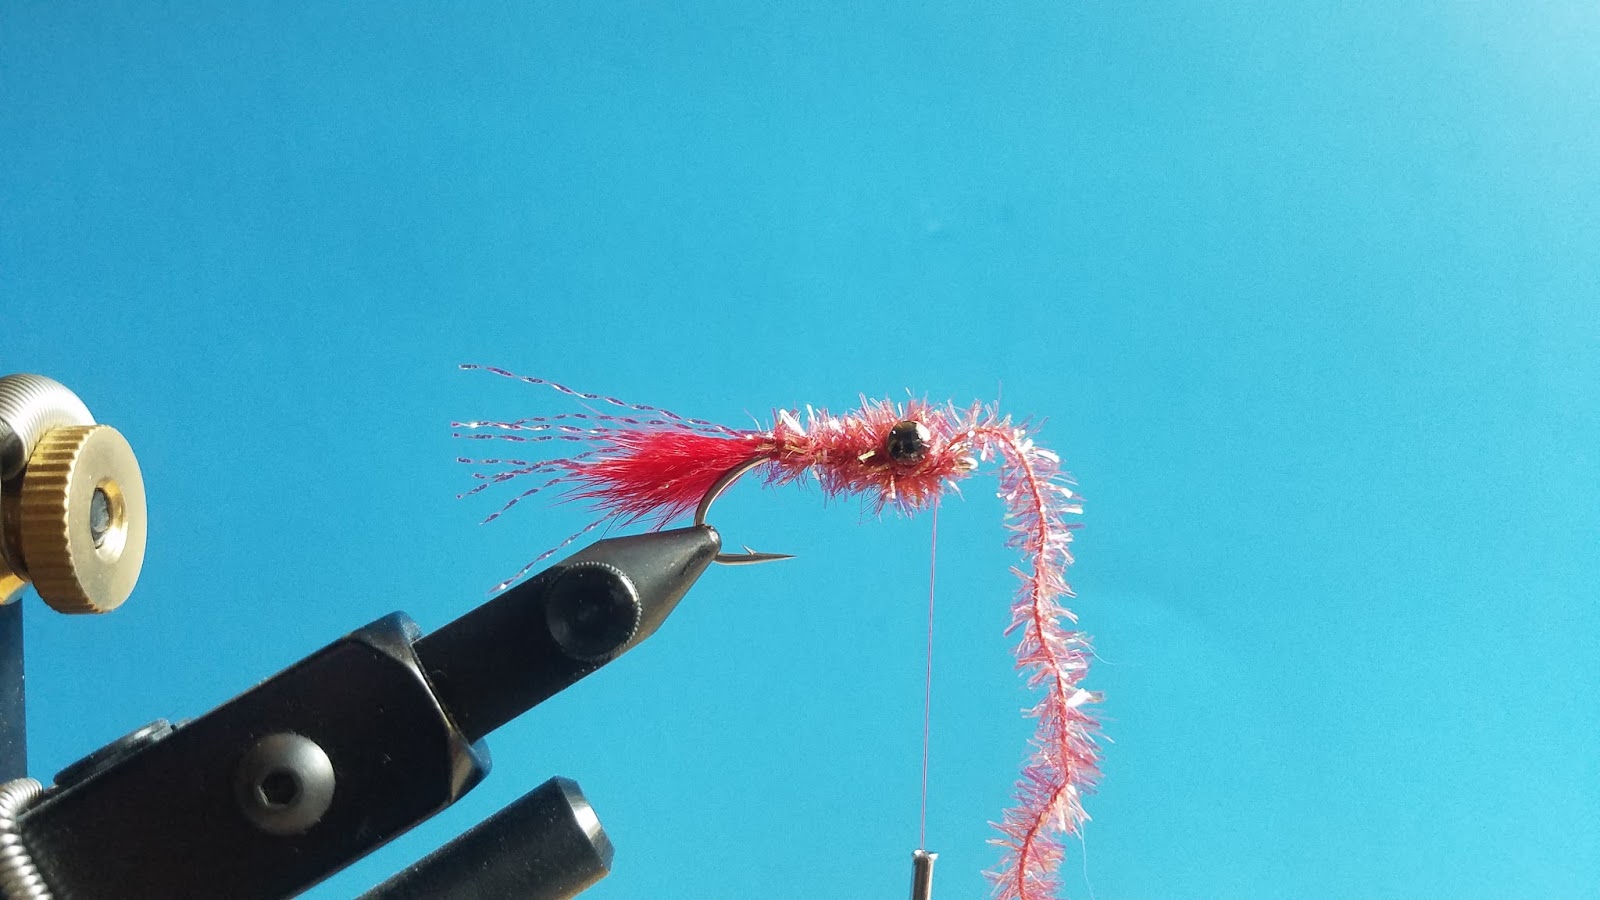
Step 7: Build a small tapered section in front of your egg sac. This is will help the holographic eyes stick to the fly.
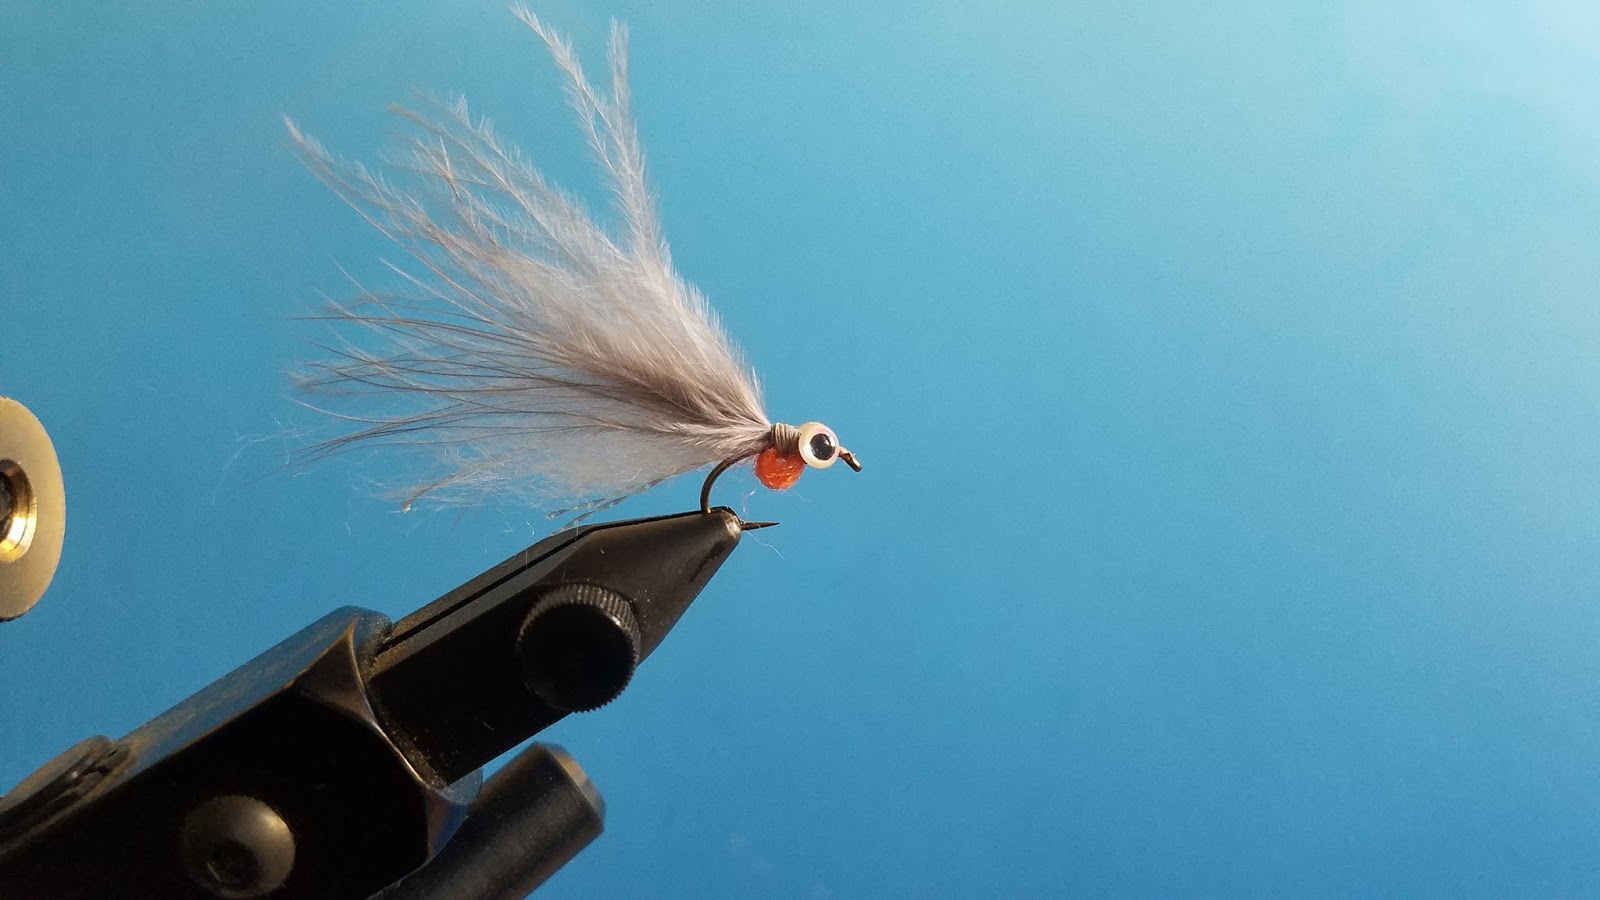
Step 8: Stick the eyes to the tapered section and apply the cure goo in-between the eyes on top and below. Be careful not to get any goo on the egg sac and in eye of the hook.
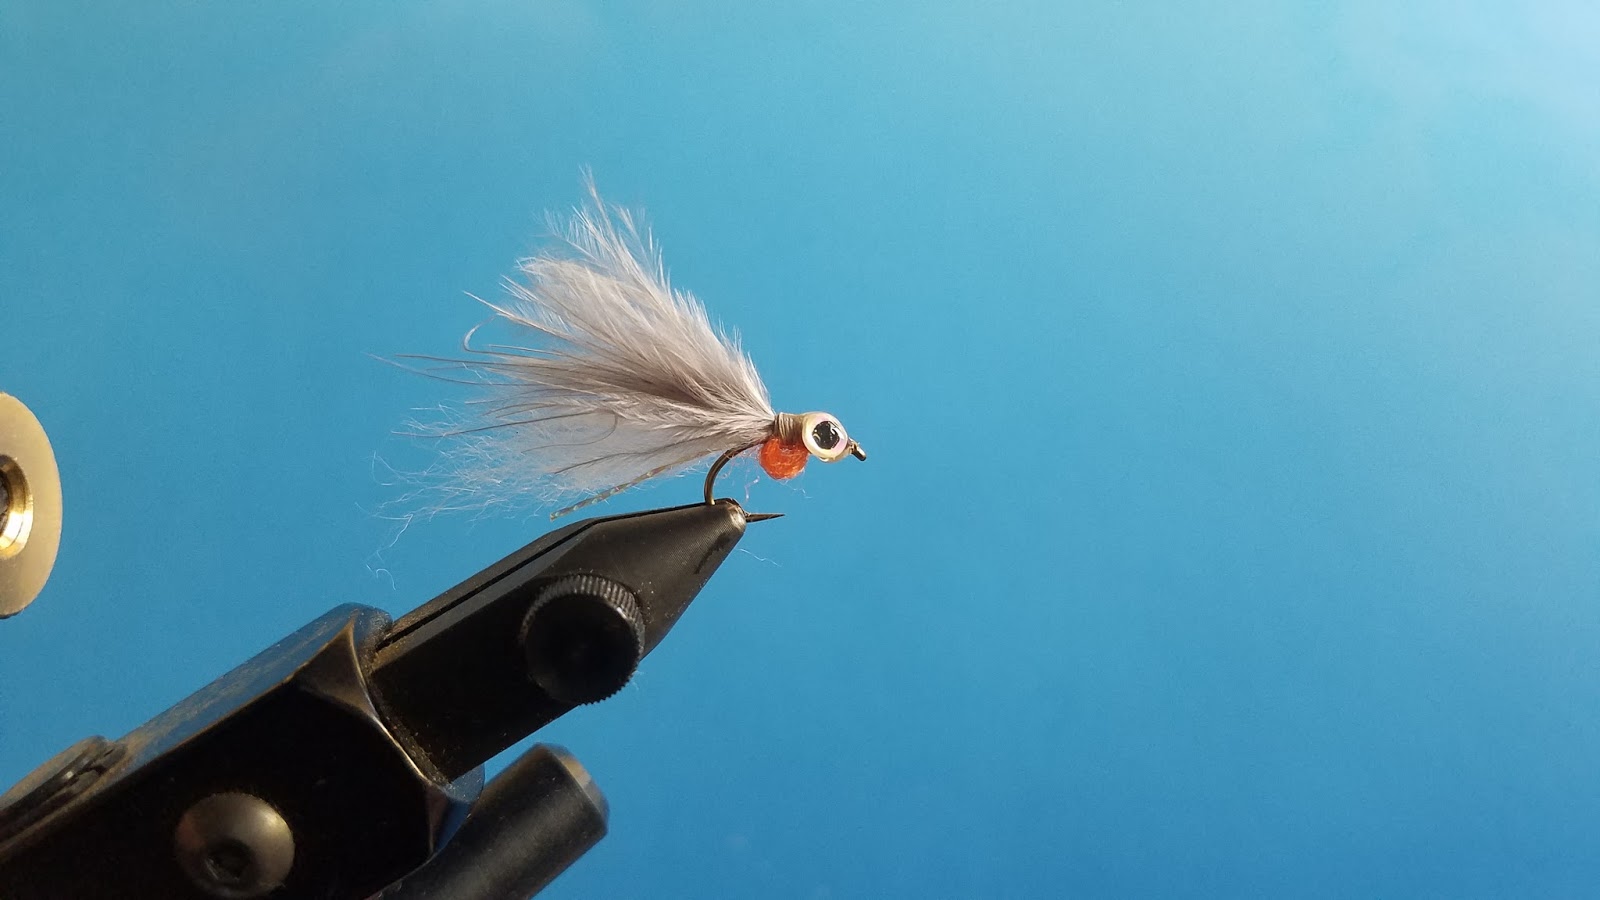
Step 9: Pinch off some marabou so that you are left with about an inch left. Finished!

