Fish Talk

My Aquatic Insect Aquarium Set-Up

Here are my specs for how to set up my aquatic insect aquarium:
I bought all my equipment from Petsmart.


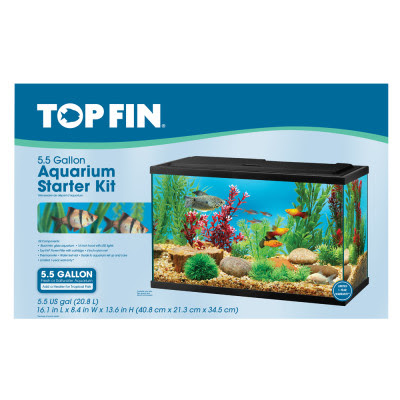
Top Fin 5.5 Gallon Aquarium Starter Kit

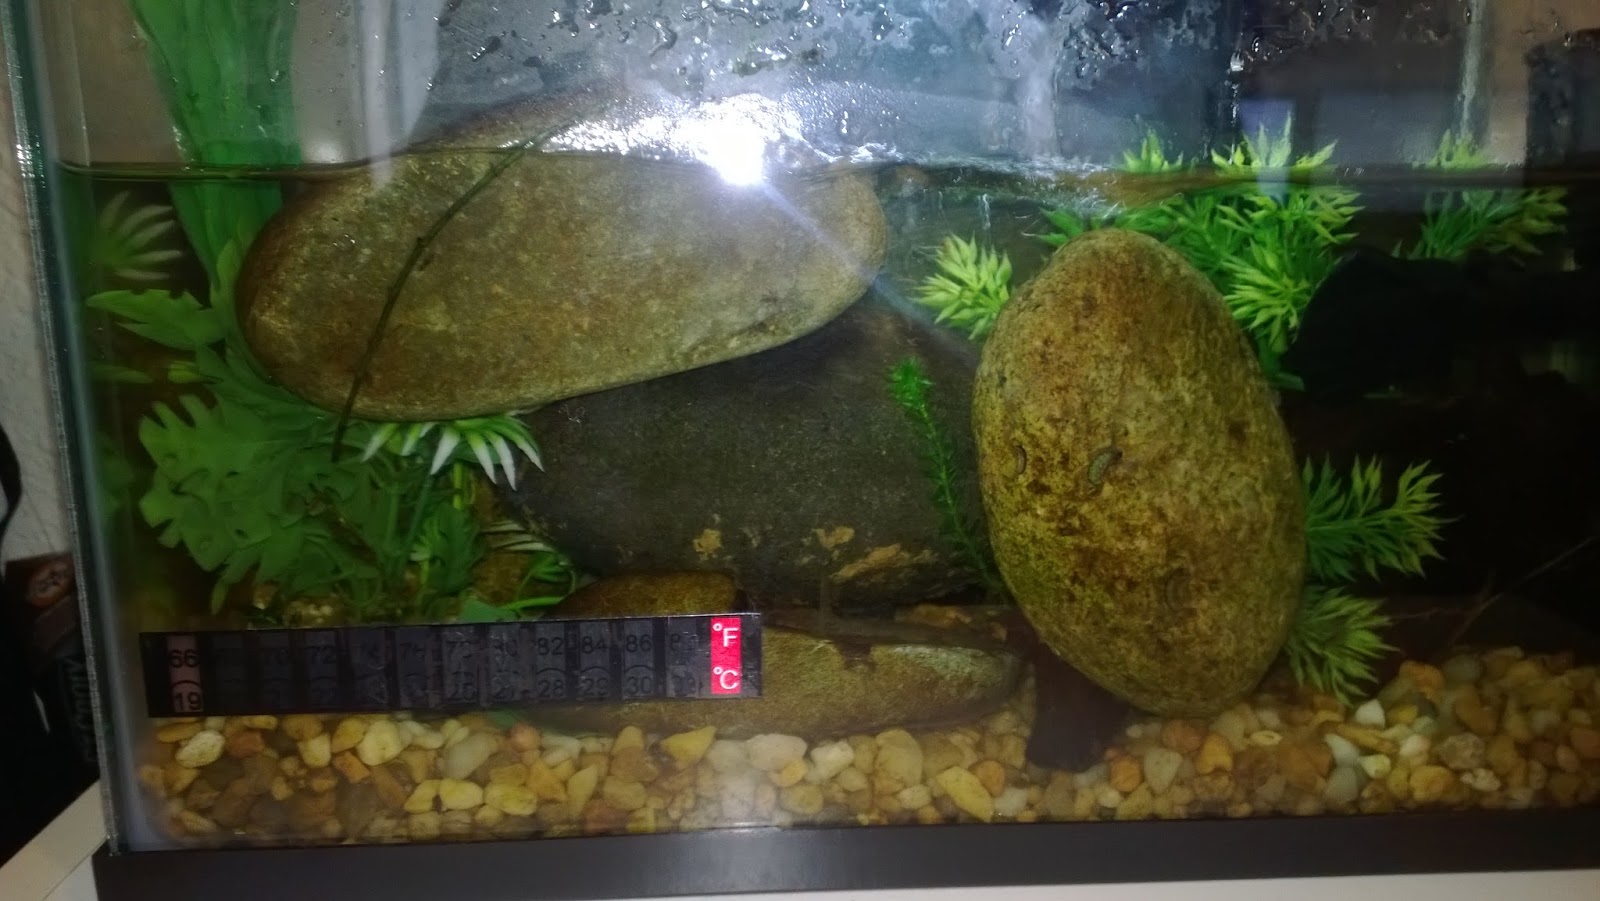
This aquarium comes with a filter, hood, LED hoodlight, and tape temperature thermometer. This starter kit is a very nice set-up but I don’t they they sell them anymore.

A smaller aquarium helps make managing the temperature a bit easier and it takes up less space.
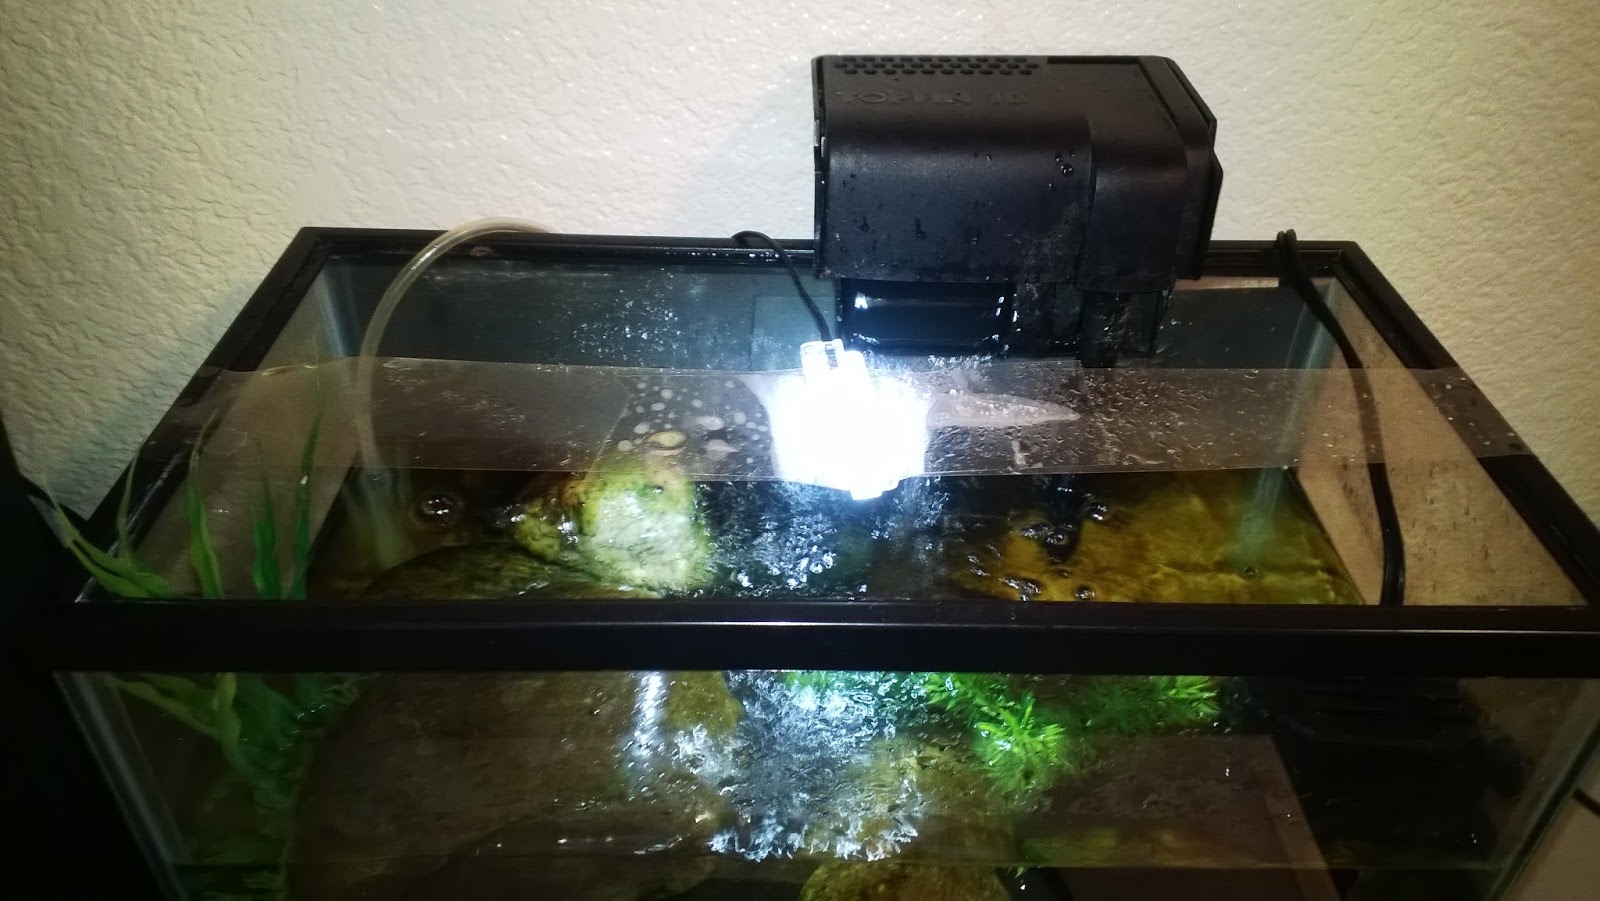
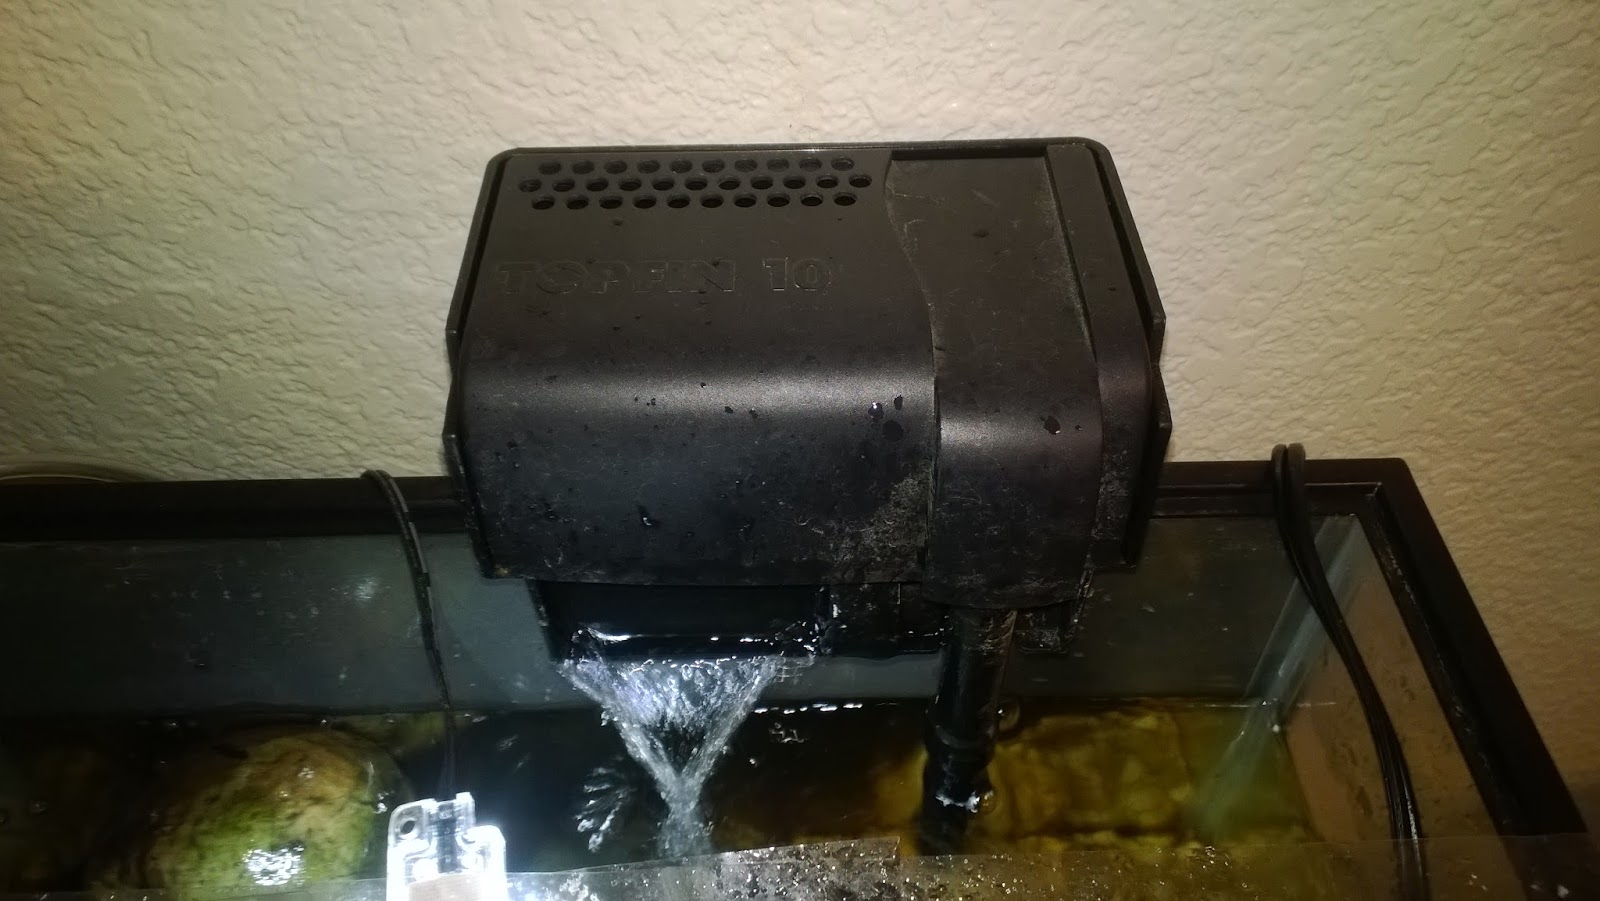
I am currently using tape to hold up the LED because I got rid of the hood. Getting rid of the hood helps keep the temperature lower due higher evaporation levels.I’ve taken out the filter sponge so that if a bugs gets sucked into the filter they won’t get stuck.

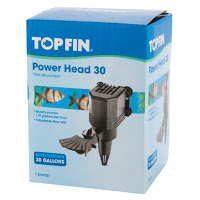
Top Fin Power Head Pump
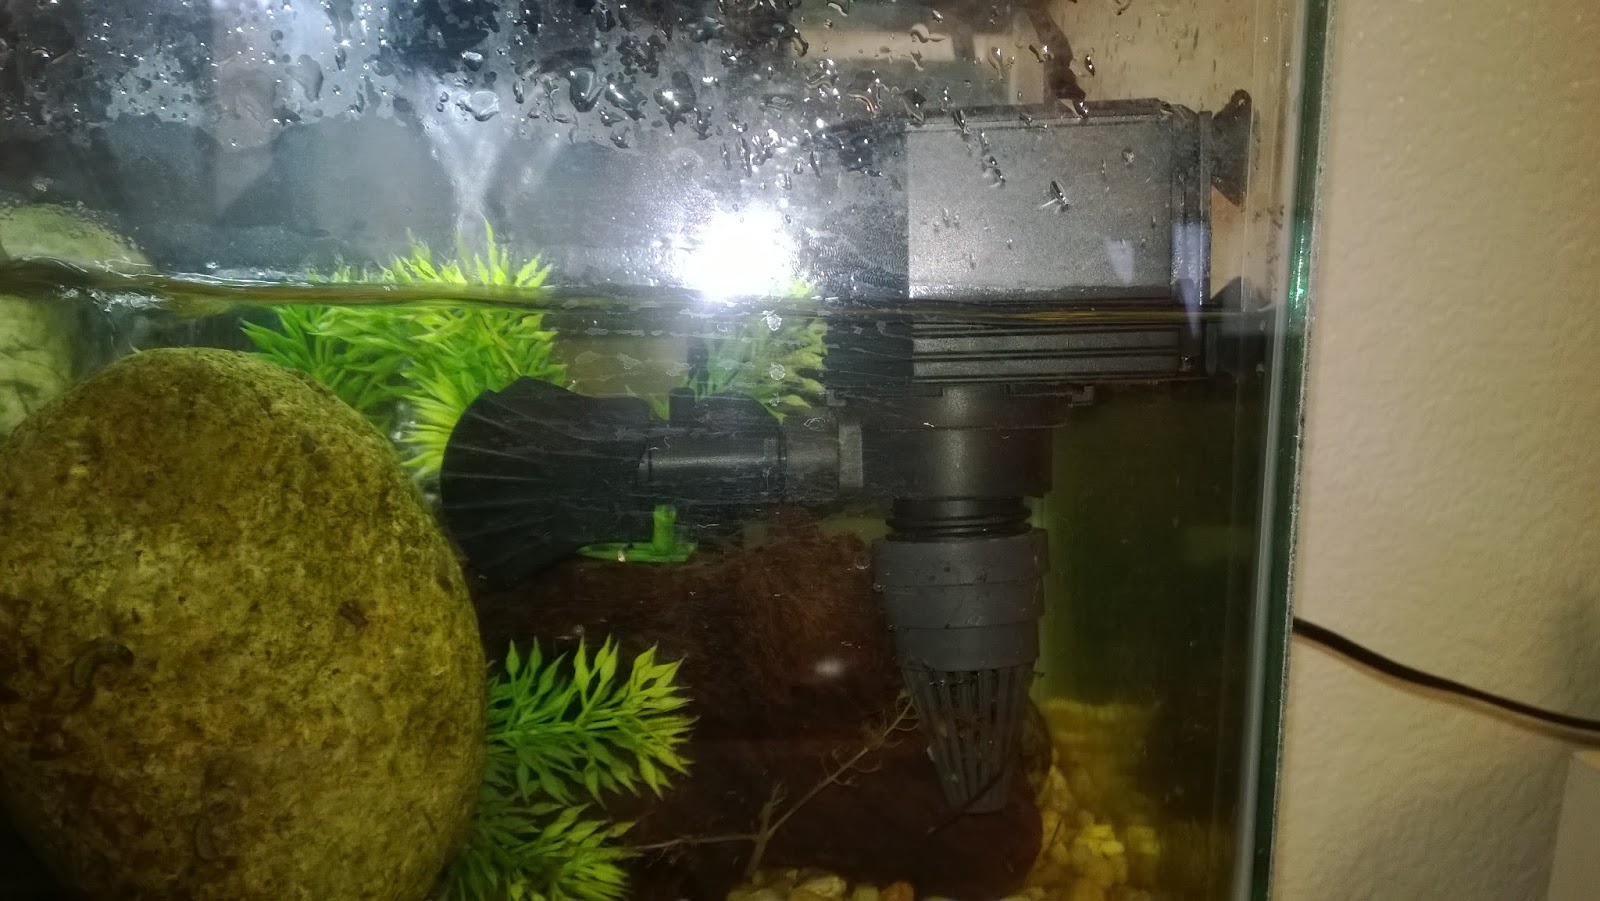
The power head helps circulate the water and replicates a fast moving stream. Both the caddis and the mayflies seem to congregation at the head of the pump which tells me they like it.

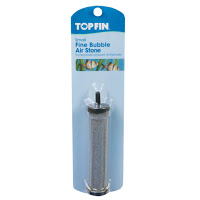
Tip Fin Aquarium Fine Bubble Air Stone
The airstone helps generate extra oxygen for the tank. To try to get the best effect, I place my airstone across the tank. The bugs, especially the mayflies, like to hang around this as well.
*You need to buy an aquarium pump and airline tubing in order to run an air stone.

Aquarium Decorations
A tank full of rocks isn’t very fun to look at. Add a few plastic plants and some driftwood to your aquarium to make it more aesthetically pleasing. Using sticks and other objects from the stream you collected your insects is also a great idea.

Other Essentials
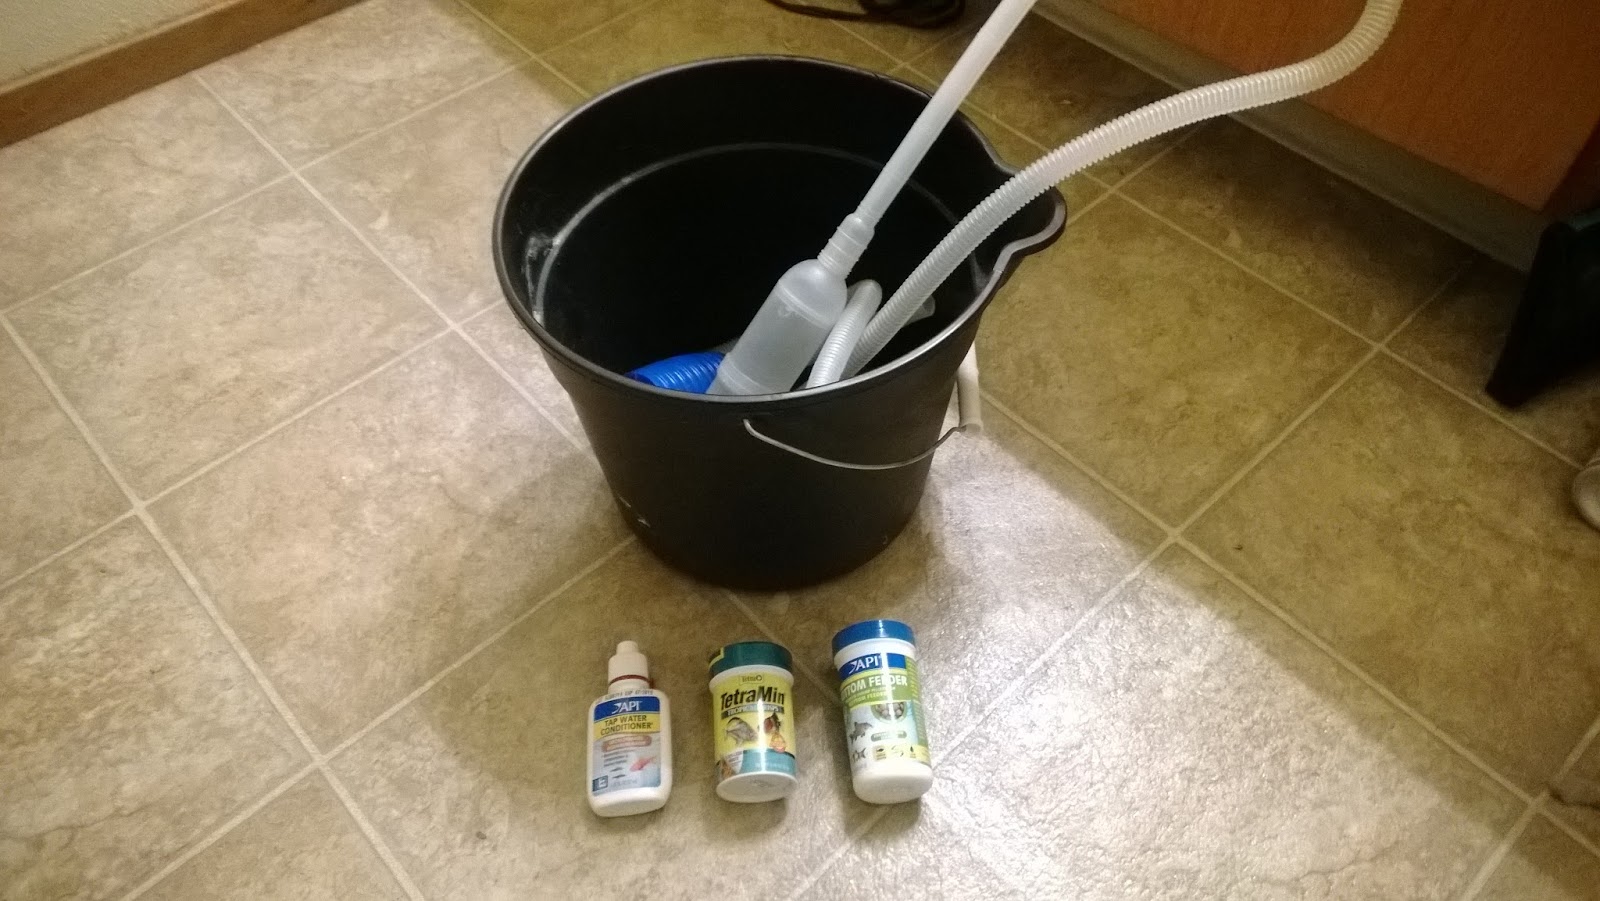
-Tapwater conditioner
-Algae or fish food
-Gravel Vacuum
-Air Pump and tubing (If you want to use an air stone)
-Day/Night Timer (I use a Zoo Med ReptiCare Timer, they are fantastic)

Extra information about starting an aquarium and aquatic insects.
Cycling a new aquarium
Bug Aquarium Information
Species Identification

  • I try to keep the water temperature as low as I can by throwing in a frozen water bottle in the tank from time to time. As long as the water is below room temperature (75° F) you’ll be fine.
  • I like to change about 20% of the water out each week just to be it safe.
  • Not having a hood risks the chance of bugs flying around the house, therefore you will need a cat, frog, bird, spider, or lizard to keep the bugs away from the old lady. Or you can buy a mesh hood.
  • I like to leave the aquarium half full for a waterfall effect which adds both oxygen and movement. This set-up is pretty loud but if you like the sound of water it’s quite nice. If you don’t do loud noises then adding more water will make the tank quieter. The pumps aren’t too loud but are noticeable.
Fly Tying

Fly Tying – Hero Sculpin

Hero Scuplin

Material List:
Owner – Red SSW 5311 – size 4 or 6
Daiichi – 2546 Saltwater Hook – size 2
Black Barred Rabbit Strip – Olive
Marabou Plume – Olive
Senyo Laser Yarn – White
Fishskull Sculpin Helmet – Small Olive
Senyo Intruder Trailer Hook Wire – Standard Black
Danville’s 70 Denier Thread – Red
Zap-A-Gap

Fly Tying Instructions

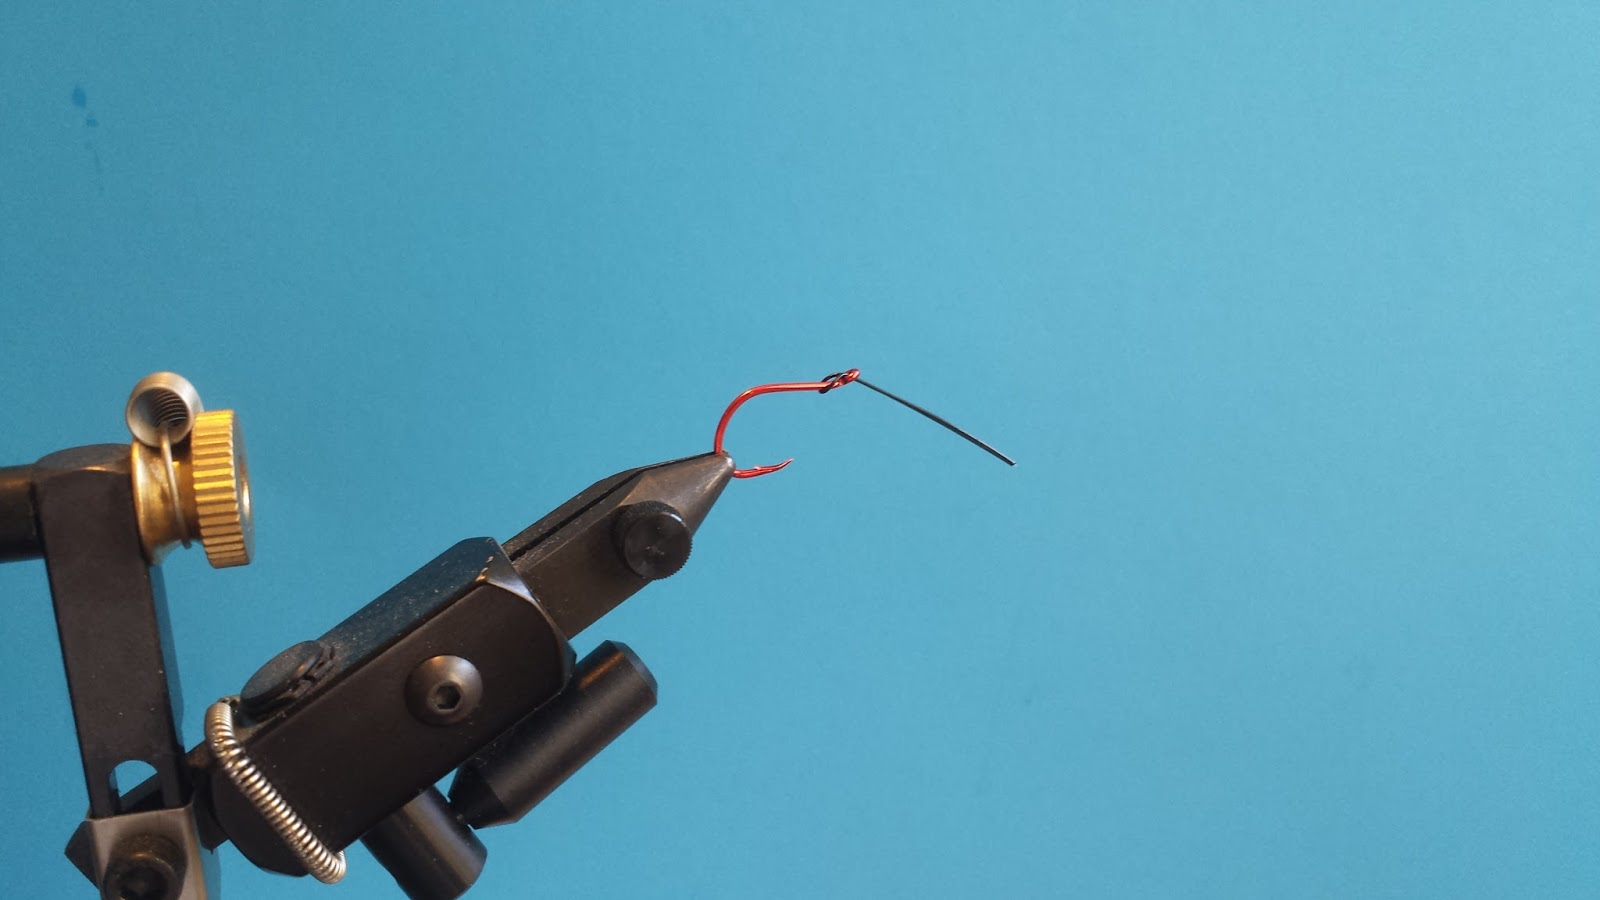
Step 1 – Start with the trailer hook. Pull both ends of the intruder wire through the top of the eye. As the wire forms a loop, pull the hook through the loop and pull the wire tight. The wire should be pointing down not up.

Step 2 – Start your thread and make a few wraps around the wire so that it stays in place. Tie in your rabbit strip in the middle of the shank. Be sure to split the hairs before securing the rabbit strip. Wetting the fibers helps make splitting the hair easier. Whip finish near the eye of the hook.

Take a bodkin and dap a bit of Zap-A-Gap to the bottom where all the thread is to make sure everything stays in place.

Step 3 – Take off the trailer hook and begin the body hook. Any straight eye short shank hook will do. In this tutorial I am using a garbage Daiichi hook that I forget the name of. A size 2 saltwater hook will work as well.

Step 4 – Start your thread. Before wrapping in the wire, make sure that both ends of the wire are parallel to each other and not twisted. Cut off any excess wire that goes past the eye of the hook. Make several tight wraps and stop the thread at the bend.

Step 5 – Secure the rabbit strip. Fold the excess up, you will be using this strip later.

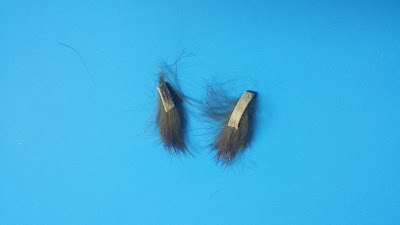
Step 6a – Cut two small pieces of rabbit strip. You will be using these two small pieces for the pectoral fins.

Step 6b – Begin by wrapping the first small strip to the side of the hook shank with two tight wraps. Wrap the second small strip to the opposite side. Once both strips are tied in make a few more wraps to secure.

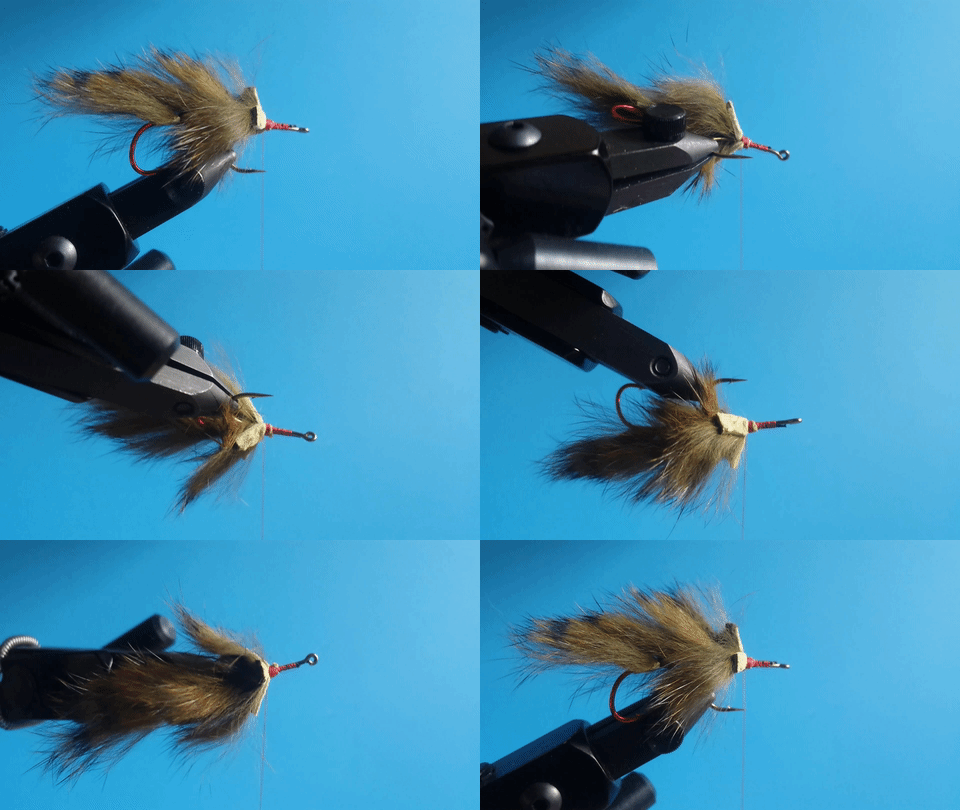
Step 7 – Fold in one of the small rabbit strips and secure it at the end. Fold in the second small strip on the opposite side. Try not to trap any fibers during this folding process. Once both small strips are folded, make a few tight wraps around both ends to secure.

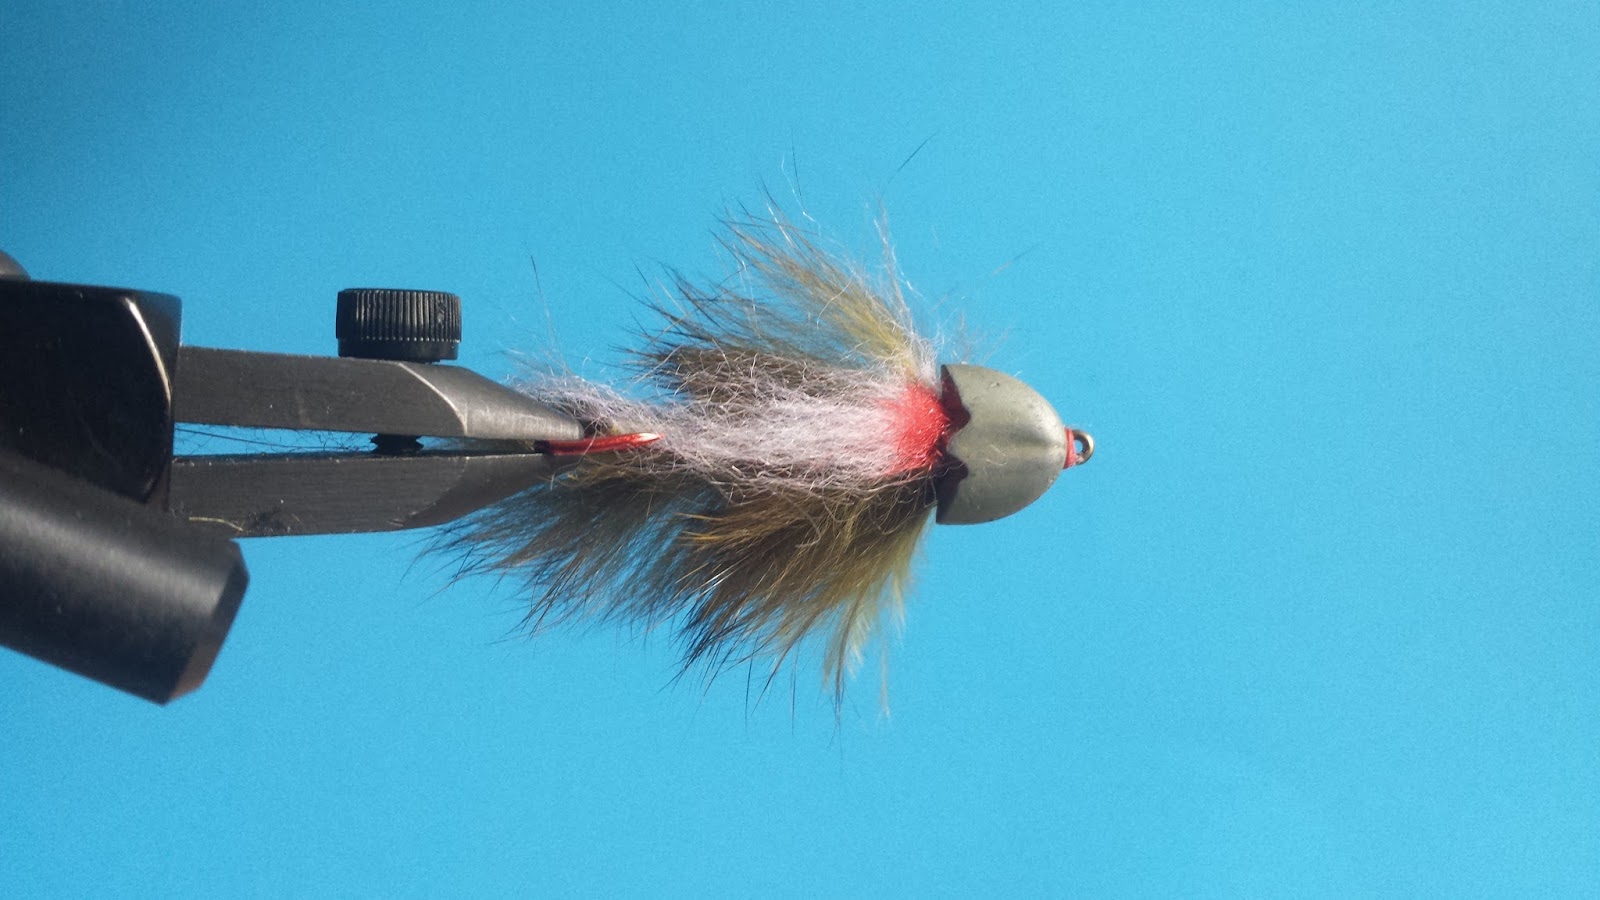
Step 8 – Pull the original top rabbit strip over the top of the hook shank and secure with a few tight wraps. Your fly should look like this.

Step 9 – Tie in a clump of white laser yarn to the bottom of the shank. Be generous with the amount of laser yarn you use, more is better than less. Pull back and shape the yarn so that it forms a tapered belly. Make a few wraps to secure the yarn.

Step 10 – Tie in a clump of olive marabou to the top of the fly. Stack another clump of marabou to the first clump. There should be two clumps total.

Step 11 – After tying in the marabou tear off any long excess and begin building your thread for the sculpin helmet.

Try your sculpin helmet to make sure it cinches nice and tight. If it doesn’t fit tight continue building your thread until it does. Once the helmet fits tight, whip finish.

Put no more than two drops of Zap-A-Gap to where the helmet is going to fit then put on the helmet. Push back the helmet to ensure that there is enough space between the helmet and the eye of the hook.

Secure the helmet by wrapping some thread around the eye of the hook. Zap-A-Gap this thread so that it doesn’t fall apart.

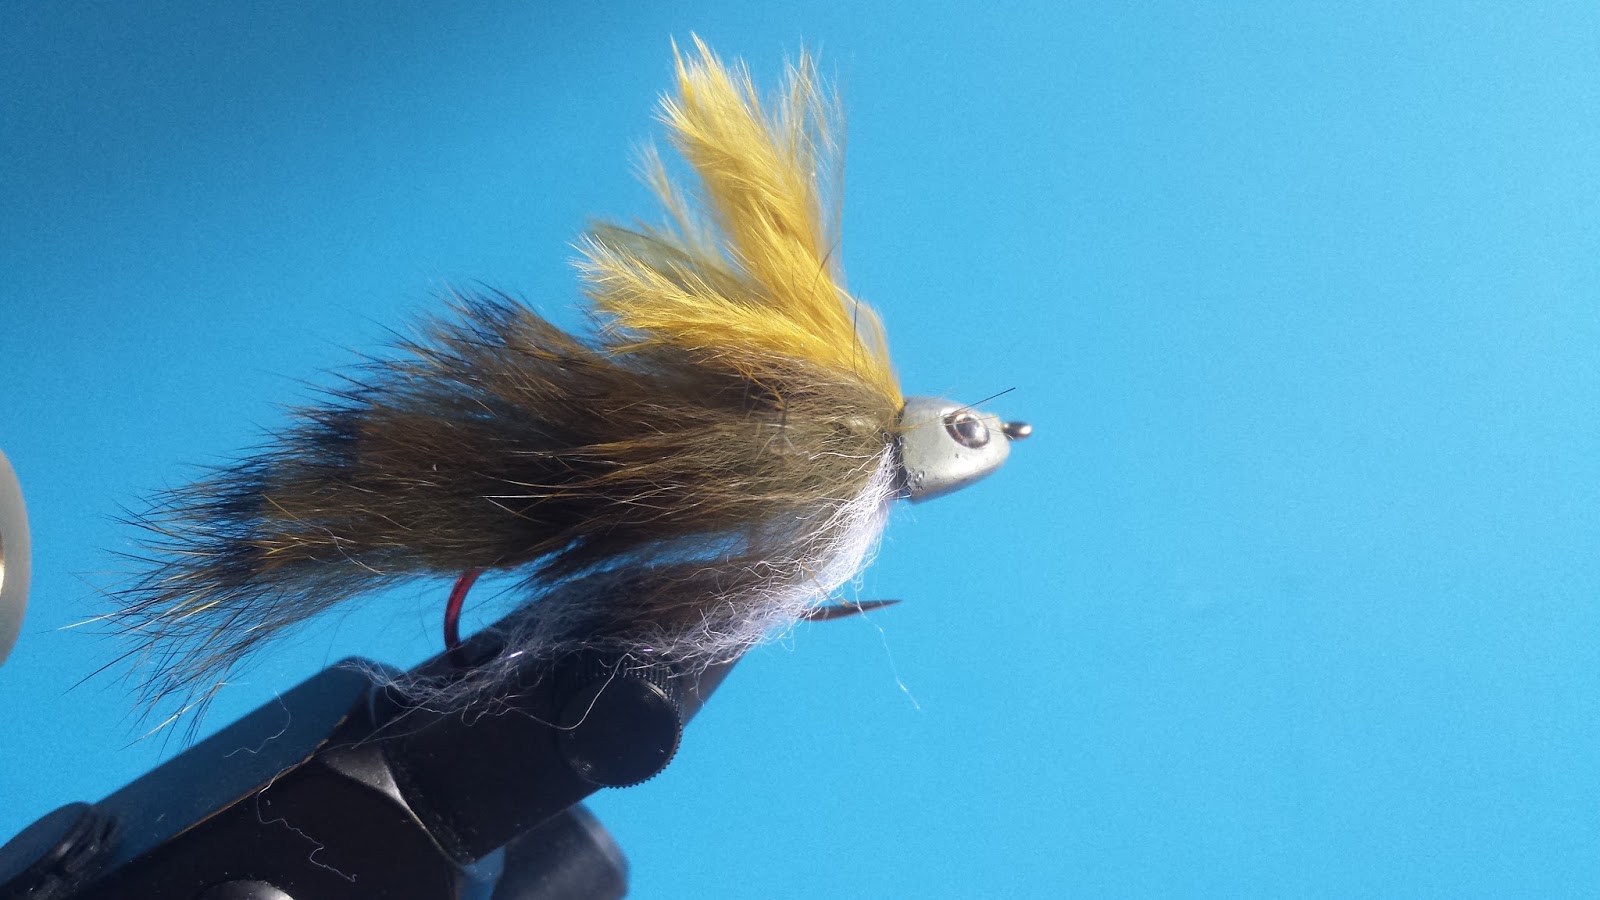
Step 12 – Cut off the body hook. I use a wire cutter. Flip the fly over and use a red permanent marker to color in the throat of the fly.

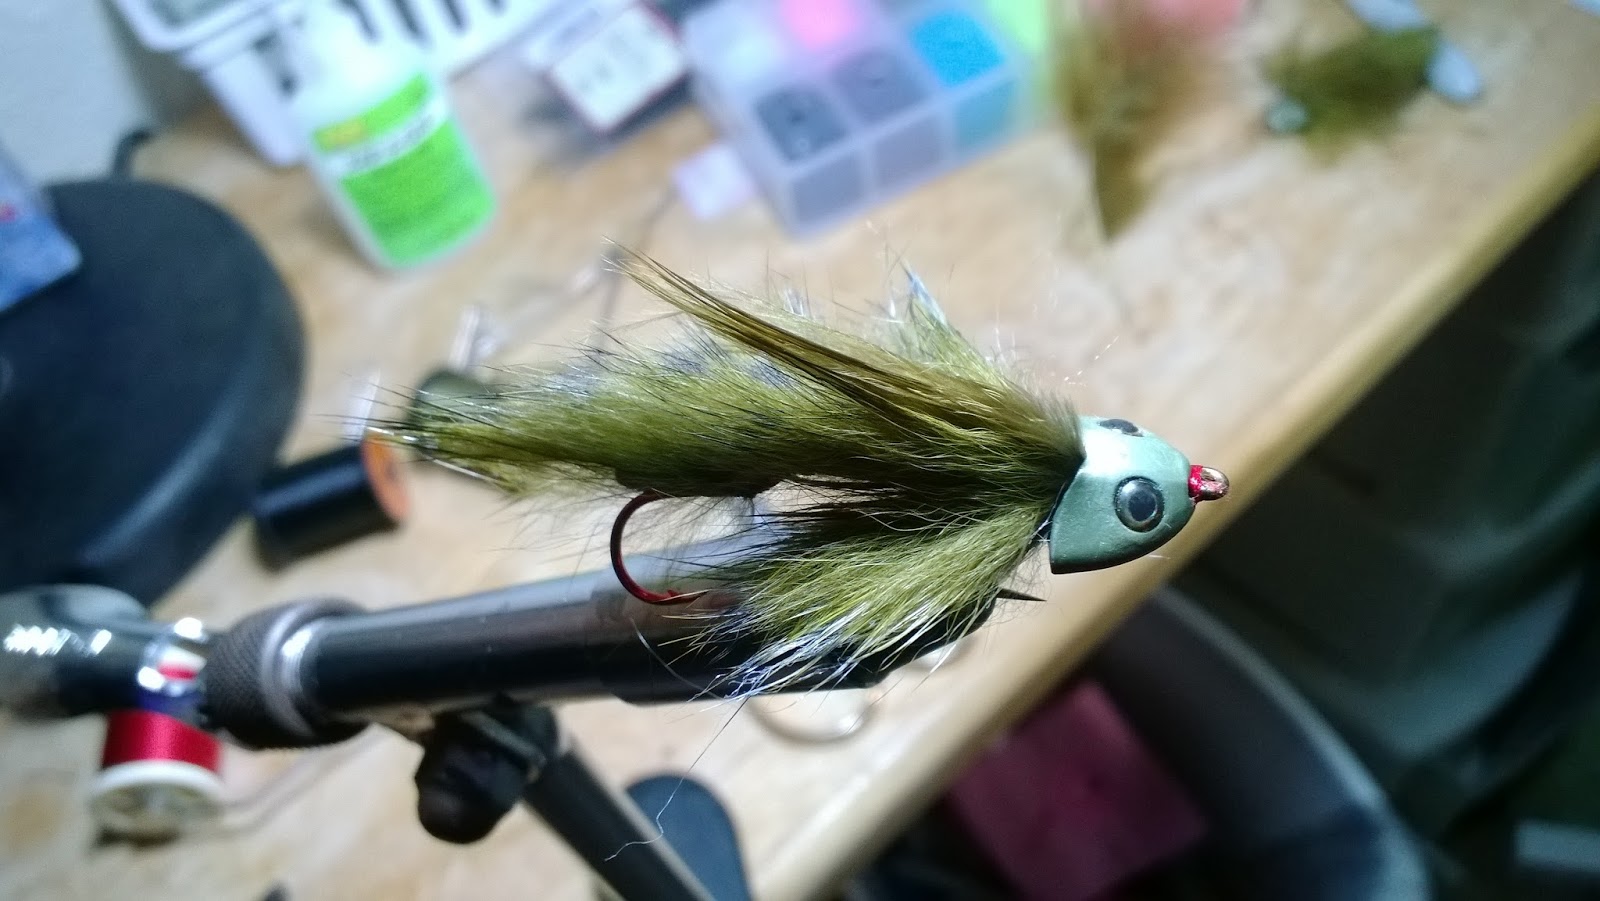
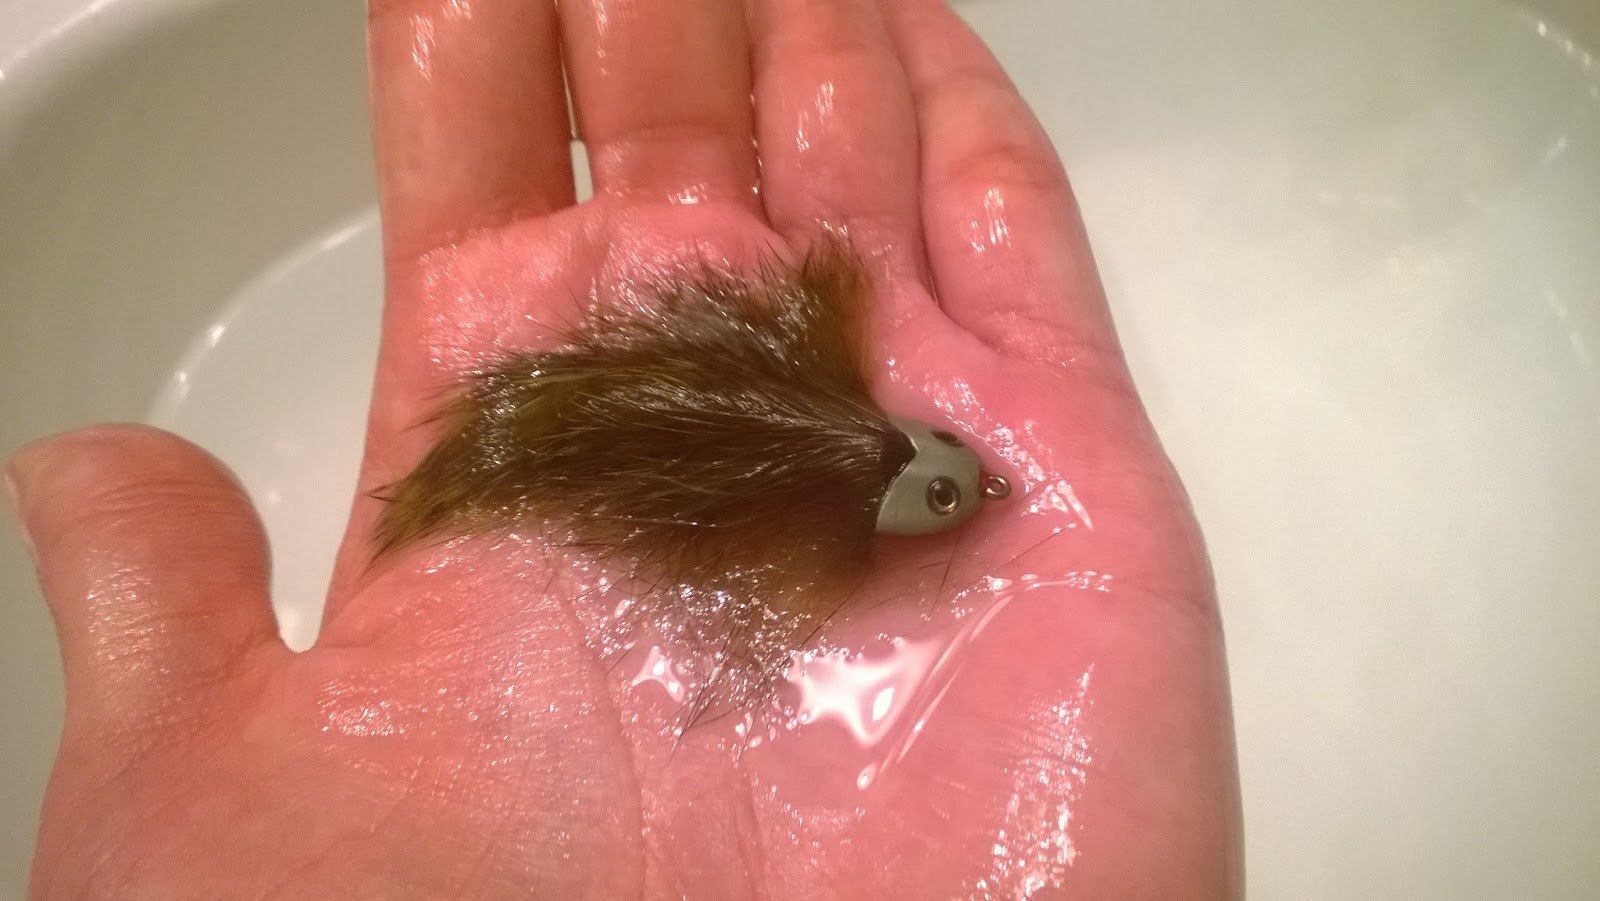
Finished!

1 84 85 86 87 88 150