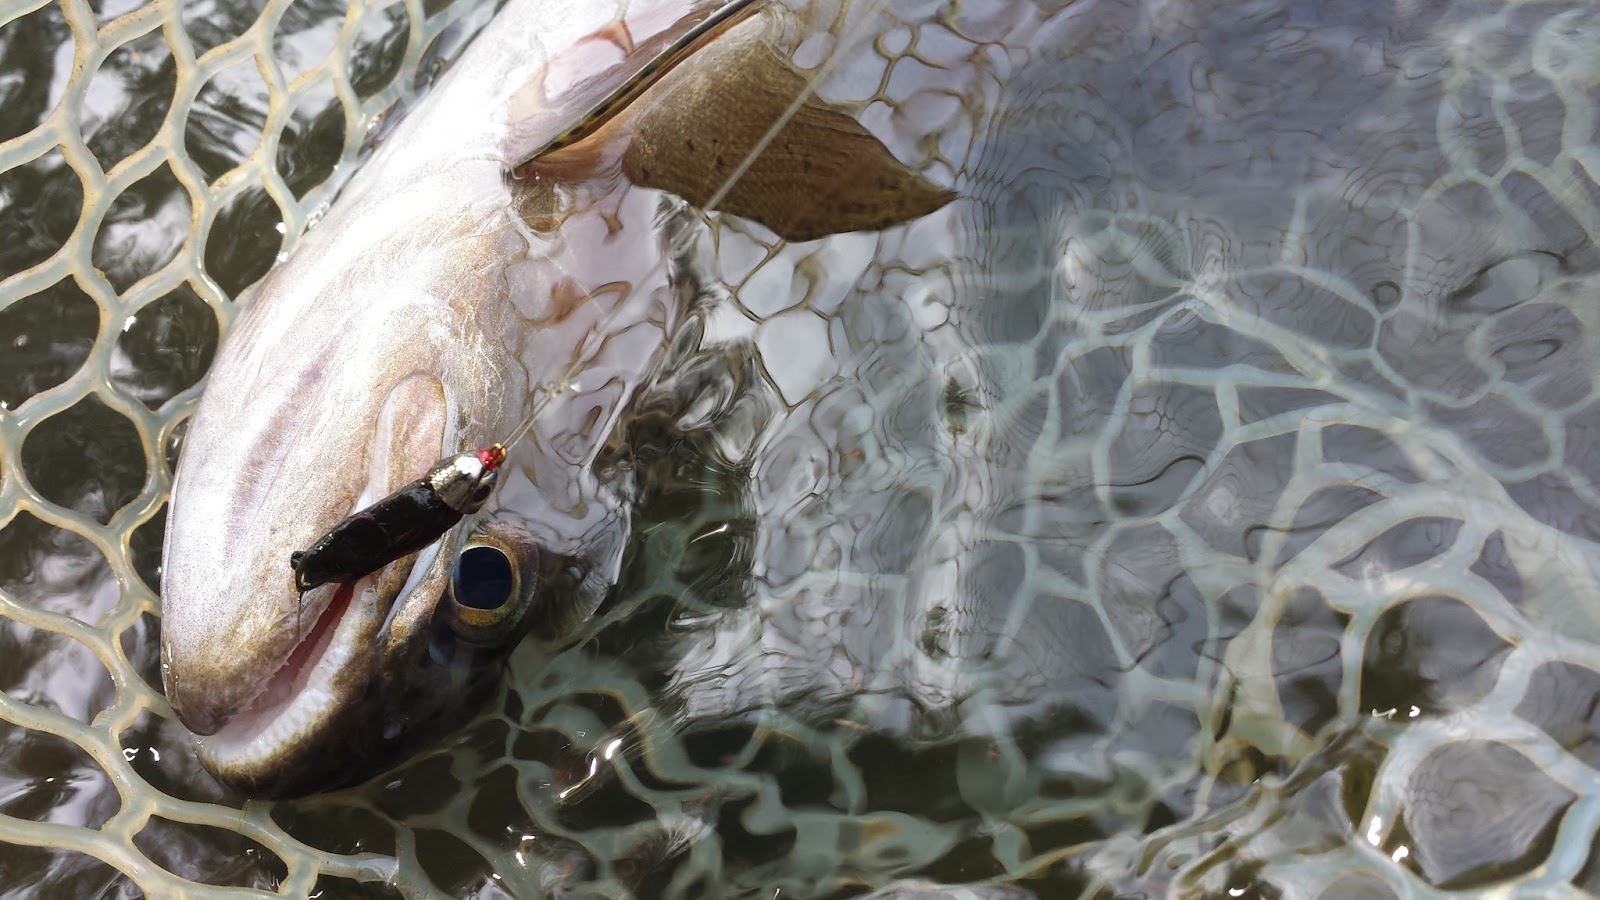
It’s every fly fisherman’s favorite time of year, Fishmas! Marking the end of winter and the start of spring, Fishmas is the last Saturday in April trout opener for the majority of streams, creeks, and rivers in California. My last few years of Fishmas have been spent on a creek however with many creeks and streams running either too high or too cold, I decided I wanted to try something different and fish one of the few lakes in California that opens on Fishmas Day.
I’ve been on a bit of a stillwater fix lately and have been enjoying learning how play the stillwater game. Fly fishing a body of water that isn’t moving can be challenging however a few successful trips can raise your confidence drastically. When it comes to my stillwater fly fishing skills I know how to catch fish stripping streamers as well as nymphing however there is a tool that I have still yet to utilize successfully, the intermediate sinking line. A full sinking line that slowly falls about an inch or two a second shouldn’t been too difficult to use however like with all fly fishing techniques learning how to fish it effectively takes time and practice.
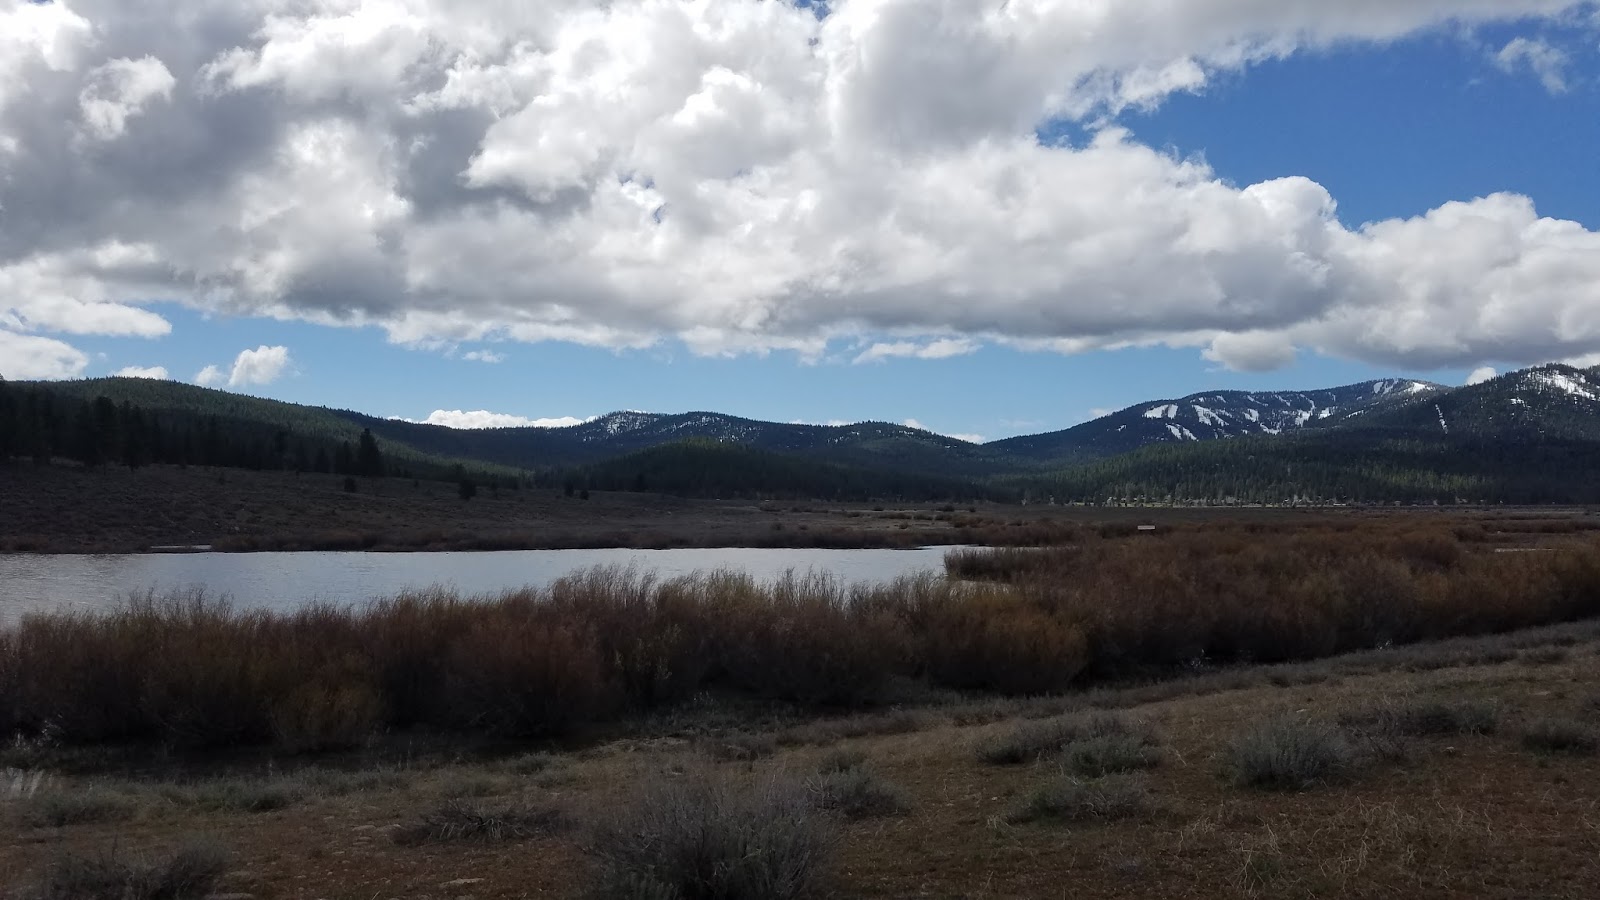
Martis Lake is one of the few lakes in California that opens Fishmas Day. It is a catch-and-release, barbless artificials only, and zero take lake that holds wild brown, rainbow, and lahontan trout. This lake is a bit tricky to fish opening day because the water temperature is typically still very cold. Colder water temperatures means that the fish won’t be as active therefore making covering the correct type of water the name of the game. On a stream this usually means either fishing the deeper pools or shallower warmer water, the same strategy can be applied on a lake.
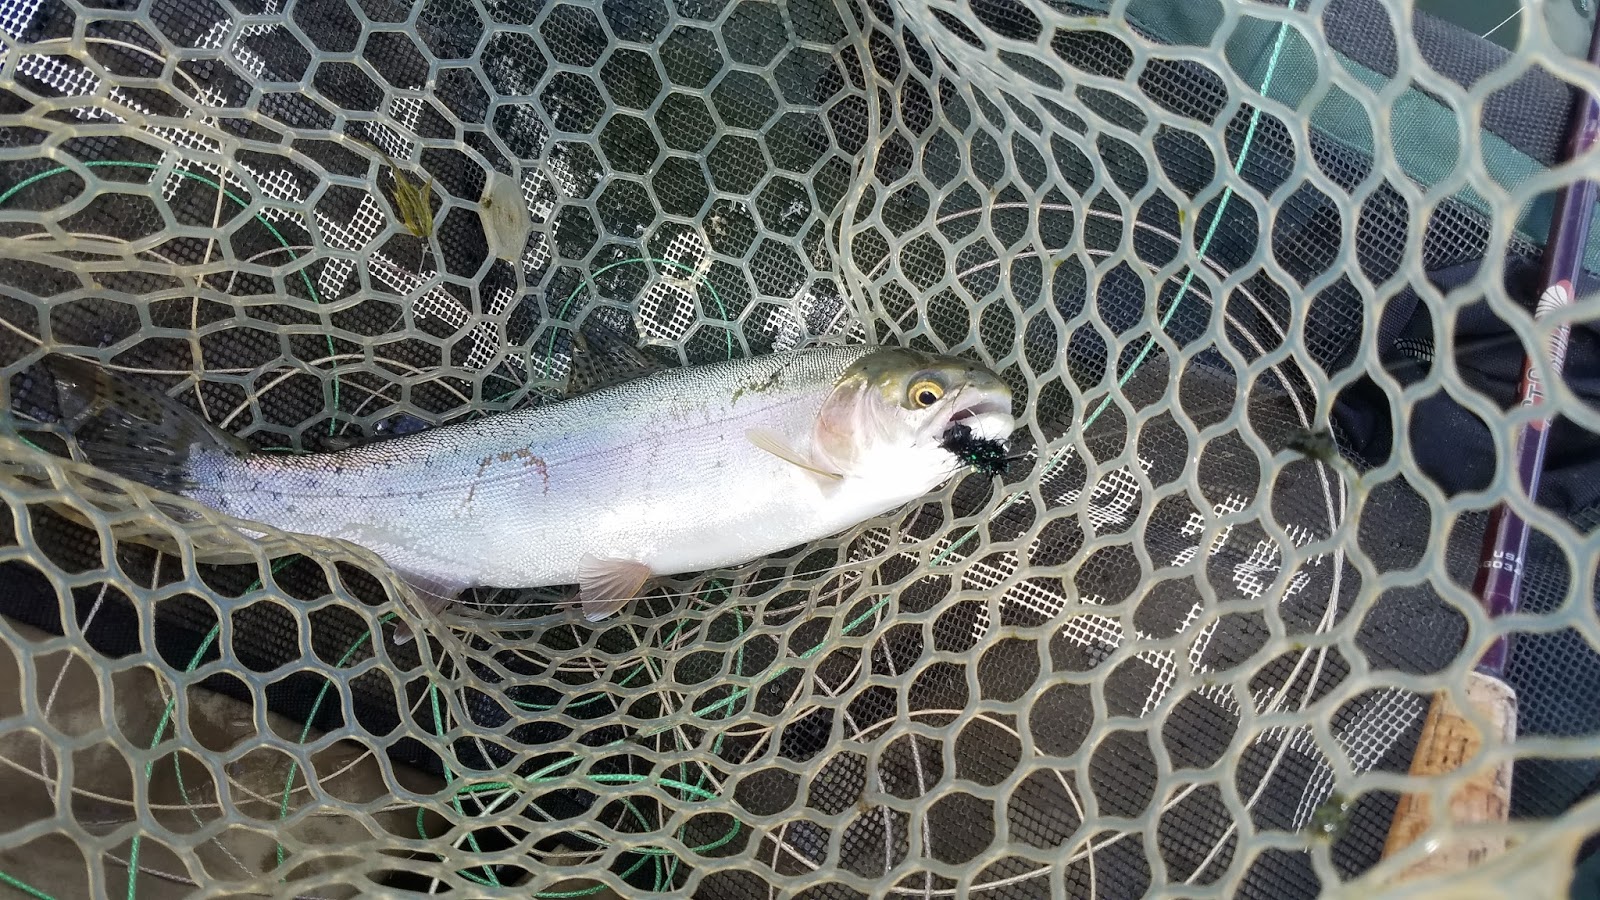 |
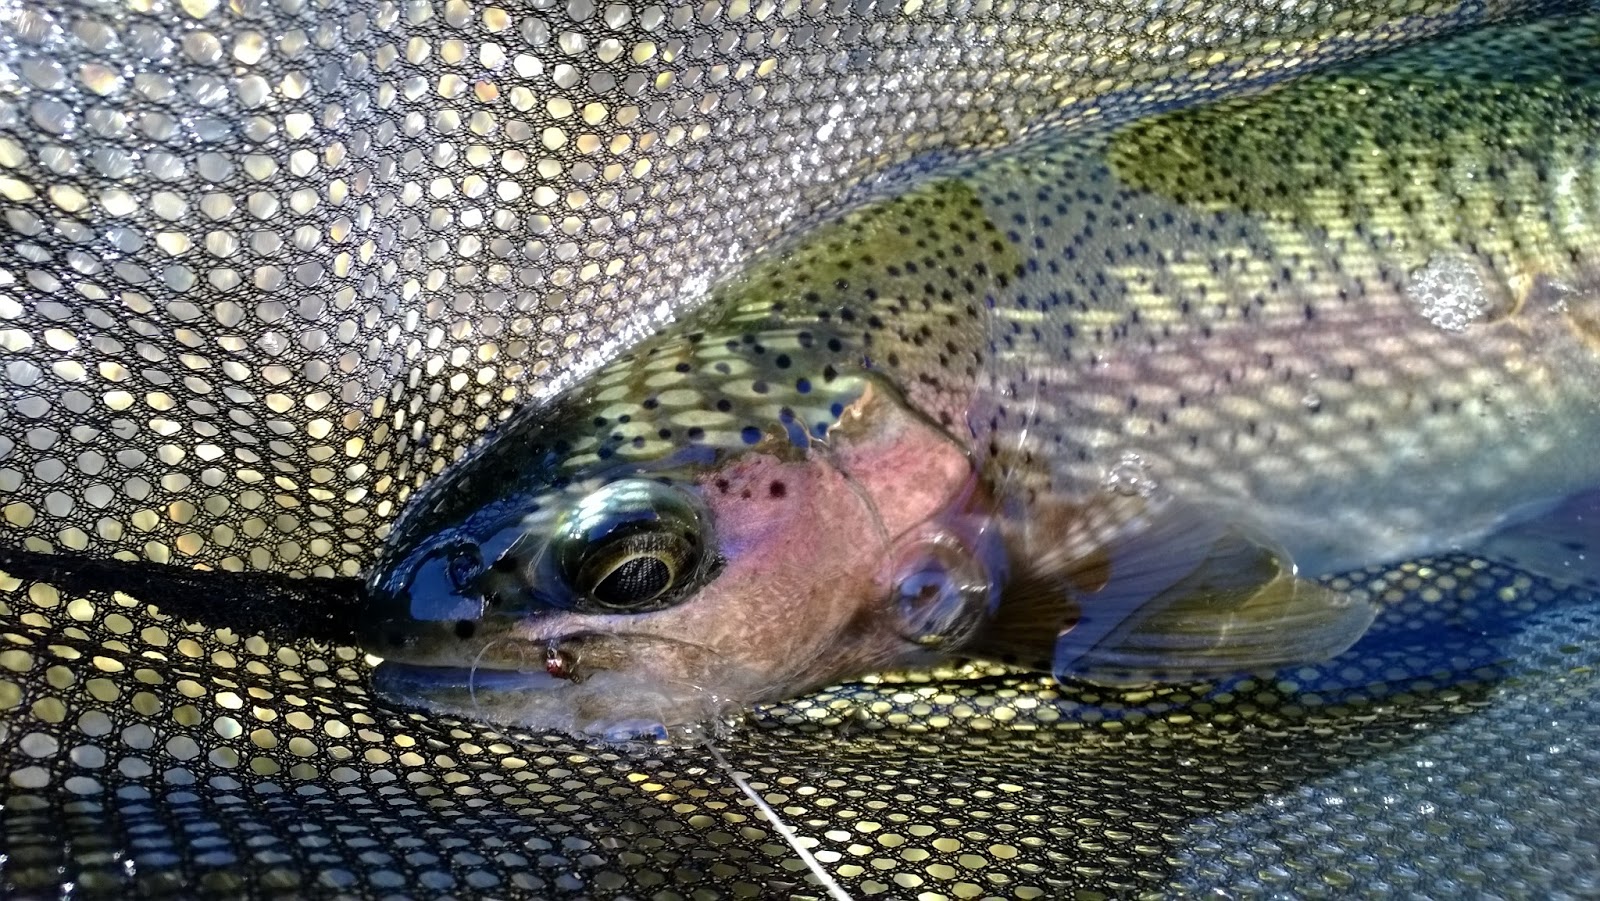
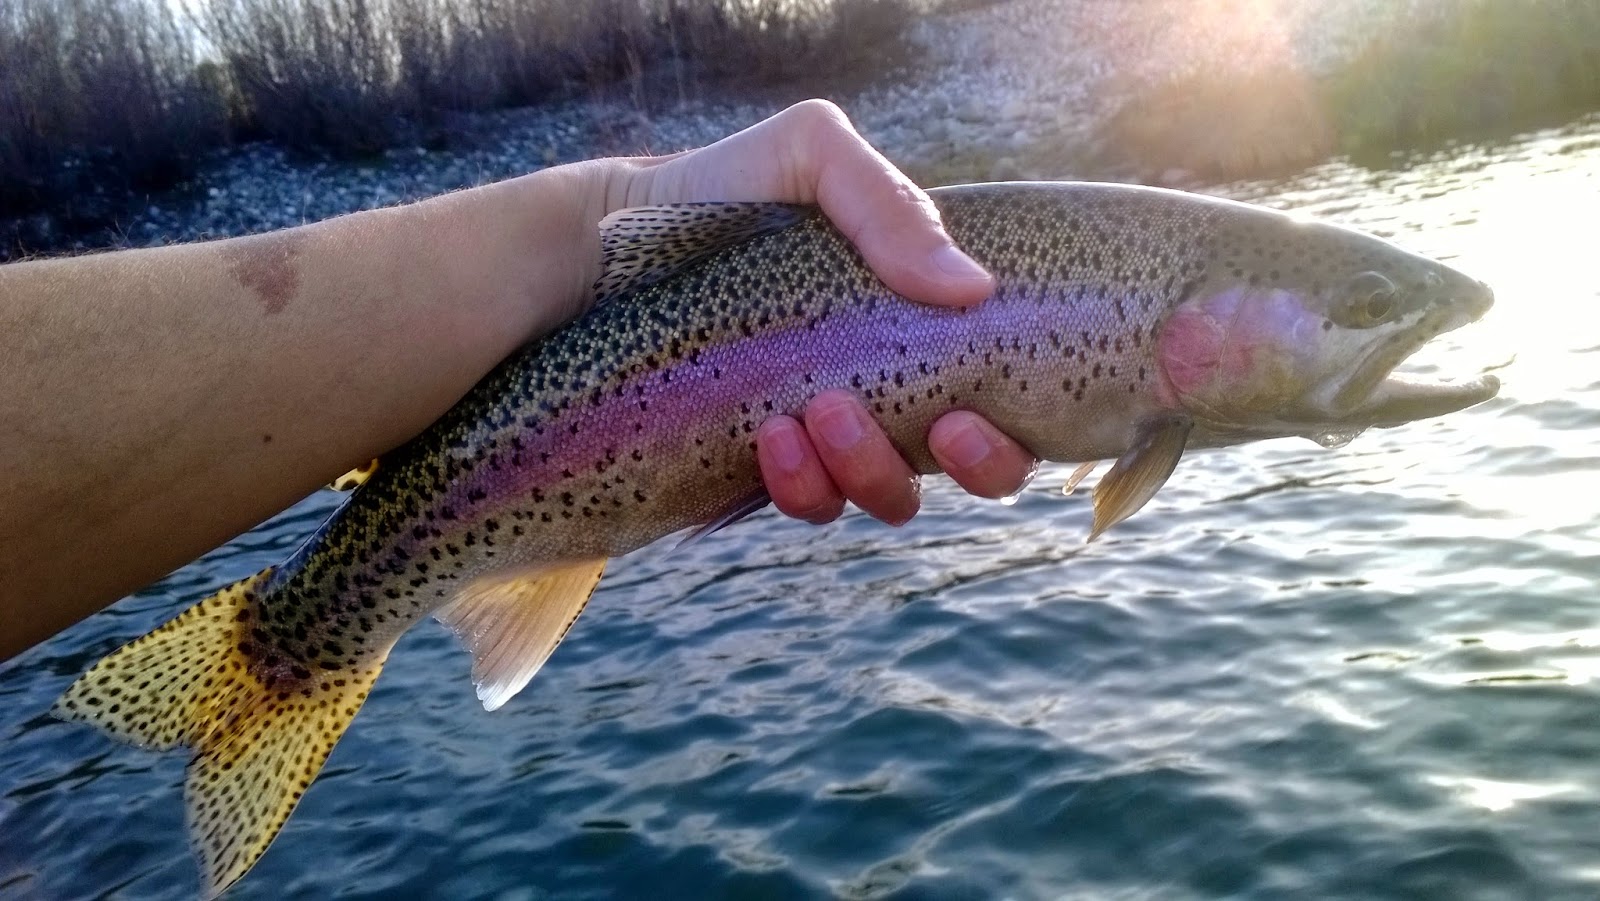
| Martis Bow |
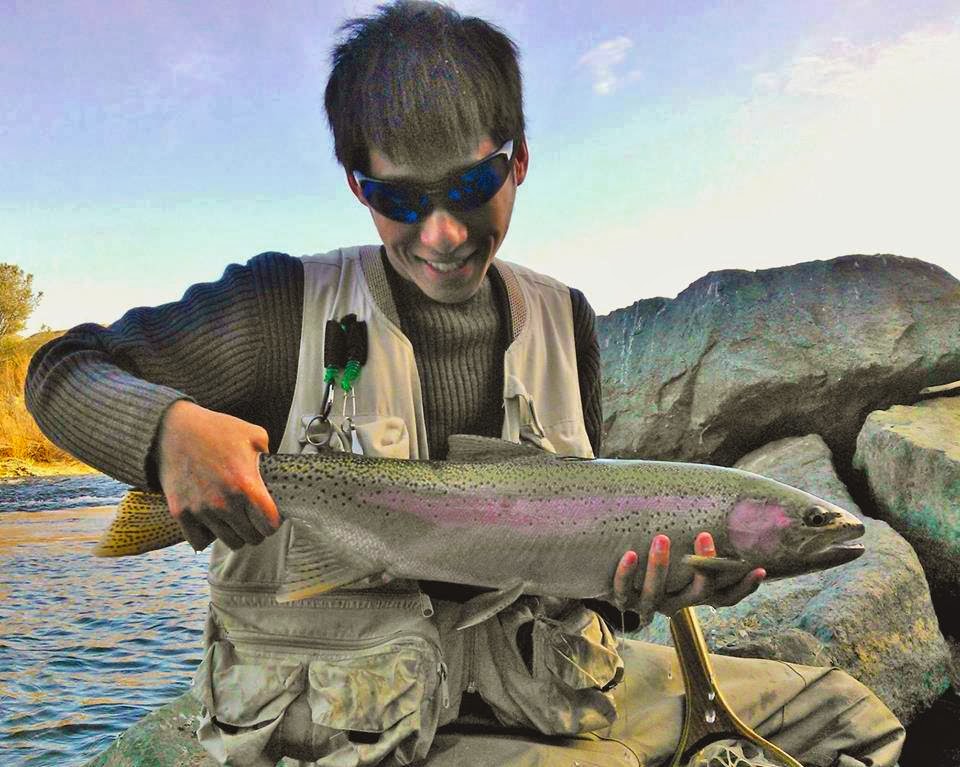
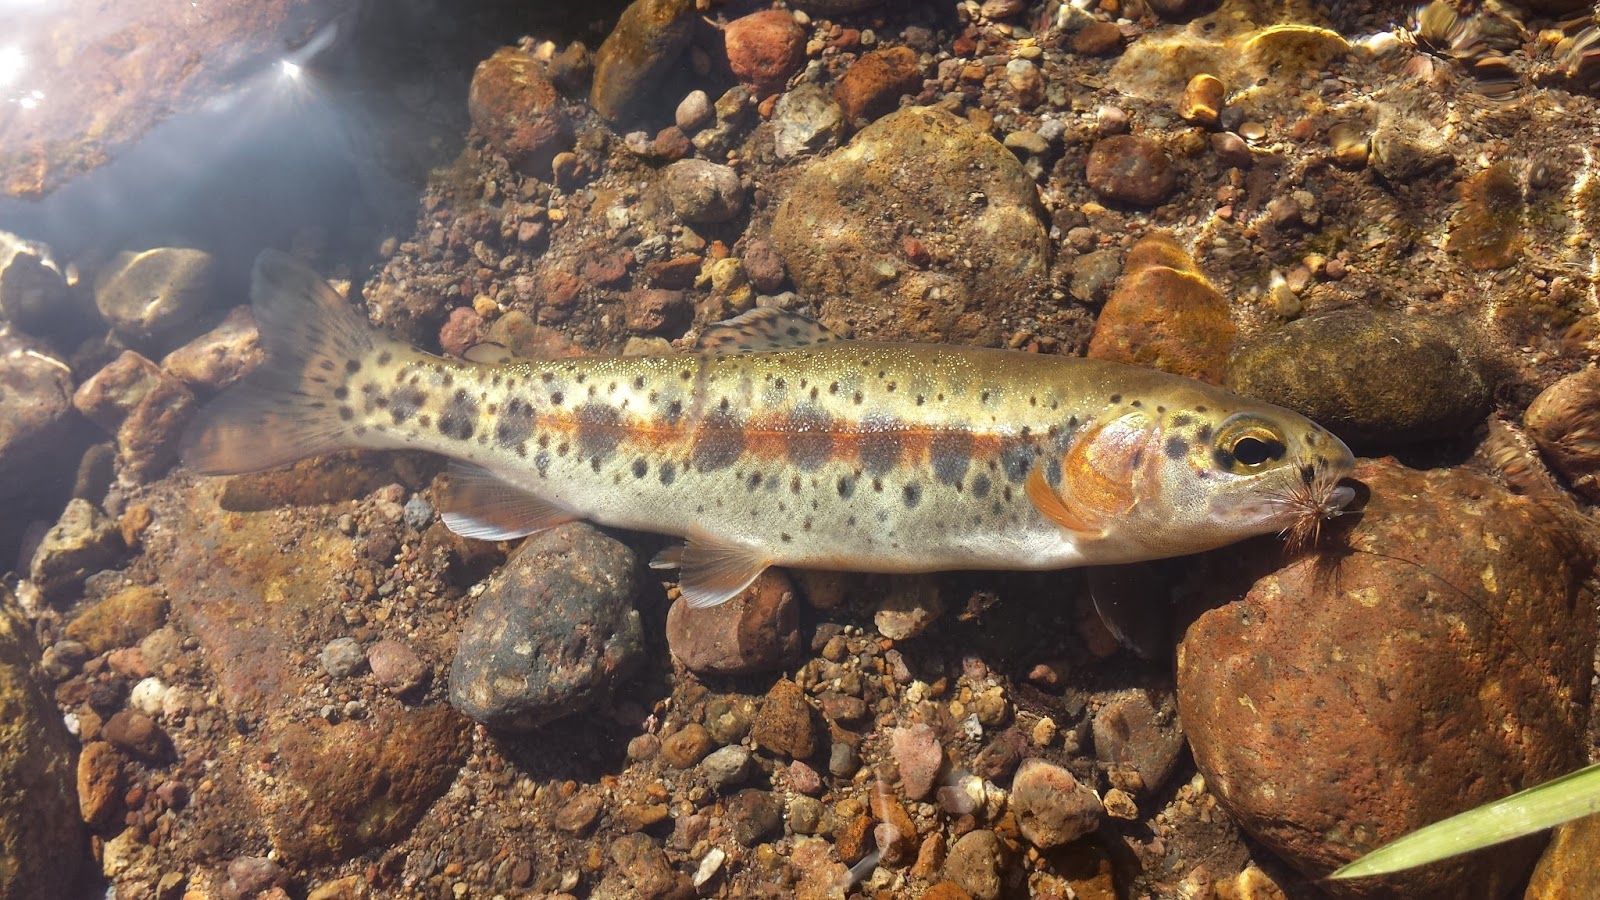
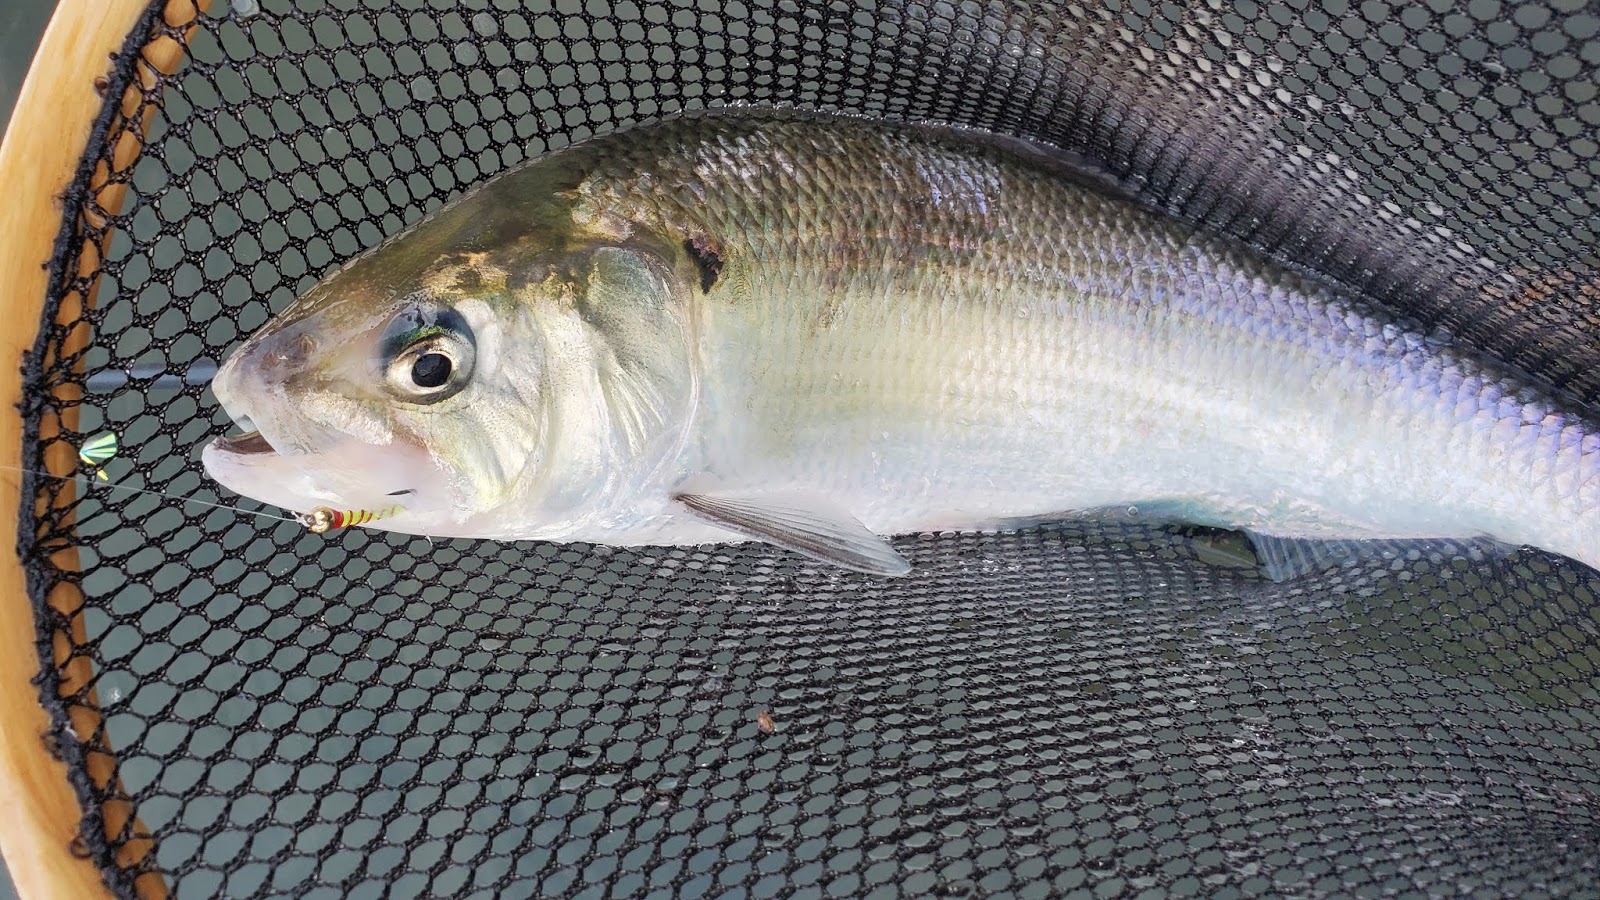
It was safe to say that the day started off nicely as I landed my first rainbow a few minutes after launching. My main strategy this trip was to strip streamers on my intermediate sinking line and learn the feel and hookset. I had many hits throughout the day but for whatever reason most of the fish never committed to fully taking the fly. This led to the majority of the fish I caught being foul hooked. I’m still debating on whether or not it was me or the fish. Several theories come to mind however I like to believe that these fish where just nipping my flies because they weren’t focused on feeding on bait fish yet.
The lake slowed down a bit in the afternoon and the fishing wouldn’t heat back up until later in evening when a small midge hatch starting coming off. I switched to my nymphing rod and was able to convince two fish to take however I didn’t have much luck landing them. Despite not catching any fish on an indicator rig I’ve found that watching an indicator go down on a stillwater is much more satisfying than watching it go down in a stream. I think its the anticipation of not knowing whether or not you’ll catch something that gets me excited because on a stream I know, for the most part, where to expect my fish to be however on a lake it’s the total opposite.
I didn’t hook into anything big this trip but will continue to fish Martis Lake a few more times this month to hopefully find a leviathan worth bragging about.
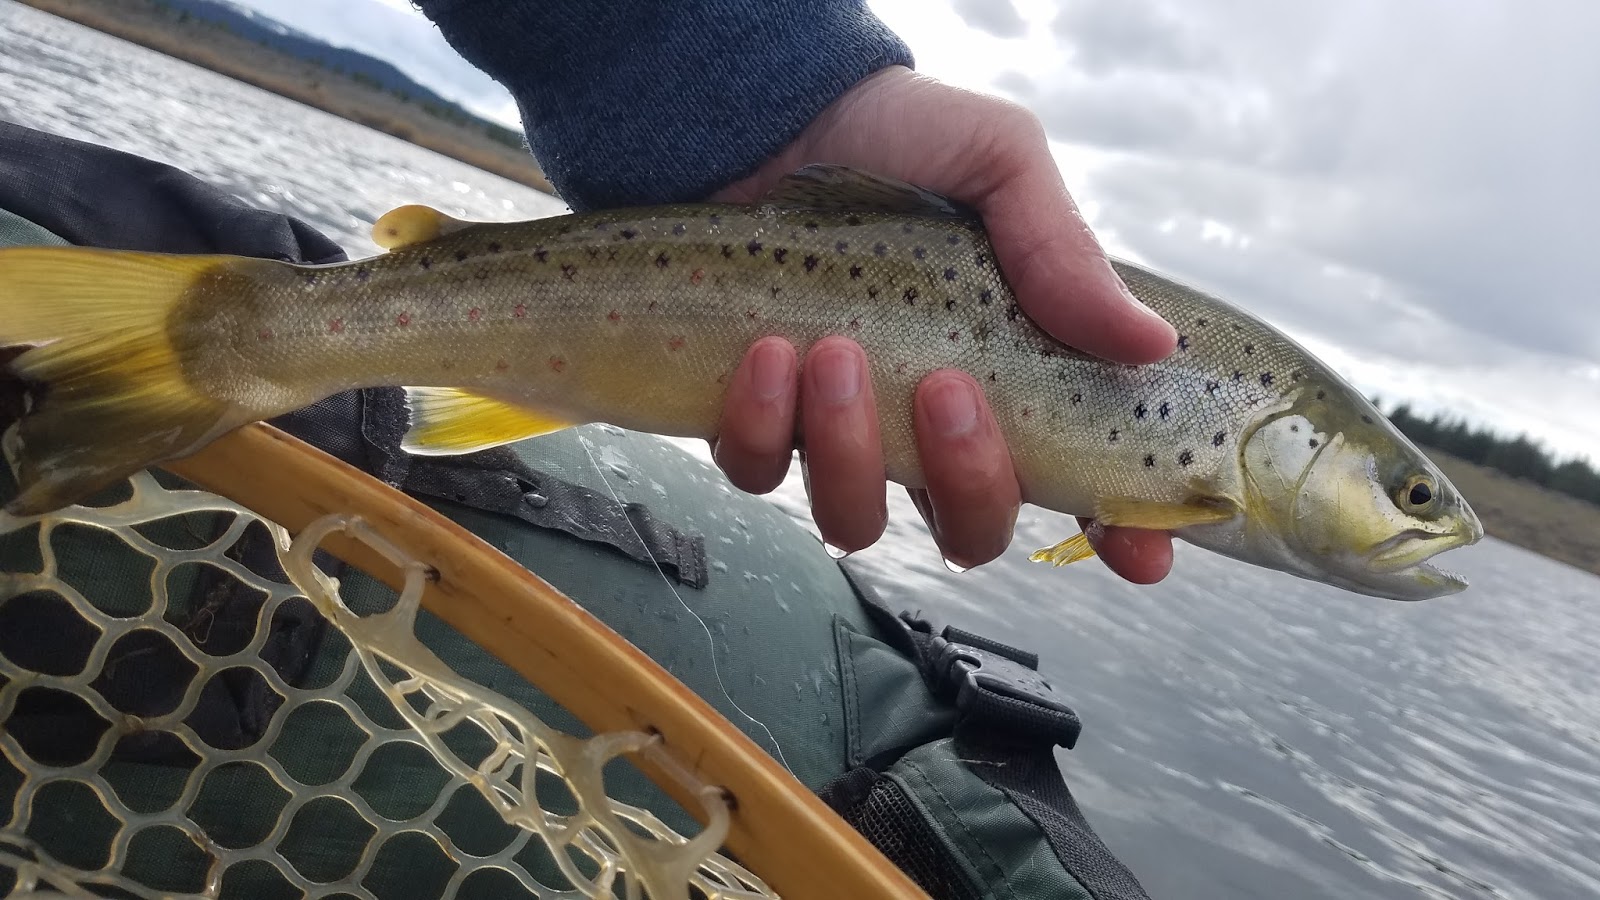 |
| Martis Brown |
