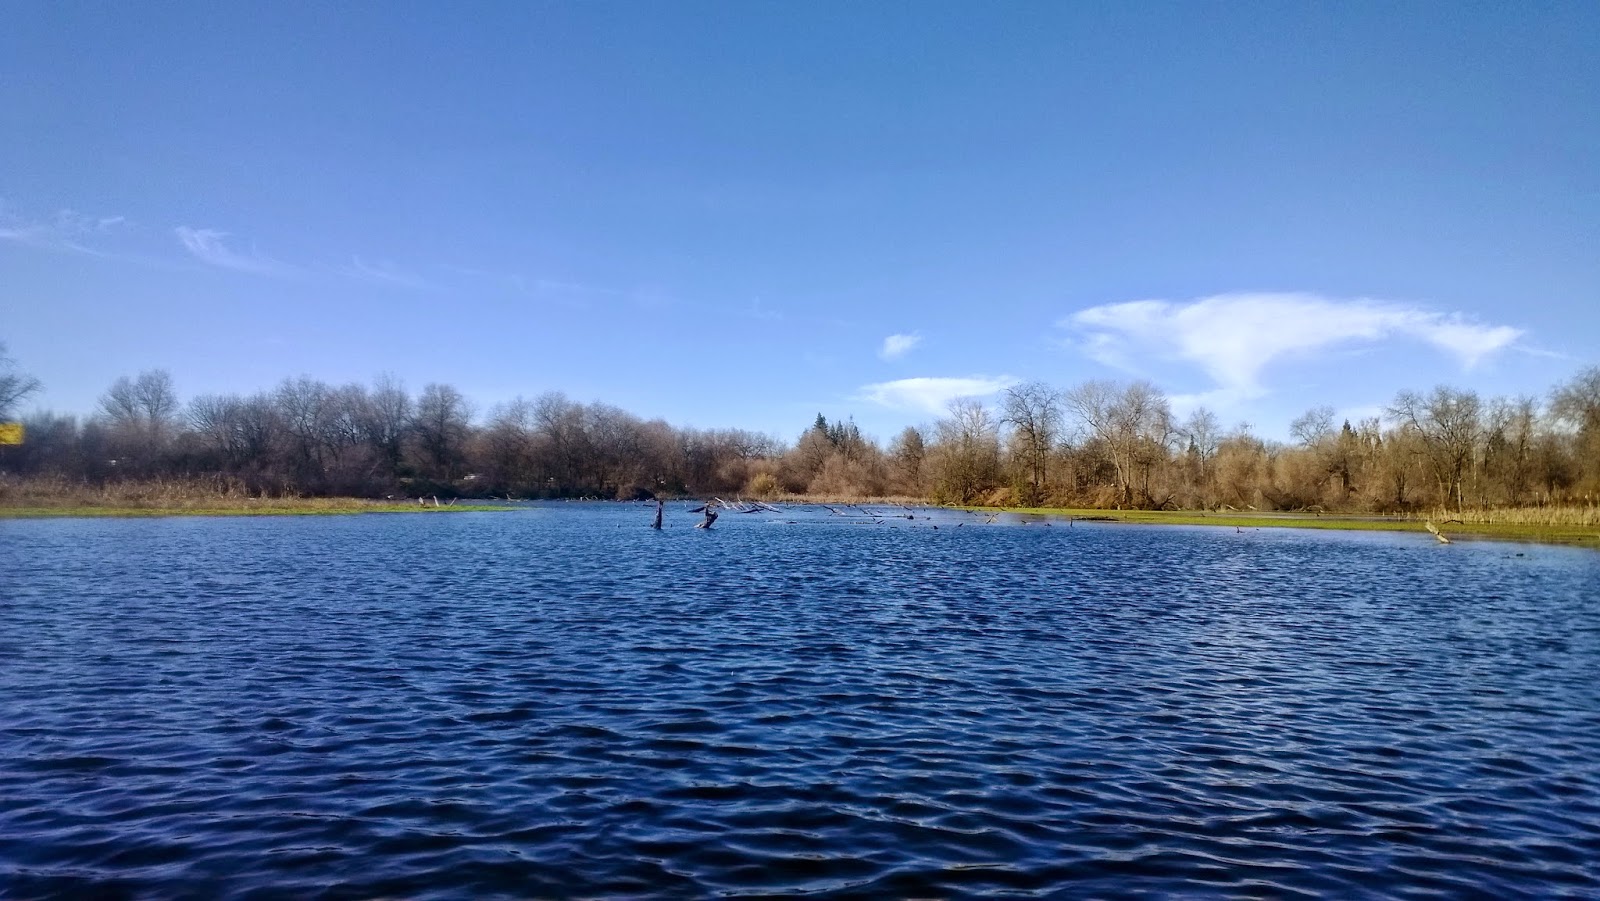
Nestled just a few minutes outside beautiful Burney, California lies Baum Lake a spring-fed lake that is interconnected with the Hat Creek watershed as well as the Crystal Lake hatchery. The lake hosts both wild rainbows, hatchery rainbows, and brown trout that are all known to get hefty due to the abundance of aquatic life. Baum Lake has been on my radar for quite some time and I was finally able to make my way up there to check it out.
 |
| Mt Lassen Background |
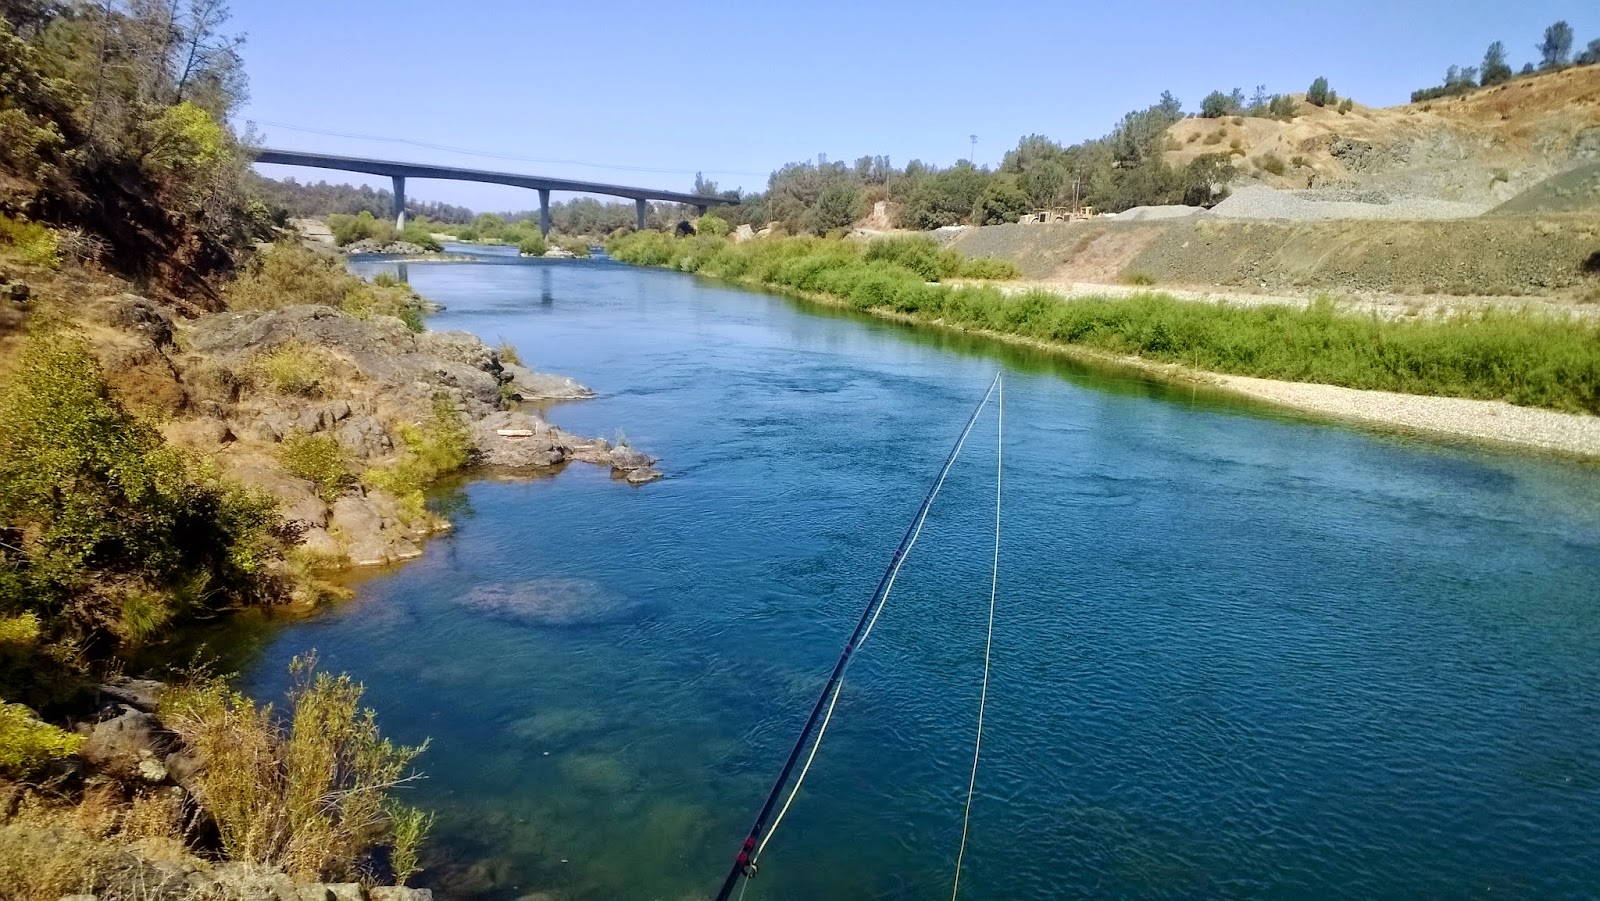
I made base camp at Cassel Campground which was about a four minute drive from the lake. The weather was pleasant and I couldn’t ask for a more beautiful two days to go fishing. In preparation for this trip I found that there wasn’t very much information on how to fish Baum Lake aside from what flies to use. I was strictly prepped for still-water fishing and was surprised to find myself fishing more of a spring creek than a lake.
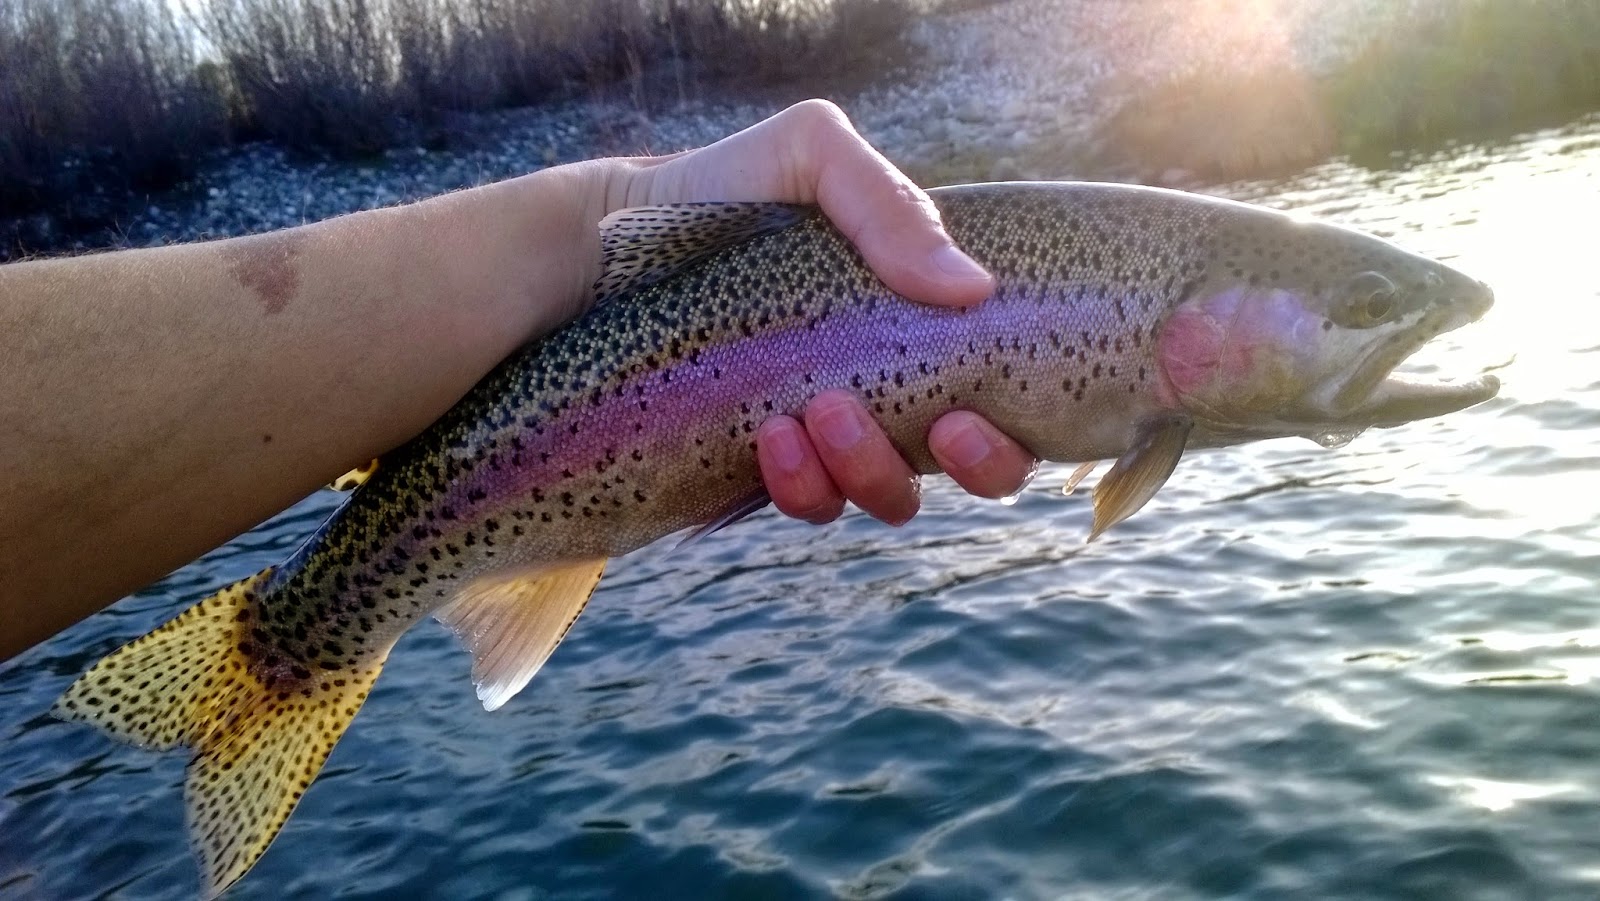
Once I set up my float tube, rigged my rods, and got into the water I quickly realized that this lake had a current. Although the current moved very slowly and wasn’t too difficult to kick around in, it changed my perspective on how to fish it entirely. Before setting out to explore and getting to know the lake I kicked my way towards the small powerhouse to gain some confidence. It didn’t take long before I landed my first Baum Lake rainbow. Now it was game time.
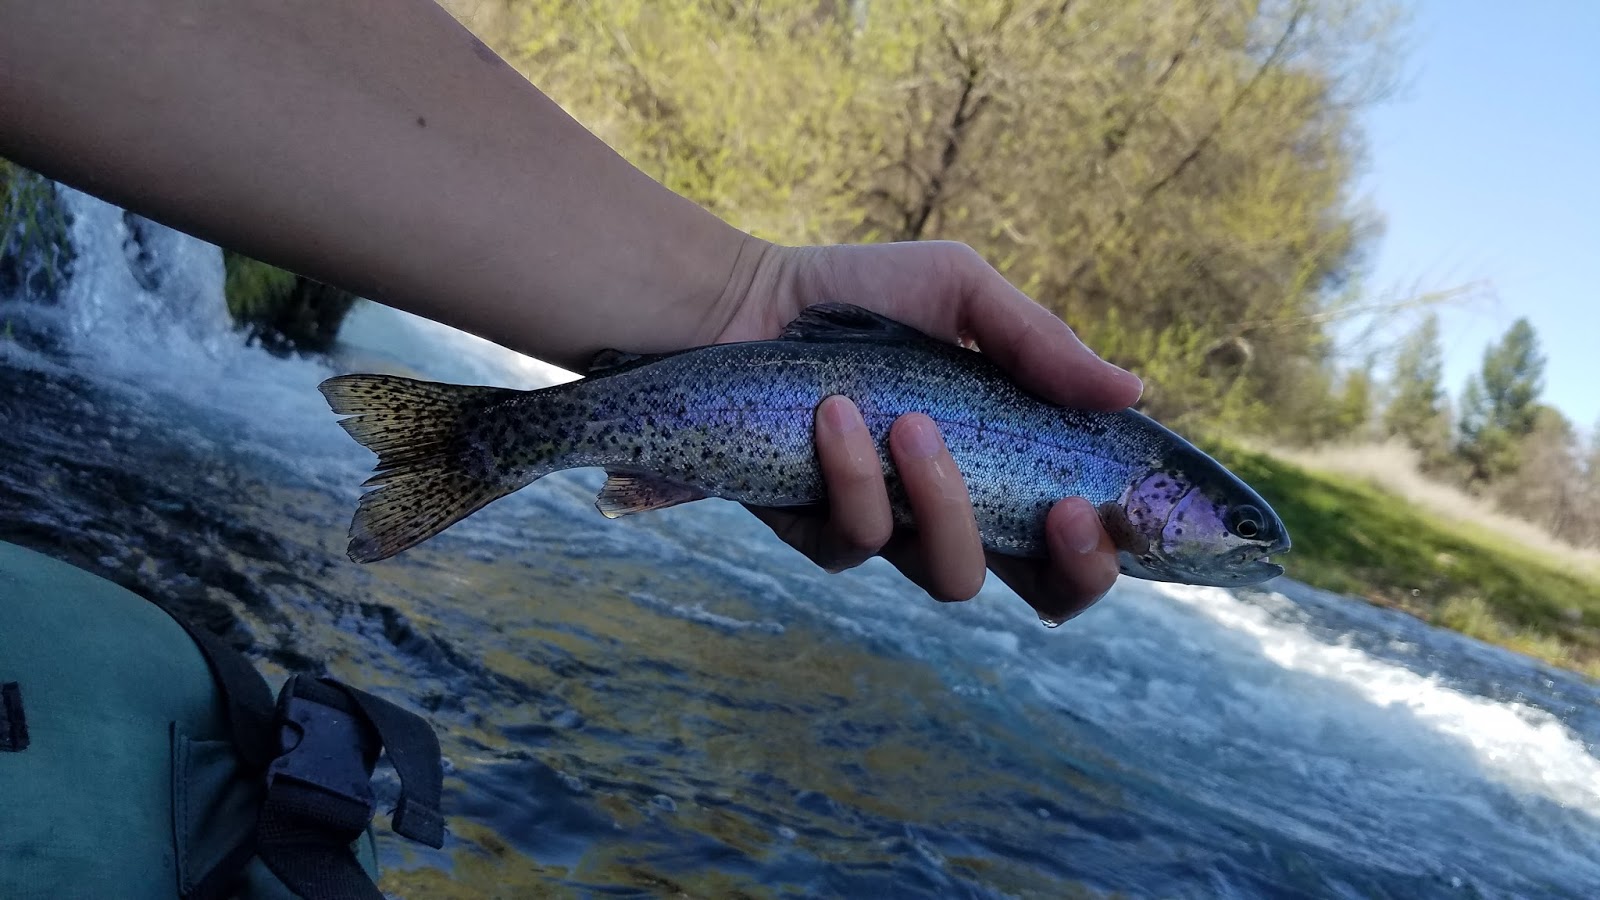 |
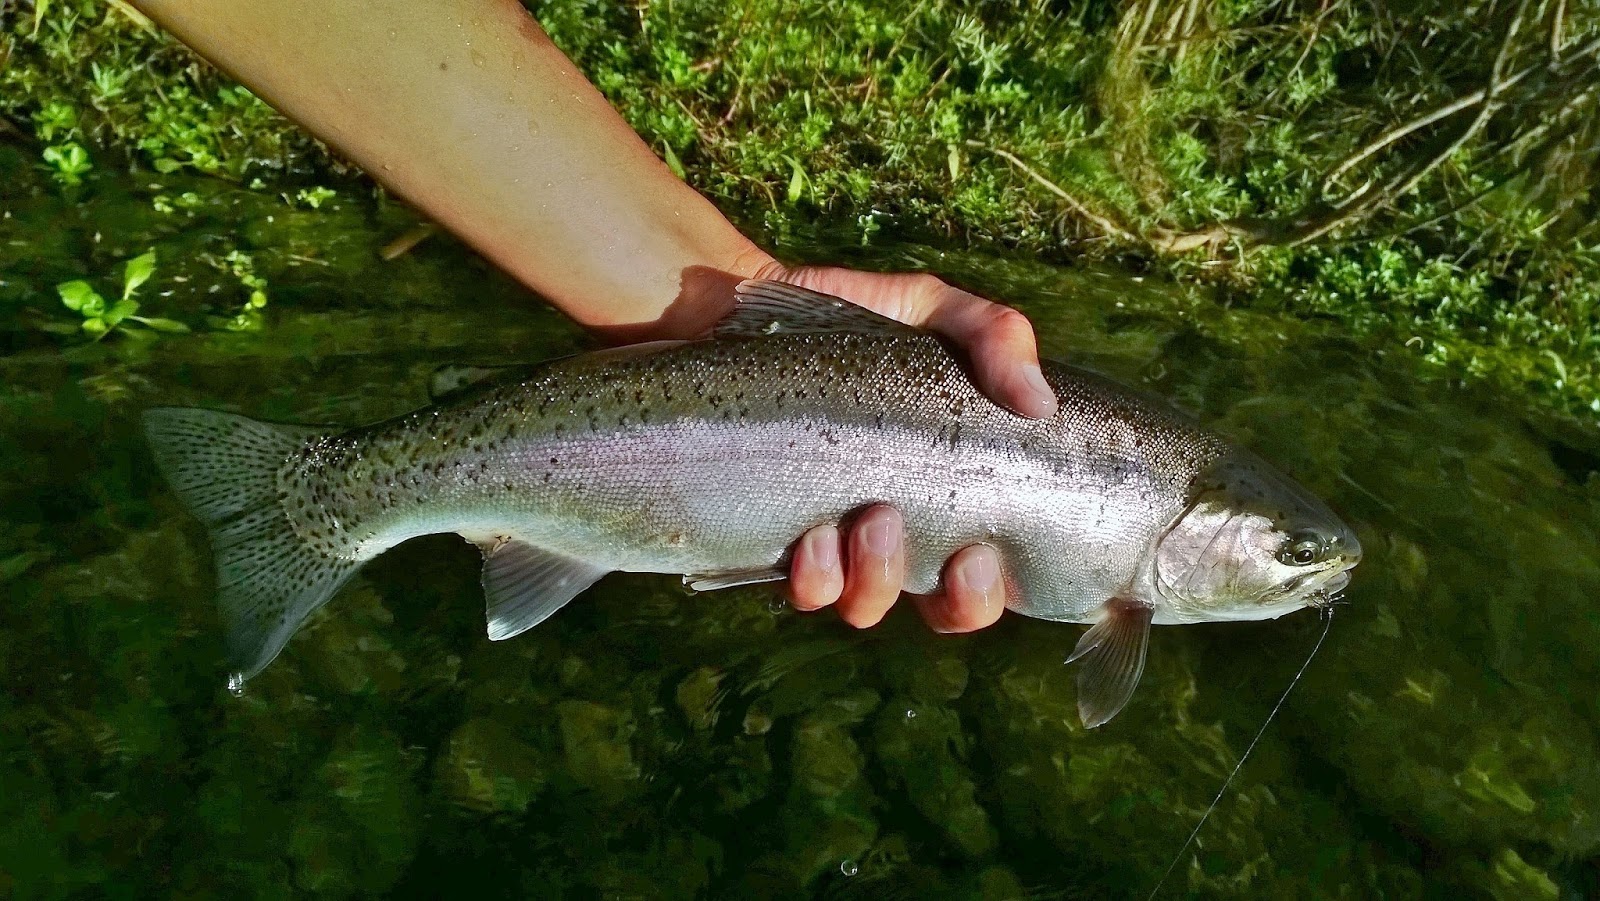
| Wild Baum Bow |
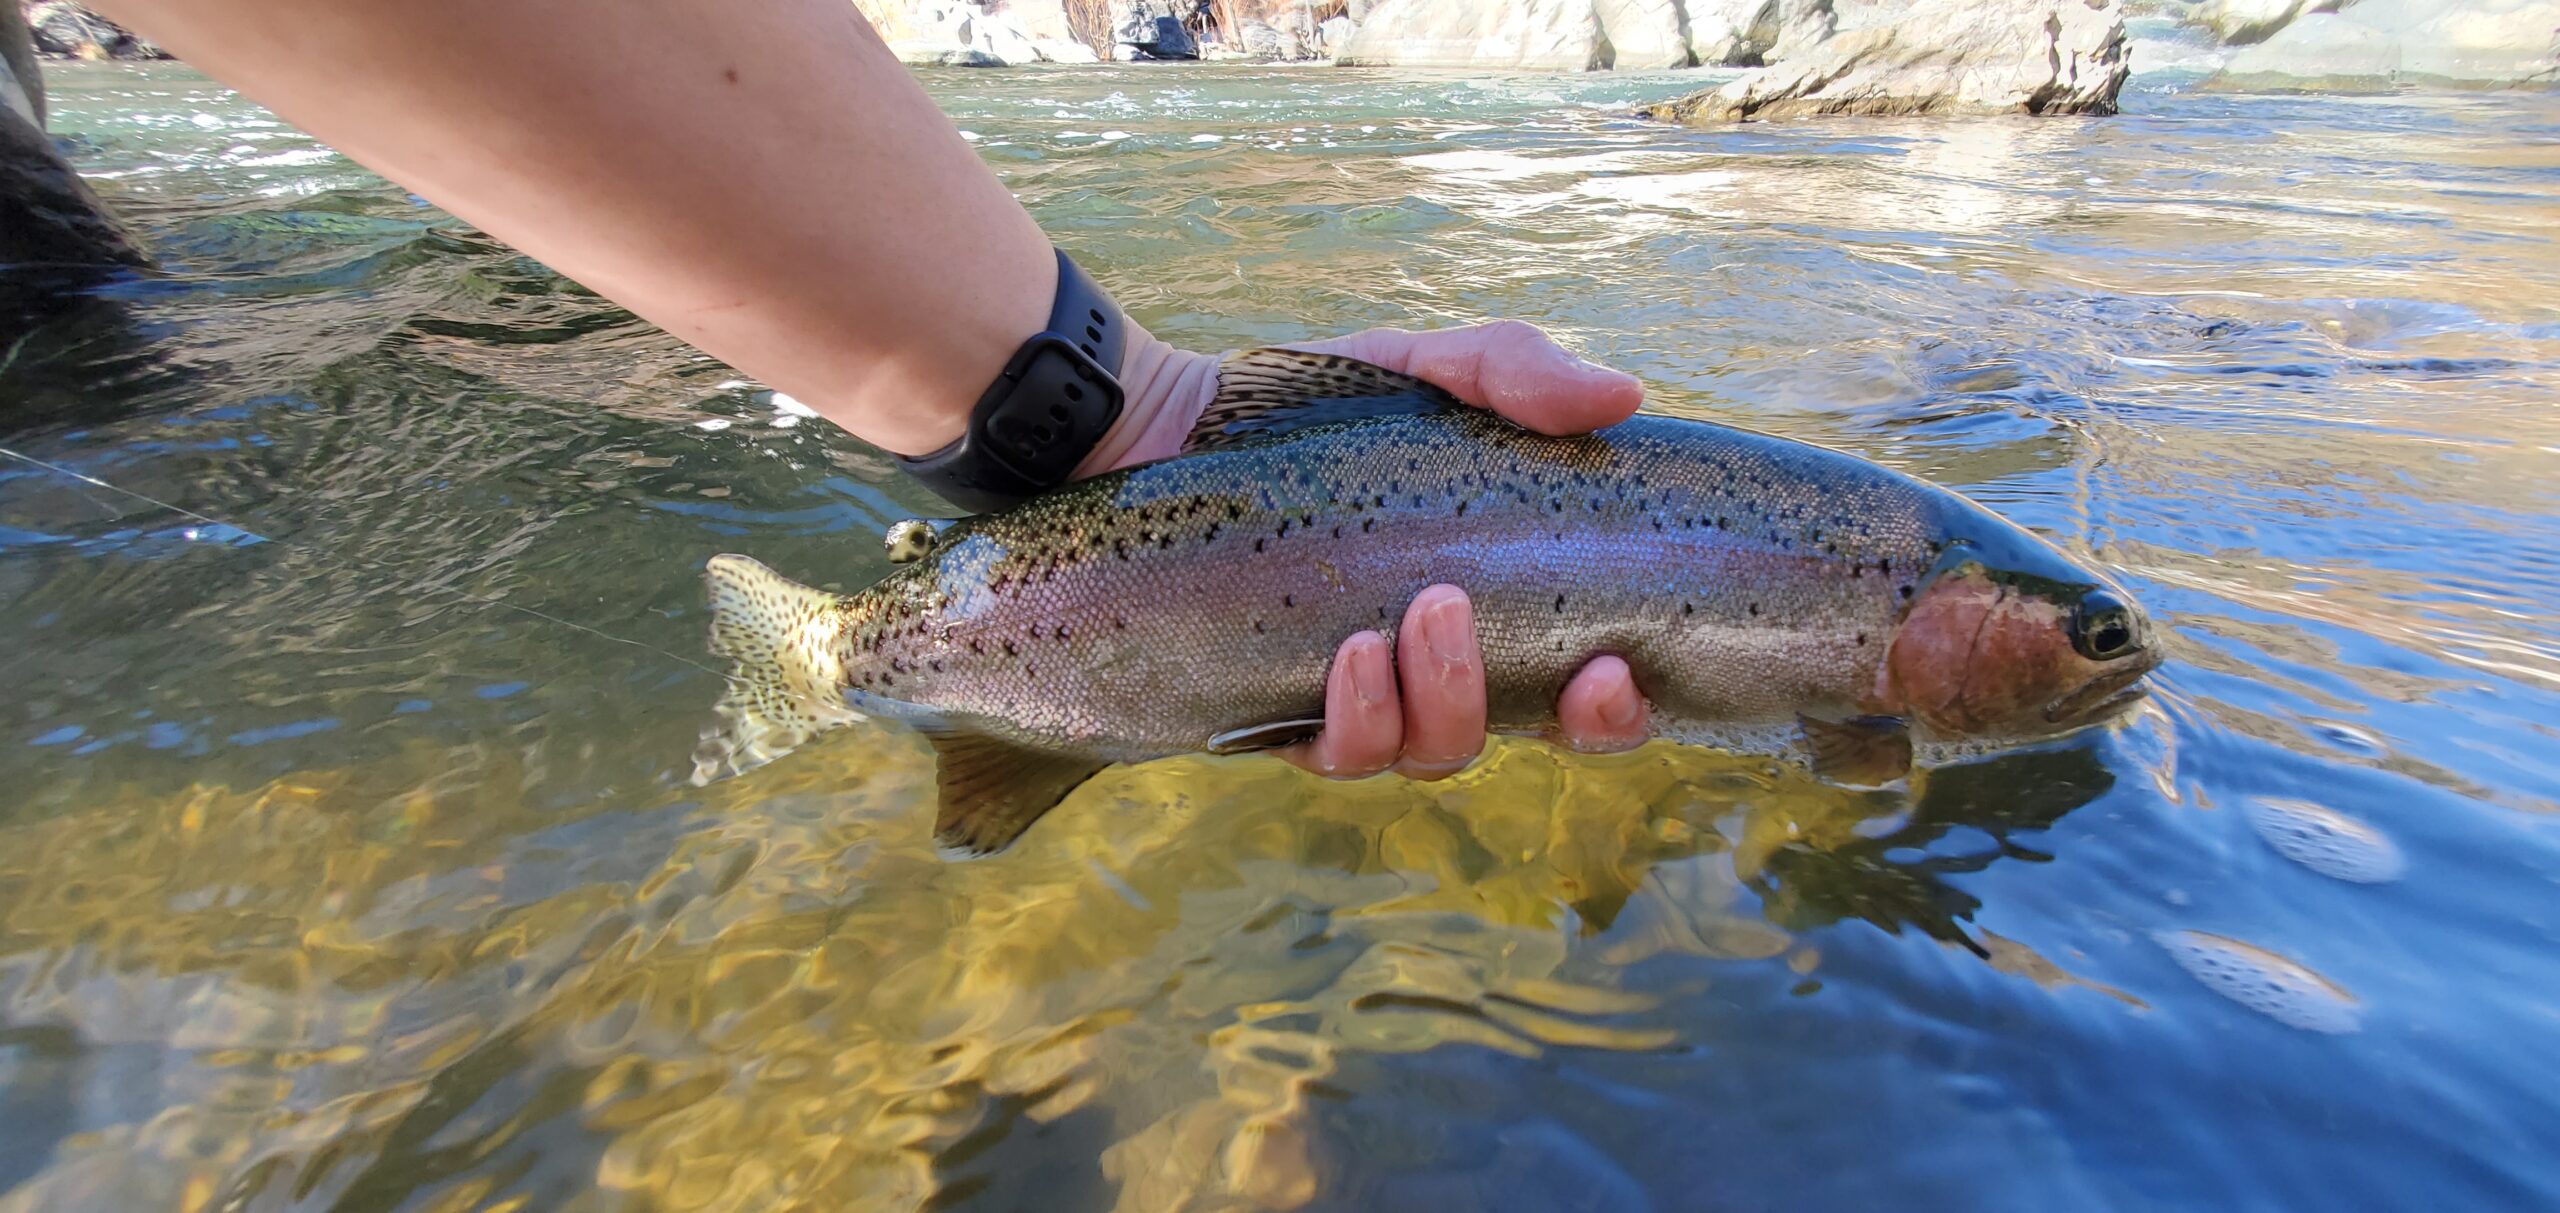
Much of the lake is crystal clear and covered in mud with aquatic vegetation. There were many shallows points throughout the lake that wouldn’t hold trout mid-day therefore I had to look for deeper water. After a few hours of fishing and exploring I floated past a nice deep channel were I could literally see the fish cruise around me. This is where I spent the rest of my late afternoon and evening. In order to not get caught fighting the current I fished from the furthest point of the bank I could anchor my feet on. I then used an indicator rig to make the slow current work for me. This technique worked well and I caught several nice fish throughout the rest of the day including my first Baum Lake beast.
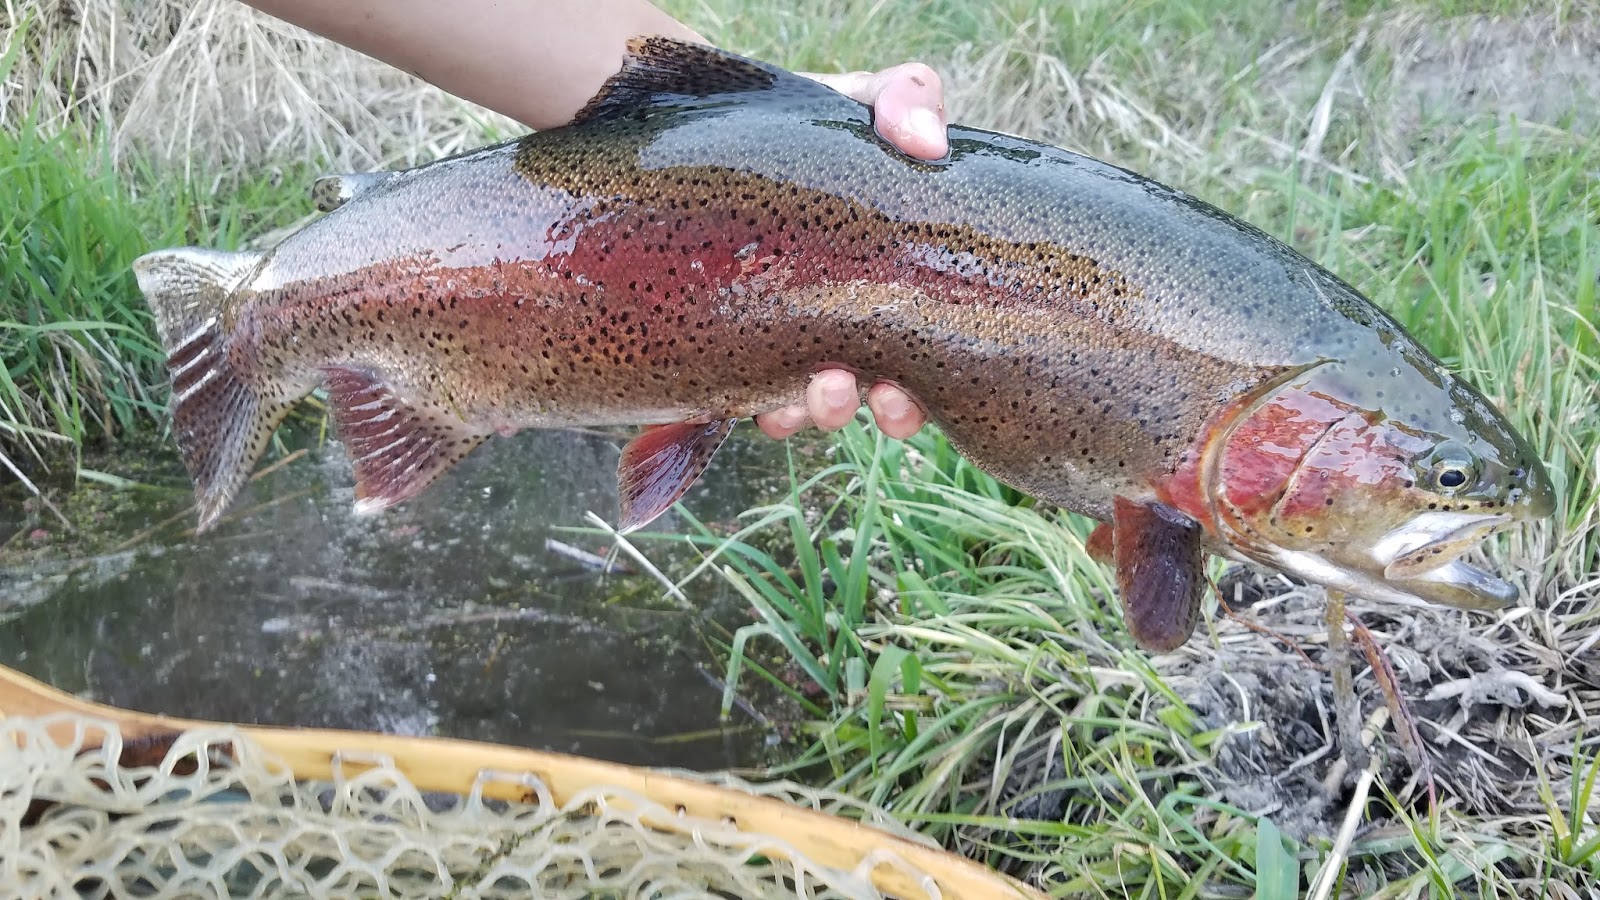 |
| Baum Lake Beast |
Many of the fly anglers that I observed fishing Baum Lake were dry-fly only enthusiast. I talked to one gentleman who told me, “Those numbers don’t impress me, nothing personal” after he had asked how many fish I had caught. These dry-fly aficionados didn’t do too well due to not having any solid targets to cast to. Trout spend most of their lifetime feeding underwater therefore there is no shame nymphing for them. You still have to give the fish the perfect presentation; depth, fly pattern, tippet size, and drift all come together to make nymphing just as complex as any other technique.
The following morning was a bit slower possibly due to a colder than usual night. I tried to fish the spot that I had fished yesterday however it wasn’t nearly as productive. I decided to explore a bit and floated a new section. This is where I found some of the biggest trout throughout the lake. Using the technique that I had learned yesterday I fished this section and was able to land one nice rainbow within a few minutes of fishing. I continued covering water and broke off two powerful leviathans that ripped my flies from their tippet.
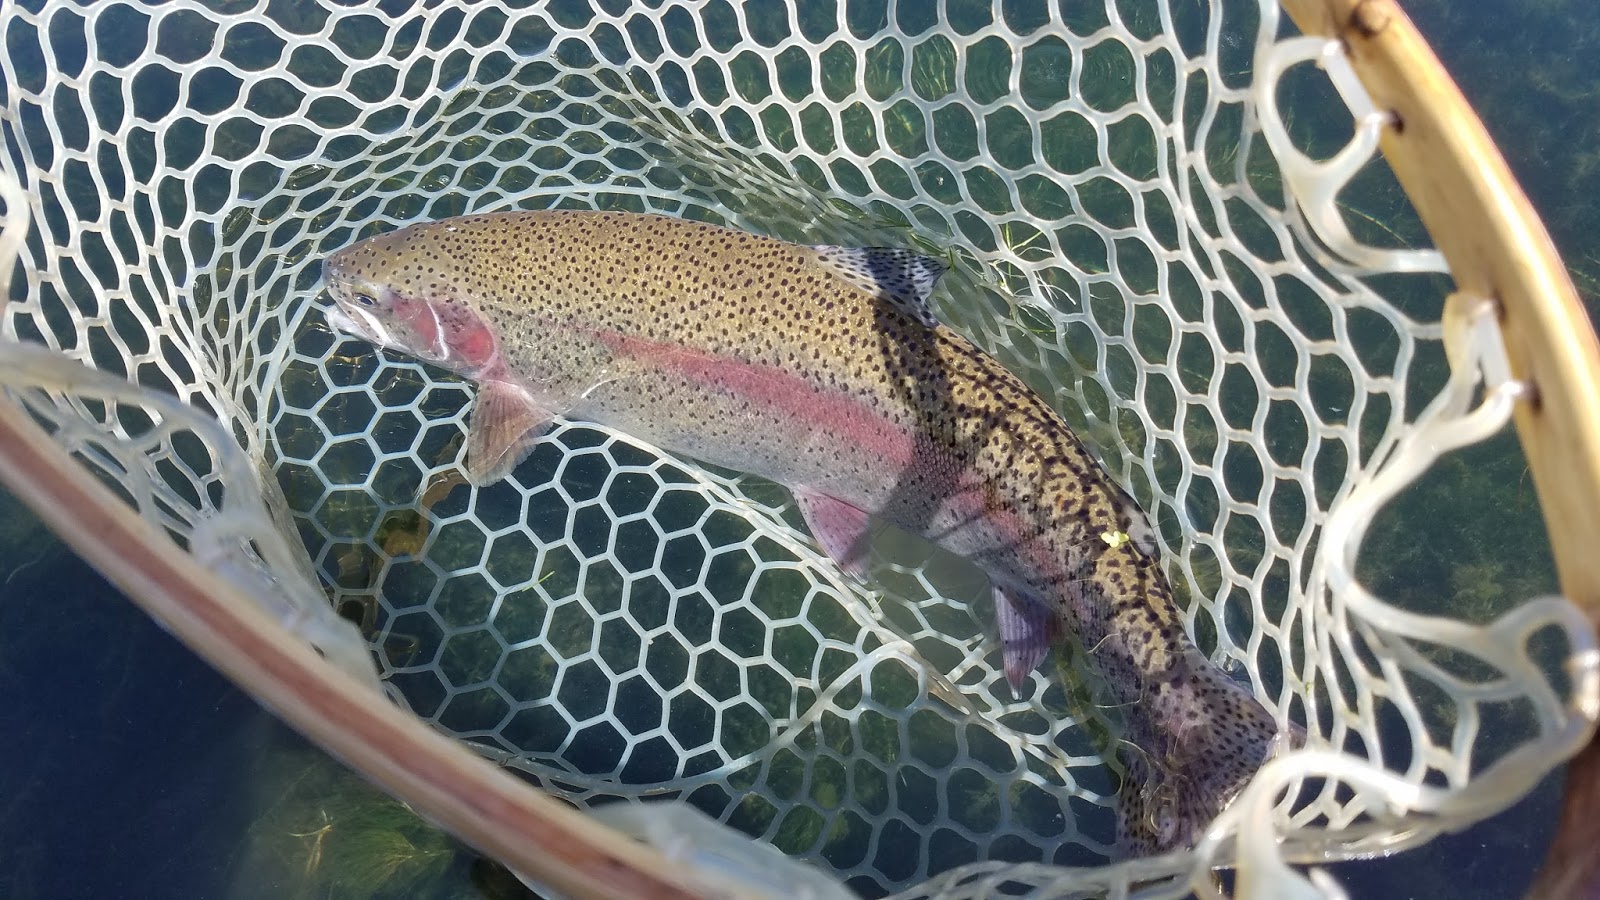 |
| Beautiful Hefty Bow |
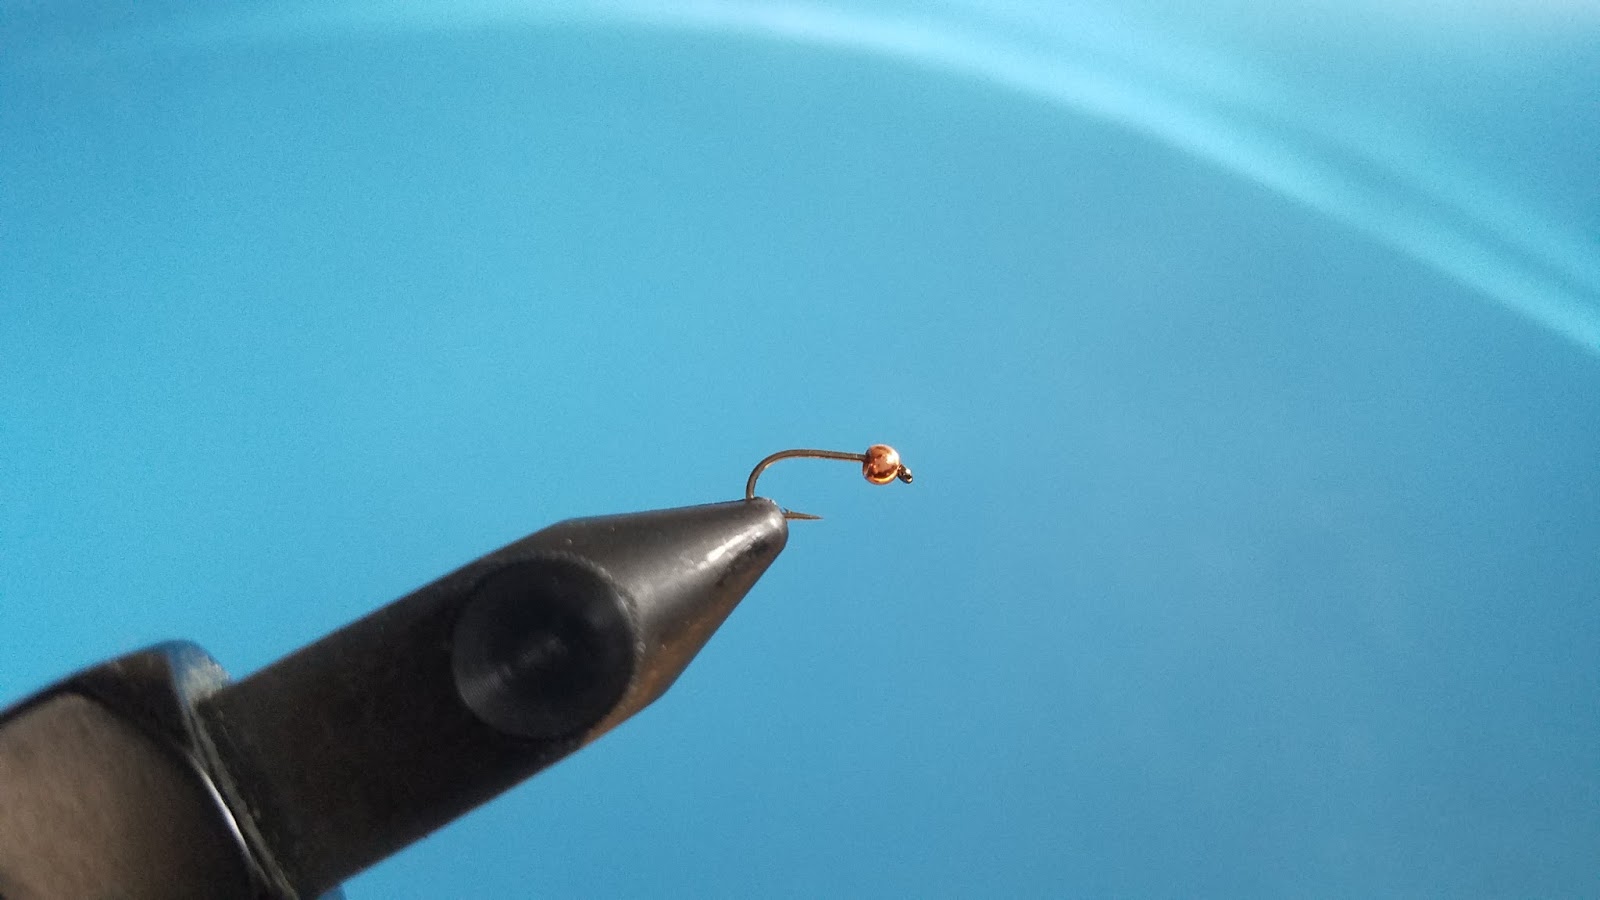
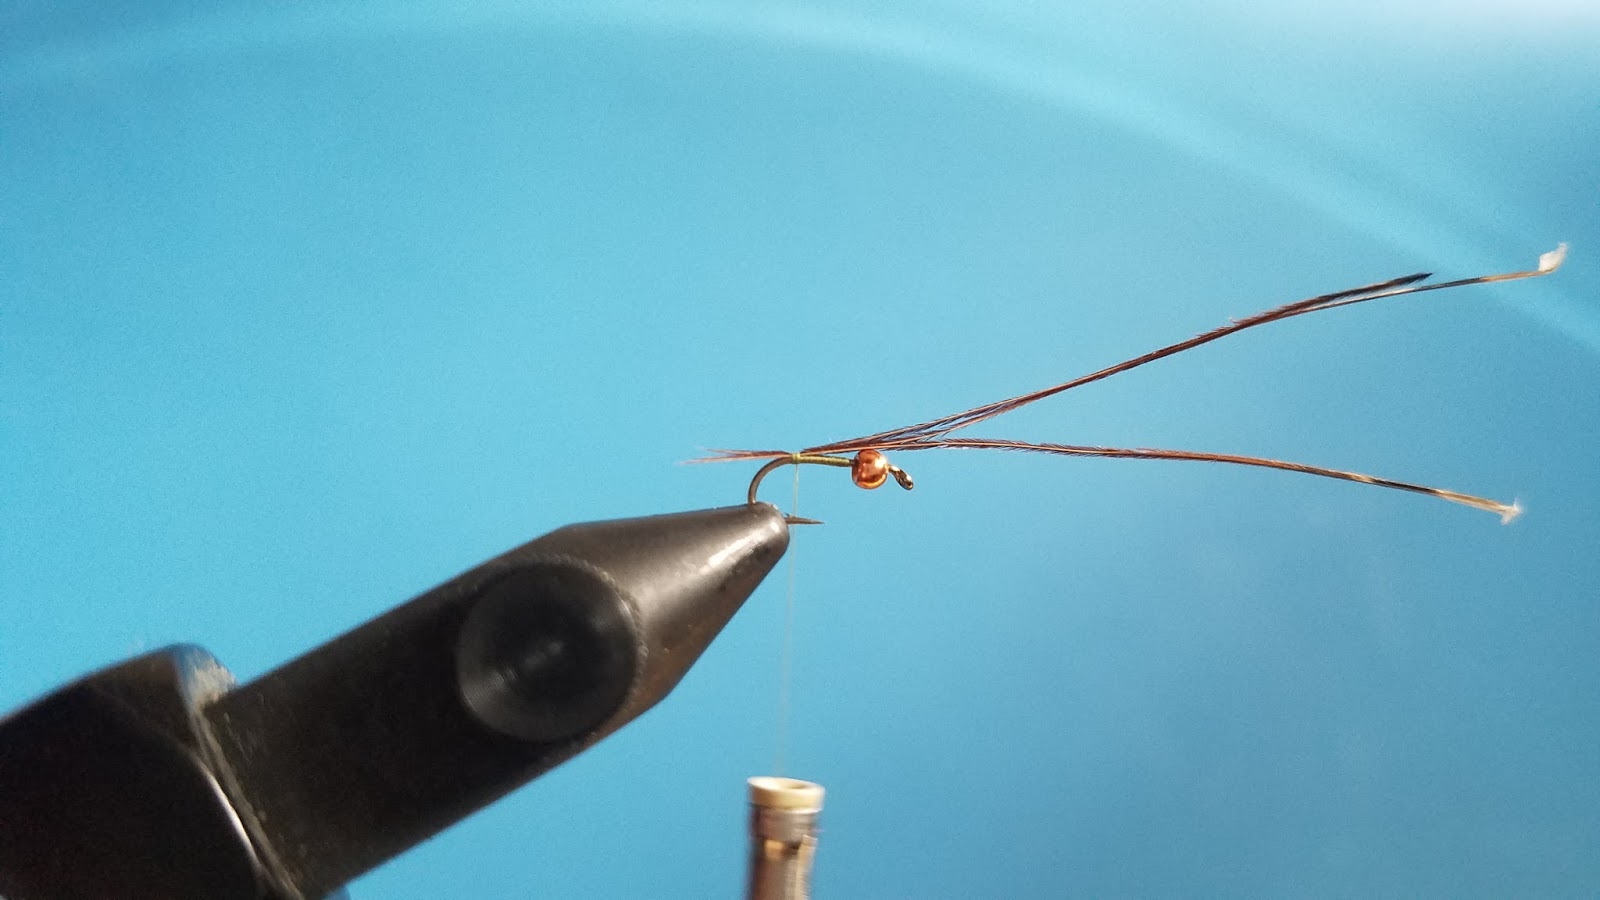
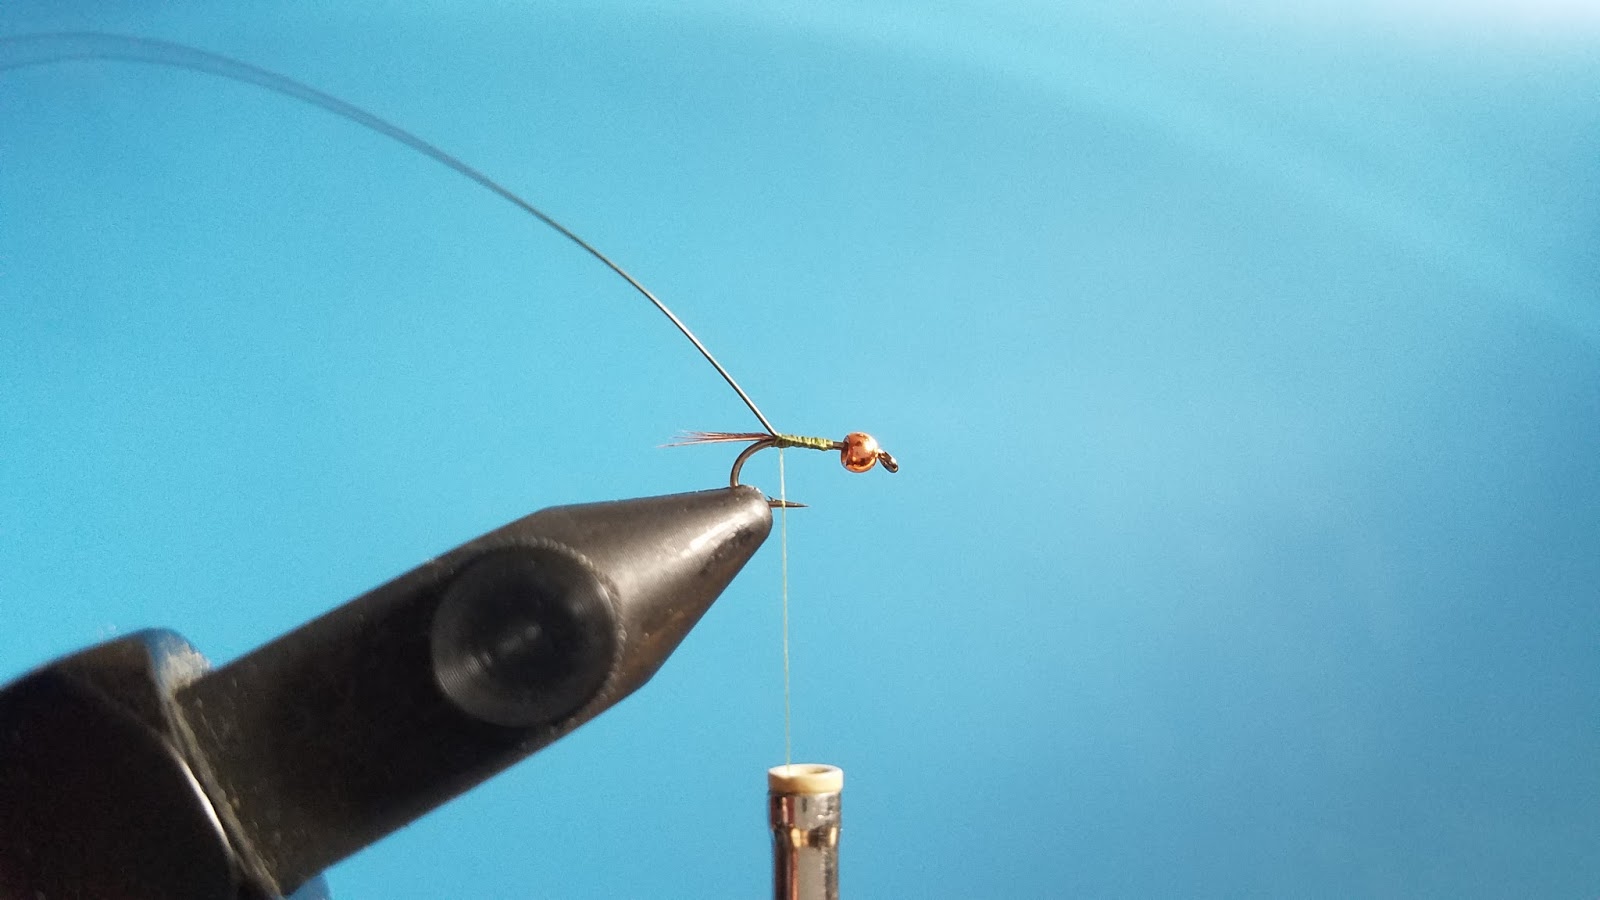
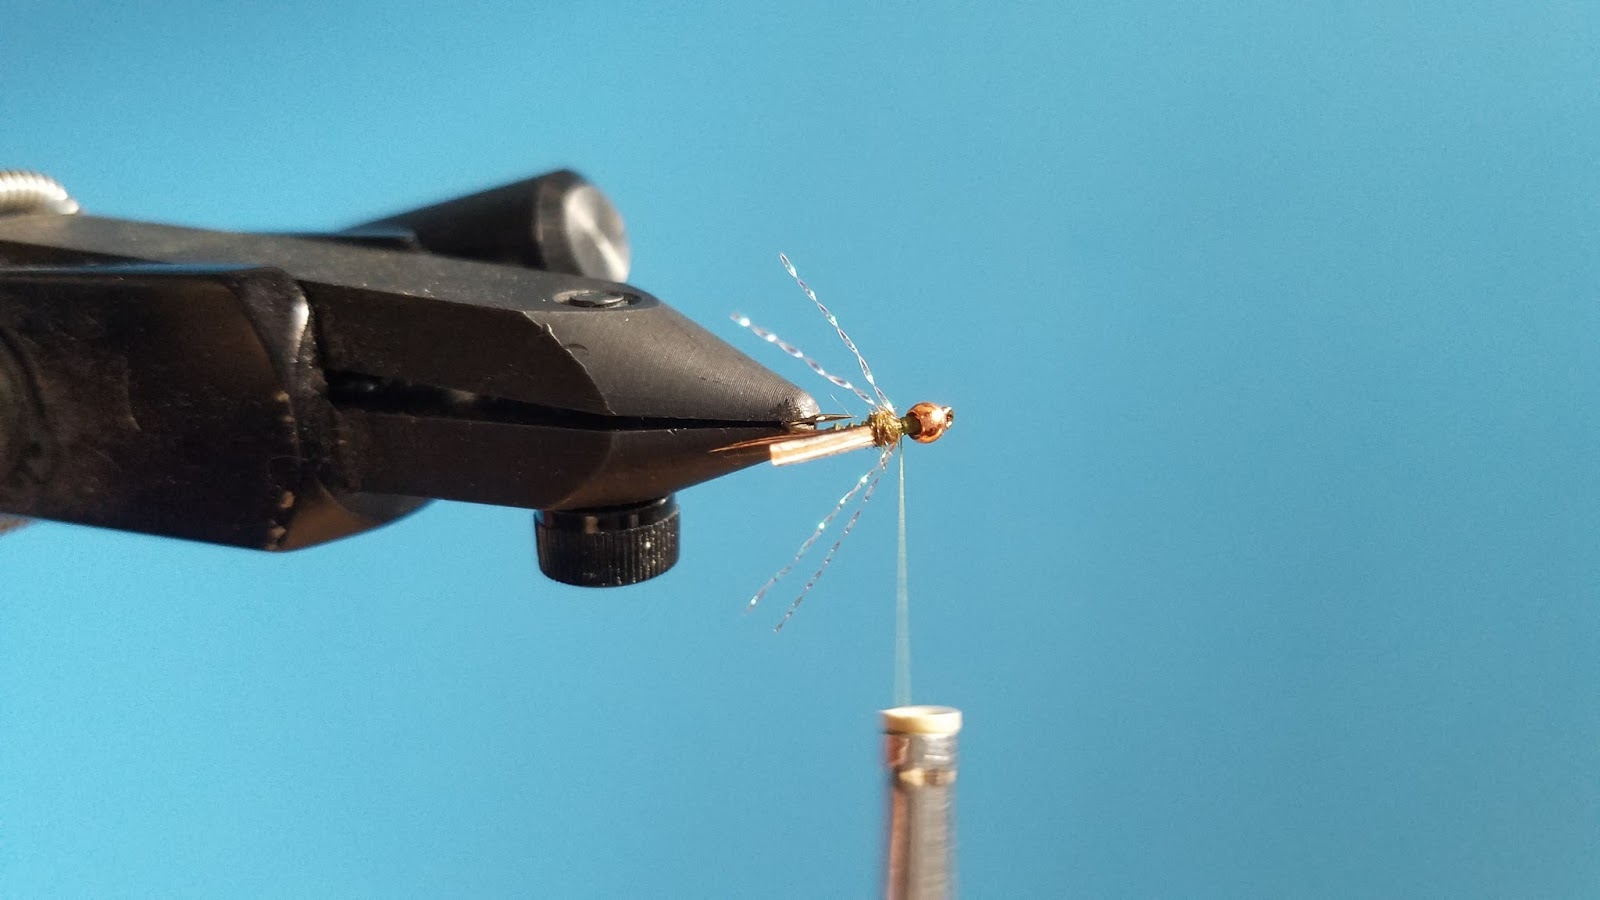
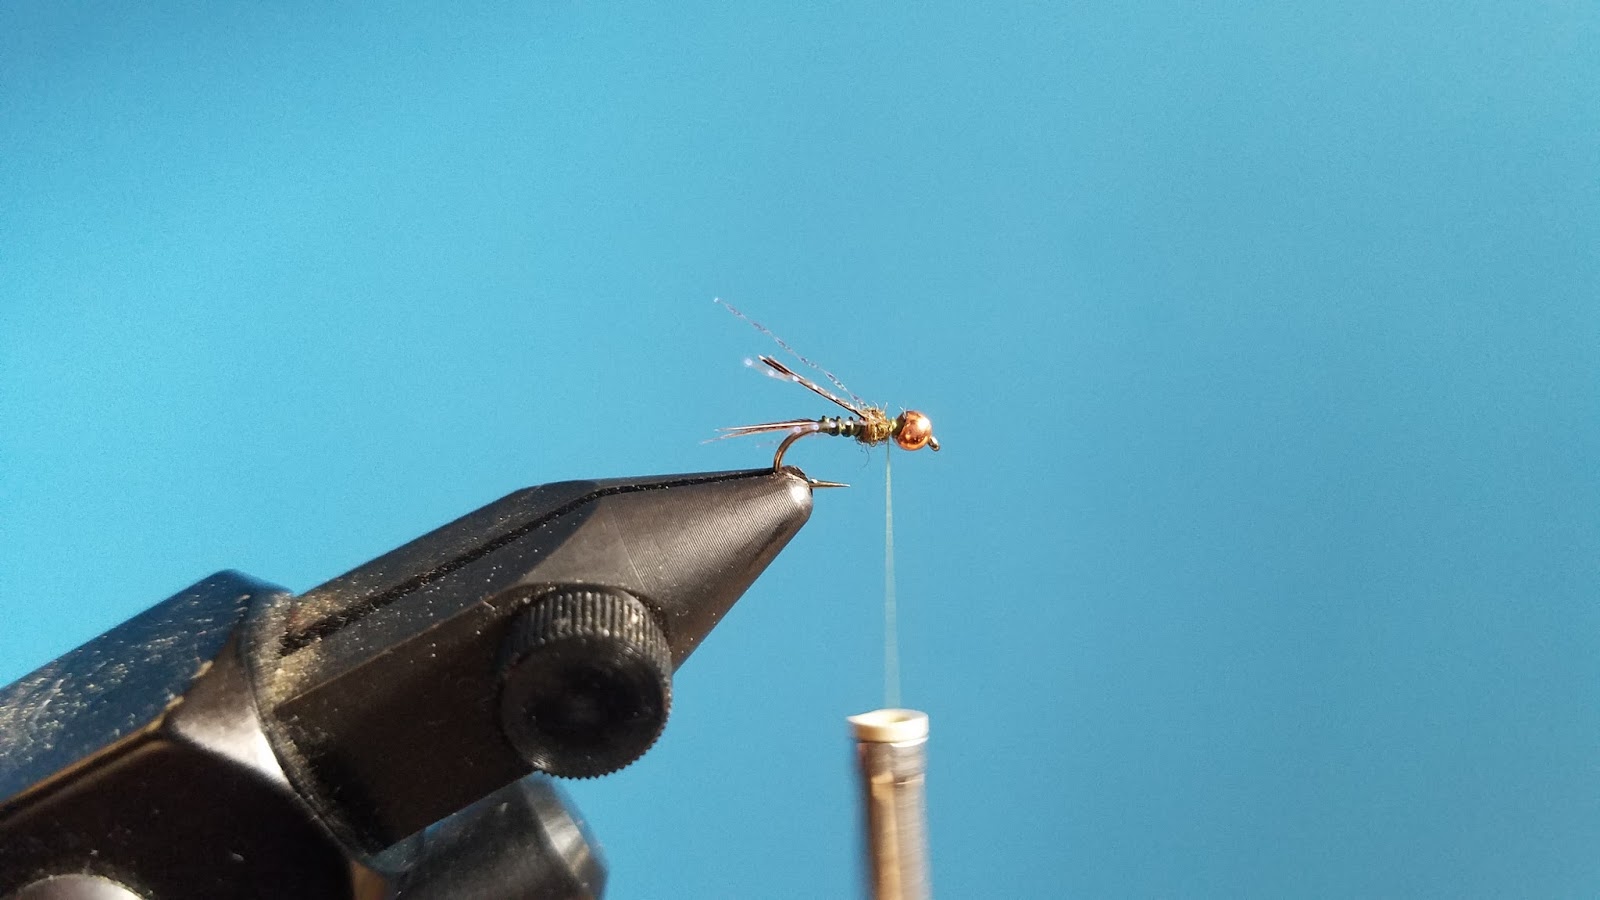
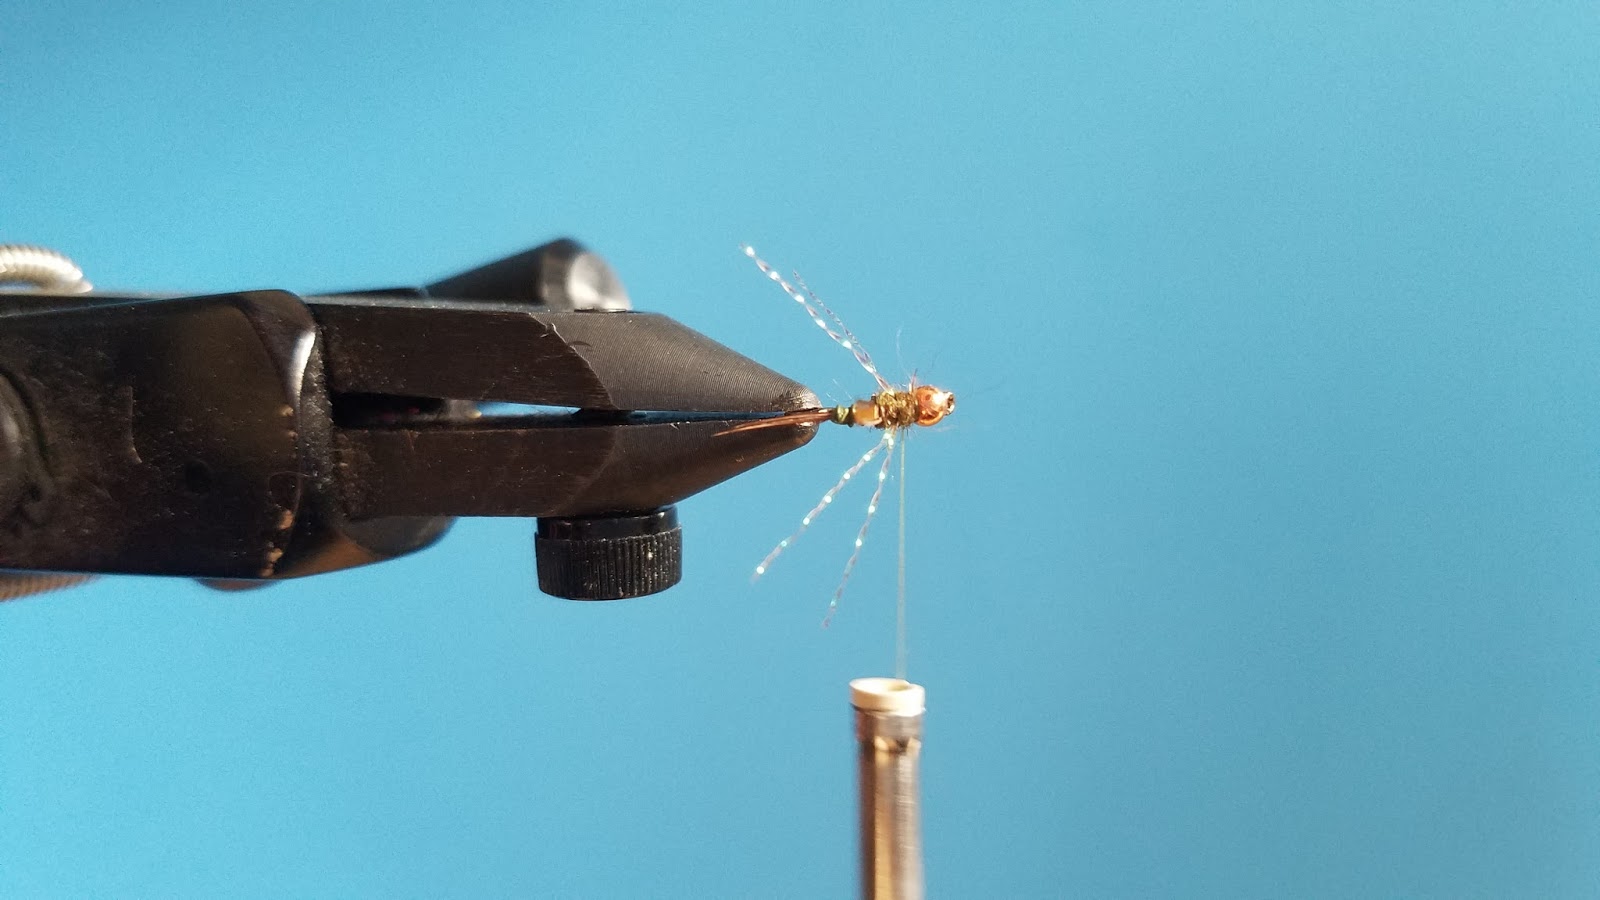
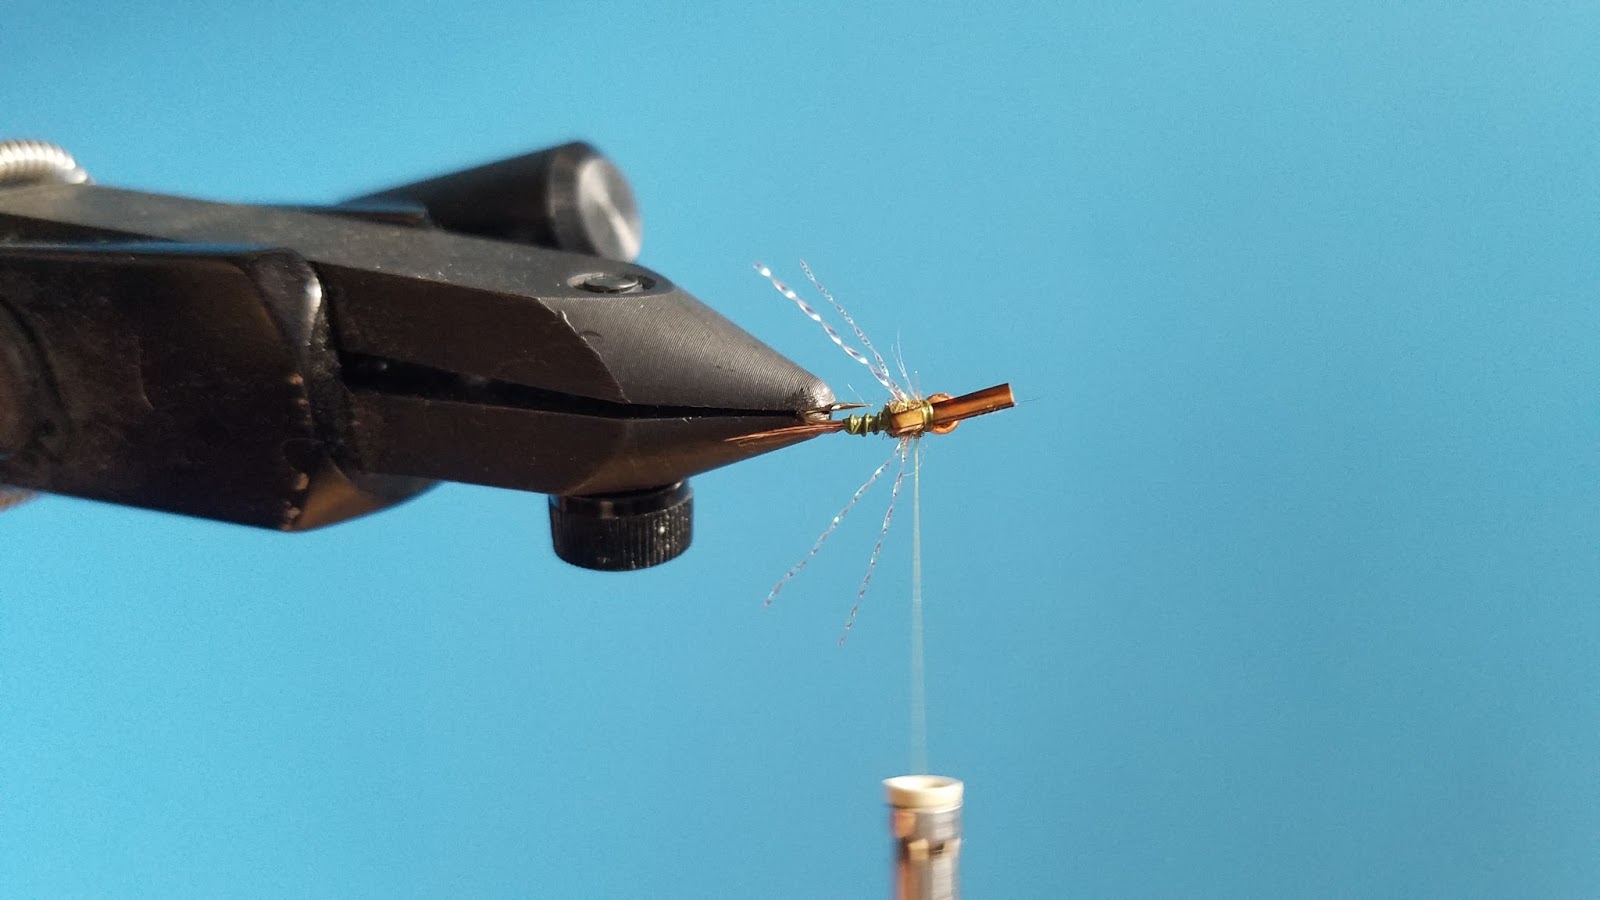
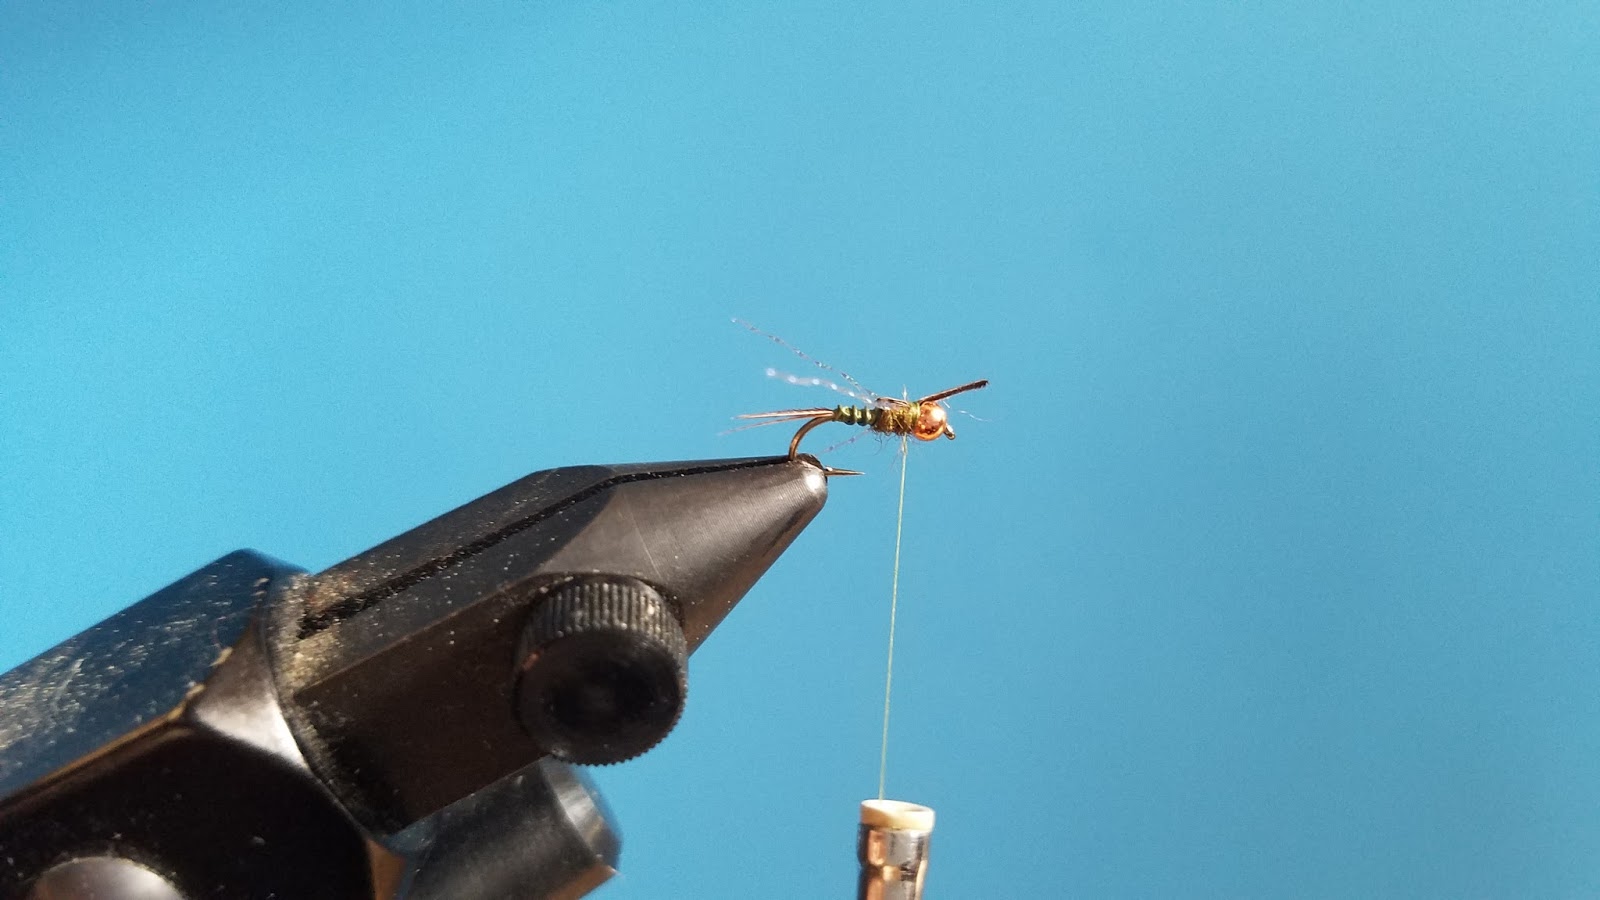
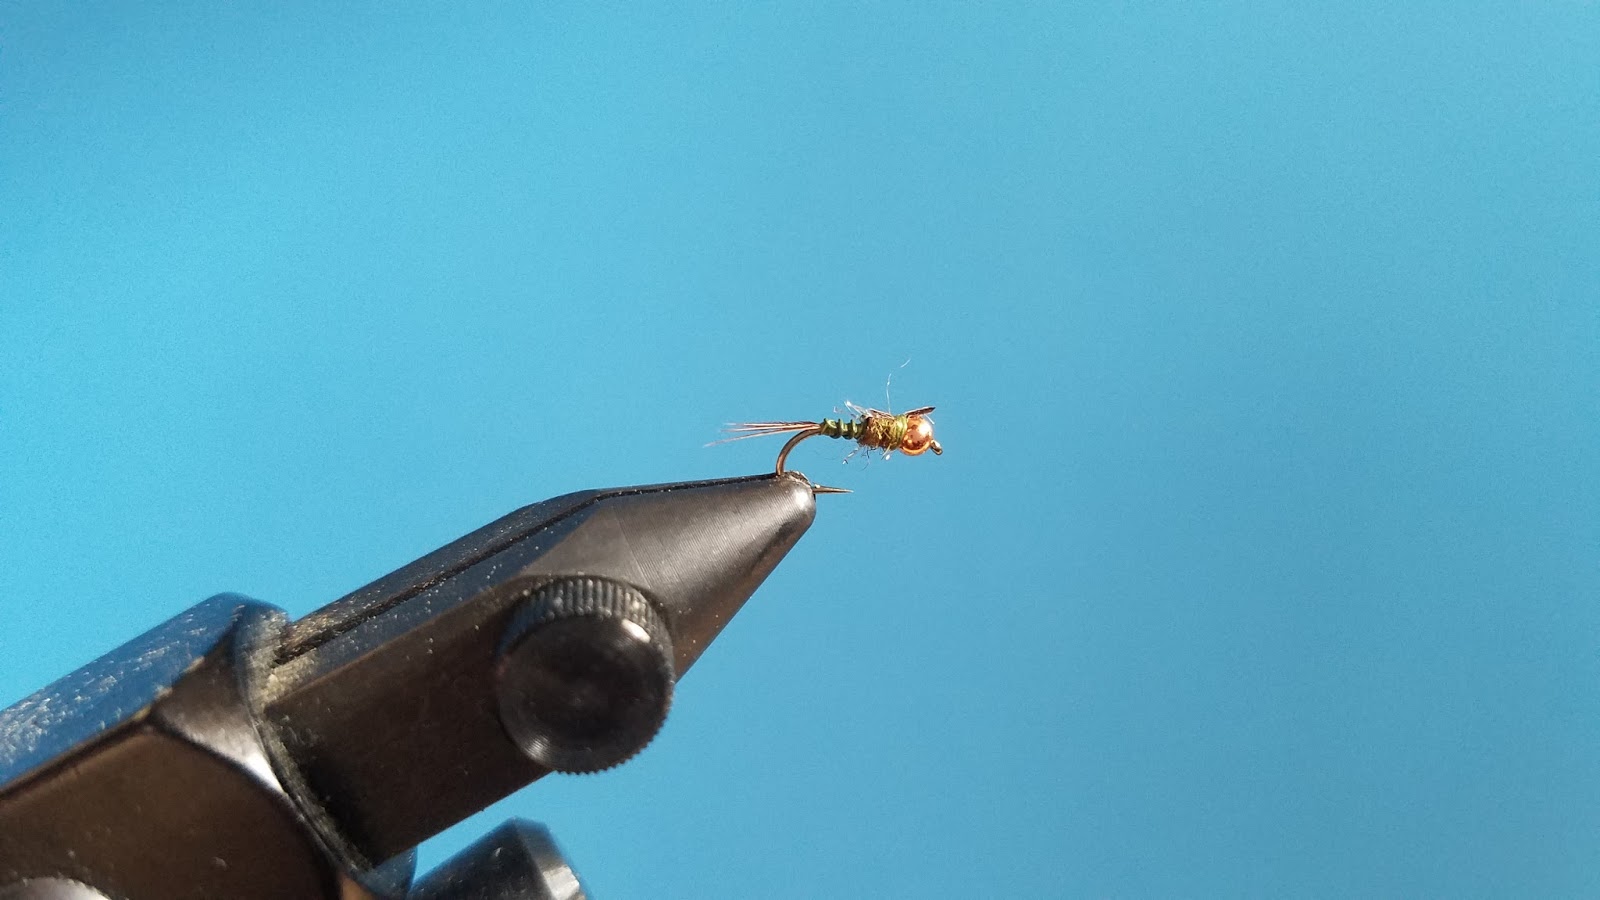
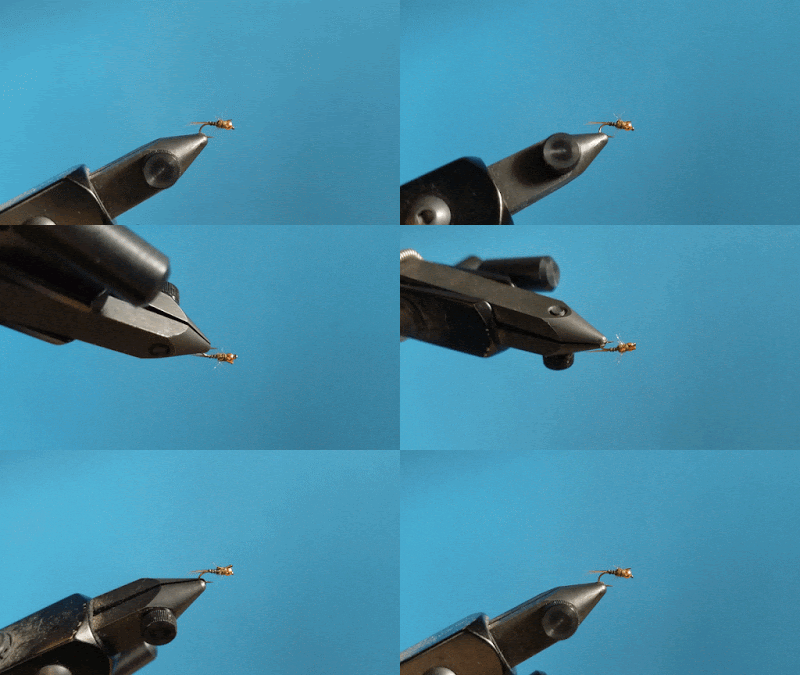
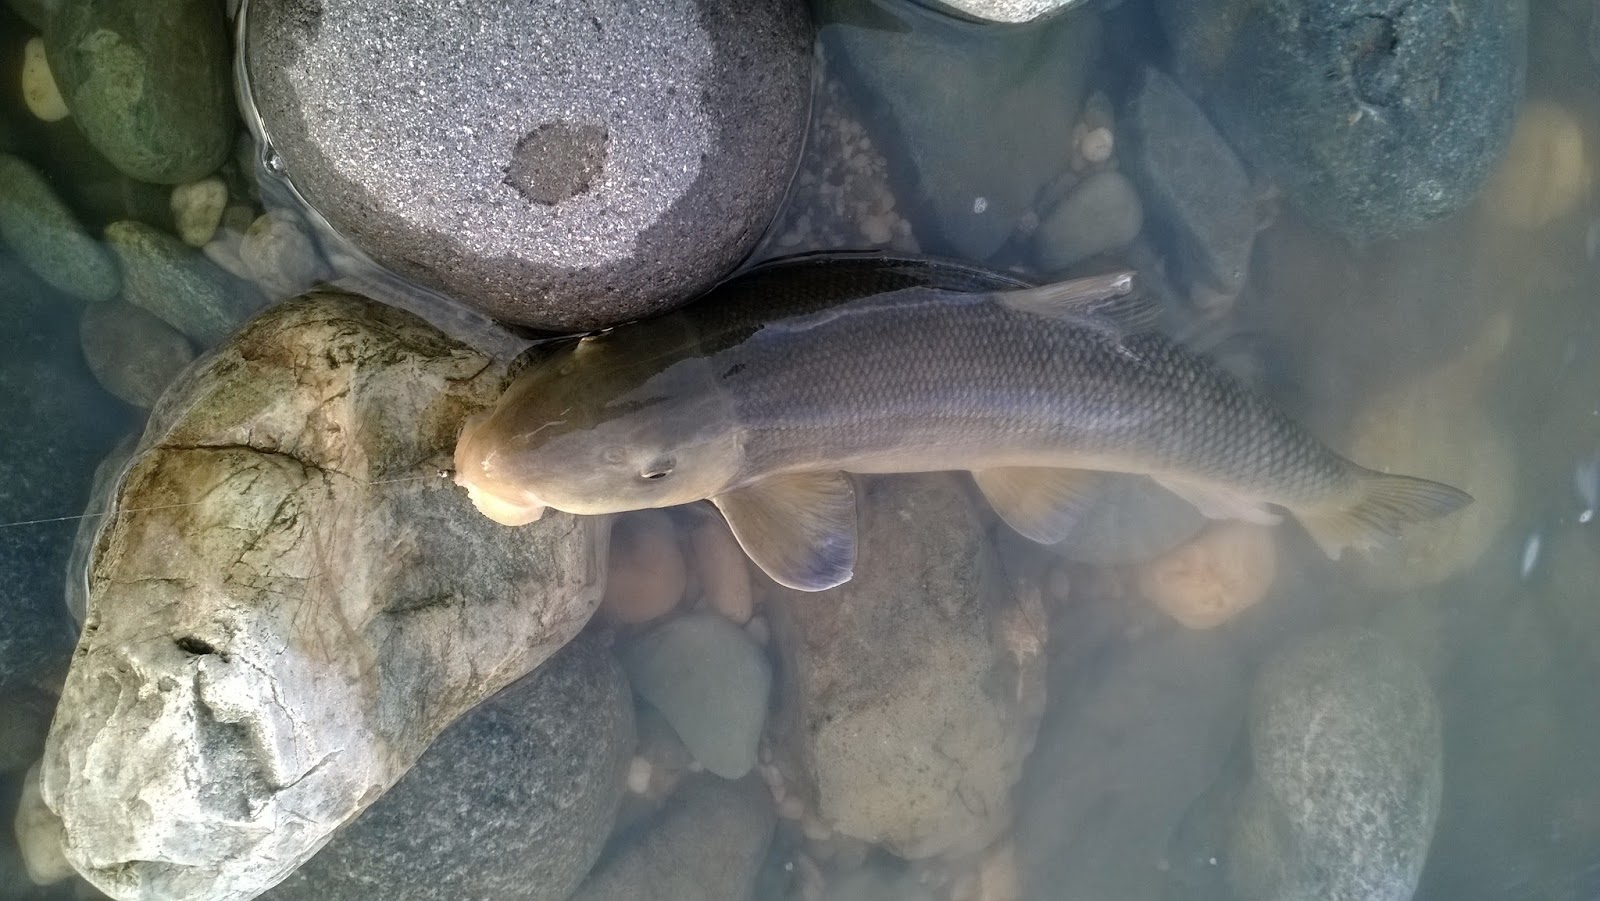
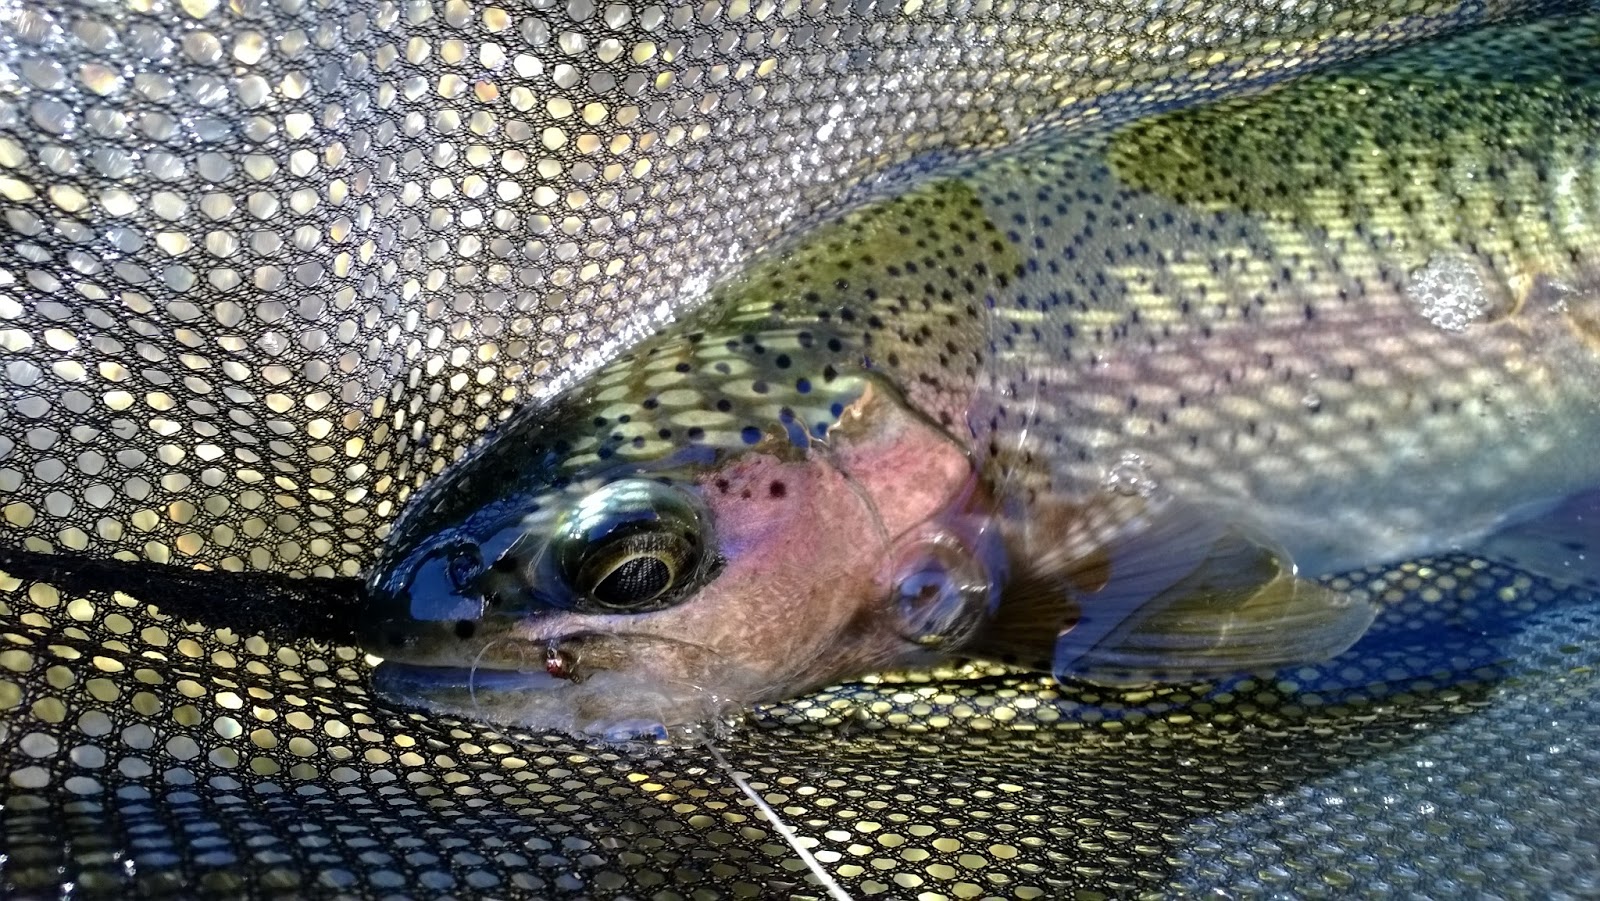
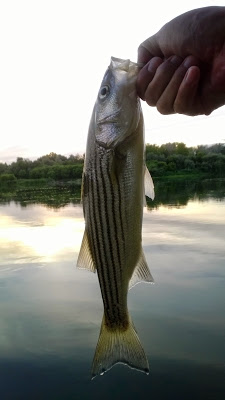
The last few hours before sunset there was an epic midge hatch. I managed to find a spot where I could see brown trout stacking on top of each other in anticipation of the hatch. I tried drifting a midge emerger several times over them however they just ignored my offer. There were fish, mostly browns, jumping all over the place; my guess is that they were exploding out of the water to chase the emergers that were coming off the bottom. I tied on an midge pattern, threw on some splitshot, adjusted my indicator, and probably caught over twenty arm wrenching browns within an hour. The only other angler out on the lake at this time was a dry fly fisherman who was trying to rise trout. Each time he looked over he saw me either hooking, landing, or releasing a fish. I was hoping he’d come join the party but I guess it’s better to go home fishless on a dry than to tie on a nymph.
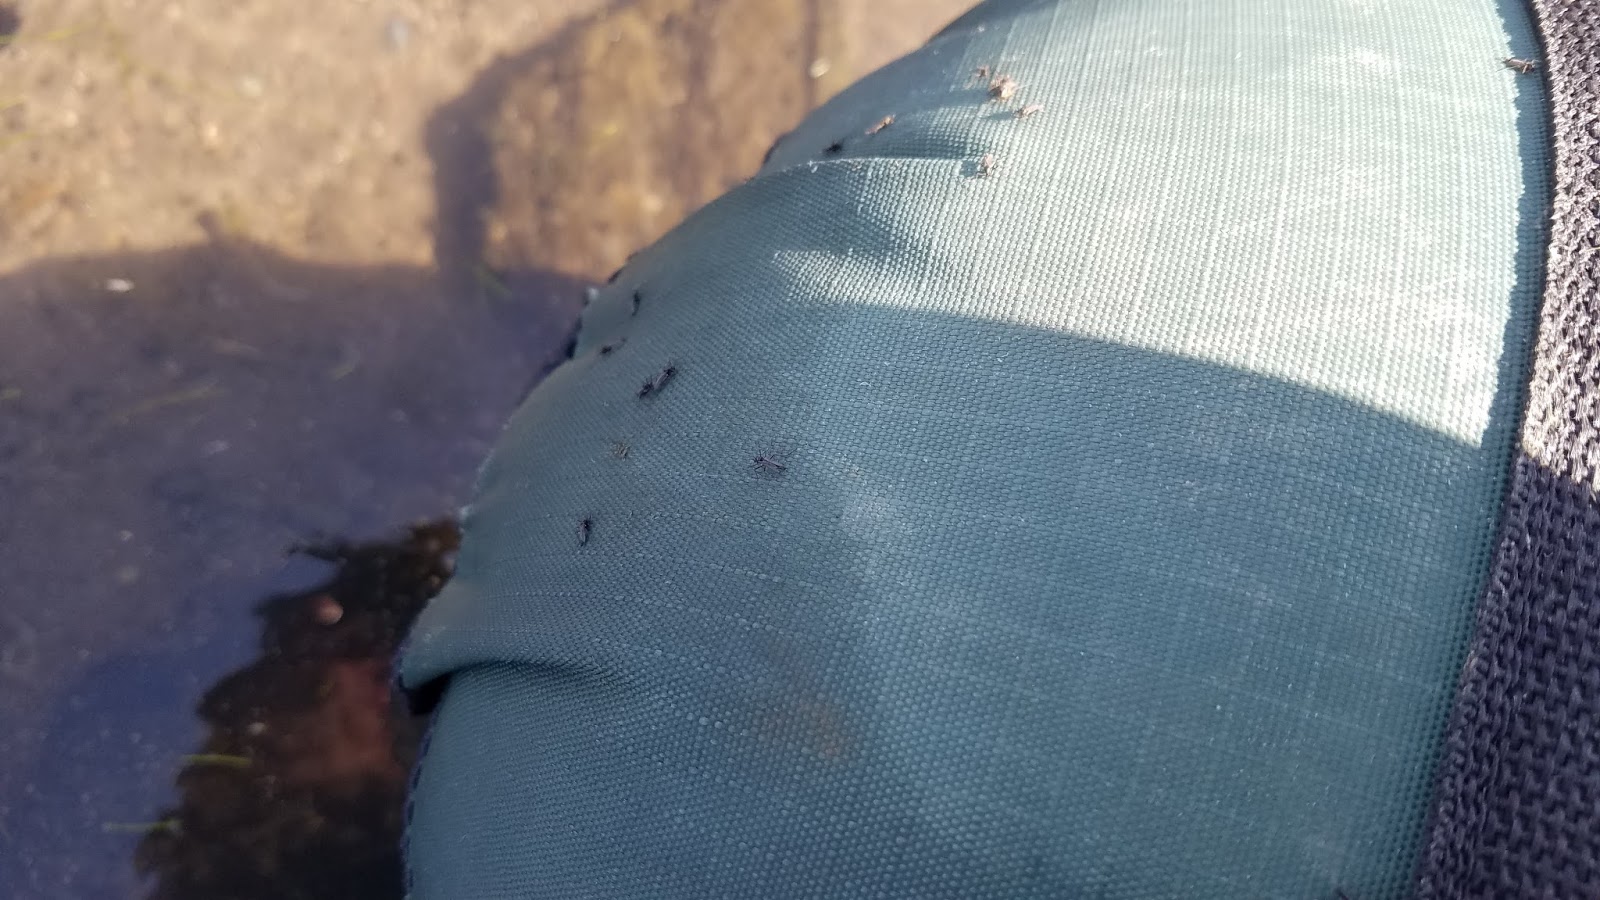 |
| Midge Central |
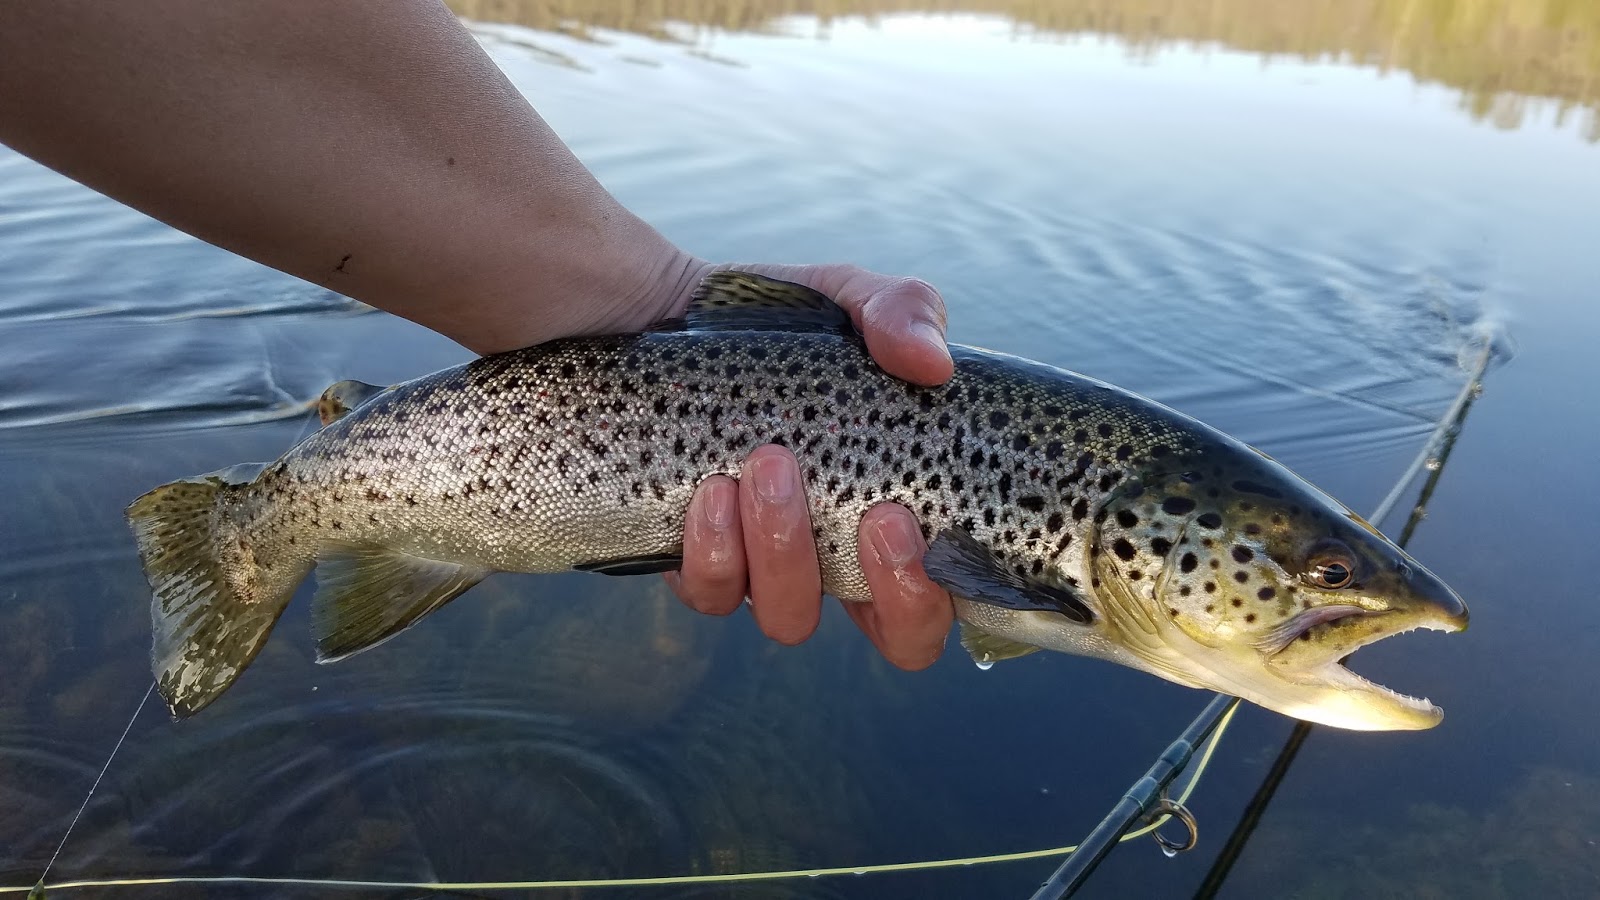 |
| Baum Brown |
Baum Lake is awesome body of water that feels more like a hybrid cross between a spring creek and lake. It fishes like a spring creek but doesn’t reveal it’s secrets like a lake. I had a great time out there and can’t wait to go back someday and hook into a another Baum Lake beast.
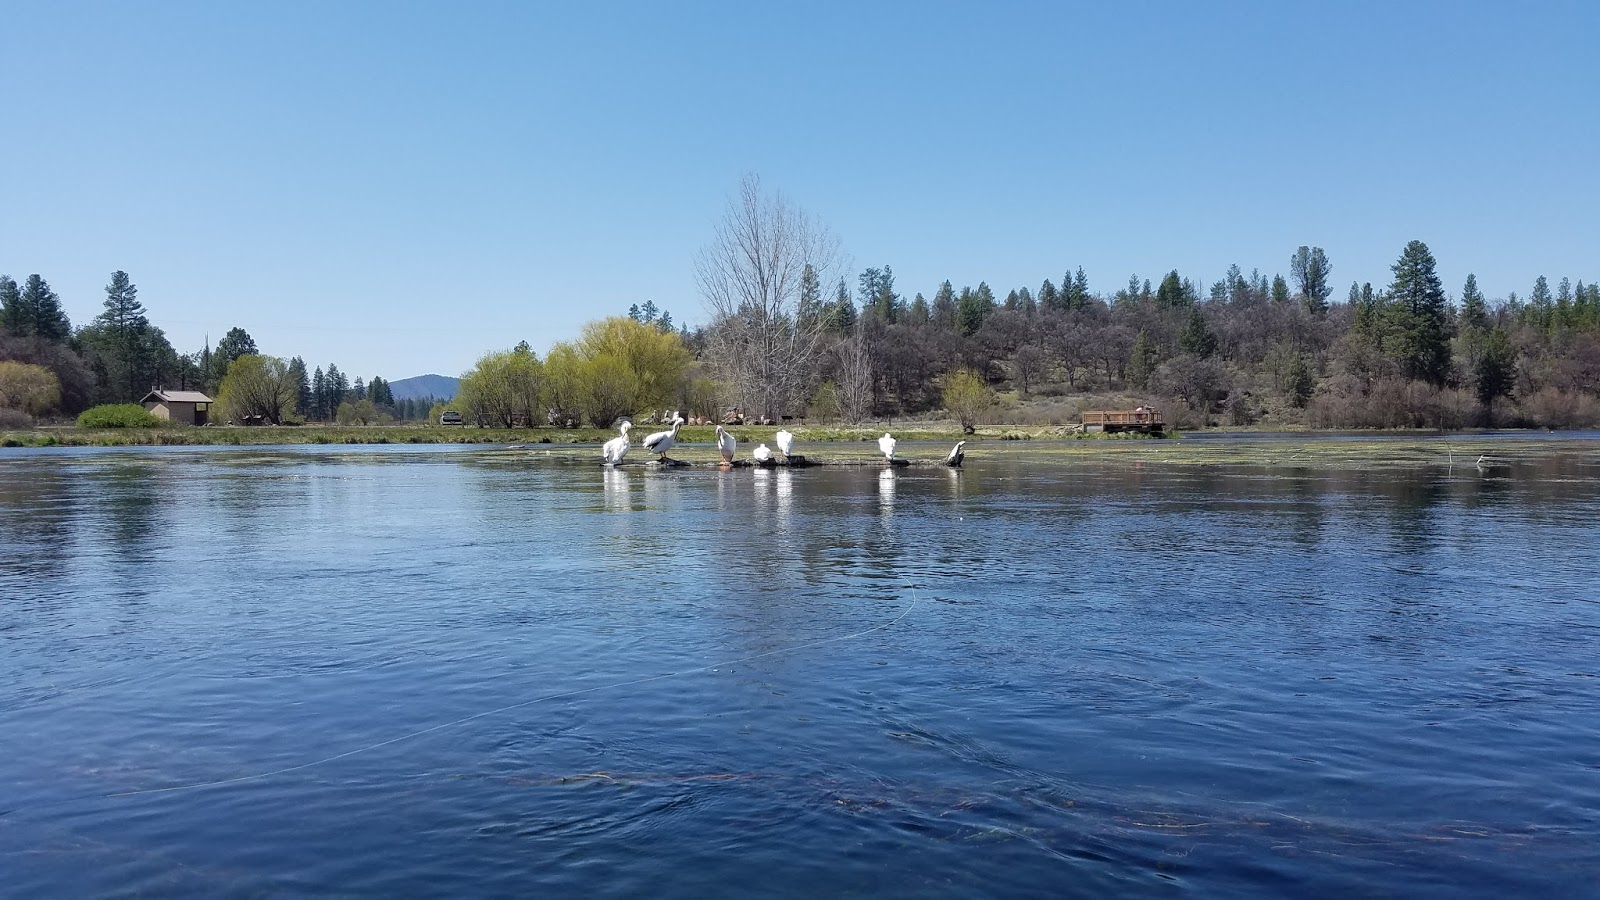 |
| Drifting Past Pelican Island |
