Muir Beach

Muir Beach Day

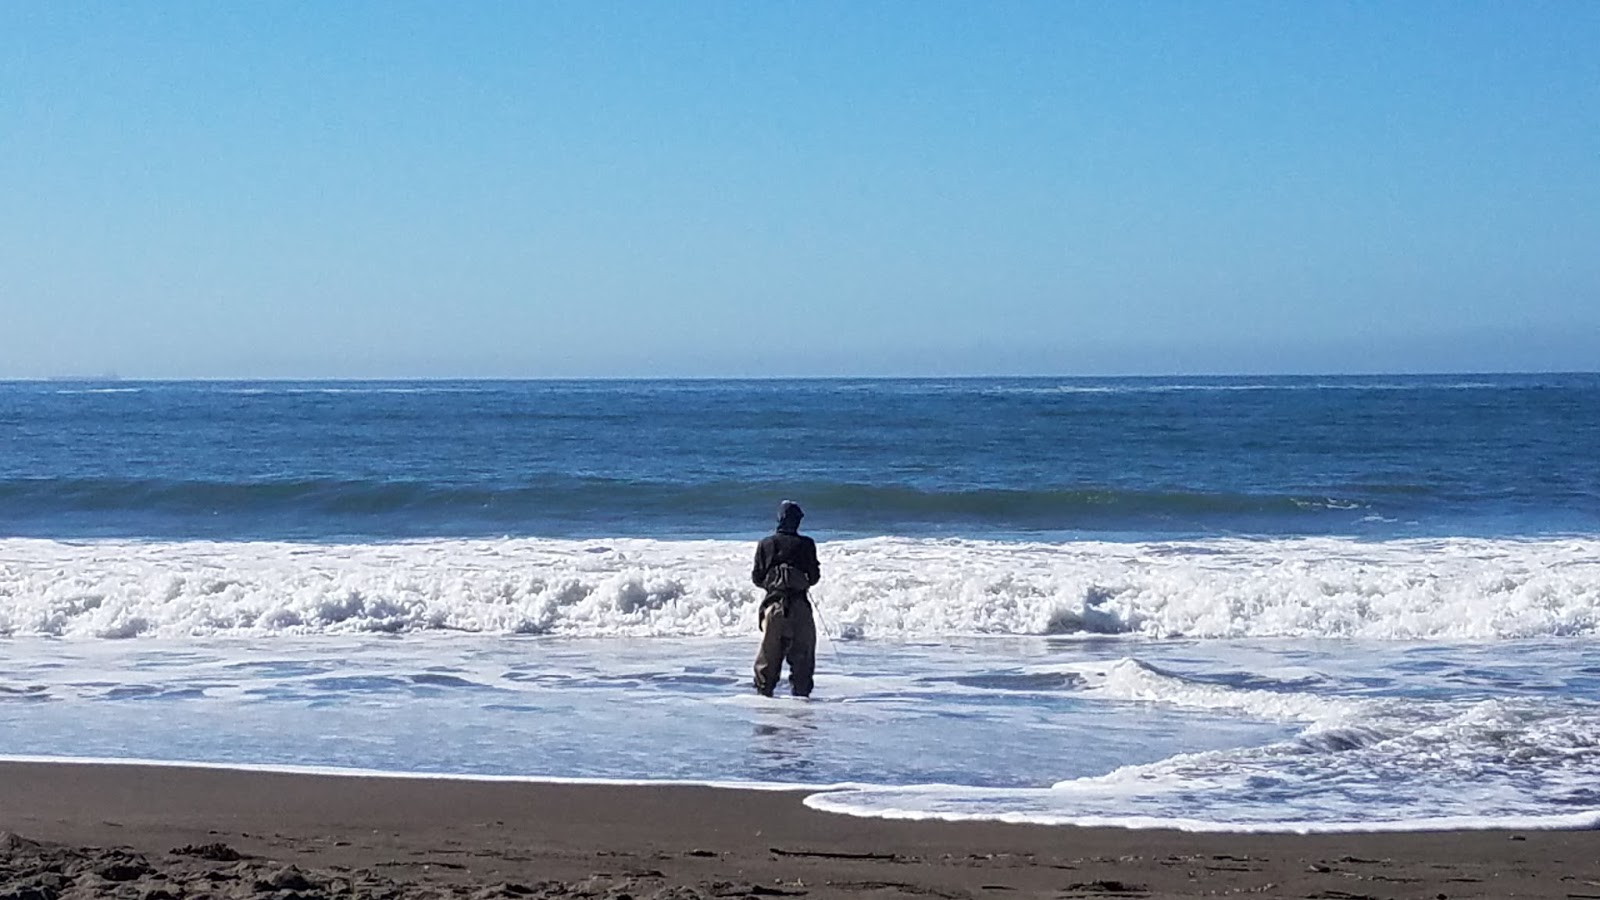
Fall is suppose to be one of the most difficult times of the year to fish the Northern California surf. Structures that were carved out along the surf from spring and winter storms have been filled in leaving flat surf where few fish trend. Curious about what this phenomenon looks like I set out with the missus to Muir Beach to explore and fish the beach.
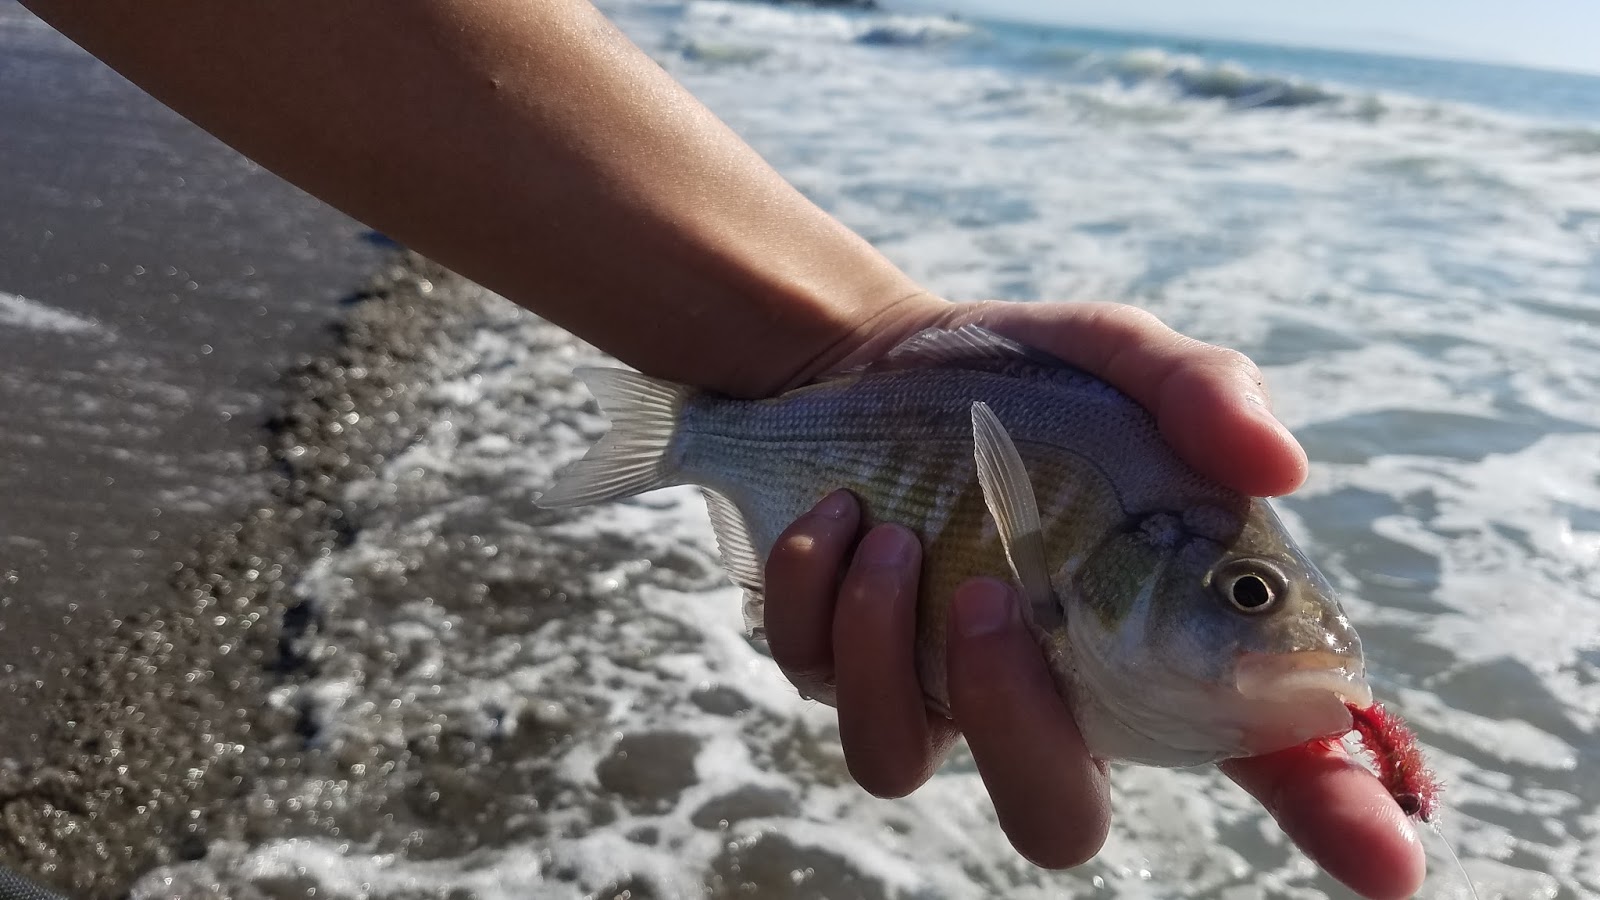
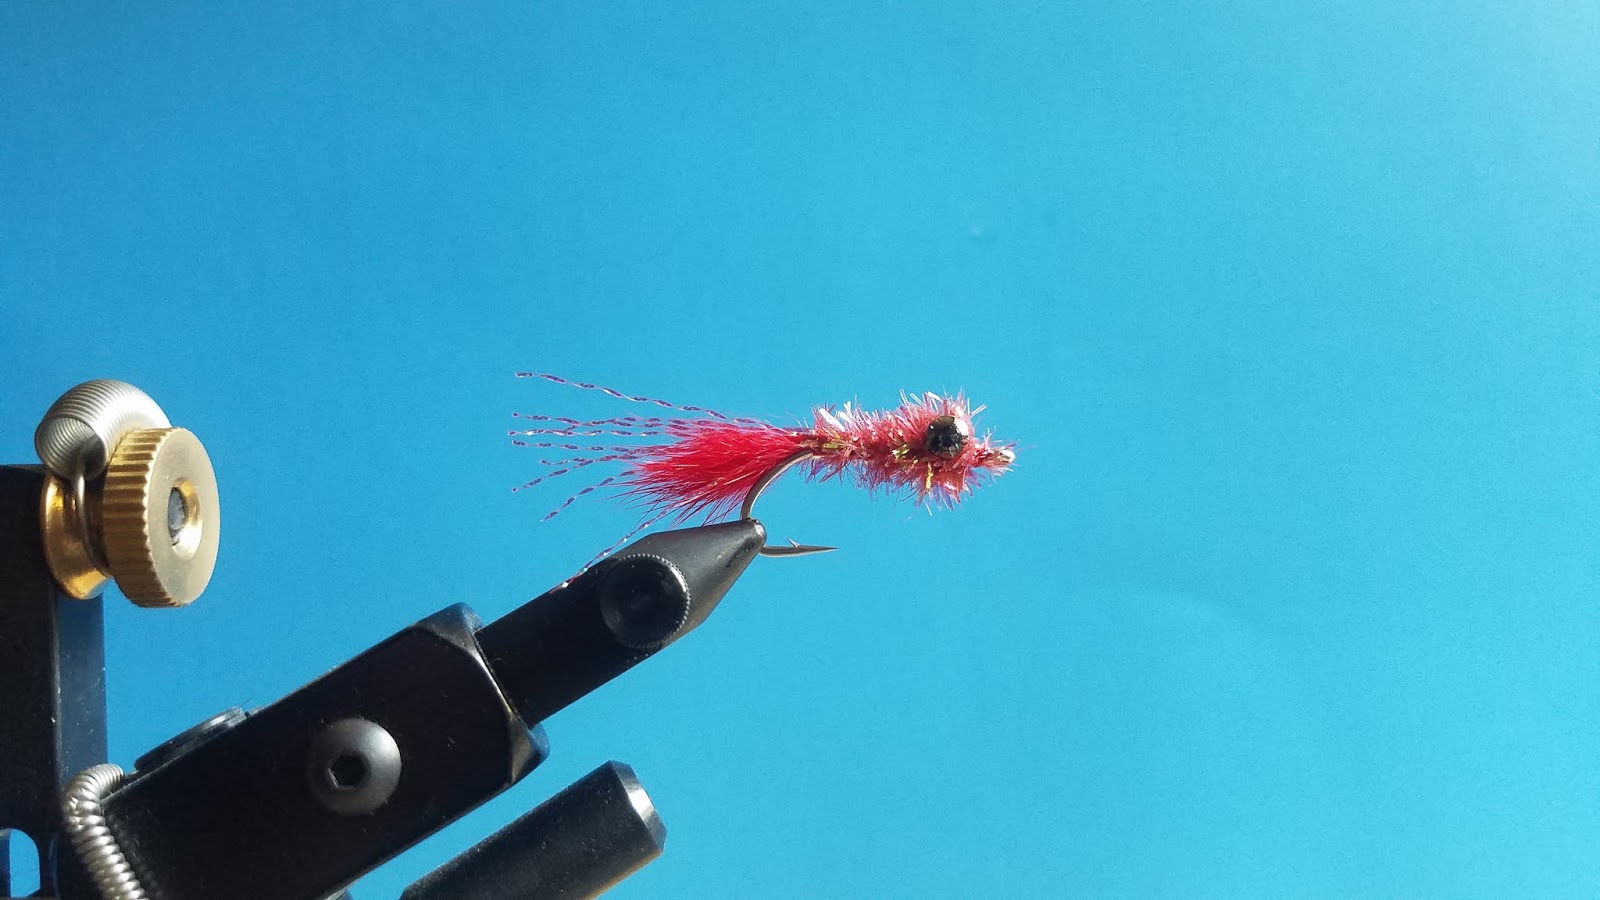
Simple Shrimp Getting It Done Again

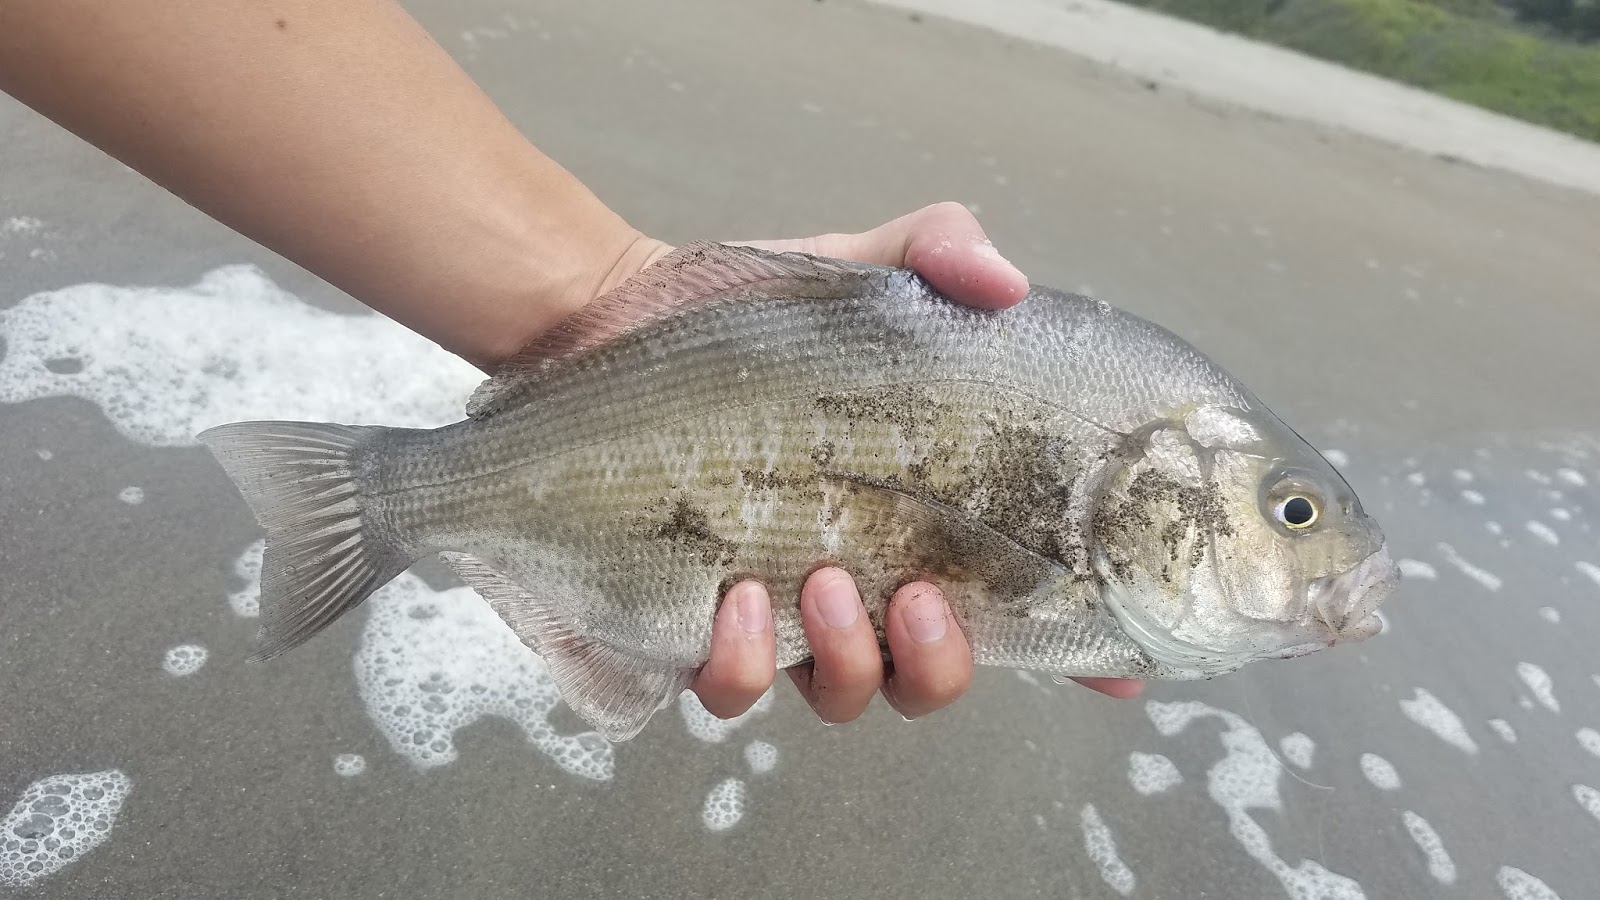
We rolled in halfway through an incoming tide which was fishing. The beach was pretty flat but the fish were coming up and feeding. I caught three surf perch that took my Simple Shrimp before the peak of the high tide; after that it was pretty much a bust. Muir Beach comes in as one of the smaller beaches I’ve fished but it’s a nice one. I’ve heard that the crabbing on Muir Beach is good especially on the northern end so once I’ve got the gear and technique for that I may give that a try.
Fun In The Sun
Fly Tying

Fly Tying – Matt’s Simple Shrimp

Surf perch flies come in a variety of shapes, colors, and sizes. Most patterns are tied to imitate sand crabs and shrimp which are the primary food for surf perch. If you’ve never caught a surf perch on a fly rod before think of them as ocean bluegill on steroids. Just like bluegill, surf perch aren’t too picky about what they eat therefore simple easy-to-tie patterns are all you need.

The Simple Shrimp is a proven pattern that has out-fished many of the other surf perch patterns that I’ve used. I use the Simple Shrimp as a dropper with my go-to orange sand crab pattern. Eighty percent of the time I will hook up on the Simple Shrimp. The Simple Shrimp is a very productive surf perch pattern that is quick and easy to tie.

Matt’s Simple Shrimp

Material List:
Daiichi – 2546 – size 6
Danville 70 Denier Flymaster – Red – 6/0
Brass Dumbell Eyes – Medium
Krystal Chenille – Red
Krystal flash – Red Pearl
Rabbit Fur – Red

Fly Tying Instructions

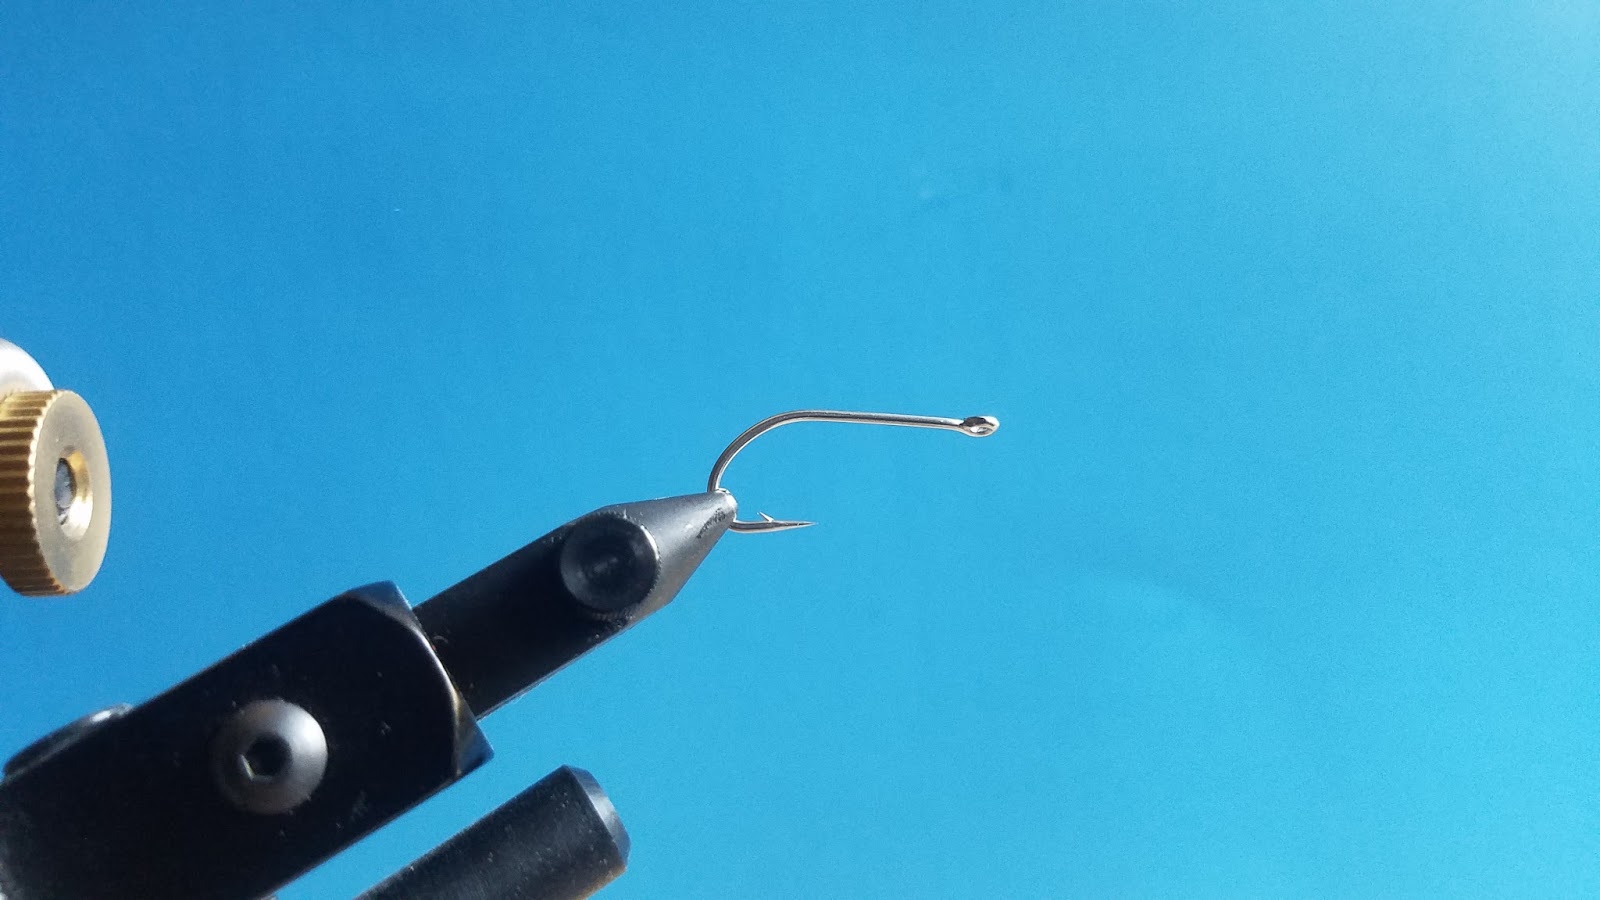
Step 1 – Clamp the hook into the vice and start your thread.

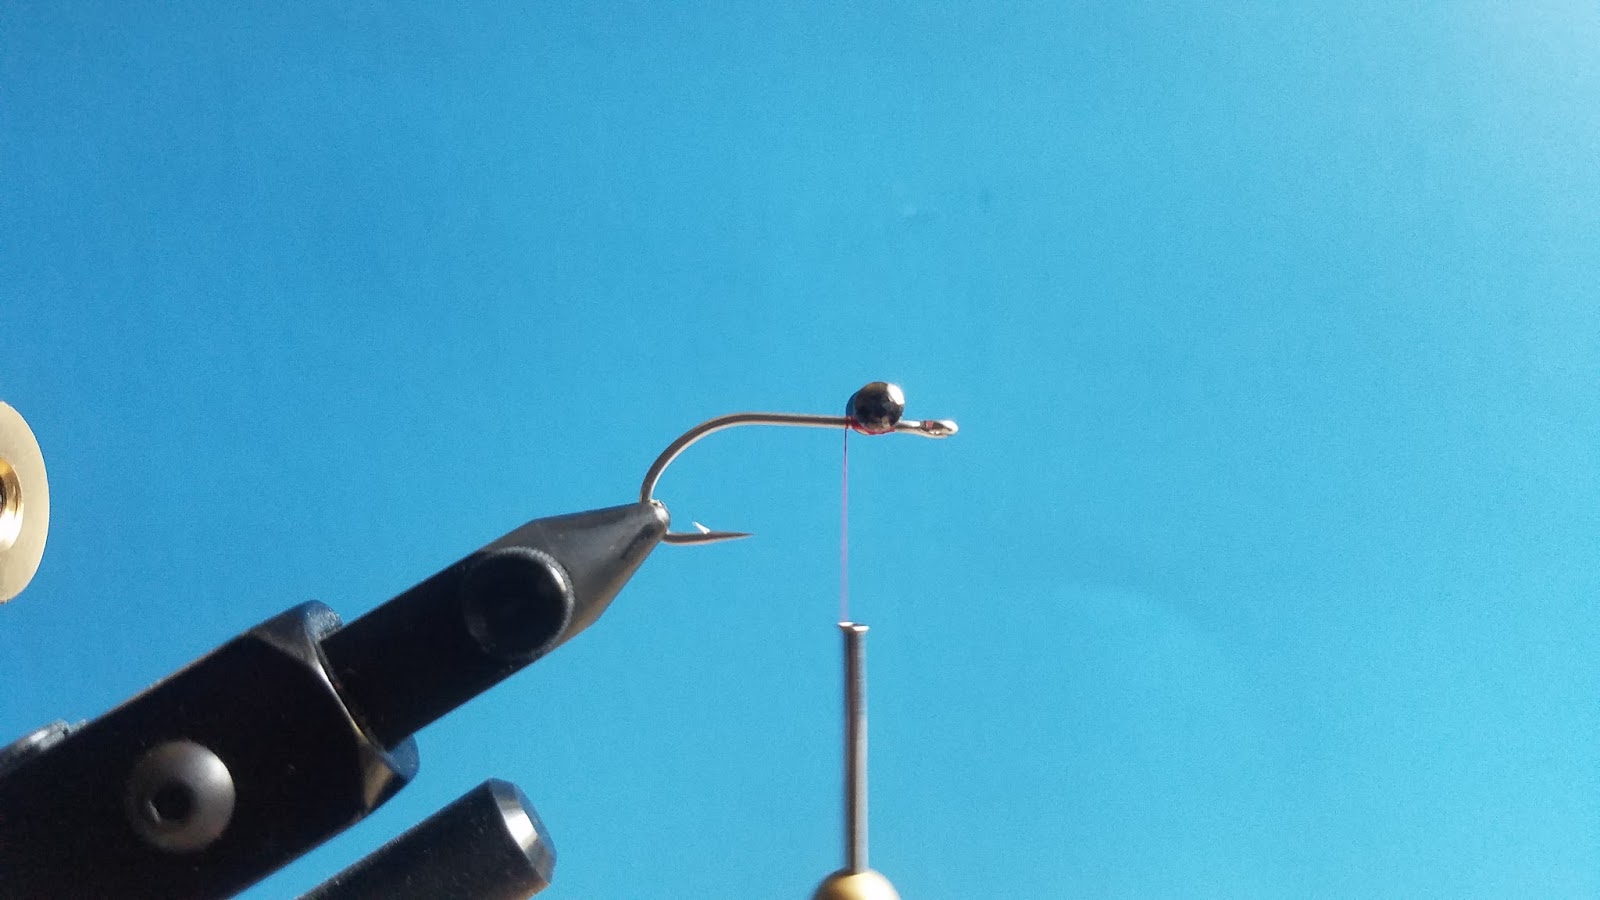
Step 2 – Tie on the dumbbell eyes and figure eight some thread around it to secure.

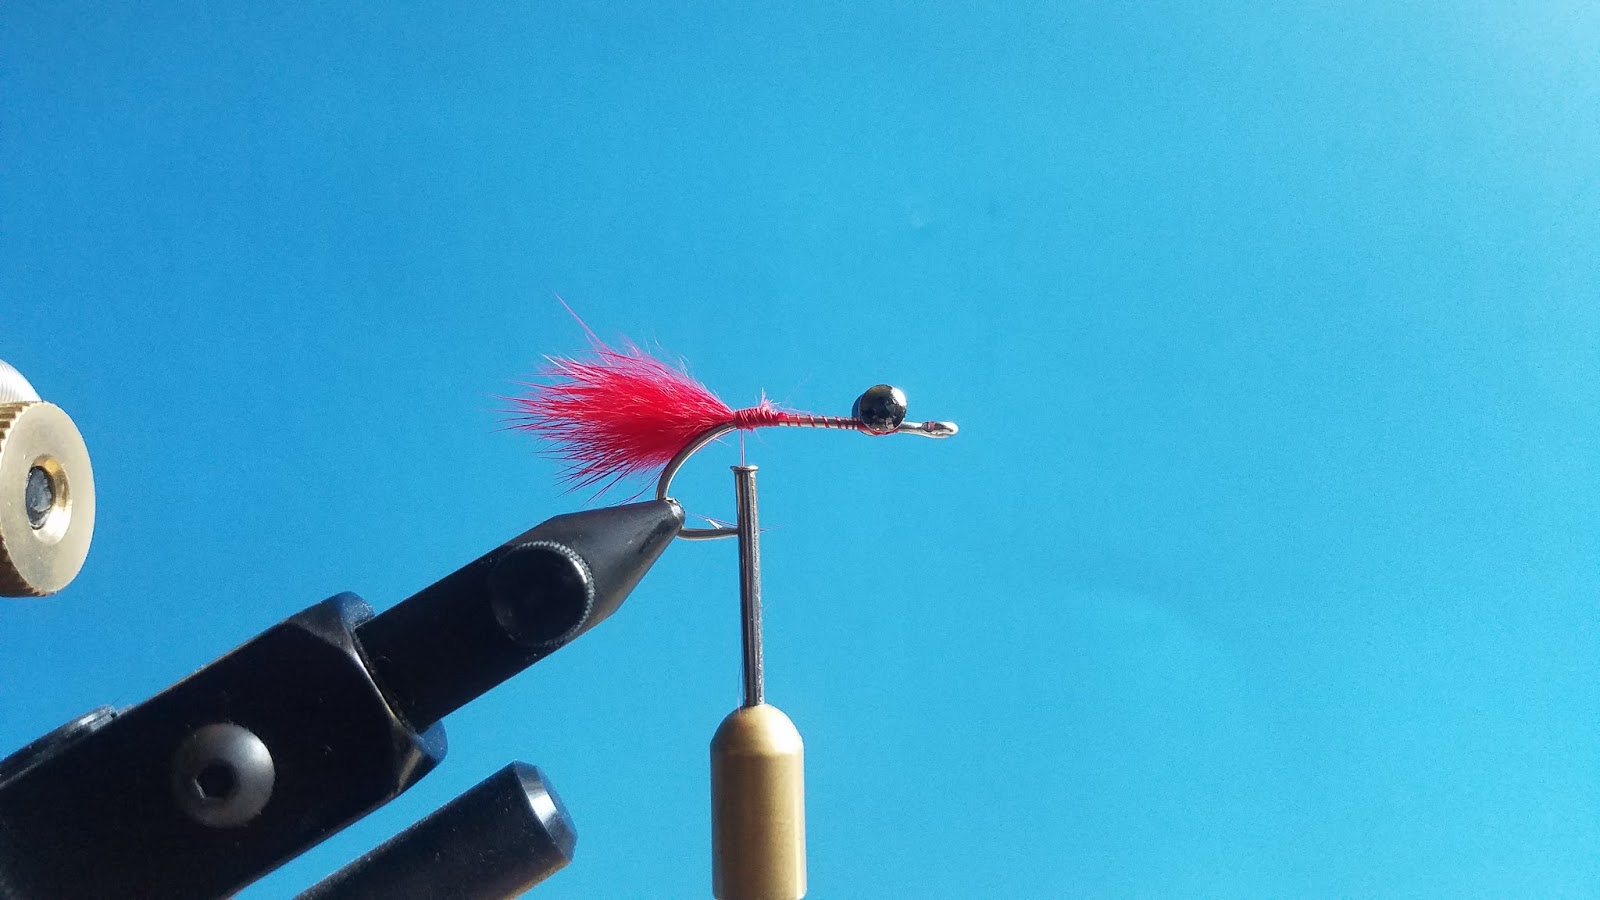
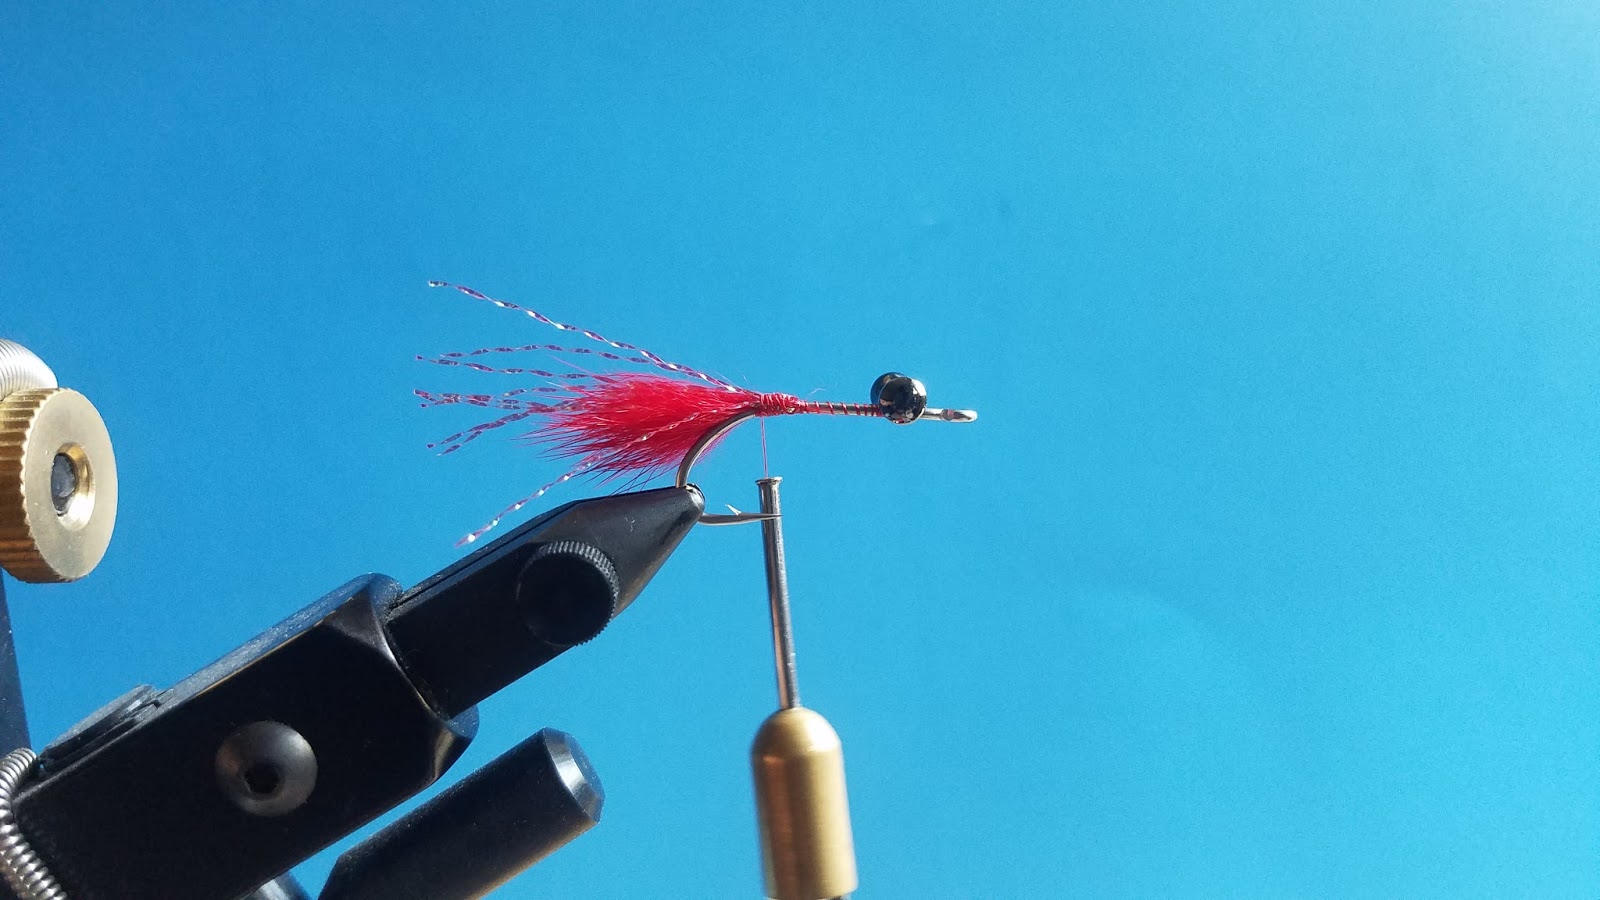
Step 3 – Work your thread towards the end of the shank. Cut off some rabbit fur from your rabbit strip and tie it in.

Step 4 – Tie in four to five strands of krystal flash on to each side of the shank and be sure that they extend pass the rabbit fur. Cut the ends so they are even.

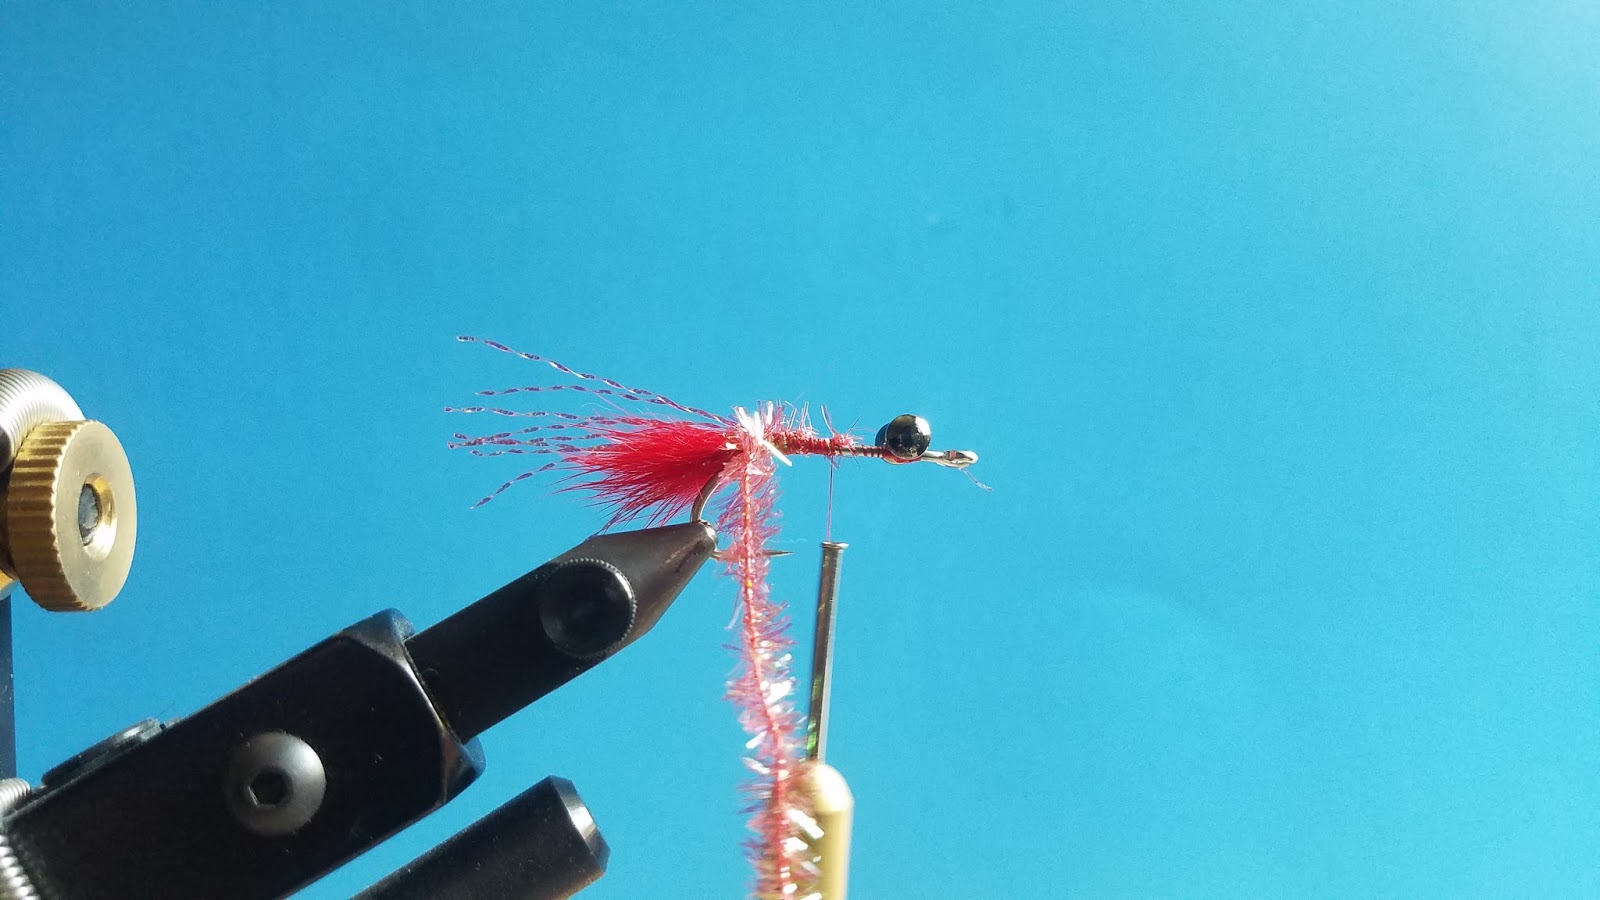
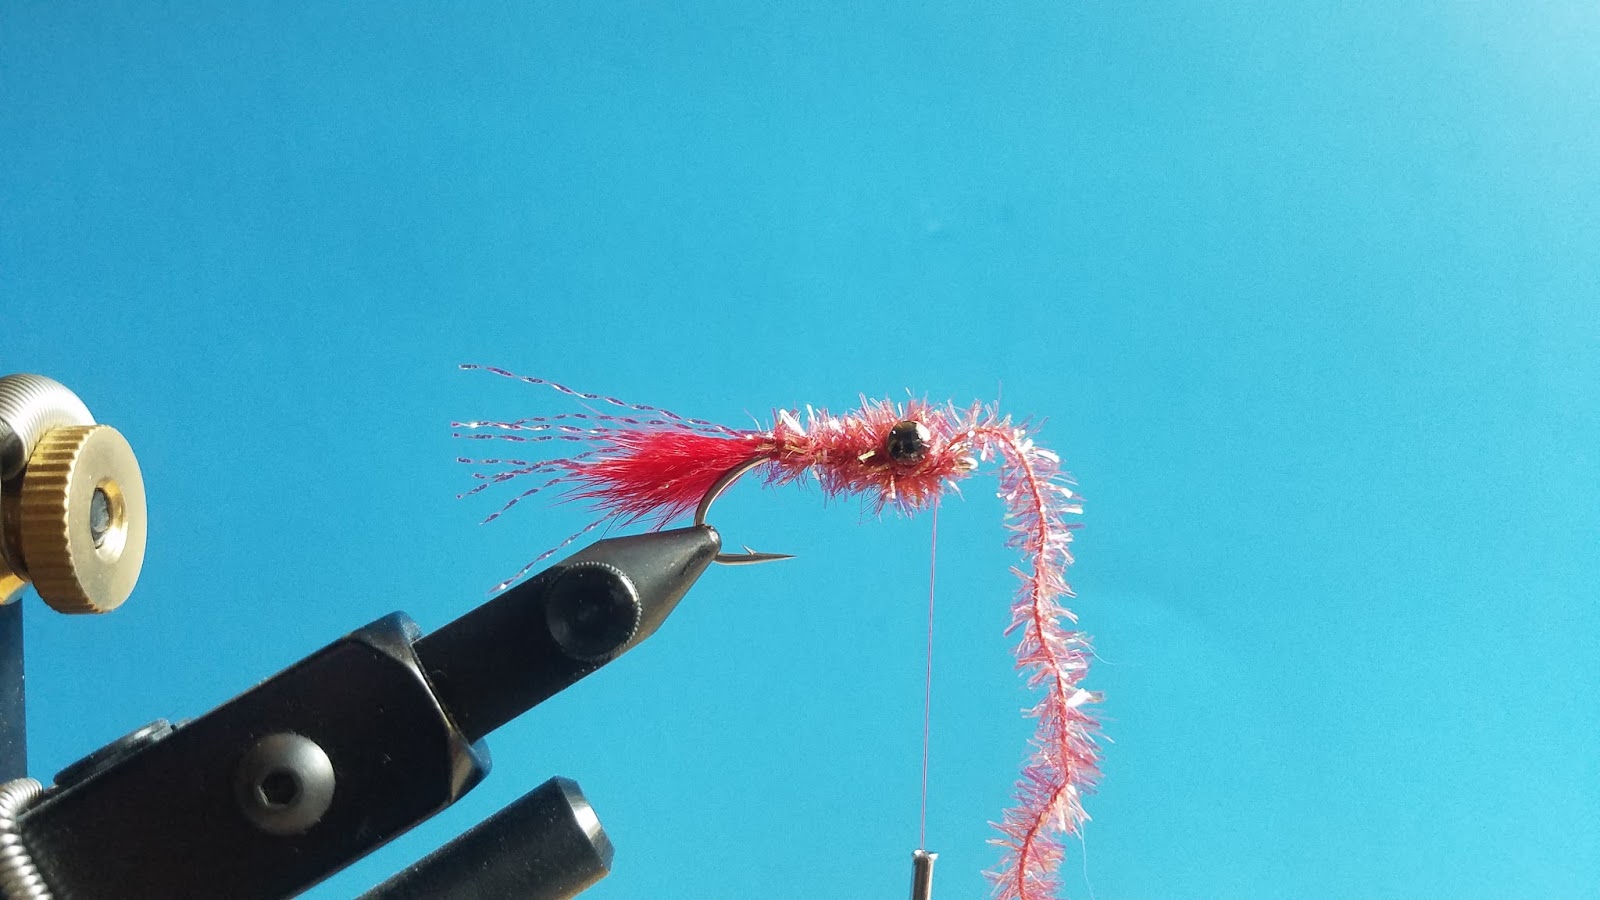
Step 5 – Tie in the krystal chenille. Wrap the chenille towards the dumbbell eyes and try to create a tapered body. Once you have a slight taper begin wrapping the chenille around the dumbbell eyes to complete the tapered body.

Step 6 – Cut off the excess chenille and whip finish twice. You can also dap a bit of zap-a-gap to the thread to make sure it stays extra secured. Finished!

1 2 3