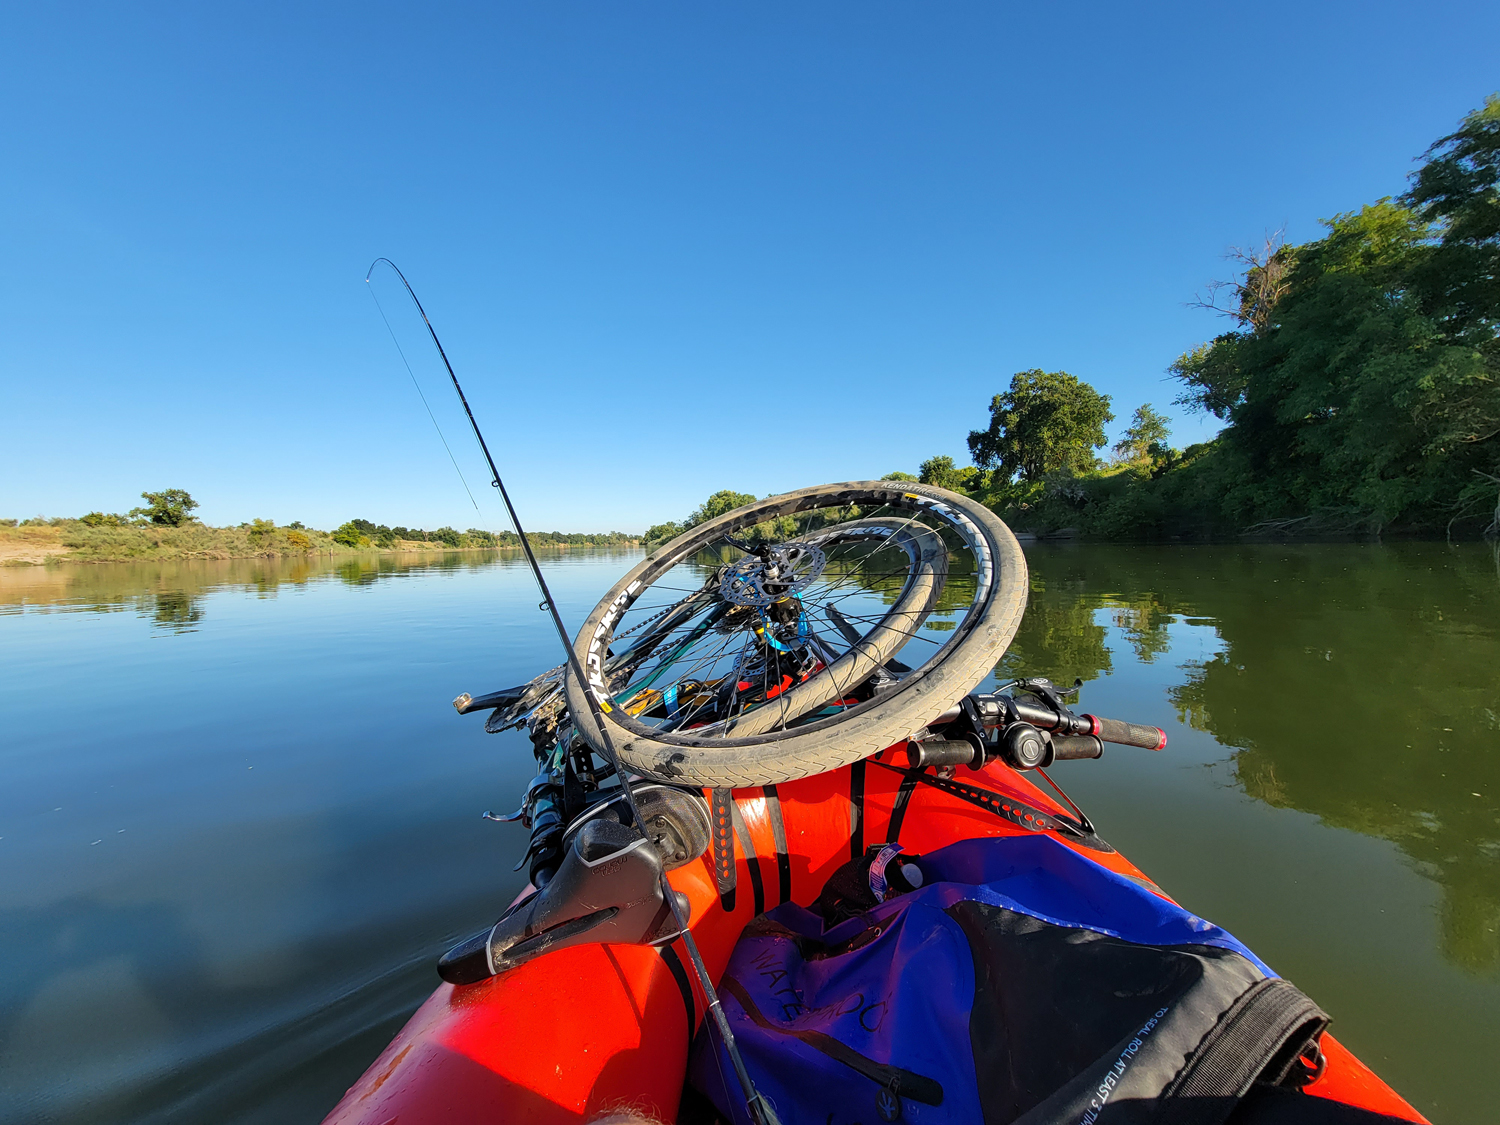
Feather River

Bikeraft Maiden Voyage

Awhile ago I purchased an Alpacka Caribou packraft to aid in my adventures. I chose the Caribou over the Scout (their most basic model) because it was more spacious. The Caribou was designed specially for bikerafting in mind and after using the raft by itself for awhile I thought it would be fun to get a bike and try and use the Caribou for its intended purpose. Being able to bike either upstream or downstream before or after a float opens up a ton of adventuring options. I’ve made a long list of the places I could try and have been excited about the idea ever since. There doesn’t seem to be a whole lot of good information about bikerafting out there so I had some trouble getting started. The general concept of bikerafting sounds simple enough but trying to figure out what equipment I needed and how to properly mount the bike on top of the raft had me puzzled.

The bike I ended up choosing was the CHANGE 811 foldable bike. I liked how light it was, the manner in the way the frame folds, and most importantly the addition of a downtube (most foldable bikes don’t seem to have one) so that I could mount a seat for my kiddo to ride with me. This wasn’t a cheap bike but the many miles of joy I’ve had with my son on it has made it totally worth it.

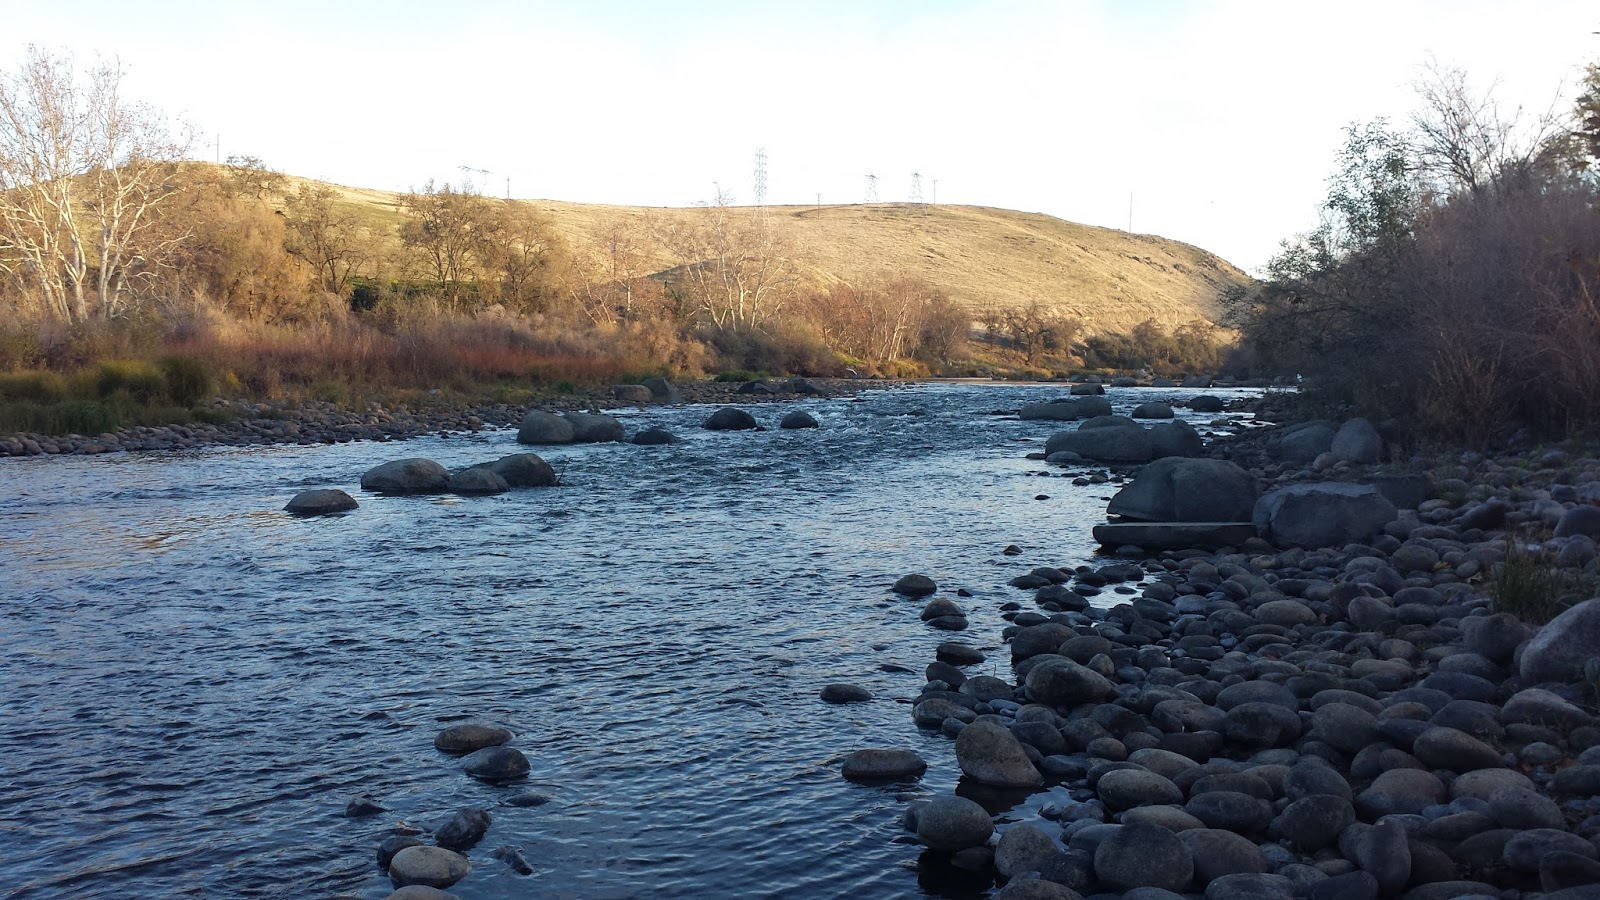
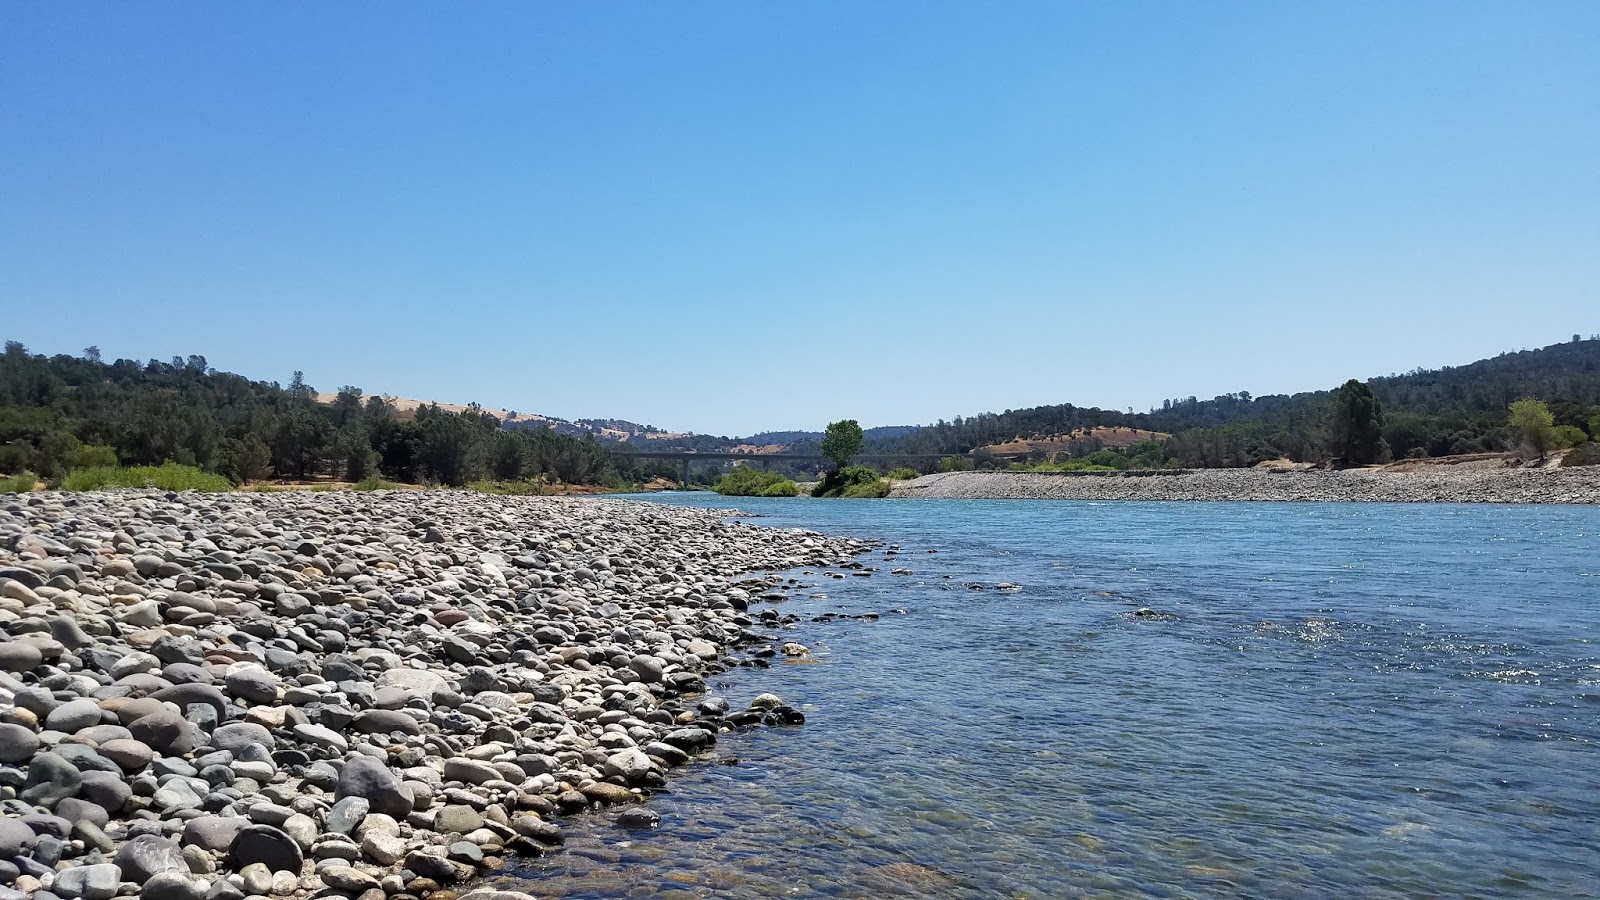
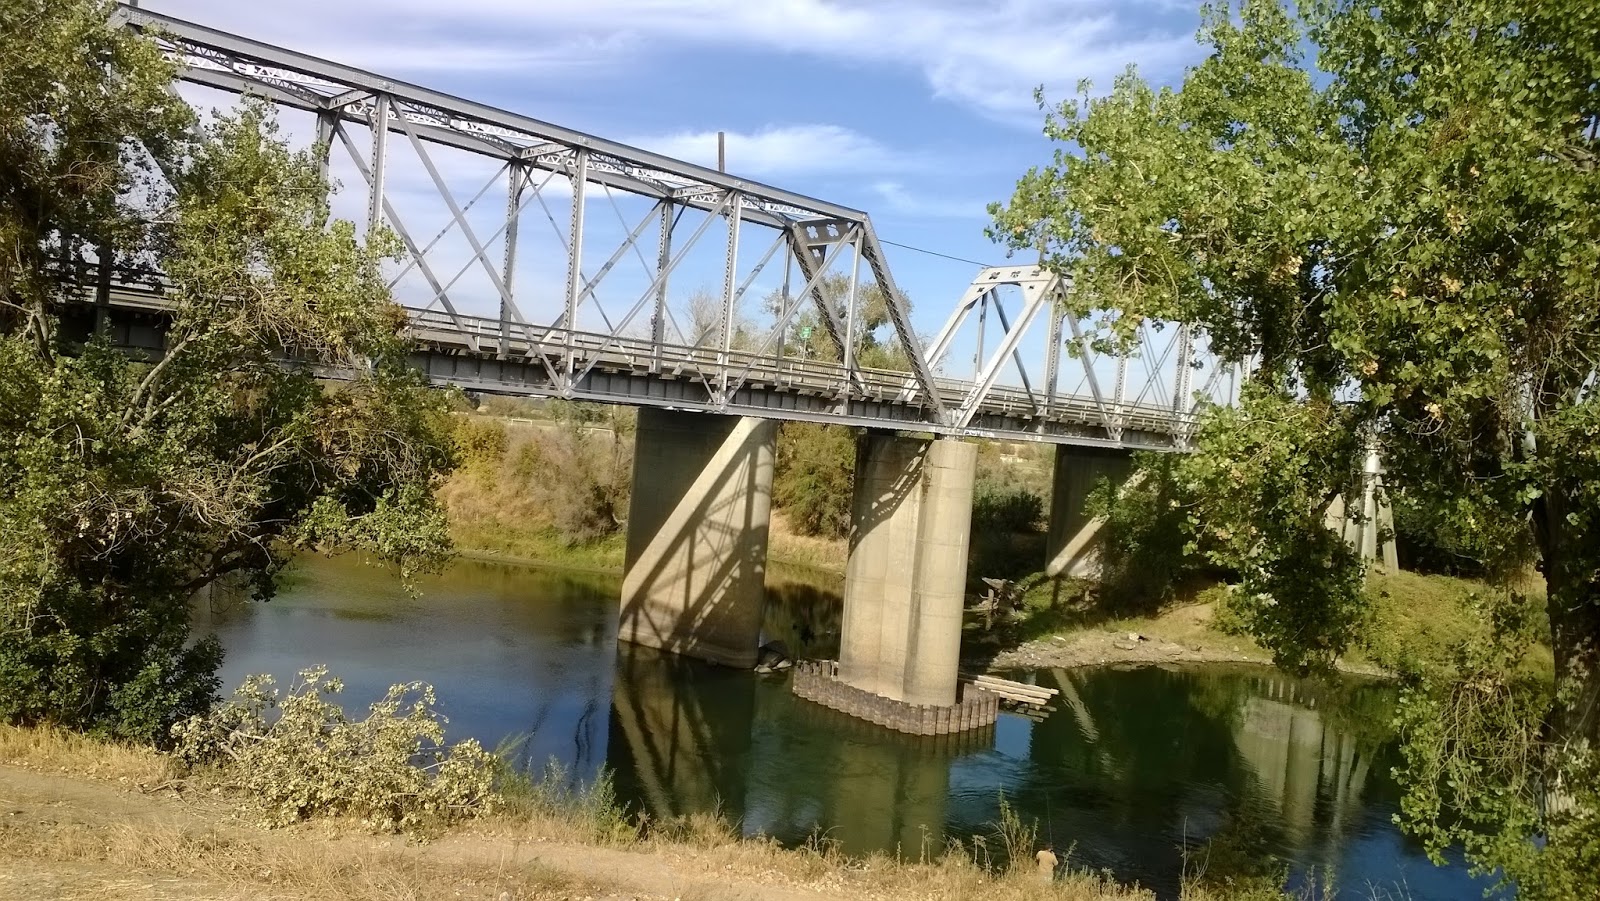
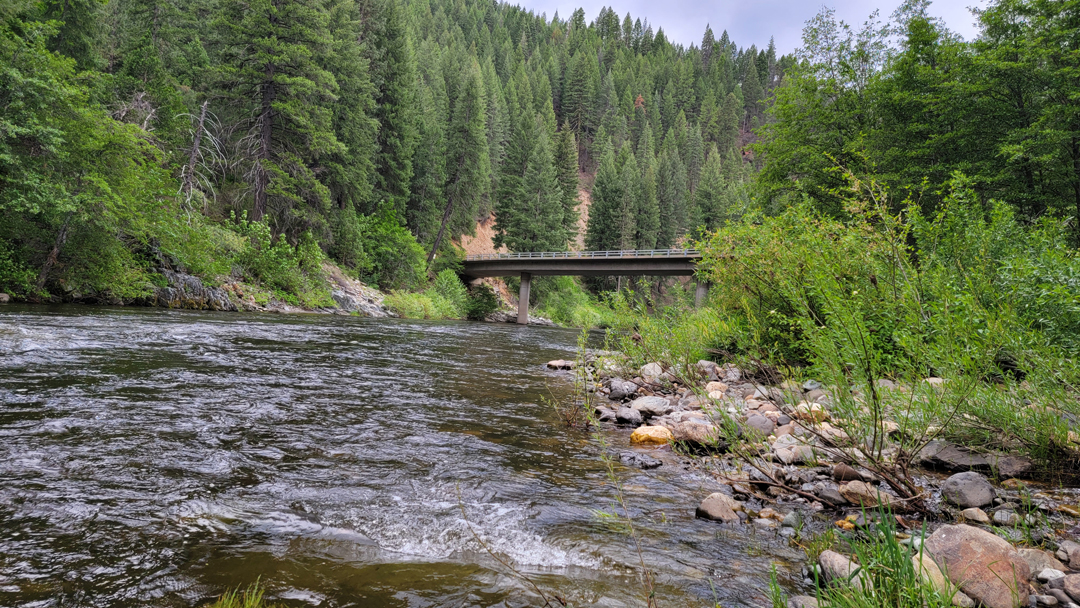
I live near the Feather River and it isn’t the easiest river to access without a boat. Being able to zip up and down the Feather to fish key spots in a boat is the most effective way to fish it however that would require being able to convince my wife that a boat and all it entails would be a good purchase. Maybe someday in the future but for now I have a bike and I have a raft. I set my float for a short trip from Grays Beach downstream to Star Bend boat launch.
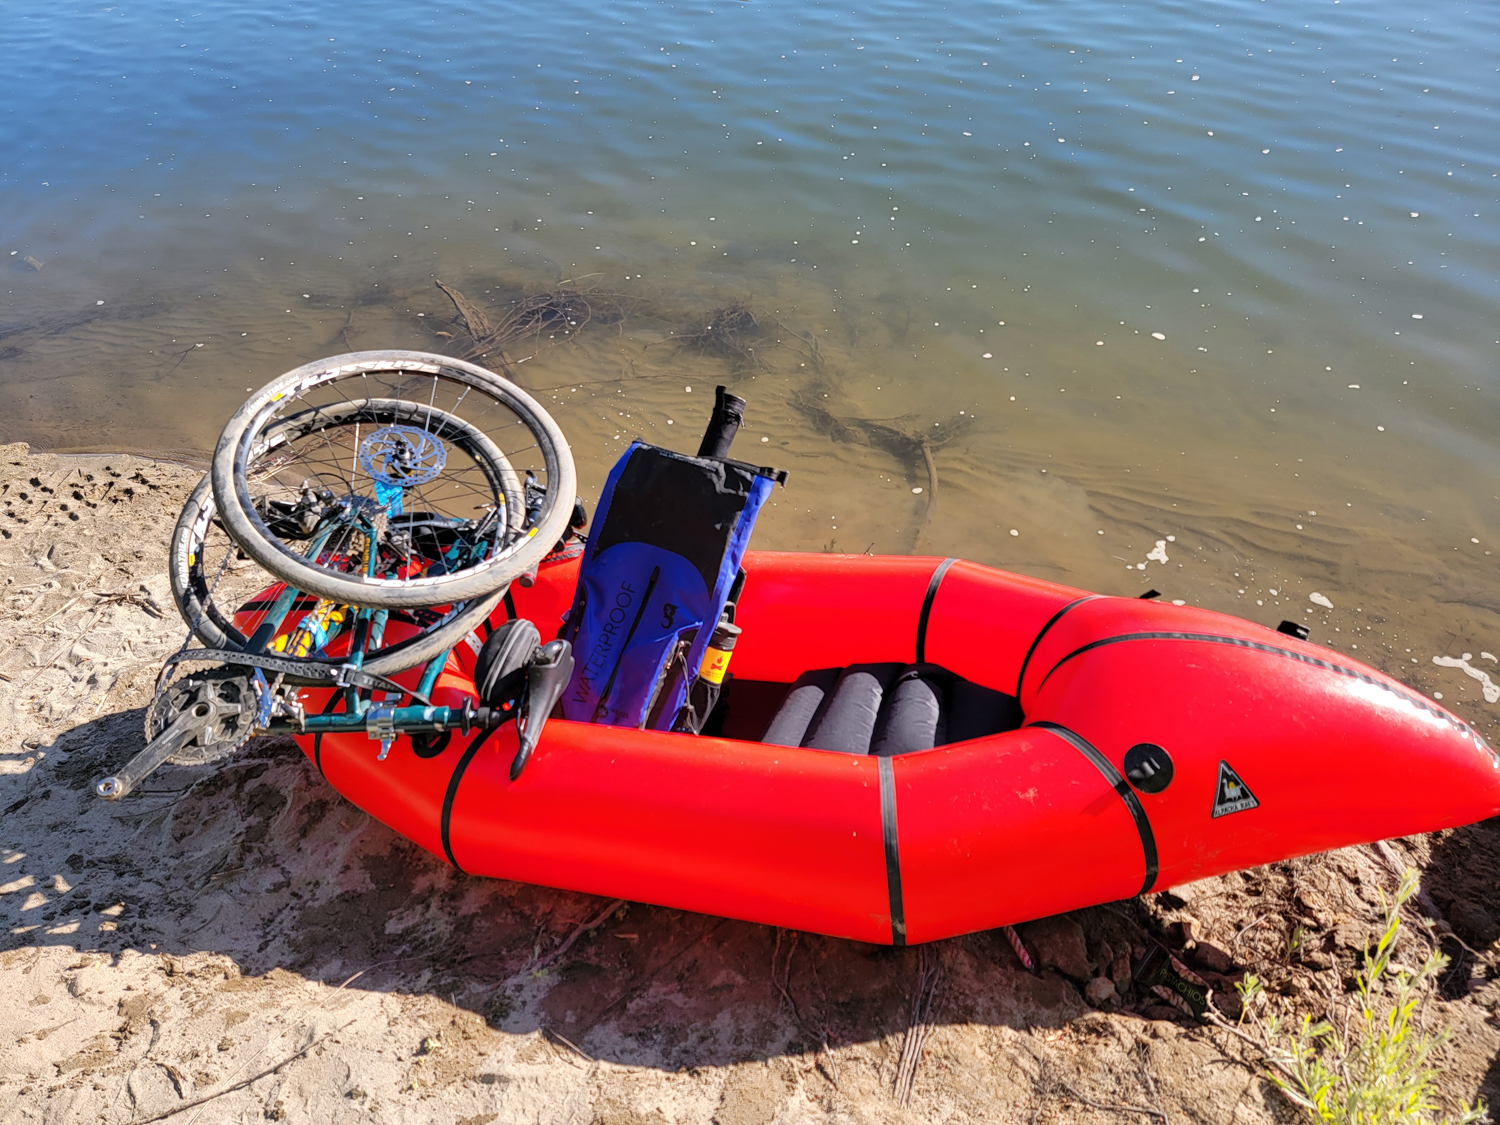
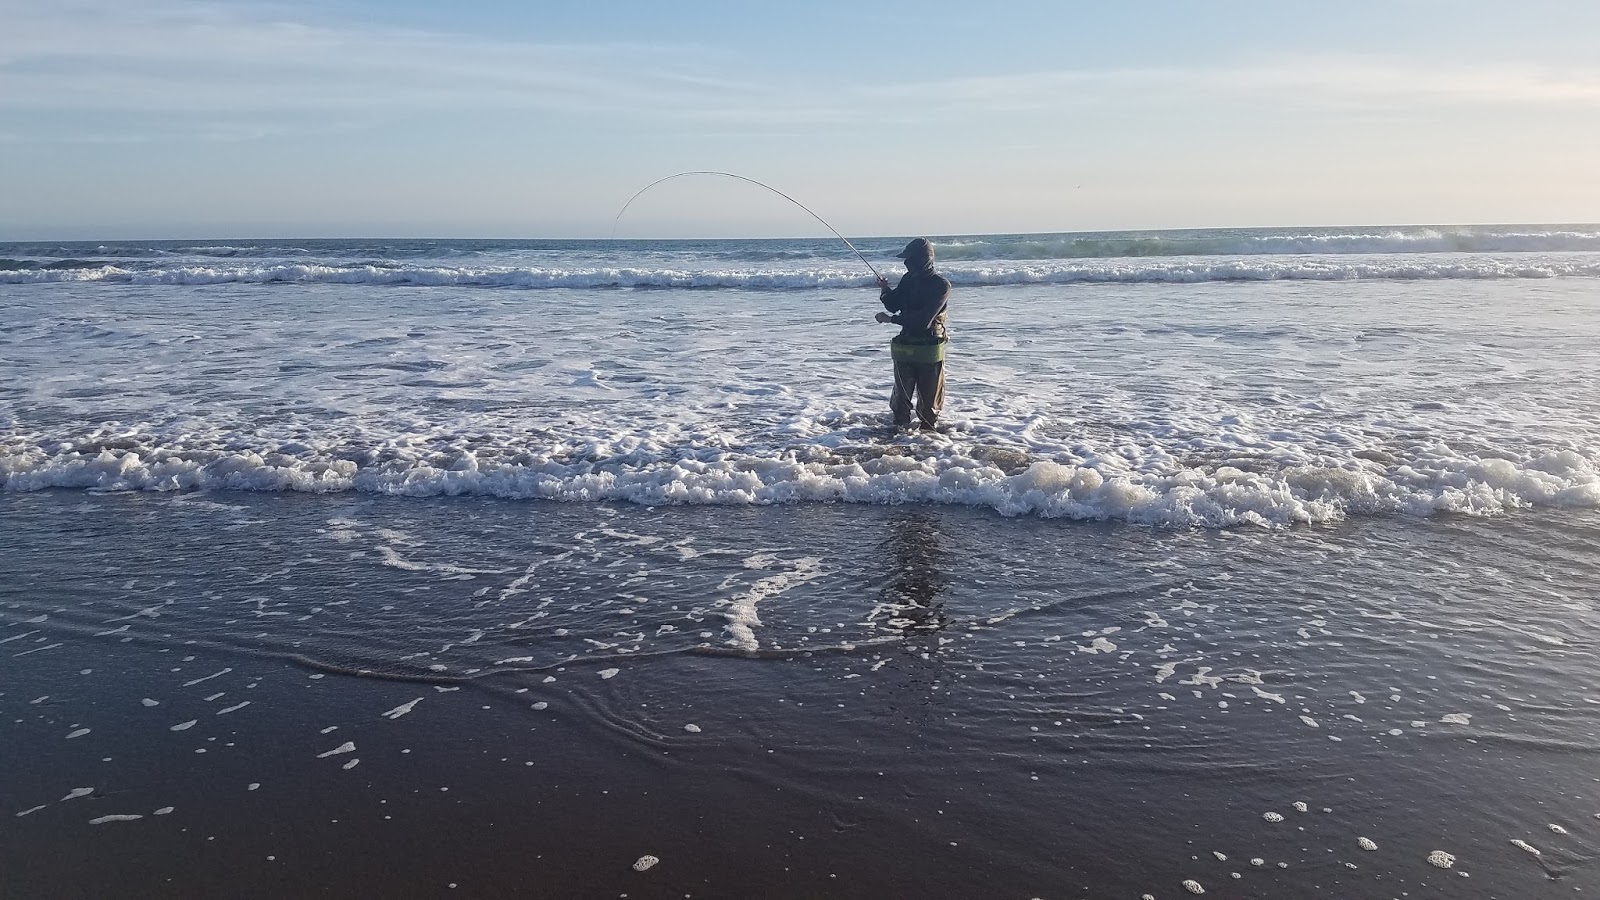
The bike trip from Star Bend boat launch to Grays Beach along Levee Road was a 15 minute breeze. Once I made my way on the banks of Grays Beach the real work began. I started with inflating my packraft first. Next I set up my fly rod. I’ve been using my Scotts Flex 9’6’’ 6WT paired with my Ross CLA 3 with a Rio Outbound Short line for striper fishing. I’ll probably make the switch to my 8WT Echo Boost in the future because the shorter length is a bit easier to manage. The next step was breaking down the bike. The CHANGE 811 is pretty awesome in that it breaks down in several ways. I kept it simple and just took off the pedals and front wheel. I mounted the bike and attempted to figure out how to properly strap it to the top of my raft. I took my time and struggled for about 30 minutes in the blazing sun fidgeting with the straps. Once I was satisfied with tiedowns it was time for departure.

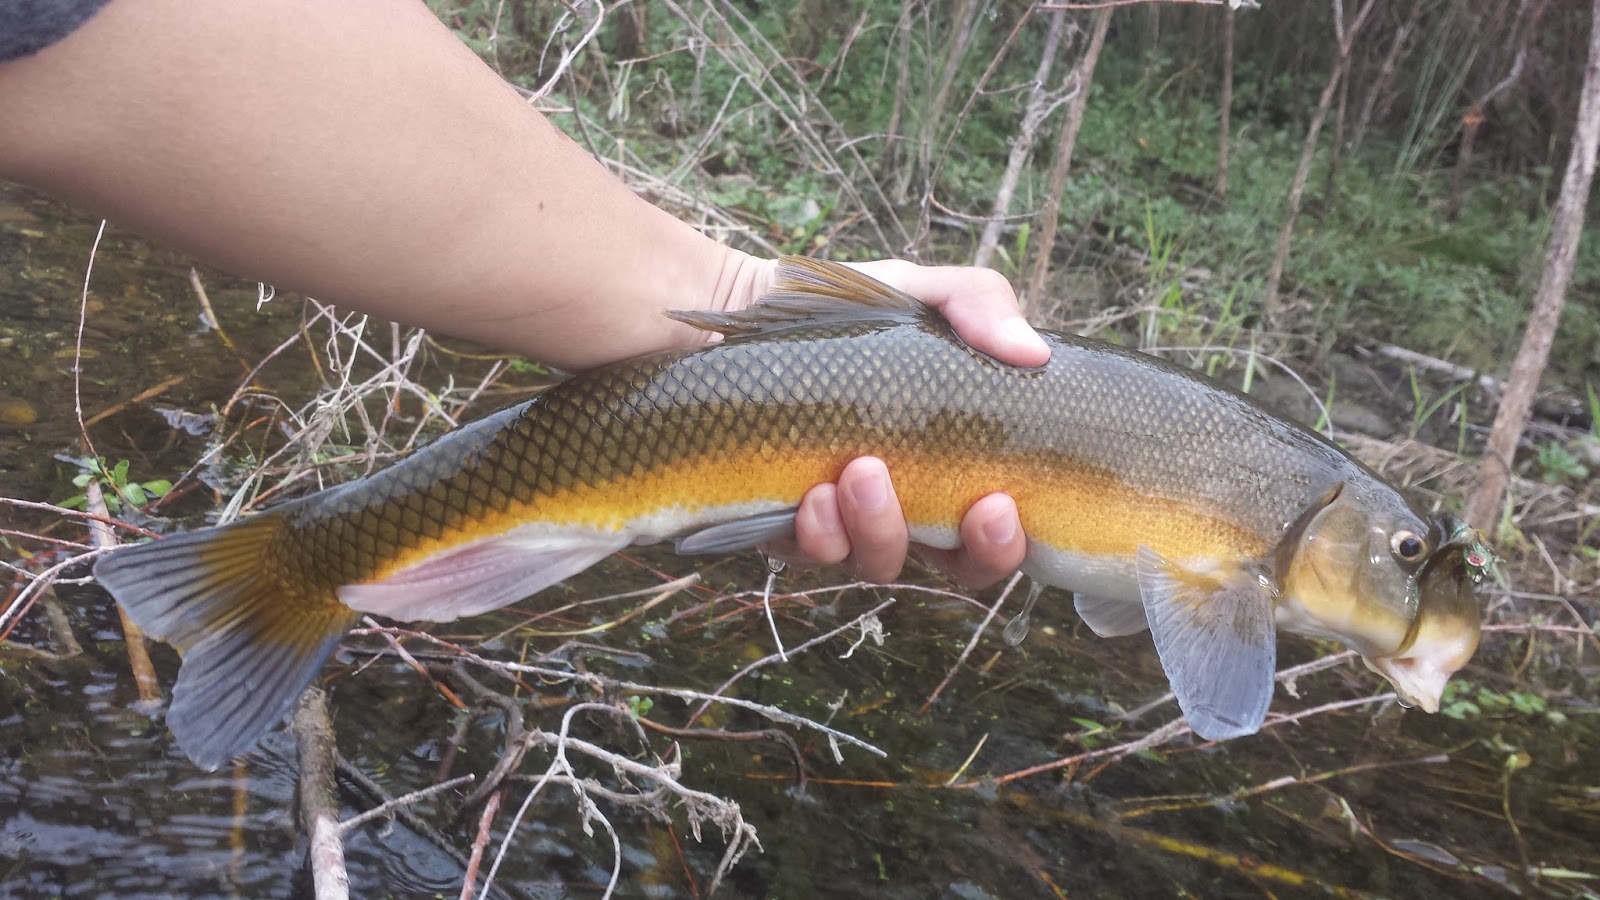
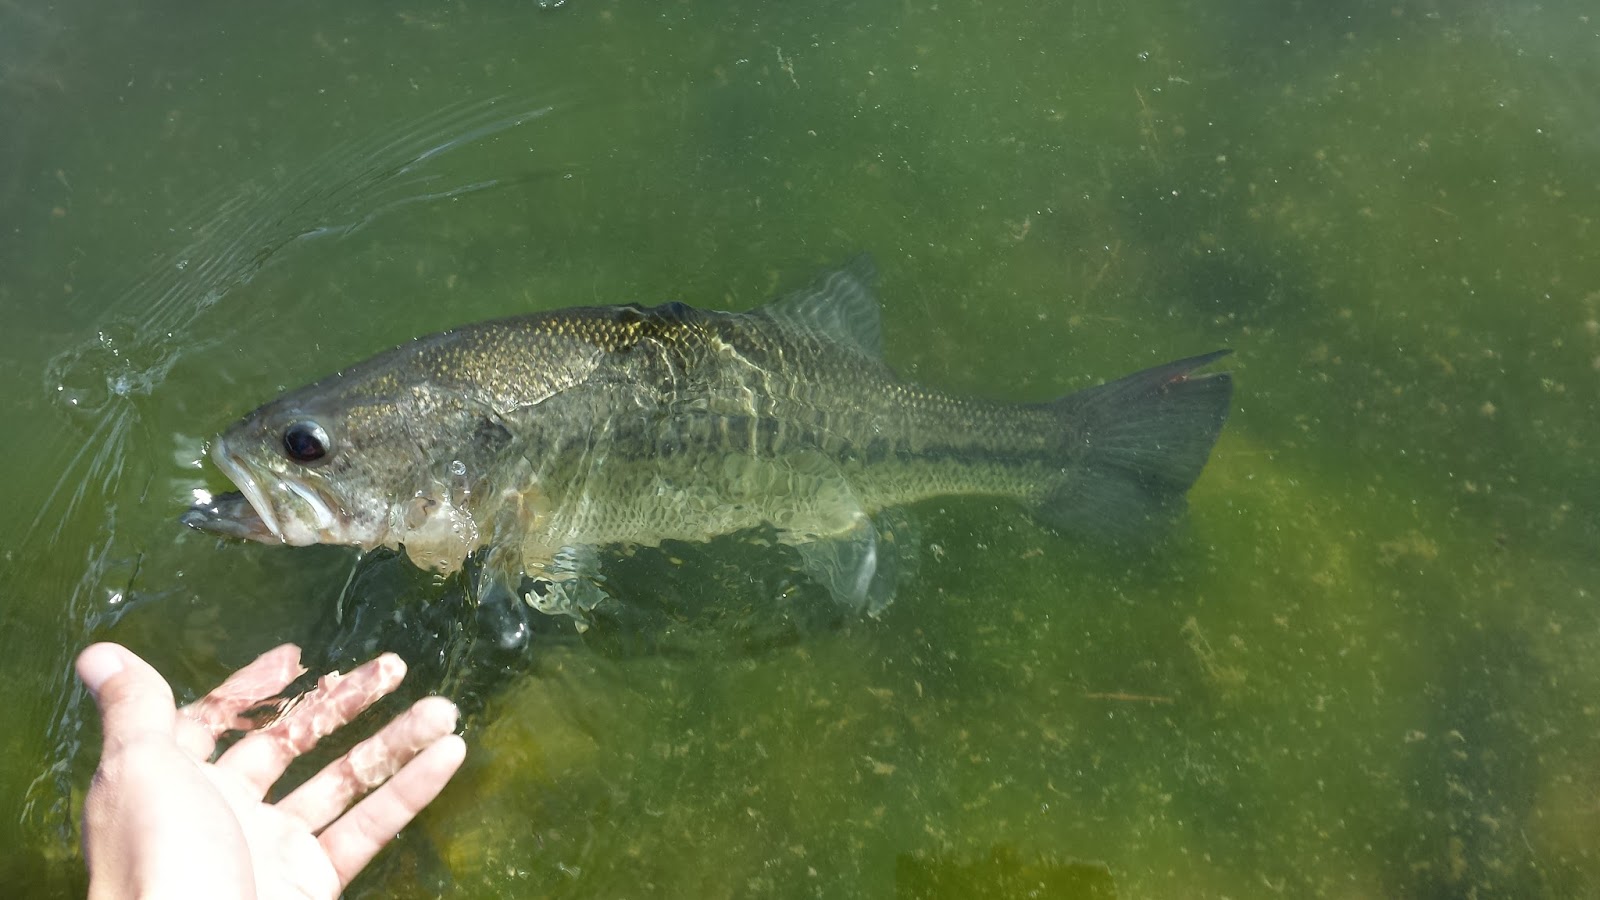
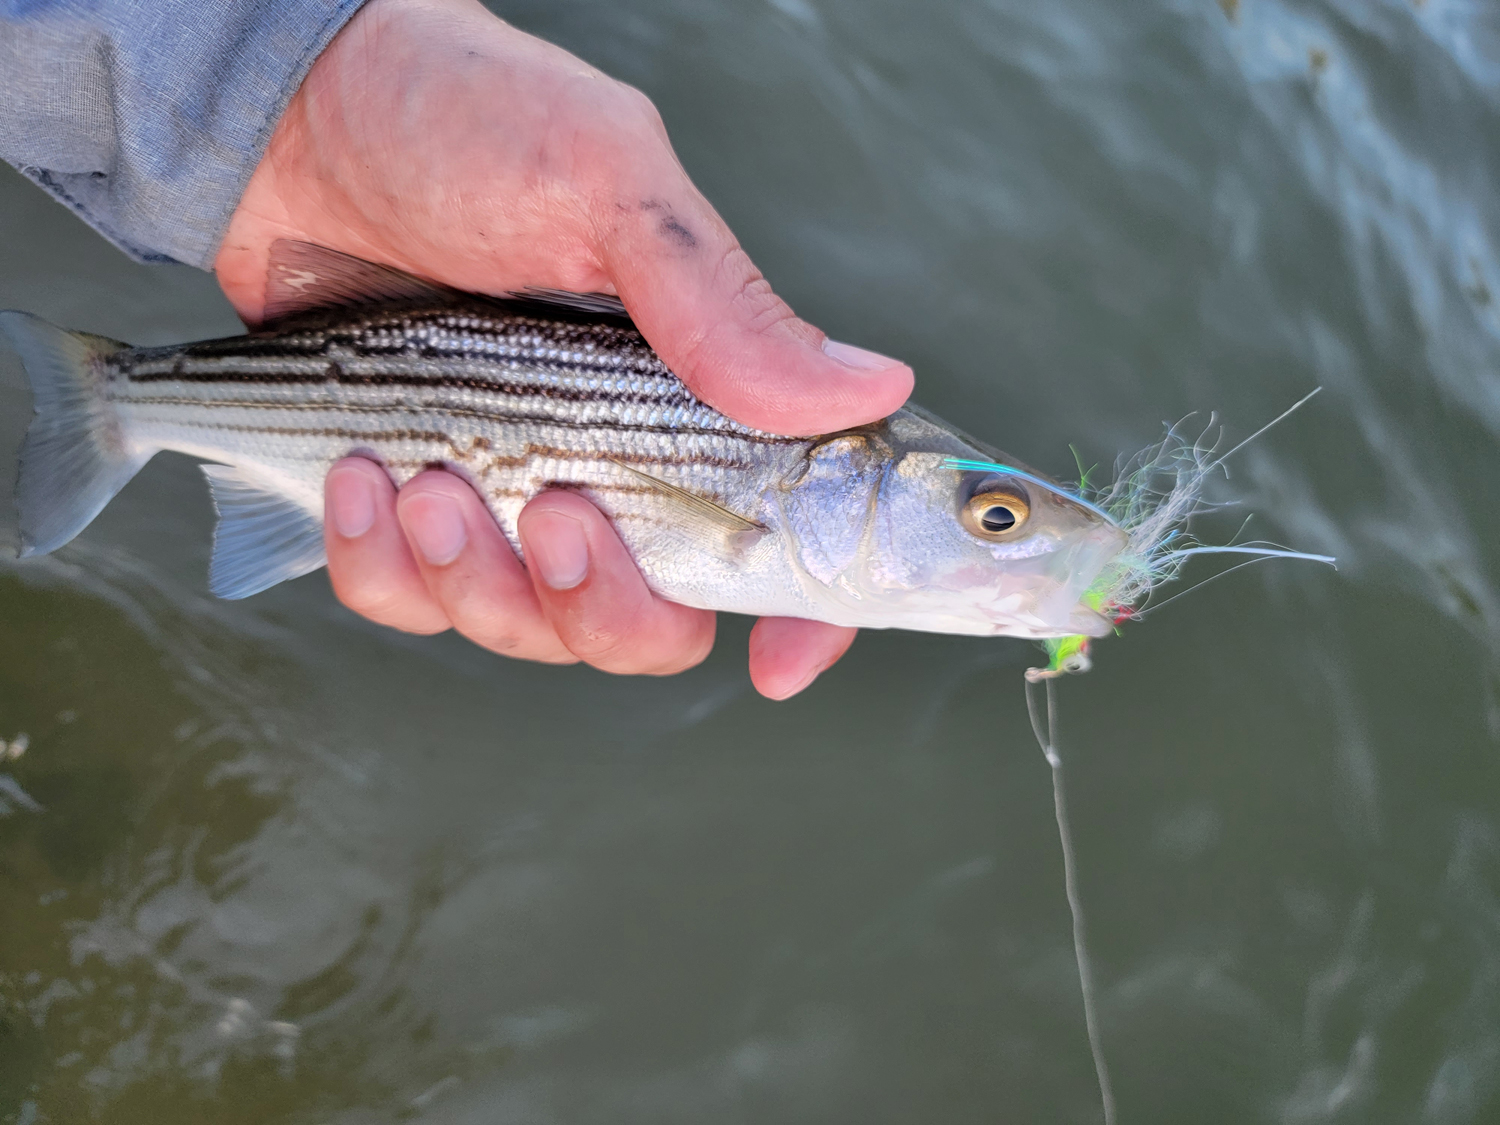
The float was about 3 miles and I marked key spots that I wanted to try and fish. I was blind casting along the bank as I floated down but didn’t hook anything. I stopped at two key locations: the first spot I didn’t have much luck due to the section being too fast and shallow and the second spot I managed to bring in two schoolie stripers but I was already familiar with that spot and knew that there were fish there.
The true intent of this float was to find and troubleshoot all the potential issues I could run into. One that I found was using the boat ramp after my float. In a boat it’s relatively quick and easy to bring the boat trailer down, hook up, and leave but a bike with a raft on it is a bit different. It takes a bit more time to paddle in, unload everything from the raft, deflate the raft, and then load it back into the car. If the launch isn’t busy it’s fine but if it is then it could be potentially dangerous and I really don’t want to be in the way of people being able to get their trailer down the launch. It’ll be a good idea to figure out alternative takeouts in the future to remedy the situation.

Overall the float went well. I’ll continue to mess with bike configurations to get the best balance on the raft. I was confident that my bike wasn’t going to fall into the river but it was a bit more tippy than I would have preferred. I’m looking forward to floating more rivers and catching more fish bikeraft style.
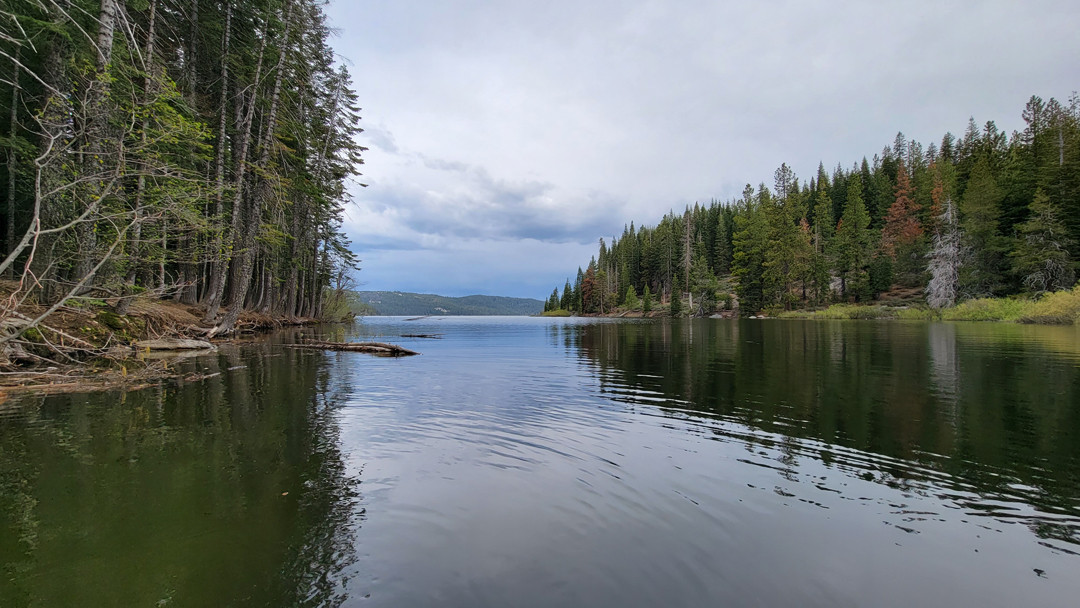
Bucks Lake

Success At Bucks Lake

Since the beginning of the year I’ve been enjoying time as a homeowner and new father of two. A busy schedule has left me with little time to myself however with all the water that we received this year it doesn’t seem like I’ve been missing out on much.

This year California was blessed with a heavy snowpack after suffering from a severe drought for the past several years. As summer approaches our rivers, streams, and creeks continue to rage with monstrous flows making them extremely dangerous to recreate on. Most rivers probably won’t be safe to play on until July therefore it’s best to shift our focus to stillwaters.

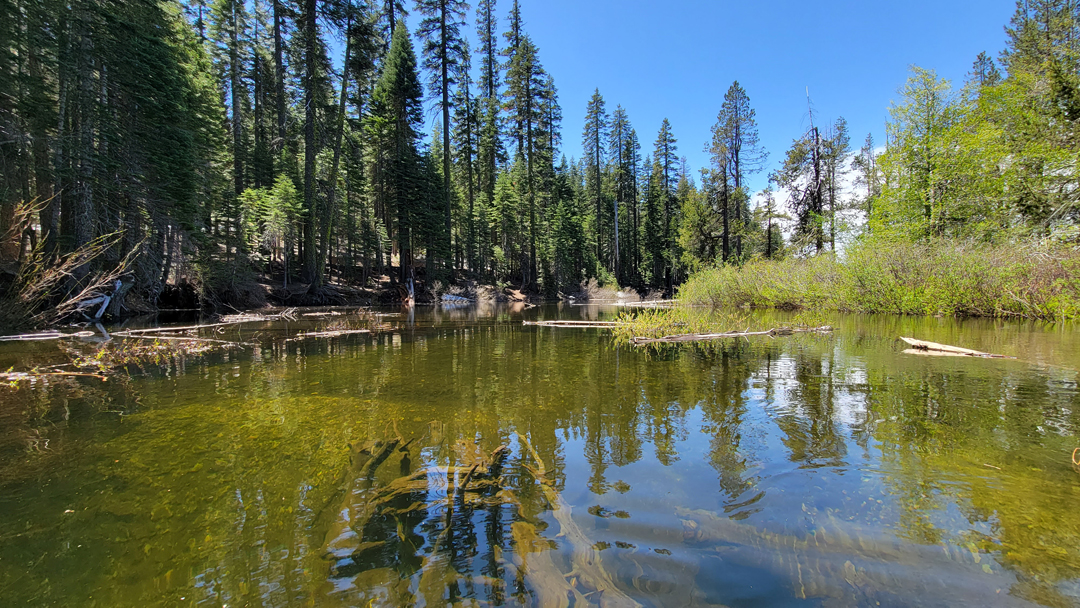
After about six months I was finally able to find some fishing time and attempted to test my stillwater skills on Buck’s Lake for a third time. I came well prepared with my float tube this time and planned to fish around the Buck’s Creek inlet again. Bucks Lake is currently over capacity for water storage at 109%.

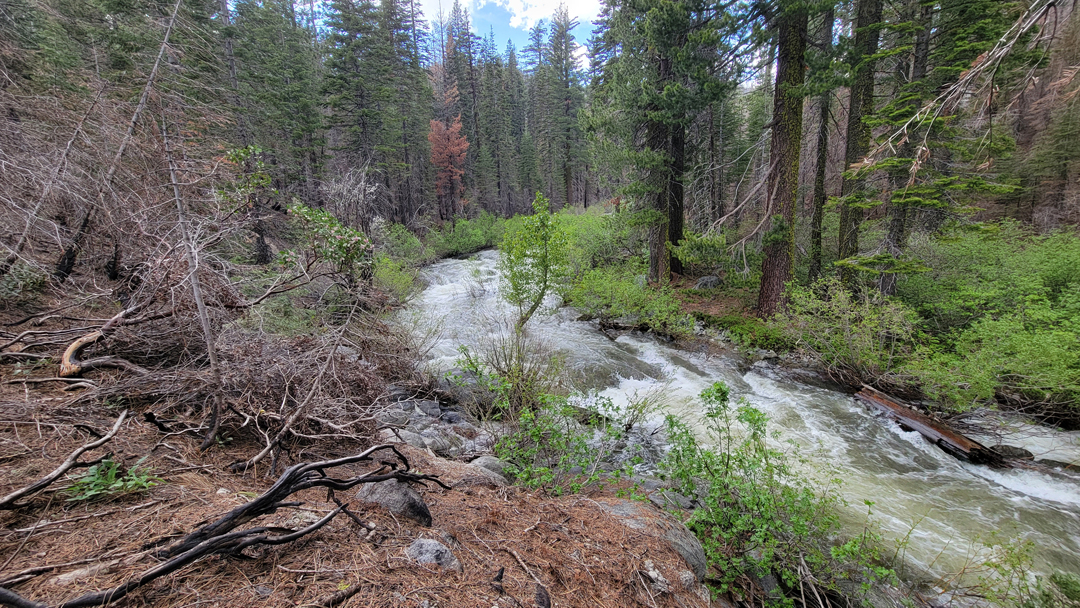
As I drove up to Bucks Lake I was able to observe the amount of snowpack that was still high up in the mountains. The Bucks Lake area was still surrounded by snow making it look more like late April rather than early June. Bucks Creek was flowing nicely and completely filled in with still more snow-melt to come. The water clarity this trip was about 3ft which was a bit unusual as Bucks Lake is usually one of the more clearer lakes that I’ve been on. The weather called for possible thunderstorms all week which had me a bit worried. The fishing would either be really good in the morning until the storms roll in or completely suck due to unstable weather.

I was surprised to have the Bucks Creek inlet all to myself both days I was there. Granted I was fishing in the middle of week, Bucks Lake usually sees a lot more people recreating on it this time of the year. My typical stillwater plan is a two rod setup: an 8.5ft 5WT floating line with an indicator rig with a balanced leech and a 9.5ft 6WT sinking line with a woolly bugger. As I made my way into the water my fish finder marked an average depth of about 15ft around the cove of the inlet. The water temperature the first day was 55 degrees and the following day it rose to 60 degrees. The inlet had a temperature of 48 degrees. There were midge shucks and adults all over the surface of the water and I saw small fish rising for them all throughout the cove. Now that I had all the data I needed it was time to turn that data into results.

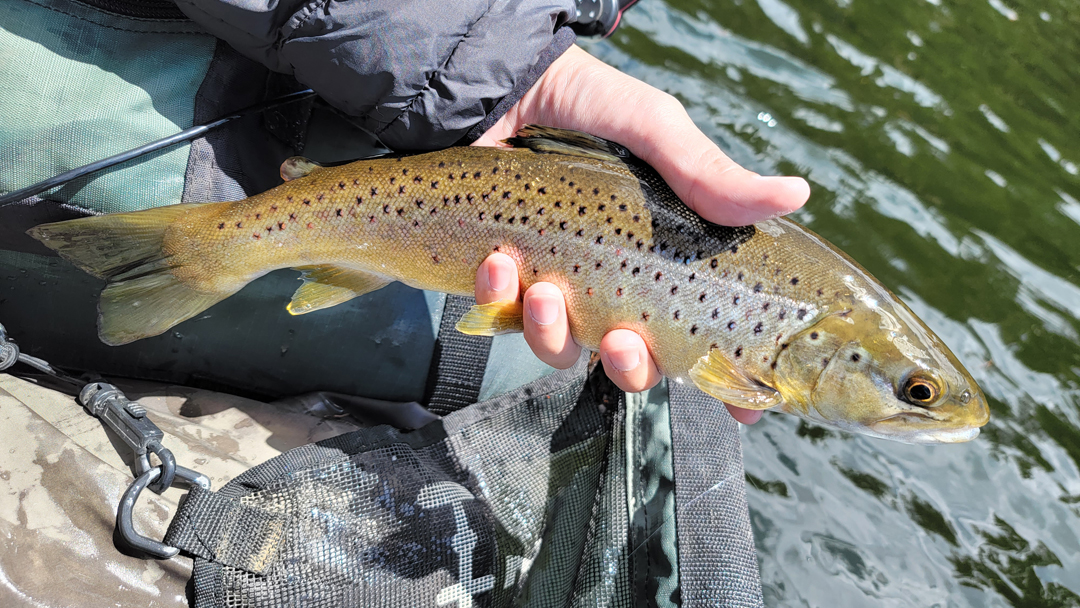
I like to start by searching for fish with the sinking line setup. I cast around the area for about an hour and had some possible nips but nothing willing to commit. As I trolled to get to a different area I felt a strong tug and set the hook. After an exciting short battle I brought in my first fish a nice size brown trout.

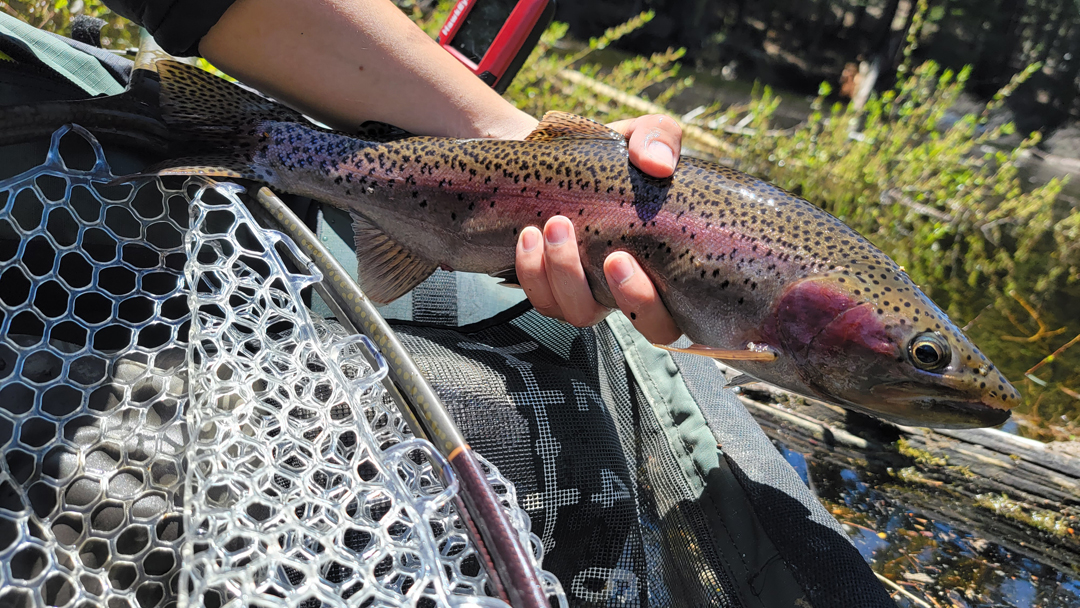
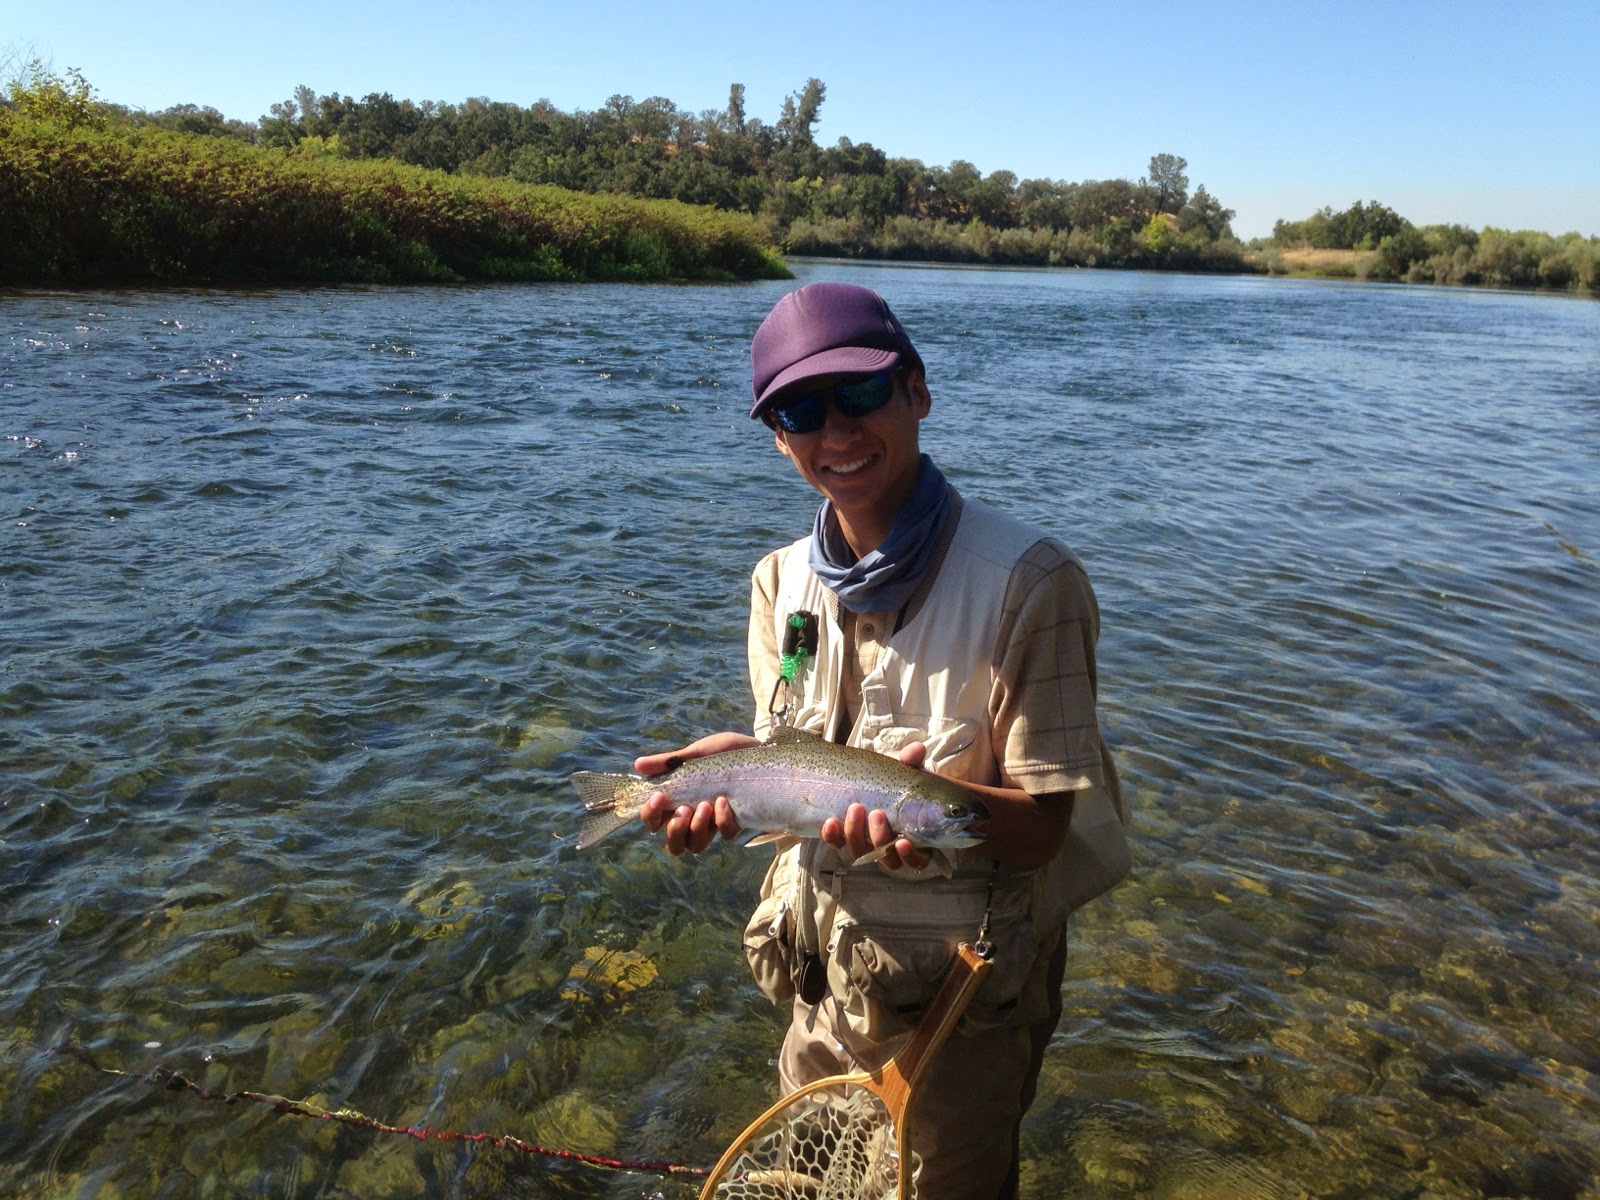
I continued to troll and strip retrieve and hooked several more fish that managed to beat me. After losing fish after fish I became frustrated and decided to head further into the Bucks Creek inlet to see if I could find any fish. The water in the inlet was completely clear and I kept a sharp eye out for fish. I found several good size rainbows in a seam and in a deep pool. Due to the shallower water I switched to my indicator setup. I hooked several more fish but only landed three of them.

Once I got bored of the inlet I made my way back to the cove and switched back to the sinking line. I was able to hook and land a few more nice browns and noticed that the browns were feeding within the cove and the rainbows were more in the inlet of Bucks Creek.

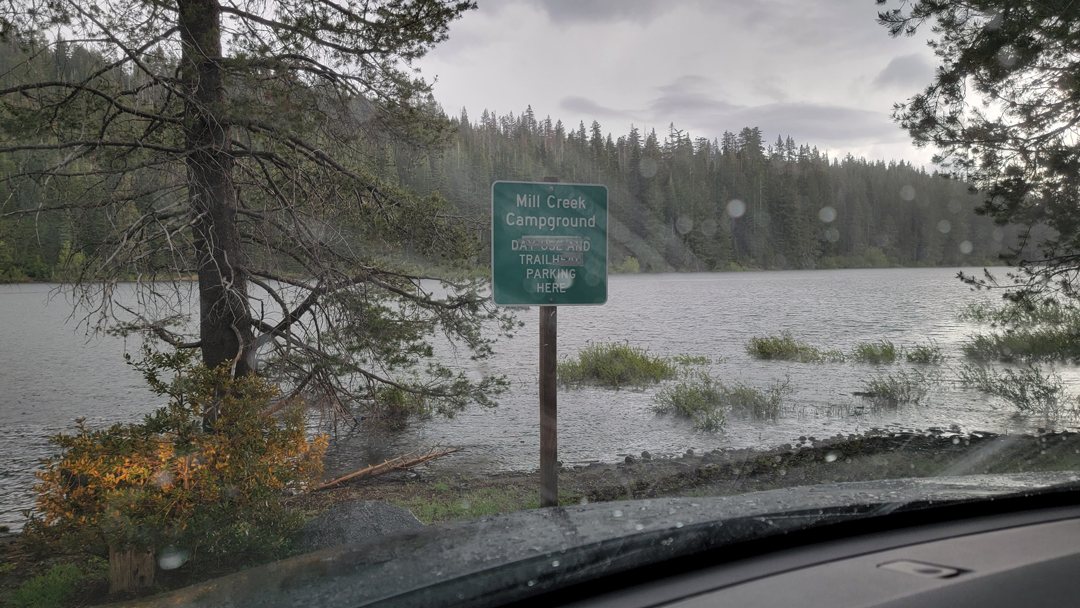
They say don’t leave fish to find fish however my curiosity broke the rule. After a successful day around the Bucks Creek inlet I wanted to explore the Mill Creek inlet on the north side of the lake. I arrived at the Mill Creek day use parking after about 15-20 minutes of driving and quickly set-up my tube to get in some time before the thunderstorm off in the distance rolled in. The water in the Mill Creek cove was running much warmer at 63 degrees. The depth was about the same as the Bucks Creek inlet. I managed to get one brown trout to the tube and got about halfway to Mill Creek before I heard the first crack of thunder. Time was up. I quickly waddled along the shoreline until I got to the inlet of Mill Creek. I was surprised to find the inlet much smaller than I had imagined. The creek was flowing much stronger and faster than Bucks Creek making it impossible to fish. I made a few cast into mouth of Mill Creek but stopped once the thunder started getting louder.

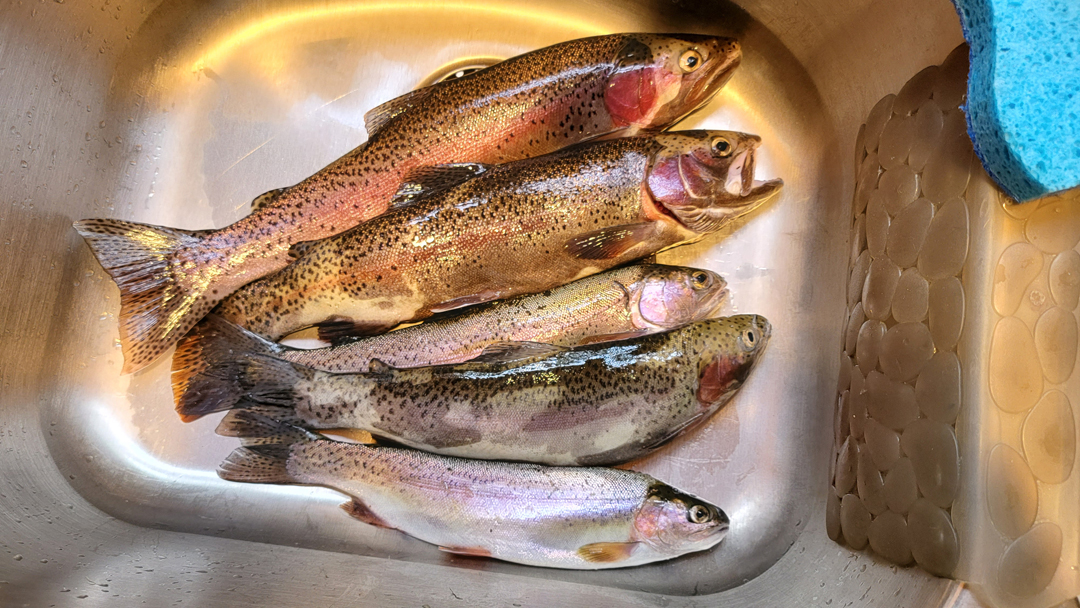
The afternoon thunderstorm had kicked me off the water but I went back the following day and caught more some more fish before another predicted thunderstorm ended my time. I finally had some success at Bucks Lake and it was a quality over quantity trip. I am very much a catch-and-release fisherman however I couldn’t help but harvest my limit for my friends and family. I predict that the water will be too warm for trout in about two or three weeks. Now that I know when to fish Bucks Lake I’m looking to forward to many more trips in the future.

1 3 4 5 6 7 18