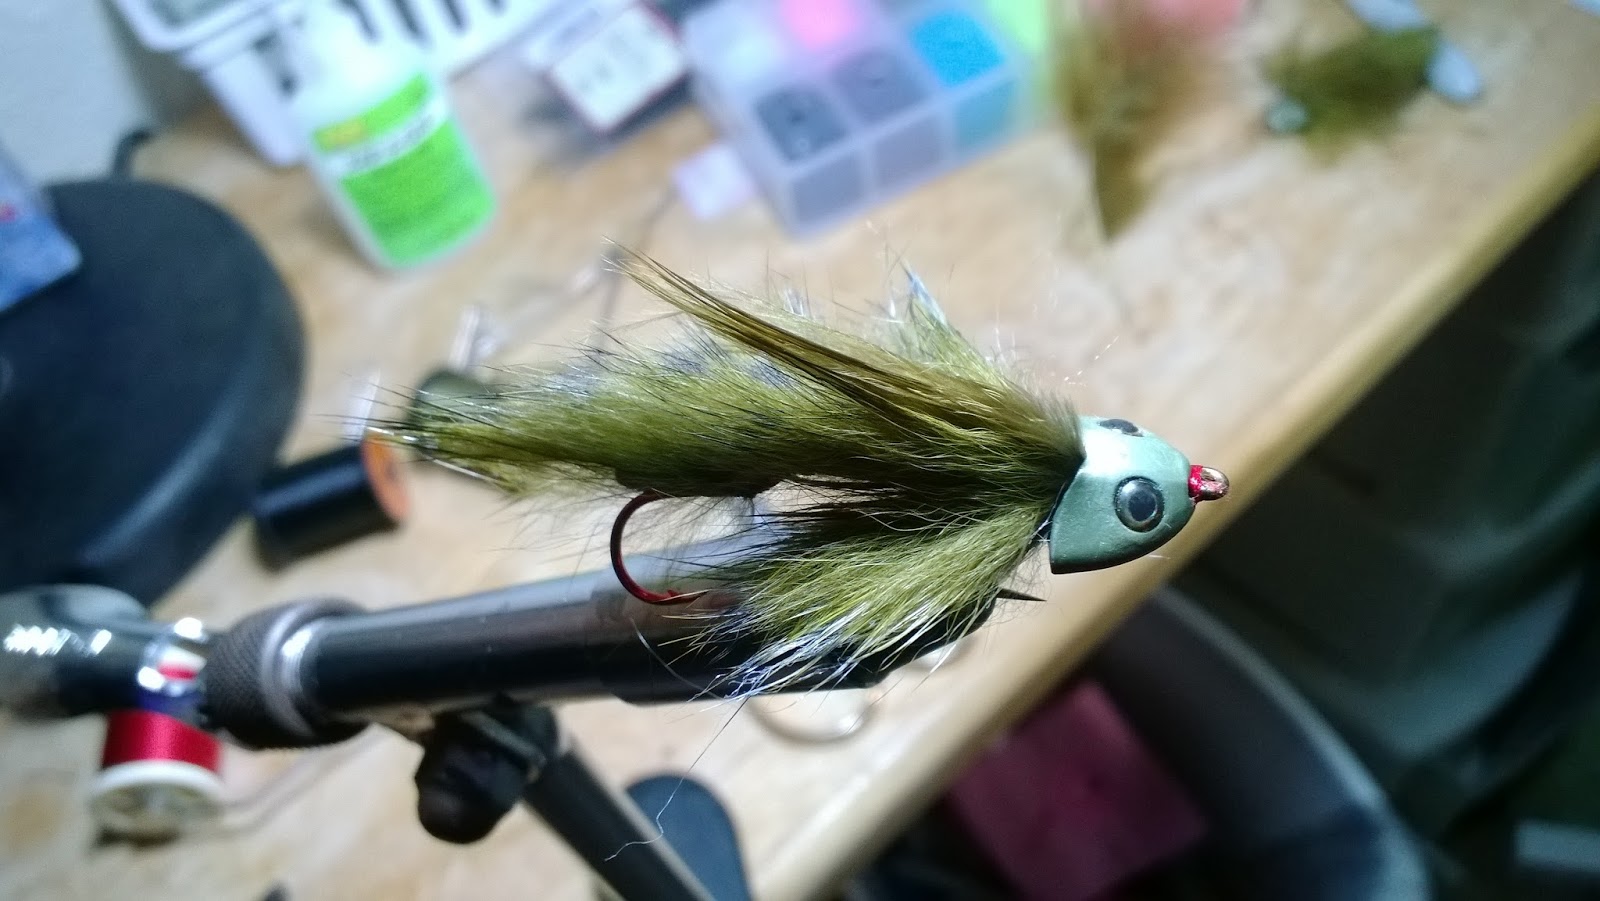
Hero Scuplin
Material List:
Owner – Red SSW 5311 – size 4 or 6
Daiichi – 2546 Saltwater Hook – size 2
Black Barred Rabbit Strip – Olive
Marabou Plume – Olive
Senyo Laser Yarn – White
Fishskull Sculpin Helmet – Small Olive
Senyo Intruder Trailer Hook Wire – Standard Black
Danville’s 70 Denier Thread – Red
Zap-A-Gap
Fly Tying Instructions
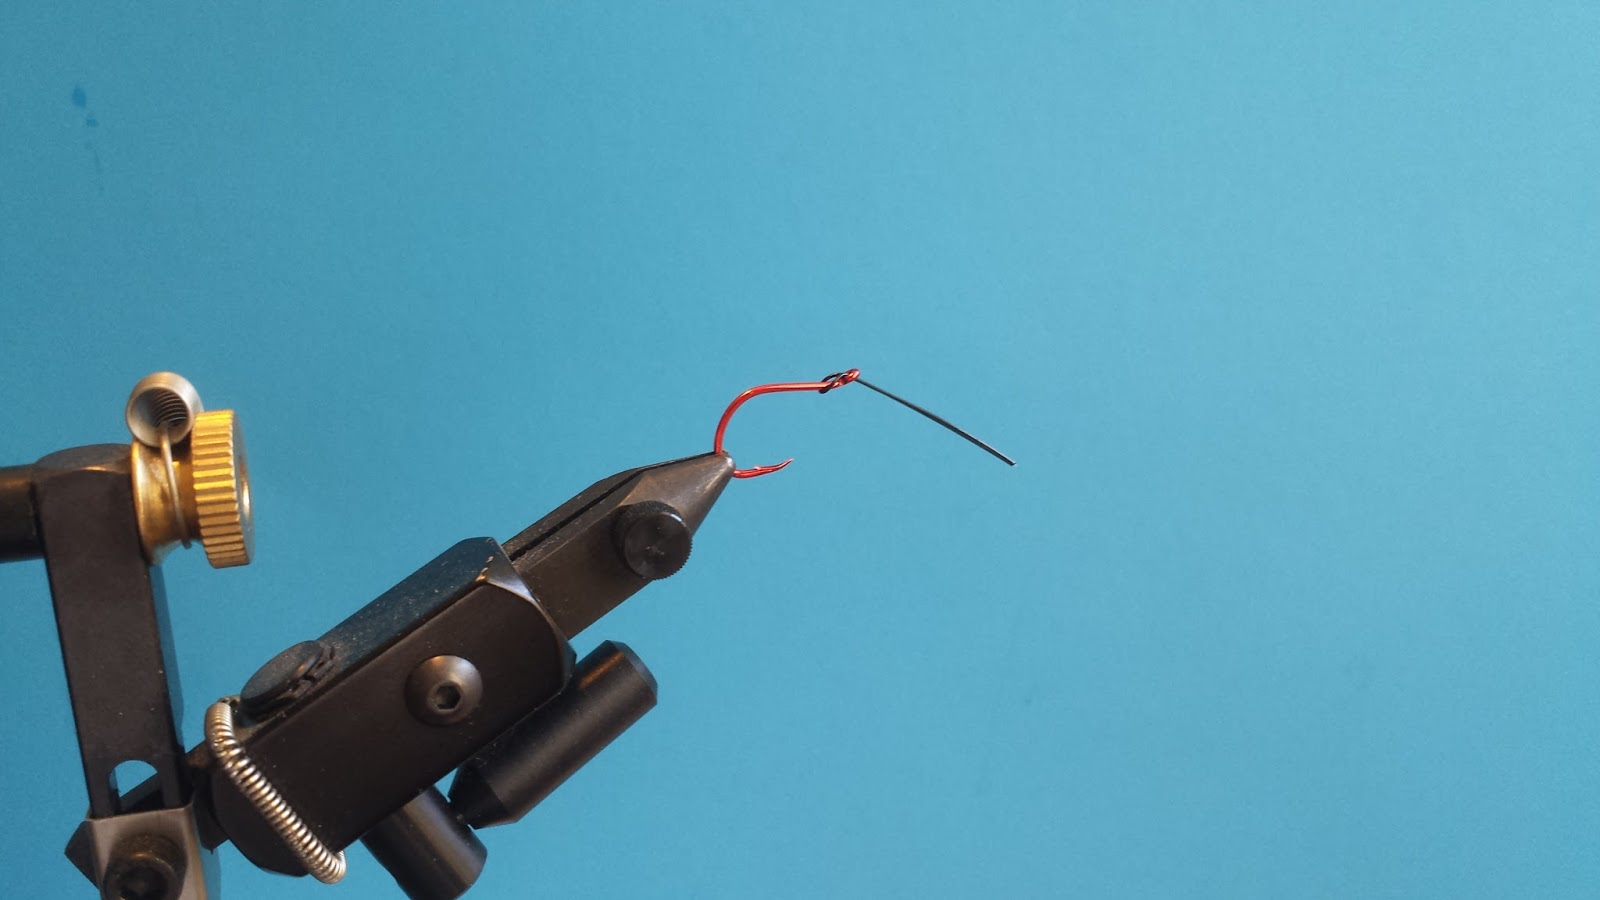
Step 1 – Start with the trailer hook. Pull both ends of the intruder wire through the top of the eye. As the wire forms a loop, pull the hook through the loop and pull the wire tight. The wire should be pointing down not up.

Step 2 – Start your thread and make a few wraps around the wire so that it stays in place. Tie in your rabbit strip in the middle of the shank. Be sure to split the hairs before securing the rabbit strip. Wetting the fibers helps make splitting the hair easier. Whip finish near the eye of the hook.
Take a bodkin and dap a bit of Zap-A-Gap to the bottom where all the thread is to make sure everything stays in place.

Step 3 – Take off the trailer hook and begin the body hook. Any straight eye short shank hook will do. In this tutorial I am using a garbage Daiichi hook that I forget the name of. A size 2 saltwater hook will work as well.

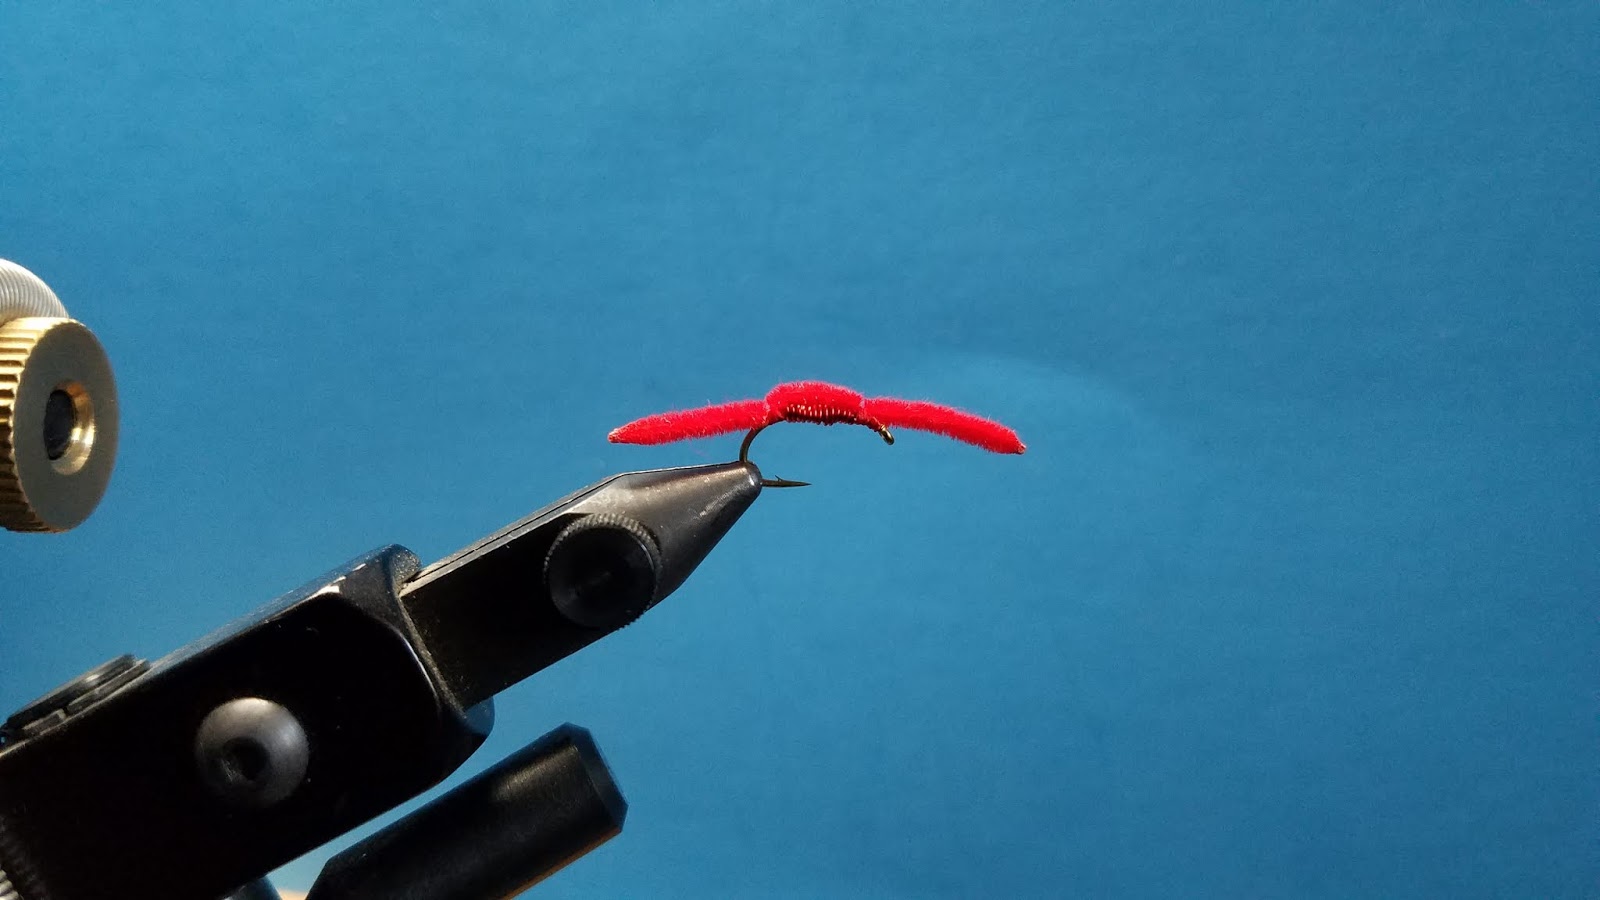
Step 4 – Start your thread. Before wrapping in the wire, make sure that both ends of the wire are parallel to each other and not twisted. Cut off any excess wire that goes past the eye of the hook. Make several tight wraps and stop the thread at the bend.

Step 5 – Secure the rabbit strip. Fold the excess up, you will be using this strip later.
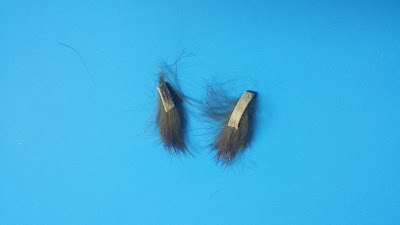
Step 6a – Cut two small pieces of rabbit strip. You will be using these two small pieces for the pectoral fins.


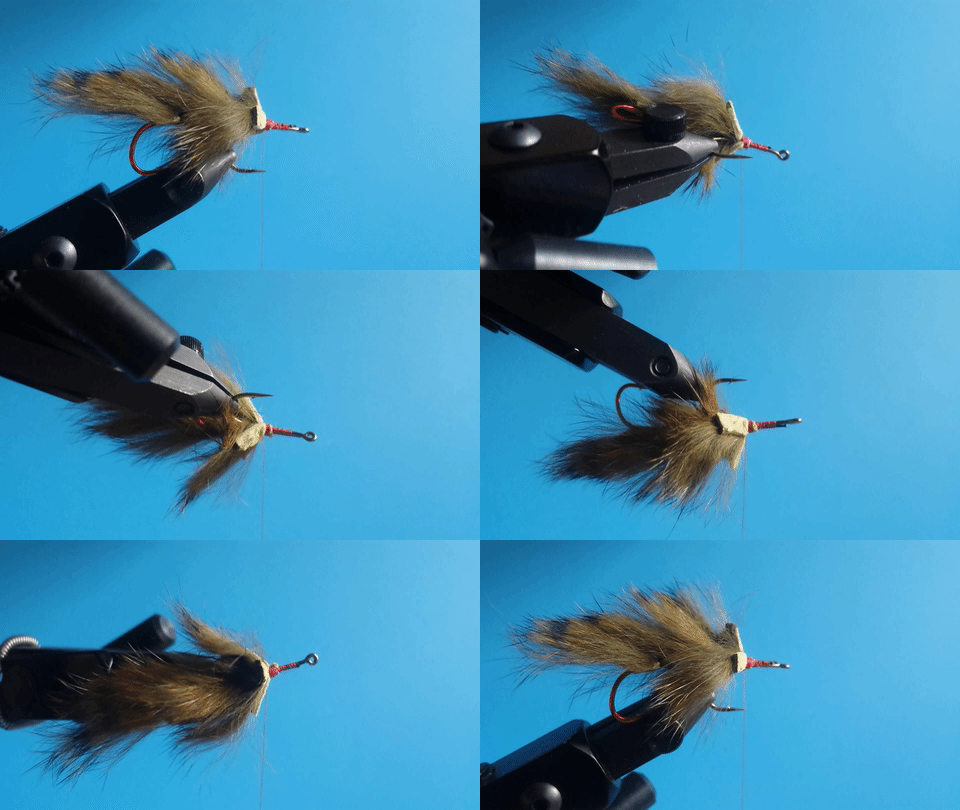
Step 6b – Begin by wrapping the first small strip to the side of the hook shank with two tight wraps. Wrap the second small strip to the opposite side. Once both strips are tied in make a few more wraps to secure.

Step 7 – Fold in one of the small rabbit strips and secure it at the end. Fold in the second small strip on the opposite side. Try not to trap any fibers during this folding process. Once both small strips are folded, make a few tight wraps around both ends to secure.

Step 8 – Pull the original top rabbit strip over the top of the hook shank and secure with a few tight wraps. Your fly should look like this.

Step 9 – Tie in a clump of white laser yarn to the bottom of the shank. Be generous with the amount of laser yarn you use, more is better than less. Pull back and shape the yarn so that it forms a tapered belly. Make a few wraps to secure the yarn.

Step 10 – Tie in a clump of olive marabou to the top of the fly. Stack another clump of marabou to the first clump. There should be two clumps total.
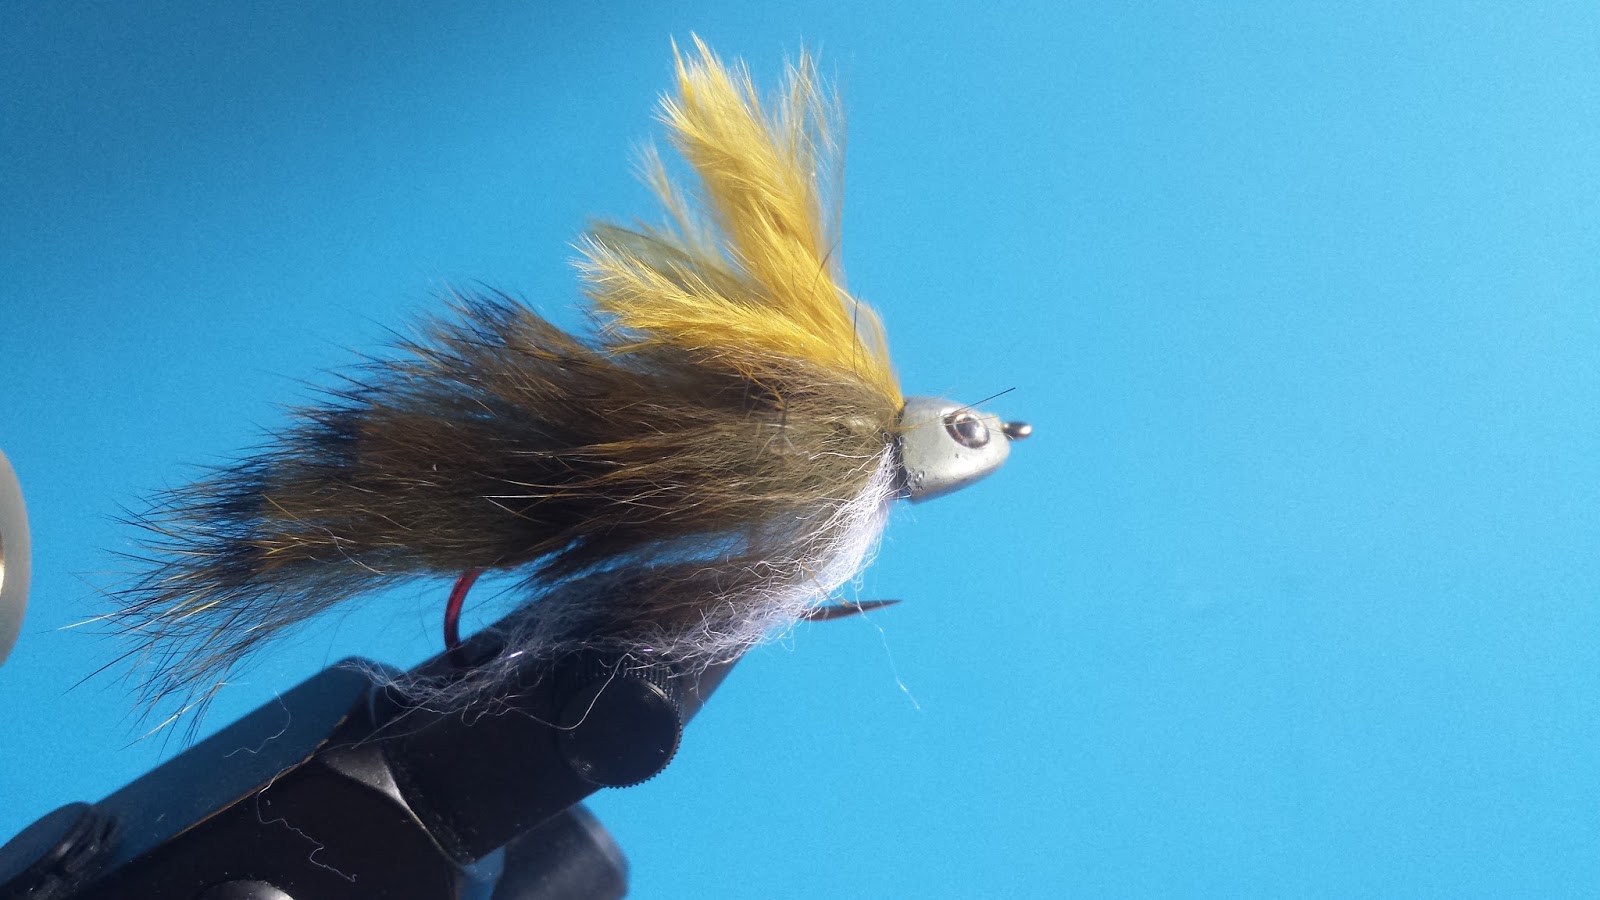
Step 11 – After tying in the marabou tear off any long excess and begin building your thread for the sculpin helmet.
Try your sculpin helmet to make sure it cinches nice and tight. If it doesn’t fit tight continue building your thread until it does. Once the helmet fits tight, whip finish.
Put no more than two drops of Zap-A-Gap to where the helmet is going to fit then put on the helmet. Push back the helmet to ensure that there is enough space between the helmet and the eye of the hook.
Secure the helmet by wrapping some thread around the eye of the hook. Zap-A-Gap this thread so that it doesn’t fall apart.
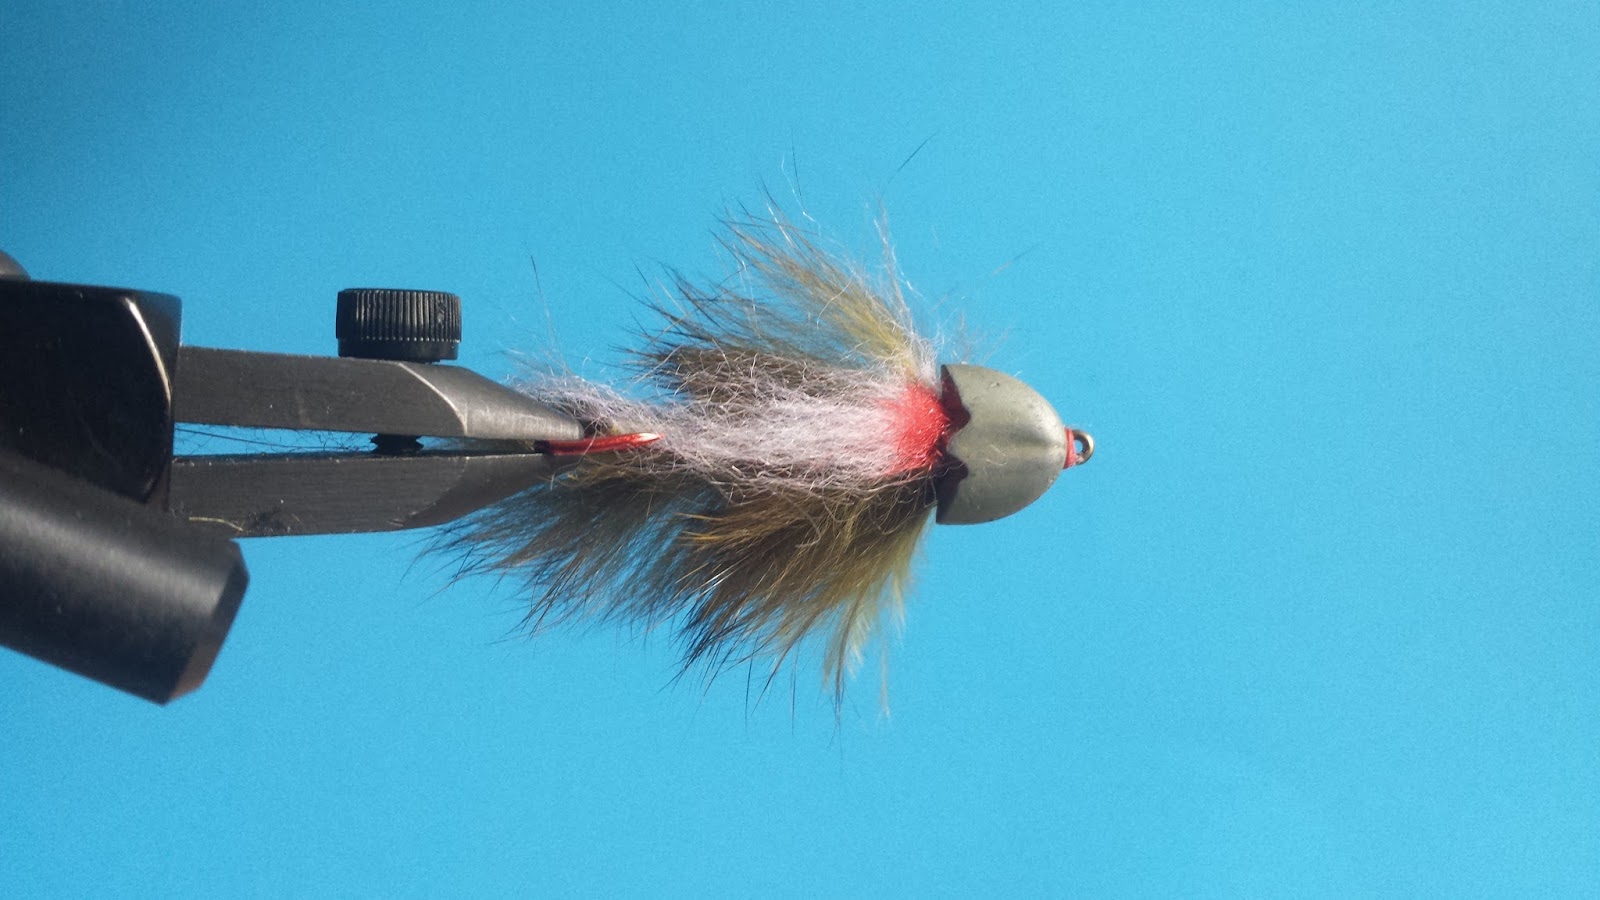
Step 12 – Cut off the body hook. I use a wire cutter. Flip the fly over and use a red permanent marker to color in the throat of the fly.
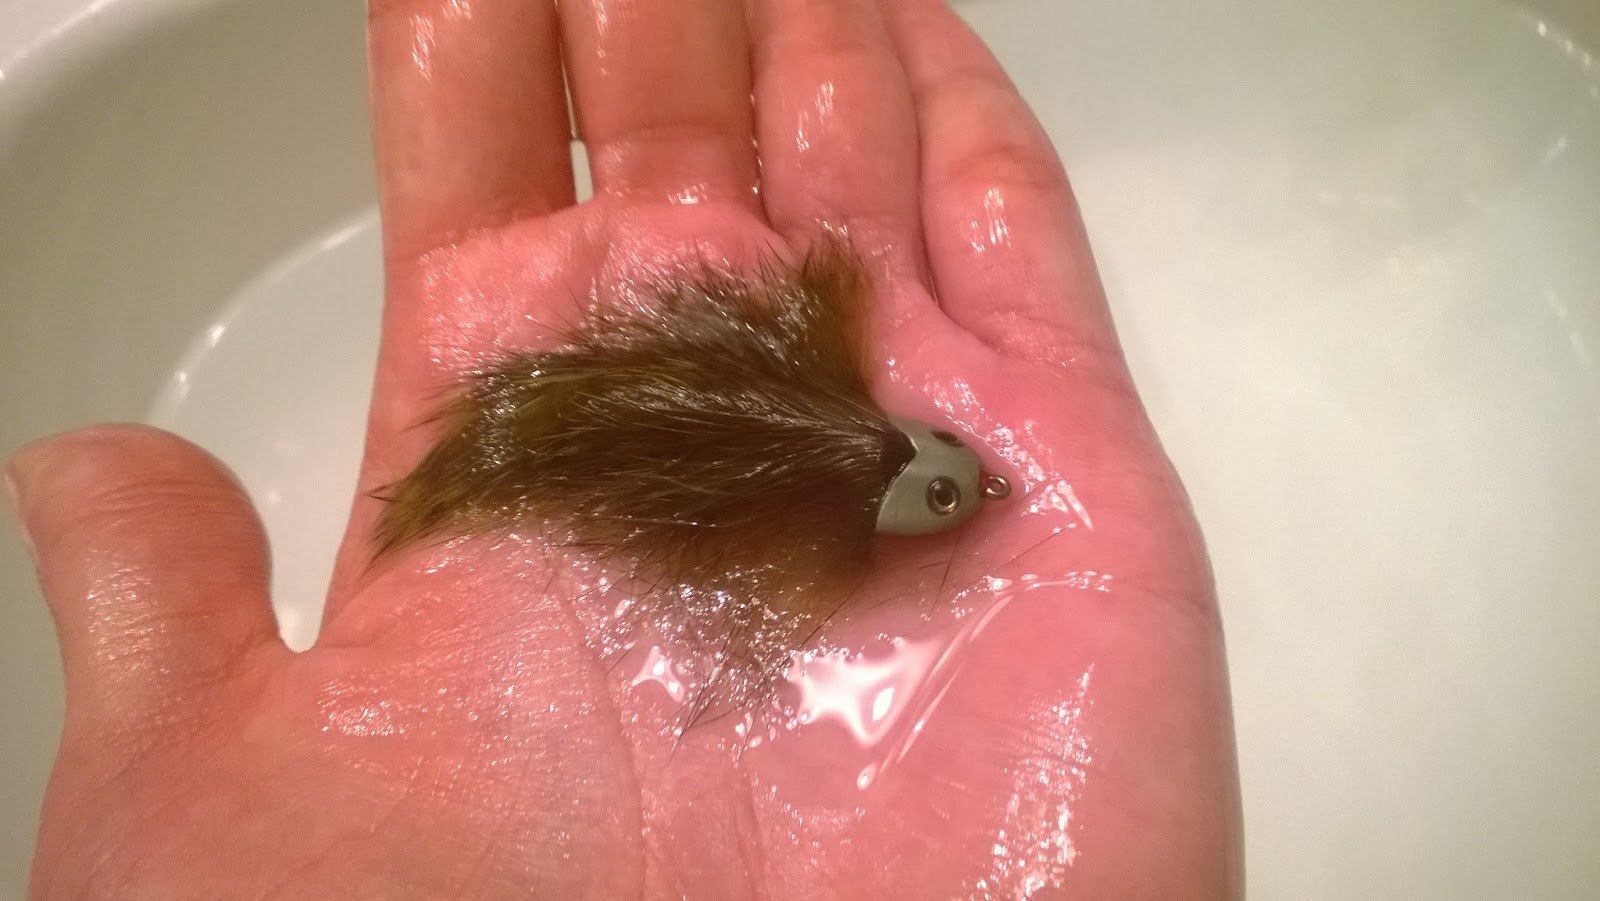
Finished!

Hello Matthew. I really like the simplicity of your design. I have also been wanting to tie up something simple with the Fish Skull Helmets. I was a little confused with a couple of steps though. You said "Cut two small pieces of rabbit strip" A couple of questions: 1) Are you lifting the original zonker and tying in 2 small pieces and palmering them around the body? 2.)Why 2 pieces? 3.) Are you using crosscut strips for the main under body and then pulling the original zonker over the top? 4.) I have not used Laser Yarn, is that simply parachute post material? Any other names of simliar material would be helpful. 5.) Am I reading correctly that you use 2 clumps of marabou tied in one after the other and only on top of the body above the zonker you pullled over?
Sorry for all the questions. I am not new to tying…just fairly new to tying streamers. Hope you can help clear these questions up for me so I can tie some of these up and give them a go. Thanks for your time and consideration either way.
I've edited and updated this post with a few new instructions and images.
The two small strips are for the pectoral fins. You want to tie in both small strips to the side of the hook shank and then fold them. After you fold both small strips and secure them, you will pull the original top strip over as the dorsal fin.
Once the original top strip is tied in, stack two clumps of olive marabou one at a time to the top of the fly.
The underbody will be flat until you add in the laser yarn. Laser yarn is basically a synthetic wool substitute. It's usually used as dubbing but is also great for building fish bodies.
Thanks for the questions. This was my first attempt at a fly tying tutorial. Sorry for the bugs!
Thanks so much for the response…and clarity. I wouldn't have guessed that was what you were doing. Certainly couldn't tell from the photos or description before. Did you come up with that idea? I think using the stiffer hide to sort of stick out both sides is a great idea for the pectoral fins. Gives some width to the streamer so all the material doesn't lay flat to the body in faster water or when being stripped quickly…the profile is key…and this seems like it would be a great way to get it done. I have a few packs of sculpin helmets on order. Can't wait to tie some of these up…and fish them. Thanks again!!!
Yeah it's a bit hard to get pictures of the folding process but I'm glad I was able to clarify for you.
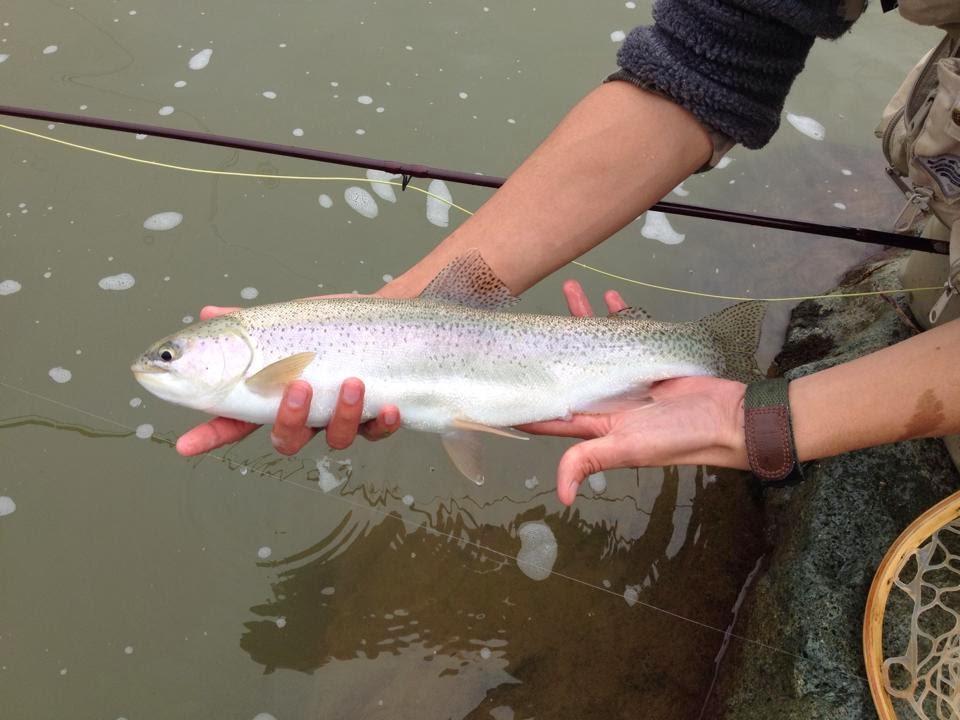
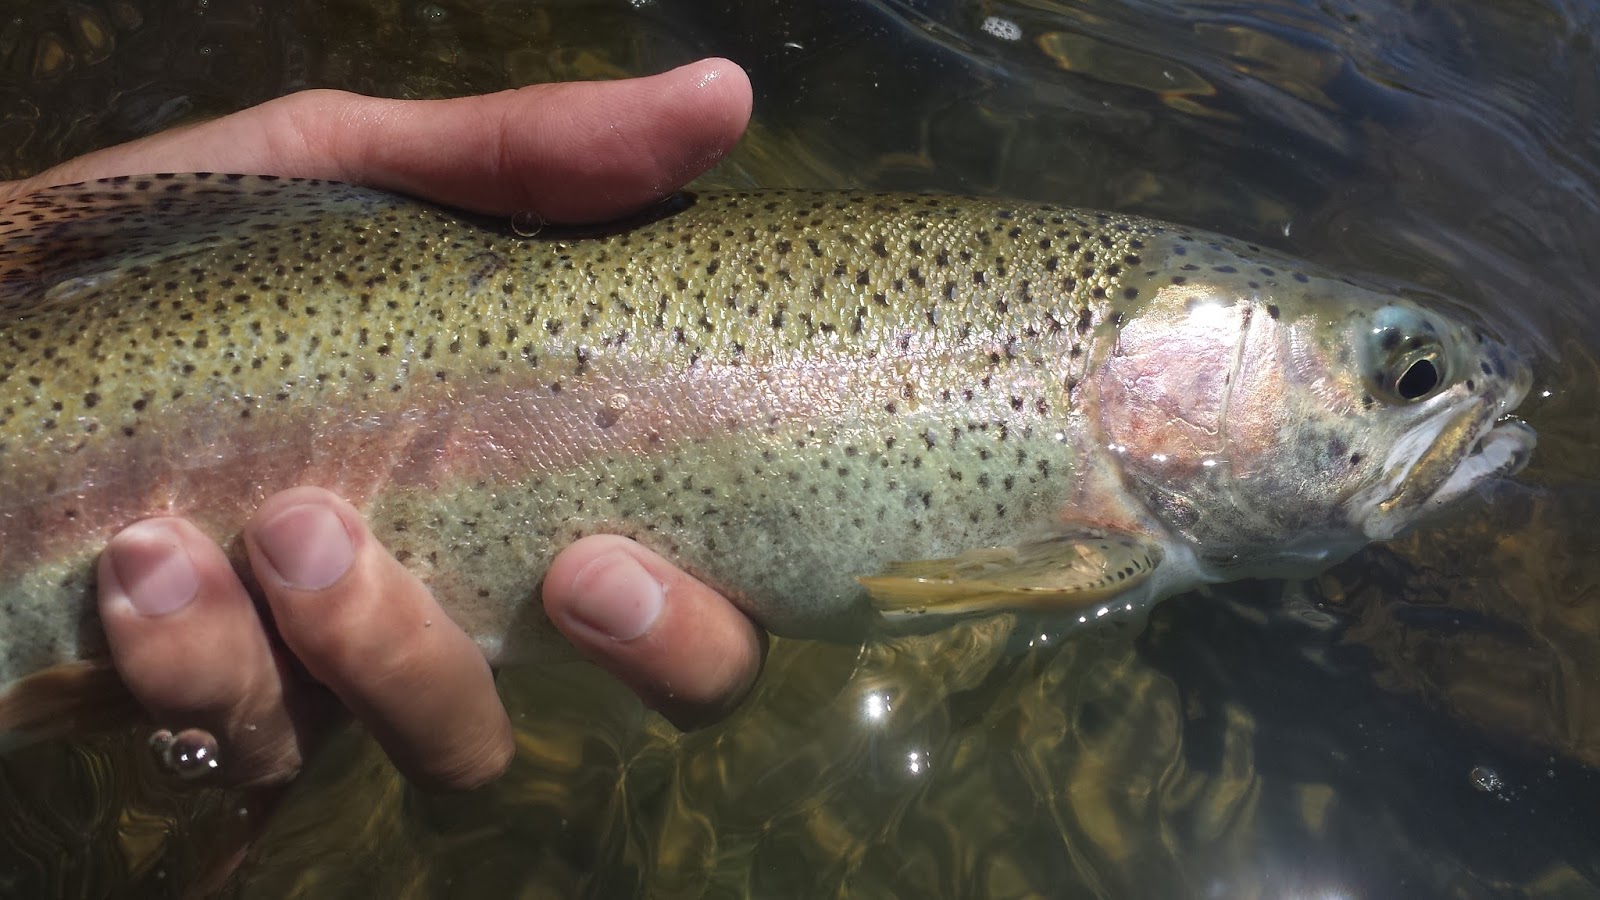
The fly has an awesome profile in the water and definitely catches fish. The articulated hook I think was the most important piece. A lot of sculpin helmet patterns are tied with a single hook pointed up. I've tried fishing with these and they never stuck.
I'd love to hear about how you do fishing with the Hero Sculpin. Tight lines!
I will be sure to let you know how I do with them…though it will likely be a while before I have enough feedback. Don't think I forgot about you if I don't post again until late summer. I will, I promise. Thanks again for the help!
Hey Matt. It's been a long time. I actually lost your website and have been very busy. Wanted to tell you that I tied up my own twist on your Hero Sculpin and have had great success with it. The biggest thing that I took from your design and that I will use a ton going forward is the folded over rabbit strips as pectoral fins. Killer way to create a great profile. I didn't even tie them articulated. I did them jig style with point riding up…no issues with hook ups on my end.
Anyway, I wanted to say thank you again! You taught me something awesome AND were the final inspiration to getting me tying with sculpin helmets…they are awesome! Love your site and passion. Would love to fish with you anytime.
Oh one last thing. I sort of melded the idea of this with Ralph Cutters Goblin for high dirty water…Orange bunny down the back of a black Streamer. Came out awesome. Give it a go, I think you will find it killer for those situations for high off color water like during runoff.
Thumbs up my friend! I'm glad you've had a lot of luck on it. I can't wait to start fishing it again.